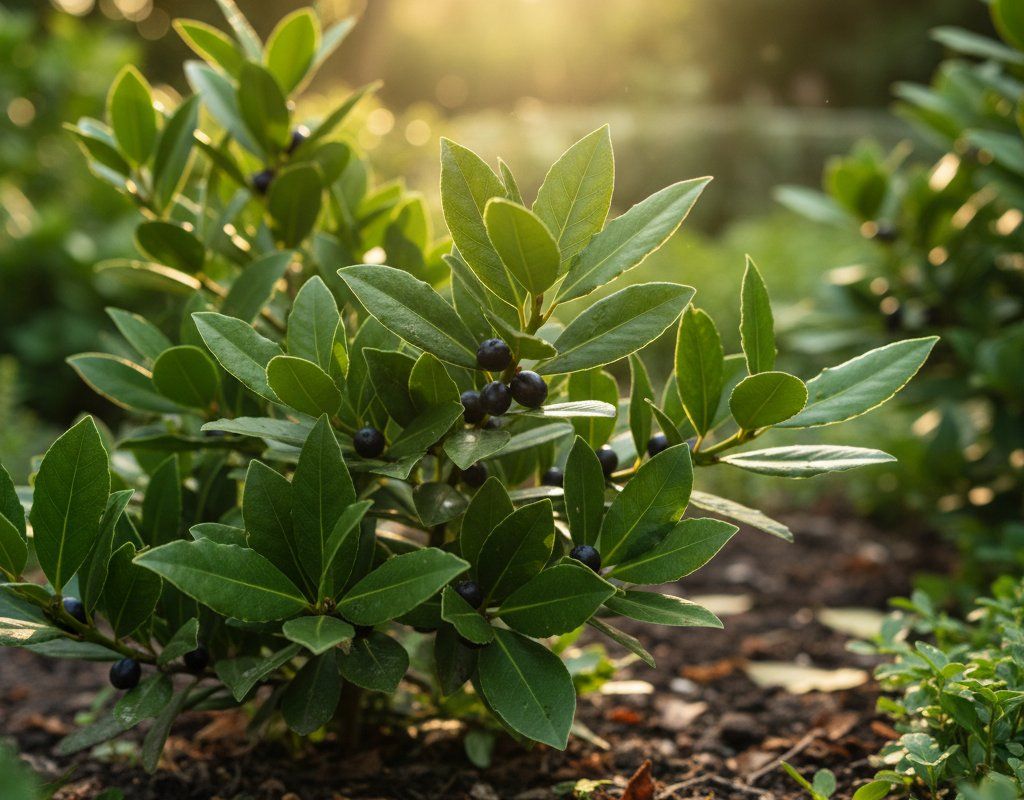
Bay Laurel in Zone 7A — Southeast
Laurus nobilis · Your Complete 2026 Planting Guide
Too Late for Bay Laurel
Not enough growing season left (need 379 days, only 246 remain)
📊 See the math
How to Plant Bay Laurel in Zone 7A — Southeast
Here are all your options for getting bay laurel in the ground, from the easiest method to more advanced approaches.
Buy Starts
RecommendedEarly to mid April
around April 8
Plant purchased starts after last frost (March 25).
Extremely slow from seed (years to reach usable size). Buy established plants.
Start Seeds Indoors
Works WellEarly to late January
around January 14
Then transplant: Early to mid April
Start seeds 12-14 weeks before transplanting outdoors.
Direct Sow Seeds
ChallengingDirect sowing is not typical for Bay Laurel.
Transplant Outdoors
Timing InfoEarly to mid April
around April 8
Can tolerate light frost, but wait for soil to be workable.
Timing is critical in your zone — don’t delay!
Overview
Bay Laurel is a fantastic addition to any Southeast garden. The aromatic leaves add incredible flavor to soups, stews, and sauces, and it's rewarding to snip fresh bay leaves right from your own plant. Plus, it's a beautiful evergreen shrub that adds year-round interest to your landscape.
We definitely have our share of gardening challenges here in the Southeast, from our hot and humid summers to the occasional deer. But with a little planning and attention to timing, you can absolutely grow Bay Laurel successfully. Our long 225-day growing season gives you plenty of time to get it established.
Starting Seeds Indoors
Starting Bay Laurel from seed indoors is possible, but be warned: it's a *slow* process. It can take years for a seedling to reach a usable size. If you're patient and enjoy the challenge, go for it.
Start your seeds indoors in early to late January, about 12 weeks before you plan to transplant outdoors. Use seed trays with a good seed-starting mix, and keep them warm and consistently moist. Bottom watering is a great way to prevent damping-off. A sunny windowsill or grow light will provide the light they need. Keep in mind that spring here in the Southeast comes on gradually, so don't rush things.
Transplanting Outdoors
Transplant your Bay Laurel seedling outdoors in early to mid April, once the danger of frost has passed. Before transplanting, harden off your seedling by gradually exposing it to outdoor conditions for about a week. This will help it adjust to the sun and wind.
Space your plants 48-96 inches apart, as they can get quite large. Keep an eye on the weather forecast around transplant time. We can still get some cool snaps in April here in the Southeast, so be prepared to cover your young plants if needed. Honestly, for faster results, it's much easier to buy an established plant from a local nursery.
Watering Bay Laurel in Zone 7A (Southeast)
Once established, Bay Laurel is moderately drought-tolerant, but it still needs consistent watering, especially during our hot and humid summers. Newly planted Bay Laurel will need more frequent watering to establish a strong root system. Container plants will always need more frequent watering than those in the ground.
During the active growing season (spring through fall), check the soil moisture regularly. Stick your finger about 2 inches deep into the soil. If it feels dry, it's time to water. Aim for about 1 inch of water per week, either from rainfall or irrigation. Water at the base of the plant to avoid wetting the leaves, which can encourage fungal diseases in our humid climate.
Yellowing leaves can indicate overwatering, while wilting leaves can mean it's not getting enough. A layer of mulch around the base of the plant helps retain moisture and suppress weeds, which is especially helpful with our clay soil here in the Southeast.
Pruning & Maintaining Bay Laurel
Bay Laurel doesn't require a lot of pruning, but a little shaping can help maintain its desired form. You can prune to remove any dead, damaged, or crossing branches.
The best time to prune is in the spring, after the last frost. Avoid heavy pruning in the fall, as this can stimulate new growth that might be vulnerable to frost damage. As our first frost approaches around early November, stop pruning to allow the plant to harden off for winter.
🧪Fertilizing Bay Laurel
Feeding Schedule
Organic Fertilizer Options
Harvest Time
You can start harvesting Bay Laurel leaves as soon as the plant is established, usually about a year after transplanting. In Zone 7A, Southeast, that means you can expect your first harvest from early April through mid November.
Look for mature, dark green leaves, as these have the strongest flavor. Simply snip off individual leaves as needed, being careful not to damage the surrounding branches. Regular harvesting encourages new growth and keeps the plant productive. As our first frost approaches in early November, harvest as many leaves as you need and dry them for winter use.
Common Problems in Zone 7A (Southeast)
Here are some common problems you might encounter with Bay Laurel in the Southeast:
Scale Insects *What it looks like:* Small, raised bumps on the leaves and stems. They can be brown, white, or black. The plant may also be sticky from honeydew excreted by the scales. *What causes it:* Scale insects thrive in warm, humid conditions, which we certainly have plenty of in the Southeast. *How to fix/prevent it:* Inspect your plants regularly. For minor infestations, you can scrape off the scales by hand. For larger infestations, use horticultural oil or insecticidal soap, making sure to get good coverage.
Cold Damage *What it looks like:* Brown or black leaves, especially after a cold snap. In severe cases, branches may die back. *What causes it:* Bay Laurel is only semi-hardy and can be damaged by temperatures below freezing. *How to fix/prevent it:* While Zone 7A is generally okay for Bay Laurel, protect your plant during unusually cold periods by wrapping it in burlap or moving it to a sheltered location. Container plants can be moved indoors.
Slow Growth *What it looks like:* The plant just doesn't seem to be growing much, even after a year or two. *What causes it:* Bay Laurel is naturally a slow grower, especially in its early years. Poor soil, lack of sunlight, or insufficient watering can also contribute. *How to fix/prevent it:* Be patient! Make sure your plant is in well-draining soil and gets at least 4-6 hours of sunlight per day. Amend your clay soil with compost to improve drainage and nutrient content.
Southeast Specific Challenges: Our hot, humid summers can create an environment that's conducive to fungal diseases on Bay Laurel. Ensure good air circulation around the plant and avoid overhead watering to minimize this risk. Also, while deer may not be as attracted to Bay Laurel as they are to other plants, they might still browse on it, especially when other food sources are scarce. Consider using deer repellent or fencing to protect your plant.
Best Companions for Bay Laurel
Plant these nearby for healthier Bay Laurel and better harvests.
View Full Companion Planting Chart →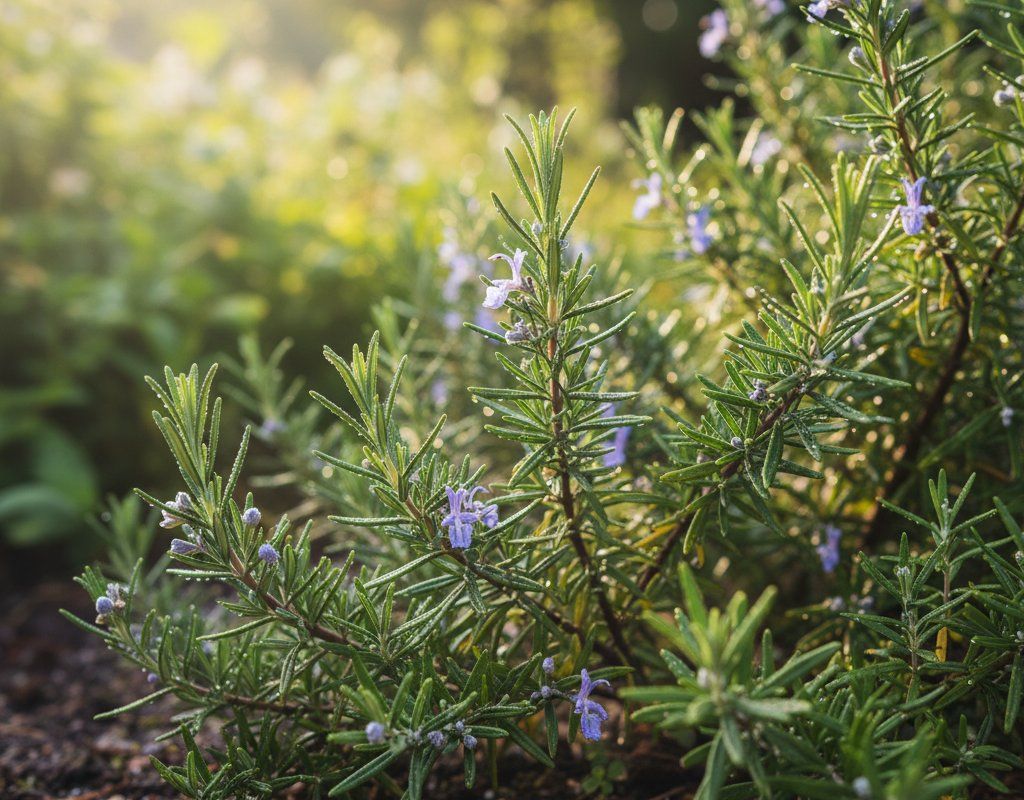
Companion Planting Details
Companion planting can be beneficial for Bay Laurel, especially in our Southeast gardens.
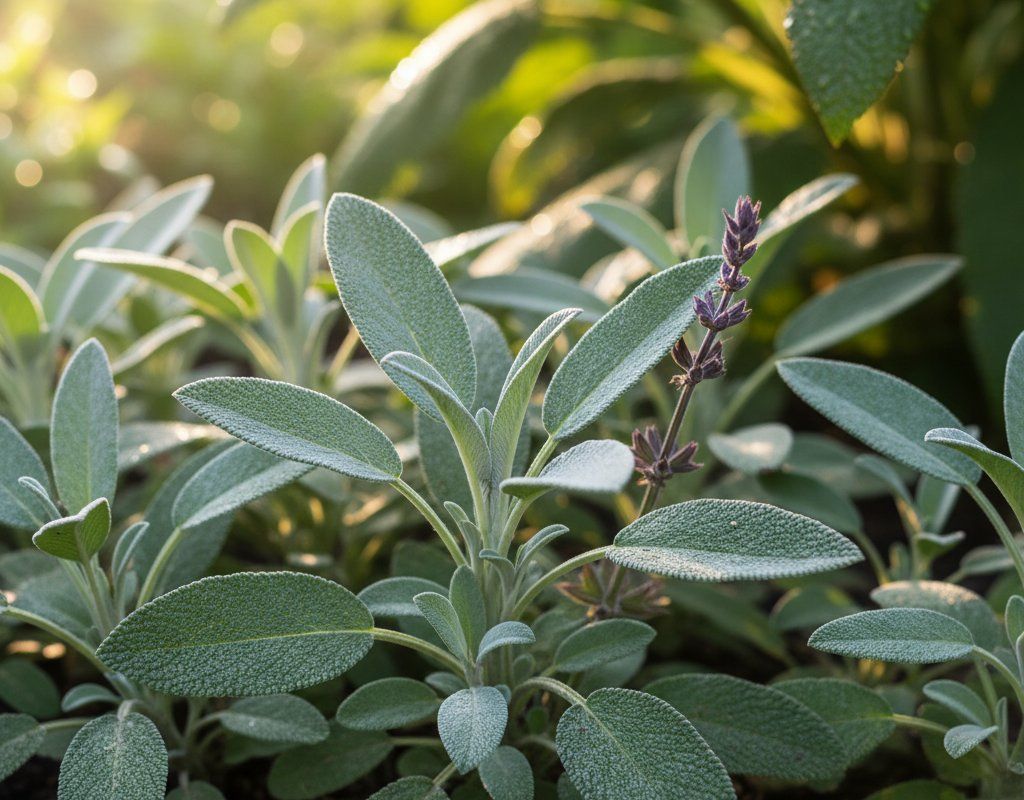
Good companions include green beans, rosemary, and sage. Green beans fix nitrogen in the soil, which can benefit Bay Laurel. Rosemary and sage are aromatic herbs that can help repel pests. These herbs also enjoy similar growing conditions as Bay Laurel.
Avoid planting Bay Laurel near aggressive plants that might compete for resources. Also, be mindful of plants that prefer very different soil conditions.
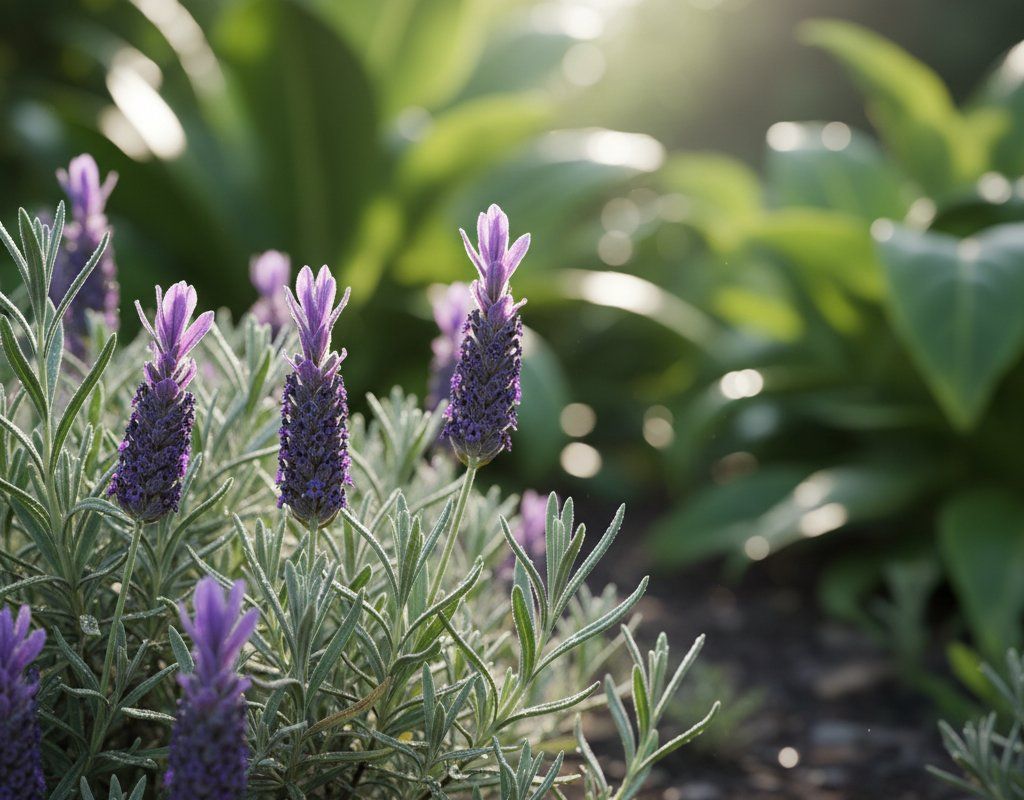
🌸Best Flowers to Plant with Bay Laurel
These flowers protect your Bay Laurel from pests and attract pollinators for better harvests.
For Pest Control
For Pollinators
Get a Reminder When It's Time to Plant
We'll email you when key planting windows open for your zone.