Why Start Seeds Indoors
Starting seeds indoors gives you a significant advantage in gardening, letting you jump-start your growing season weeks before outdoor planting is possible. By nurturing seedlings inside, you control their early environment, choose specific varieties not available as local transplants, and save considerable money compared to buying mature plants from nurseries.
Indoor seed starting is especially powerful for vegetable gardeners in cooler climates. Plants like tomatoes, peppers, and eggplants need a long, warm growing season that simply doesn't exist in zones 3-6 without an early indoor start. By beginning seeds 6-8 weeks before your area's last frost date, you're essentially extending your growing season by creating a protected microclimate inside your home.
The process might seem intimidating at first, but it's straightforward once you understand the basic principles. You'll need just a few key supplies, some basic knowledge about light and temperature, and a bit of patience. Whether you're a first-time gardener or looking to expand your growing skills, indoor seed starting offers an accessible and rewarding way to connect with your food and flowers from the very beginning of their life cycle.
When to Start Seeds
Seed starting timing depends critically on your specific growing zone and each plant's individual requirements. For gardeners in cold zones (3-5), you'll want to start seeds much earlier than those in warmer regions. Generally, most vegetable and flower seeds should be started 6-8 weeks before your expected last frost date.
In zone 3-4, where last frost can be as late as May 15, start seeds indoors in mid-March. Zones 5-6 can begin in early to mid-February. Warmer zones like 8-9 might start seeds as early as January or even December for some crops.
Different plants have different ideal start times: - Tomatoes: 6-8 weeks before last frost - Peppers: 8-10 weeks before last frost - Broccoli/Cabbage: 10-12 weeks before last frost - Eggplant: 8-10 weeks before last frost - Herbs: 4-6 weeks before last frost
Always check your specific seed packet for exact recommendations. Some seeds, like root vegetables and quick-growing crops, are best direct sown outdoors and don't benefit from an indoor start.
Pro tip: Create a simple spreadsheet tracking your seed start dates, expected transplant dates, and last frost date to stay organized.
Frost Dates by Zone
| Zone | Climate | Last Frost | First Frost |
|---|---|---|---|
| 3A | extremely cold | May 15 | Sep 15 |
| 3B | very cold | May 10 | Sep 20 |
| 4A | cold | May 10 | Sep 20 |
| 4B | cold | May 5 | Sep 25 |
| 5A | cool | May 1 | Oct 1 |
| 5B | cool | Apr 25 | Oct 5 |
| 6A | moderate | Apr 20 | Oct 10 |
| 6B | moderate | Apr 15 | Oct 15 |
| 7A | mild | Apr 10 | Oct 20 |
| 7B | mild | Apr 1 | Oct 25 |
| 8A | warm | Mar 20 | Nov 1 |
| 8B | warm | Mar 10 | Nov 10 |
| 9A | hot | Feb 20 | Nov 20 |
| 9B | hot | Feb 10 | Dec 1 |
| 10A | tropical | Jan 30 | Dec 10 |
| 10B | tropical | Jan 15 | Dec 20 |
Supplies You Need
You'll need several key supplies for successful seed starting:
Containers: - Seed starting trays with individual cells - Biodegradable peat pots - Recycled containers like yogurt cups (drill drainage holes) - Recommended size: 2-3 inches deep with drainage holes
Growing Medium: - Specifically formulated seed starting mix (NOT regular potting soil) - Sterile, fine-textured, lightweight - Brands like Jiffy or Miracle-Gro Seed Starting Mix work well - Avoid garden soil, which is too heavy and might contain pathogens
Lighting: - Full-spectrum LED grow lights - Adjustable height stands - Timer for consistent 14-16 hours of light daily - Position lights 2-3 inches above seedlings
Additional Essentials: - Heating mat for seed germination (especially in cool rooms) - Spray bottle for gentle watering - Small fan for air circulation - Plant labels and waterproof marker - Plastic humidity domes
Budget tip: While specialized equipment helps, you can start seeds successfully with basic, affordable supplies. Don't feel pressured to buy everything at once.
Setting Up Your Seed Starting Station
Choose a location with consistent temperatures between 65-75°F. A spare room, basement, or heated garage works perfectly. Avoid drafty windows or areas with temperature fluctuations that can stress young seedlings.
Your seed starting station should have: - Sturdy table or shelving unit - Adjustable grow lights - Power strip for equipment - Waterproof tray to catch potential spills - Space for trays to sit without crowding
Temperature is critical. Most seeds germinate best around 70°F. A seedling heat mat can help maintain consistent warmth, especially in cooler rooms. Place your heat mat under seed trays, but remove it once seeds sprout to prevent overheating.
Lighting is equally important. Seedlings need 14-16 hours of light daily. Position LED grow lights 2-3 inches above seedling trays, raising the lights as plants grow. Insufficient light causes leggy, weak plants that won't survive transplanting.
Ventilation prevents fungal diseases. Use a small fan on low setting to provide gentle air circulation, which strengthens stem development and reduces mold risk.
Pro tip: Cover your setup with a plastic drop cloth to create a mini greenhouse effect and maintain humidity.
How to Sow Seeds
When sowing seeds, follow these precise steps:
- Fill containers with moistened seed starting mix, leaving 1/2 inch space at top
- Check seed packet for specific planting depth (most seeds need 1/4 to 1/2 inch deep)
- Use tweezers or pencil to create precise holes
- Drop 2-3 seeds per cell (thin later)
- Gently press seeds into mix, don't bury deeply
- Mist with water using spray bottle
- Cover with humidity dome or clear plastic wrap
Germination times vary: - Tomatoes: 5-10 days - Peppers: 10-14 days - Broccoli: 3-10 days - Herbs: 5-14 days
Maintain consistent moisture using bottom watering or gentle misting. Avoid heavy streams that can displace tiny seeds.
Temperature matters: Most seeds germinate between 65-75°F. Use a heating mat if your room is cooler.
Key tip: Label everything immediately. Trust me, seedlings look identical when young!
Caring for Seedlings
Once seeds sprout, transition from germination to growing mode. Remove humidity domes gradually to prevent mold and encourage strong plant development.
Watering: - Keep soil consistently moist, not waterlogged - Use bottom watering or gentle misting - Water when top 1/4 inch of soil feels dry - Use room temperature water
Lighting: - Provide 14-16 hours of light daily - Keep grow lights 2-3 inches above seedlings - Adjust light height as plants grow - Use timer for consistent schedule
Fertilizing: - Wait until first true leaves appear - Use half-strength liquid fertilizer - Apply every 10-14 days - Choose balanced, water-soluble fertilizer
Thinning: - Remove weakest seedlings when 1-2 inches tall - Leave strongest plant per cell - Use scissors to cut, don't pull
Temperature: - Maintain 65-75°F during day - Slightly cooler at night (60-65°F) - Avoid drafts and cold spots
Pro tip: Gently run your hand over seedlings daily to encourage stronger stem development.
Common Seed Starting Mistakes
Most common seed starting mistakes involve:
Overwatering: - Causes damping off (fungal disease) - Leads to root rot - Use bottom watering - Allow soil surface to dry between waterings
Poor Lighting: - Causes leggy, weak plants - Seedlings stretch toward light - Use full-spectrum LED grow lights - Keep lights 2-3 inches from plants - Provide 14-16 hours daily
Wrong Timing: - Starting too early/late impacts transplant success - Follow your zone's last frost date - Check specific crop recommendations - Create a seed starting calendar
Temperature Issues: - Too cold: Seeds won't germinate - Too hot: Reduces germination rates - Use heating mats - Maintain 65-75°F - Avoid drafty areas
Overcrowding: - Reduces air circulation - Increases disease risk - Thin seedlings - Provide space between trays - Use fan for air movement
Bonus tip: Keep detailed records. Note germination rates, timing, and plant performance to improve each year.
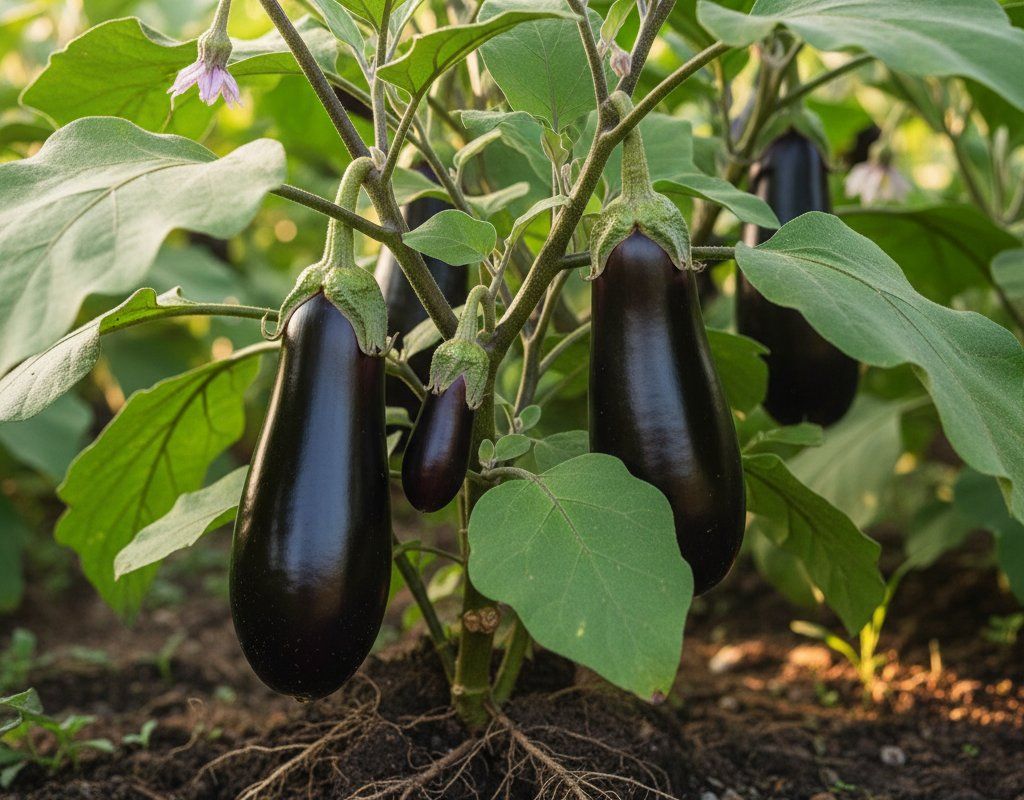
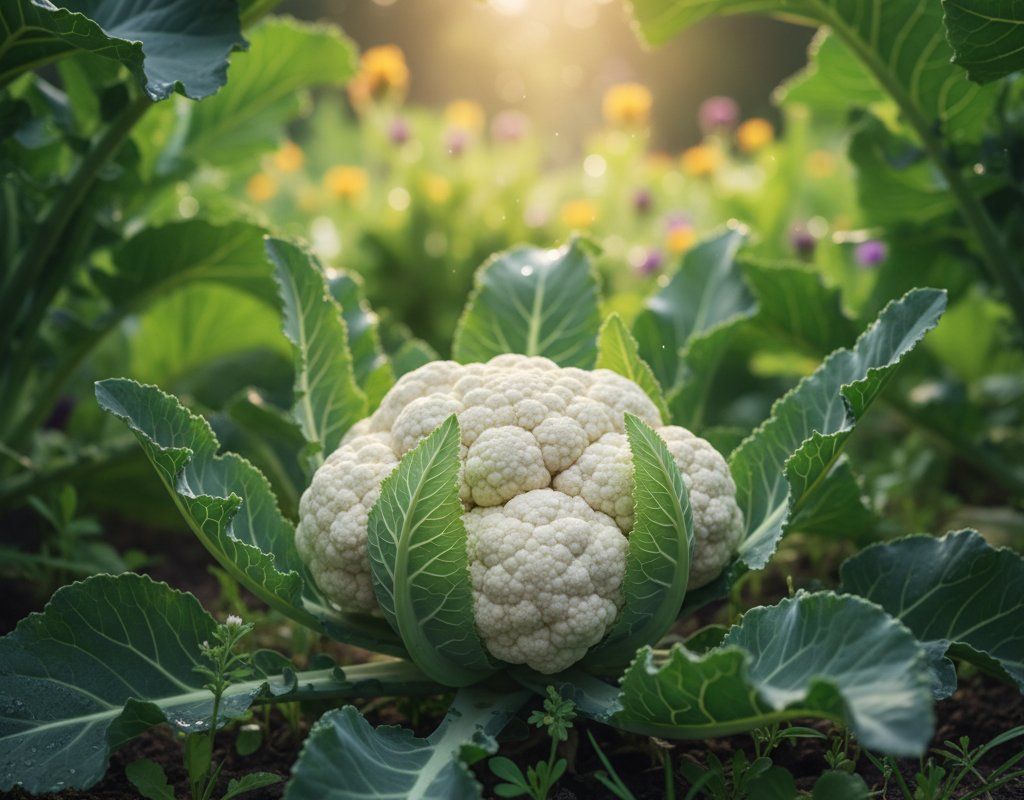
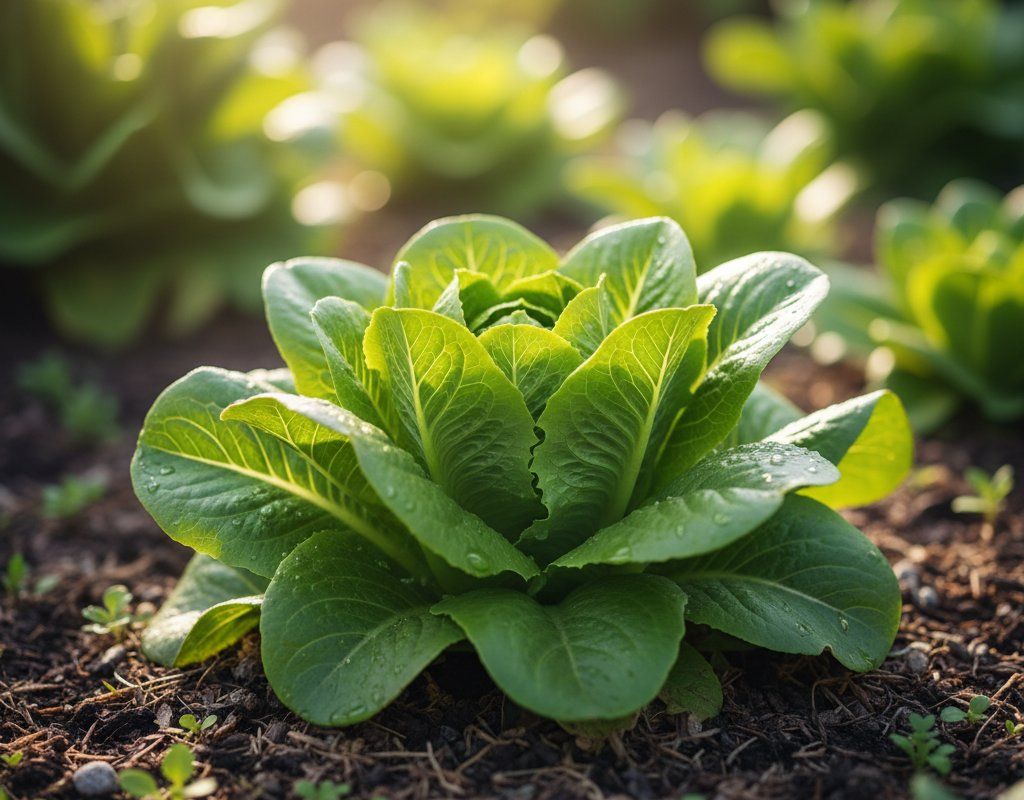
Related Plant Guides
Get zone-specific planting dates for these related vegetables.