Garlic in Zone 10A — Southern California
Allium sativum · Your Complete 2026 Planting Guide
Check Planting Details Below
See the full planting guide for timing information.
How to Plant Garlic in Zone 10A — Southern California
Here are all your options for getting garlic in the ground, from the easiest method to more advanced approaches.
Direct Sow Seeds
RecommendedDirect sowing is not typical for Garlic.
Plant cloves directly in fall, 4-6 weeks before ground freezes. Harvests the following summer.
Buy Starts
Works WellEarly April through early May
around April 10
Plant purchased starts after last frost (January 15).
Start Seeds Indoors
ChallengingThis plant is typically not started indoors.
Transplant Outdoors
Timing InfoEarly April through early May
around April 10
Can tolerate light frost, but wait for soil to be workable.
Plan to transplant within a few weeks of your target date.
Overview
Growing garlic in Southern California's Zone 10A offers the satisfaction of harvesting your own pungent, flavorful bulbs that put store-bought varieties to shame. With our year-round growing season and mild winters, you can plant garlic cloves in spring and enjoy a substantial harvest through the holidays. The long, warm growing period allows bulbs to develop complex flavors that grocery store garlic simply can't match.
While our hot, dry summers and occasional Santa Ana winds present challenges for this moisture-loving crop, proper timing and consistent watering make garlic completely manageable in our climate. With 349 days of growing season, you have the luxury of letting bulbs fully develop their characteristic bite and aroma. The key is understanding when to plant and how to manage water through our distinct seasonal patterns.
Transplanting Outdoors
Since garlic is grown from cloves rather than transplants, you'll be direct-sowing individual cloves into your garden beds during early April through early May. This timing takes advantage of our mild spring temperatures while ensuring bulbs have enough time to mature before our intense summer heat peaks. Plant cloves pointed end up, about 2 inches deep and spaced 4-6 inches apart in well-draining soil.
Choose your planting spot carefully, as garlic needs full sun but benefits from some afternoon protection during our hottest inland days. Morning sun is essential for proper bulb development, but a location that gets slight relief from the blazing 2-4 PM heat will help prevent stress. If you're gardening inland where temperatures regularly exceed 95°F, consider a spot with filtered afternoon light.
Prepare your soil with compost before planting, as garlic performs best in loose, fertile ground that drains well. Our clay soils can be challenging, so amending with compost or planting in raised beds ensures proper drainage during our winter rains while providing the rich soil garlic craves.
Watering Garlic in Zone 10A (Southern California)
Garlic requires consistent moisture throughout its long growing season, making water management crucial in our semi-arid climate. From planting through late fall, maintain steady soil moisture with about 1-1.5 inches of water per week, adjusting based on our variable rainfall patterns. During spring growth periods, garlic develops its root system and early foliage, requiring regular deep watering.
Check soil moisture with the finger test - stick your finger 2 inches deep near the plants. If it's dry at that depth, it's time to water. Water at the base of plants rather than overhead to prevent fungal issues, especially important given our low-to-moderate humidity levels. Deep, less frequent watering works better than daily light sprinkles, encouraging strong root development.
Summer watering becomes critical as temperatures climb and our rainfall drops to nearly zero. During peak heat periods, you may need to water twice weekly, always checking soil moisture first. The key is maintaining consistent moisture without waterlogging, as soggy soil leads to rot in our clay-heavy soils.
Stop watering completely 2-3 weeks before harvest when the lower third of leaves turn brown. This drying period allows bulbs to cure naturally in the ground and develop their papery outer skins. A 2-inch layer of mulch around plants helps retain moisture during the growing season while suppressing weeds that compete for water.
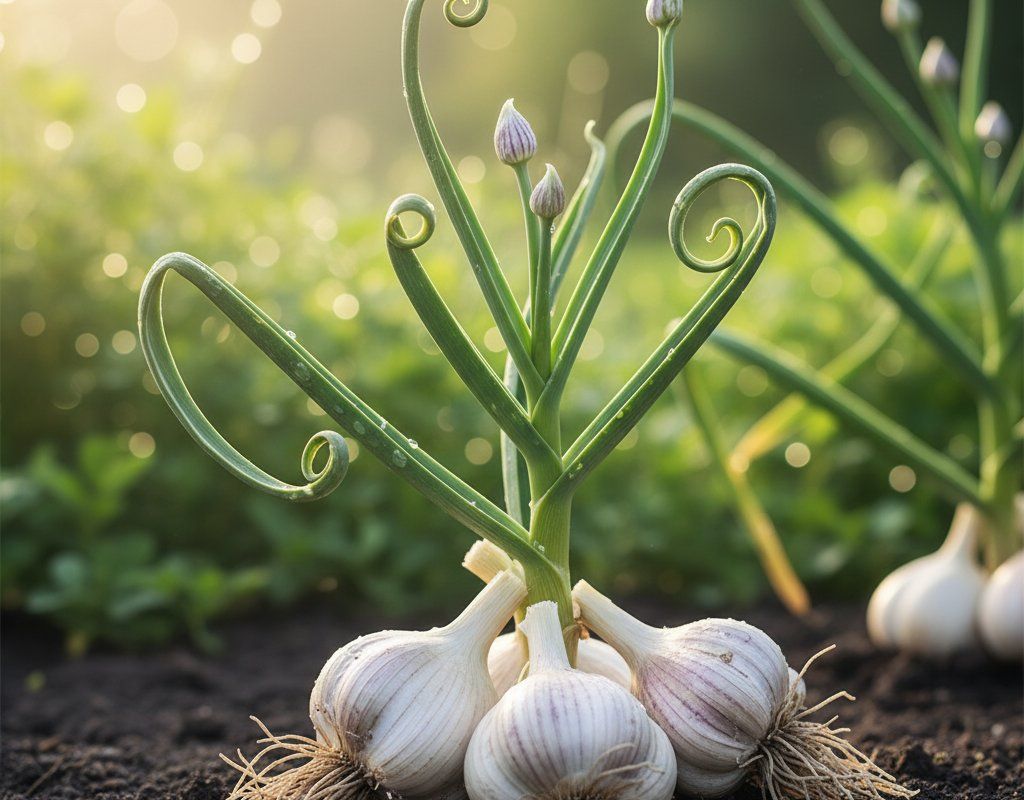
Pruning & Maintaining Garlic
Garlic requires minimal pruning, but hardneck varieties will send up flower stalks called scapes in late spring or early summer. Cut these curly stalks when they first appear, removing them completely to redirect the plant's energy into bulb development rather than flower production. These scapes are delicious - use them like green onions in stir-fries or pesto.
Keep the foliage intact throughout the growing season, as leaves manufacture the energy needed for bulb development. Even as lower leaves begin to yellow and die back in late fall, resist the urge to remove them unless they're completely brown and papery. The green upper leaves continue photosynthesis until harvest time.
As harvest approaches in early winter, you'll notice the lower third of leaves turning brown while upper leaves remain green - this is your cue that bulbs are nearly ready. Don't remove this dying foliage; it's part of the natural curing process that happens before our first frost around late December.
🧪Fertilizing Garlic
Feeding Schedule
Organic Fertilizer Options
Harvest Time
Your garlic will be ready for harvest from early December through mid-January, after approximately 240 days of growth. The key indicator is when the lower third of leaves have turned brown while the upper leaves remain green - this signals that bulbs have reached full size and begun their natural curing process. Don't wait until all foliage dies back, as bulbs may begin to separate or deteriorate in the ground.
Harvest by carefully digging bulbs with a fork or spade, working several inches away from the plants to avoid cutting into bulbs. Brush off excess soil but don't wash the bulbs - you want to preserve the papery outer skins that protect during storage. If you accidentally damage the skin, use those bulbs first as they won't store as long.
After harvesting, cure your garlic in a dry, well-ventilated area for 2-4 weeks. In Southern California's low humidity, this process happens relatively quickly. Hang bundles by their stems or lay them on screens in a garage or covered patio where air circulation is good but they're protected from rain.
With our first frost typically arriving around late December, you'll often be harvesting just before or during our coolest weather. This timing works perfectly, as the mild temperatures help prevent bulbs from drying out too quickly during the curing process.
Common Problems in Zone 10A (Southern California)
White Rot
White rot appears as yellowing leaves and a white, fluffy fungal growth around the base of bulbs, often with small black sclerotia (fungal resting bodies) mixed in. The distinctive onion-like smell becomes unpleasant and rotten. This soil-borne fungus thrives in our mild, moist winter conditions and can persist in soil for years. Once established, it's nearly impossible to eliminate from garden beds. Prevent white rot by ensuring excellent drainage, avoiding overhead watering, and rotating garlic to different garden areas each year. If you discover white rot, remove affected plants immediately and don't compost them.
Rust
Rust shows up as orange, yellow, or brown pustules on leaf surfaces, particularly undersides, followed by yellowing and premature leaf drop. This fungal disease spreads through wind-borne spores and flourishes when leaves stay wet combined with our warm temperatures. Our occasional winter rains followed by warm, humid days create perfect conditions for rust development. Remove affected leaves immediately, avoid overhead watering entirely, and improve air circulation around plants. Apply sulfur or copper fungicide if the problem persists, and never work among plants when foliage is wet from dew or irrigation.
Bulb Mites
Bulb mites are tiny, white, pearl-like creatures that feed on garlic bulbs both in the ground and during storage, creating brown, corky areas and eventual rot. These microscopic pests thrive in our warm soil conditions and can quickly destroy entire crops. You'll notice stunted growth, yellowing leaves, and soft, damaged bulbs at harvest. Prevent bulb mites by planting only healthy, firm cloves, ensuring good drainage, and avoiding overwatering. Remove any soft or damaged bulbs immediately, as mites spread rapidly between adjacent plants.
Southern California Specific Challenges
Our hot, dry summers combined with winter-wet patterns create unique challenges for garlic growers. The extended warm period can stress plants if water management isn't consistent, while our low-to-moderate humidity levels mean rapid soil drying. Santa Ana winds can dessicate plants quickly, requiring extra attention to soil moisture during wind events. However, our mild winters rarely freeze hard enough to damage bulbs, and our long growing season allows for full flavor development that makes the extra care worthwhile.
Best Companions for Garlic
Plant these nearby for healthier Garlic and better harvests.
Keep Away From
Companion Planting Details
Garlic makes an excellent companion for tomatoes, peppers, and brassicas in Southern California gardens, providing natural pest deterrence while thriving in similar growing conditions. Plant garlic around tomato and pepper plants to help repel aphids, spider mites, and other common pests that plague these crops during our long, warm growing season. The strong sulfur compounds in garlic create a natural barrier that many insects avoid, while the timing works perfectly since all these crops appreciate consistent water through our dry summers.
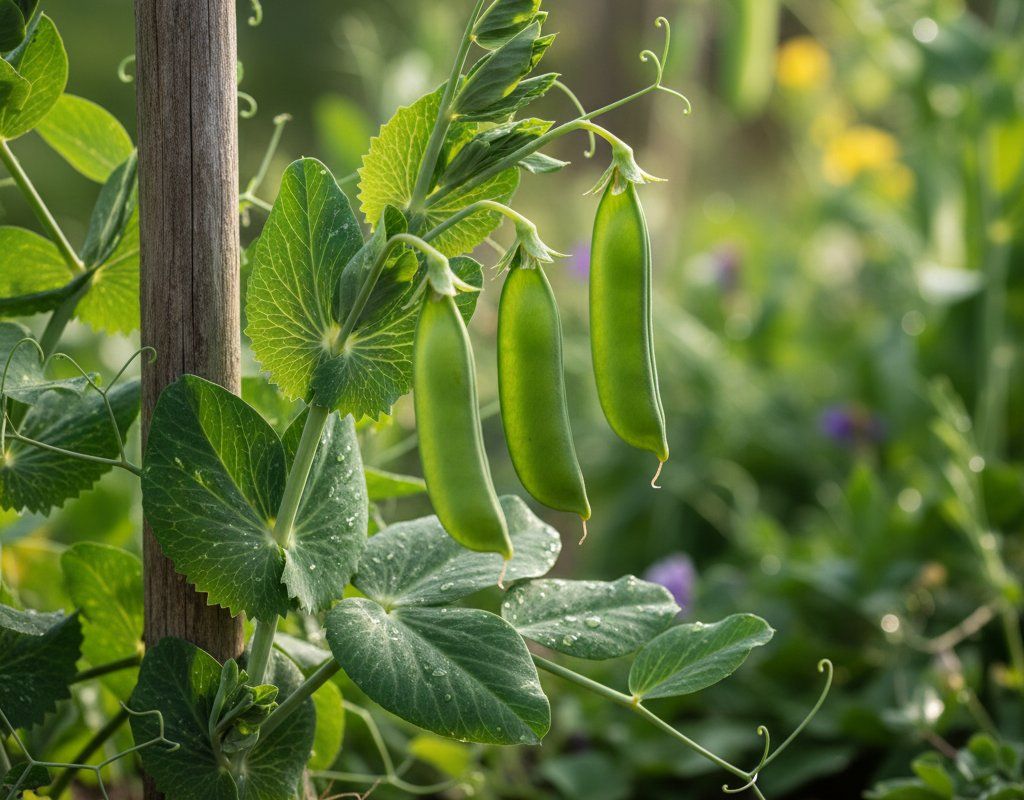
Brassicas like cabbage, broccoli, and kale also benefit from garlic's pest-repelling properties, particularly against cabbage worms and aphids that can be problematic during our mild winters when these cool-season crops are actively growing. Plant garlic cloves around rose bushes to help deter aphids and fungal diseases - the garlic's antimicrobial properties seem to create a healthier soil environment. Avoid planting garlic near beans and peas, as the sulfur compounds can inhibit the nitrogen-fixing bacteria these legumes depend on, reducing their productivity and potentially stunting both crops in our nutrient-demanding clay soils.
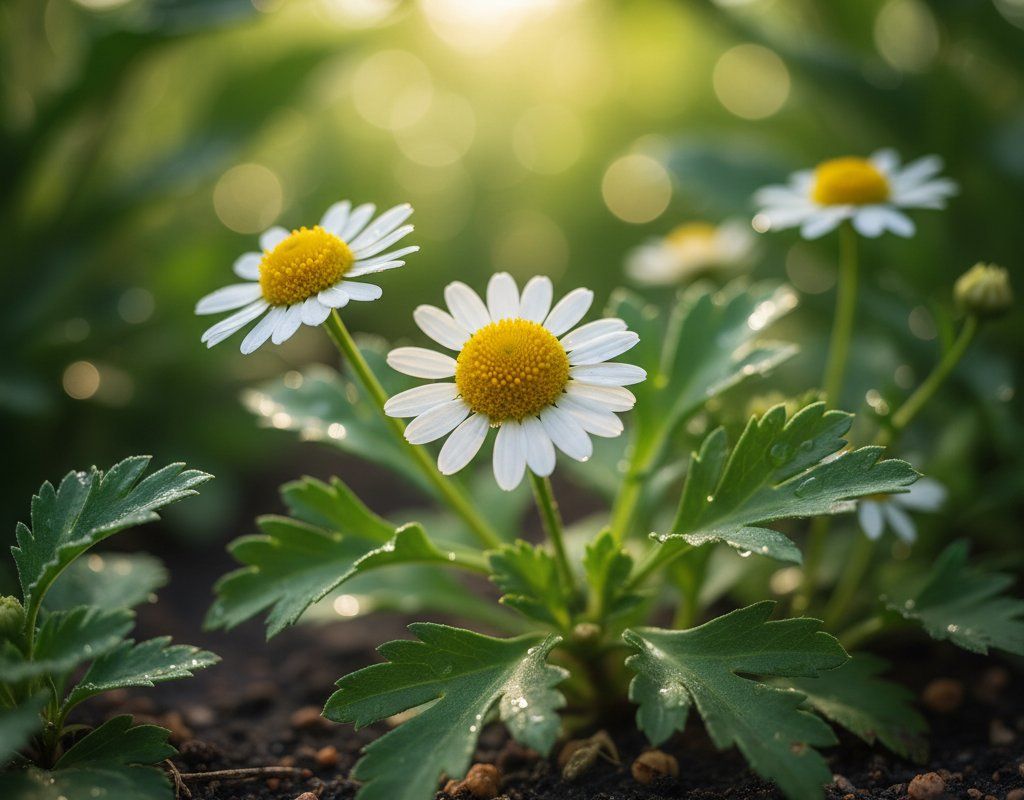
🌸Best Flowers to Plant with Garlic
These flowers protect your Garlic from pests and attract pollinators for better harvests.
For Pest Control
Get a Reminder When It's Time to Plant
We'll email you when key planting windows open for your zone.