Garlic in Zone 10B — Southern California
Allium sativum · Your Complete 2026 Planting Guide
Check Planting Details Below
See the full planting guide for timing information.
How to Plant Garlic in Zone 10B — Southern California
Here are all your options for getting garlic in the ground, from the easiest method to more advanced approaches.
Direct Sow Seeds
RecommendedDirect sowing is not typical for Garlic.
Plant cloves directly in fall, 4-6 weeks before ground freezes. Harvests the following summer.
Buy Starts
Works WellEarly to late April
around April 5
Plant purchased starts after last frost (January 10).
Start Seeds Indoors
ChallengingThis plant is typically not started indoors.
Transplant Outdoors
Timing InfoEarly to late April
around April 5
Can tolerate light frost, but wait for soil to be workable.
Plan to transplant within a few weeks of your target date.
Overview
Growing garlic in Southern California's Zone 10B gives you access to incredibly flavorful bulbs that put grocery store garlic to shame. The pungent, complex flavors you'll develop through our long, warm growing season make this one of the most rewarding crops for SoCal gardeners. You'll have homegrown garlic ready to harvest just as winter settles in, perfect timing for holiday cooking and preserving.
Our mild winters and 355-day growing season create ideal conditions for garlic's long maturation period. While the summer heat inland can be intense, garlic's growth cycle works perfectly with our seasonal patterns - growing through the cooler months and finishing just before our winter rains really kick in. The timing couldn't be better for water-wise gardening.
Transplanting Outdoors
Wait, let's back up - garlic isn't typically transplanted but rather planted directly from cloves. However, if you're starting with garlic transplants from a nursery, plant them outdoors from early to late April when the soil has warmed consistently. This timing gives your garlic the full growing season it needs to develop substantial bulbs.
Space your garlic plants 4-6 inches apart in rows, giving them room to develop their root systems without competing. If you're bringing transplants from indoors, harden them off gradually over a week with increasing outdoor exposure. Start with just a few hours of morning sun and work up to full day exposure.
Spring in Southern California can bring those sudden warm spells followed by cooler nights, so keep an eye on young transplants during their first two weeks. A light row cover can help if temperatures swing more than 20 degrees between day and night during establishment.
Watering Garlic in Zone 10B (Southern California)
Garlic needs consistent moisture through its active growing period, which is crucial in our semi-arid climate. During spring growth from April through early summer, water deeply once or twice per week, providing about 1 inch of water total. The finger test works perfectly - stick your finger 2 inches into the soil, and if it's dry at that depth, it's time to water.
Water at the base of your garlic plants rather than overhead to keep the foliage dry, which helps prevent fungal issues in our low-to-moderate humidity. This is especially important during our occasional spring warm spells when humidity can spike. Morning watering works best, giving plants time to dry before evening.
As summer heat builds inland and we hit those typical 92°F days, you may need to increase watering frequency slightly, but garlic doesn't want soggy conditions. Watch for signs of stress - yellowing lower leaves can indicate both under and overwatering, so use that finger test to distinguish between dry soil (needs water) and constantly moist soil (back off watering).
Stop watering completely 2-3 weeks before harvest when you notice the lower third of leaves turning brown. This allows the bulbs to cure naturally in the ground. A 2-inch layer of mulch around plants helps retain moisture during the growing season and keeps soil temperatures more stable during our hot inland summers.
Pruning & Maintaining Garlic
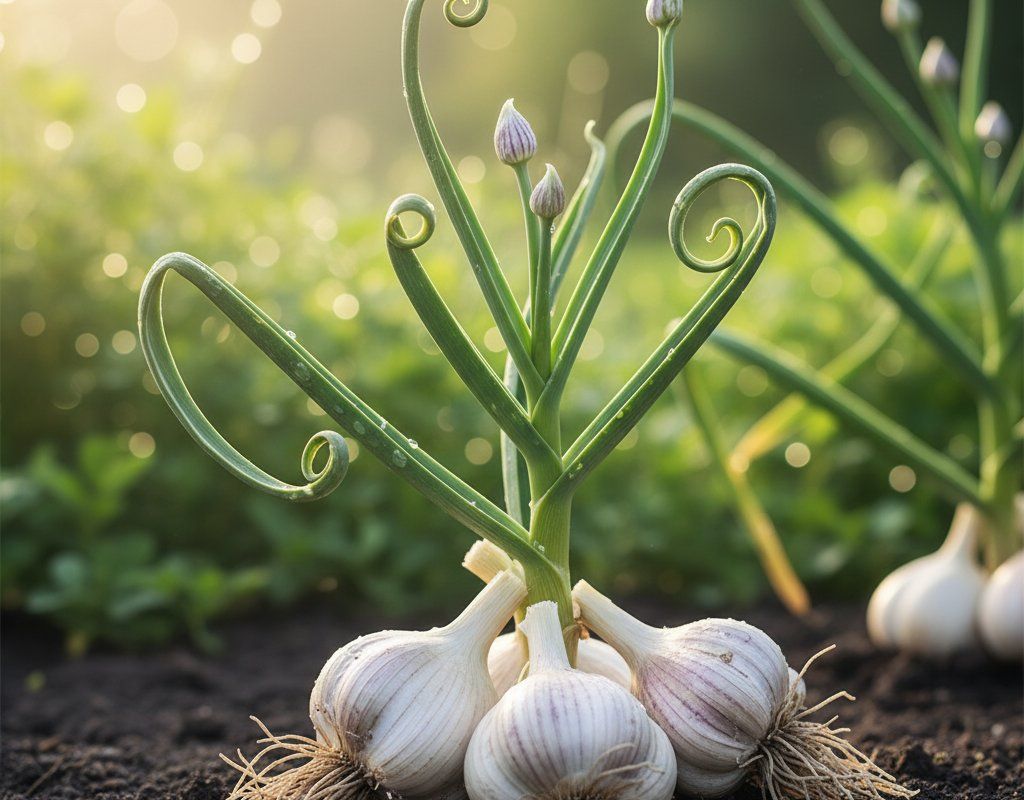
Garlic requires minimal pruning, but there's one important task that significantly improves your harvest. On hardneck varieties, watch for scapes - those curly flower stalks that emerge in late spring. Cut these off as soon as you notice them forming, which redirects the plant's energy into developing larger, more flavorful bulbs rather than producing flowers.
Those scapes you remove aren't waste - they're actually delicious in stir-fries, pesto, or grilled as a mild garlic-flavored vegetable. Harvest them when they're still tender and haven't fully straightened out yet.
Leave the foliage alone otherwise, as those leaves are busy photosynthesizing and feeding the developing bulb below ground. Even as lower leaves begin browning in late fall, resist the urge to remove them until harvest time approaches. With our first frost typically arriving around late December, you'll have plenty of time to let the plant complete its natural cycle.
🧪Fertilizing Garlic
Feeding Schedule
Organic Fertilizer Options
Harvest Time
Your garlic will be ready for harvest from early December through mid-January, right around 240 days after planting. The key indicator is when the lower third of the leaves have turned brown while the upper leaves remain green - this signals the bulb has fully developed but hasn't started deteriorating in the soil.
Don't wait for all the leaves to brown, as this means you've waited too long and the bulb may have started to separate or rot. Carefully dig up a test bulb to check development - you should see a papery outer skin and well-formed cloves inside.
Harvest on a dry day by gently loosening the soil around each bulb with a fork, then lifting the entire plant by grasping the stem just above the bulb. Brush off excess soil but don't wash the bulbs - you want them to cure with their protective skins intact.
With our first frost approaching around late December, timing your harvest becomes important. If you're running close to frost dates, prioritize harvesting your garlic since even light frost can damage the outer wrapper leaves you need for proper curing. After harvest, cure your garlic in a dry, well-ventilated area for 2-4 weeks before storing.
Common Problems in Zone 10B (Southern California)
White Rot This soil-borne fungal disease shows up as yellowing leaves starting from the tips, eventually progressing to the entire plant wilting. You'll notice a white, fluffy growth at the base of the bulb, often with small black dots (sclerotia) mixed in. The bulbs develop a soft rot and become unusable. White rot thrives in cool, moist conditions and can persist in soil for years. Prevent this by ensuring good drainage, rotating your garlic to different beds each year, and avoiding overwatering. There's no cure once it appears, so remove affected plants immediately and don't compost them.
Rust Look for rusty orange, yellow, or brown pustules appearing on leaf surfaces, typically starting on the undersides. Leaves begin yellowing from the tips and drop prematurely, reducing the plant's ability to feed the developing bulb. Various rust fungi cause this problem, spreading through wind-borne spores that love warm conditions with moisture on the leaves. Remove affected leaves immediately, avoid overhead watering, and ensure good air circulation between plants. Copper or sulfur-based fungicides can help if applied early, and never work among your garlic when the plants are wet from dew or irrigation.
Bulb Mites These tiny pests feed on garlic bulbs both in the ground and in storage, creating brown, corky areas that eventually become soft and rotten. You might notice stunted growth above ground and find small, white, pearl-like mites if you examine damaged bulbs closely. These mites thrive in warm, humid conditions and often enter through wounds in the bulb. Practice crop rotation, ensure good soil drainage, and handle bulbs gently during harvest to prevent entry points. Destroy any affected bulbs and don't save them for replanting.
Southern California Specific Challenges: Our hot summers inland combined with low-to-moderate humidity create perfect conditions for certain fungal issues, especially when gardeners overwater to compensate for heat. The winter-wet pattern means most diseases develop during our cooler growing months rather than summer, making good drainage and air circulation especially critical during garlic's active growing period.
Best Companions for Garlic
Plant these nearby for healthier Garlic and better harvests.
Keep Away From
Companion Planting Details
Plant garlic alongside tomatoes and peppers - the garlic's natural sulfur compounds help repel aphids and other soft-bodied insects that commonly attack these warm-season crops in our long Southern California growing season. Brassicas like broccoli, cabbage, and kale also benefit from garlic's pest-deterrent properties, and their growing seasons align well since they're all cool-season crops here.
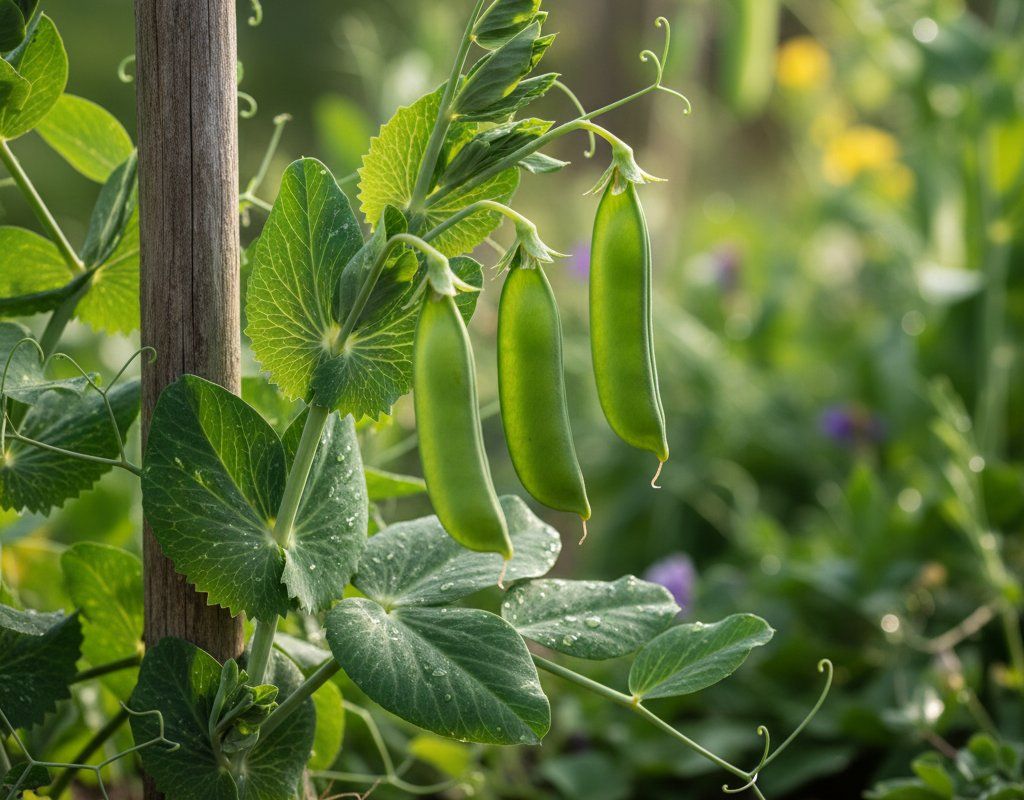
Roses make excellent garlic companions too, as garlic helps ward off aphids and may reduce fungal problems that can plague roses in our sometimes humid spring weather. Avoid planting garlic near beans or peas, as garlic can inhibit their nitrogen-fixing ability and stunt their growth - particularly problematic since these legumes are valuable for improving our often clay-heavy SoCal soils.
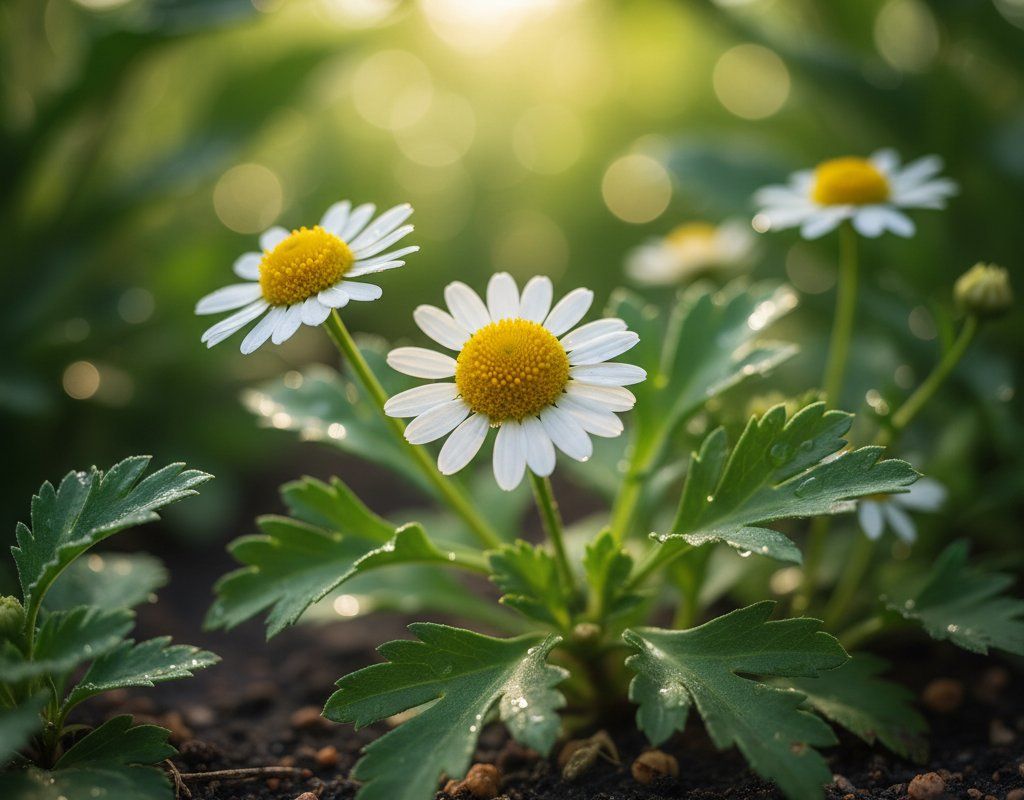
🌸Best Flowers to Plant with Garlic
These flowers protect your Garlic from pests and attract pollinators for better harvests.
For Pest Control
Get a Reminder When It's Time to Plant
We'll email you when key planting windows open for your zone.