Peas in Zone 7B — Southeast
Pisum sativum · Your Complete 2026 Planting Guide
Still Time to Sow!
The sowing window is still open for Peas.
Sow Seeds Soon
Peas prefer cool soil and don't transplant well. Direct sow in early spring.
How to Plant Peas in Zone 7B — Southeast
Here are all your options for getting peas in the ground, from the easiest method to more advanced approaches.
Direct Sow Seeds
RecommendedEarly February through late August
around February 6
Consider succession planting every 2-3 weeks for continuous harvest.
Peas prefer cool soil and don't transplant well. Direct sow in early spring.
Buy Starts
Works WellMid February through mid March
around February 20
Plant purchased starts after last frost (March 20).
Start Seeds Indoors
ChallengingThis plant is typically not started indoors.
Transplant Outdoors
Timing InfoMid February through mid March
around February 20
Can tolerate light frost, but wait for soil to be workable.
You have a nice window — no need to rush.
Fall Planting
Late August through late September
September 8 ideal · Direct sow for fall harvest
Plant a second crop in mid-summer for fall harvest. Peas actually prefers the cooling temperatures of fall.
Overview
Peas are one of the best cool-season crops for our Southeast gardens, thriving in those sweet spots of spring and fall when the humidity drops and temperatures stay mild. You'll get incredibly sweet, crisp pods that put grocery store peas to shame, plus they're nitrogen-fixers that actually improve your soil while they grow. With our long growing season and reliable spring rains, you can often get two solid harvests before the summer heat kicks in.
Our hot and humid summers mean timing is everything with peas, but don't let that intimidate you. With a 235-day growing season, you have plenty of flexibility to work around the heat. Plant early in spring while clay soil is still cool, then again in late summer for a fall harvest that often produces better than spring crops.
Transplanting Outdoors
While peas can be transplanted, it's not the preferred method since they don't handle root disturbance well. If you do choose to transplant, start seeds indoors only 2-3 weeks before your transplant window from mid-February through mid-March. Use biodegradable pots to minimize root disruption when planting out.
Harden off transplants gradually over a week, starting with just an hour outdoors and building up daily exposure. Our Southeast weather can swing dramatically in late winter, so watch for those warm spells followed by sudden cold snaps. Space transplants 2-4 inches apart and water gently to help establish roots.
The main advantage of transplanting is getting a jump start on the season, but honestly, direct-sown peas usually catch up quickly and often outperform transplants once our spring rains start.
Direct Sowing
Direct sowing is absolutely the way to go with peas in our region. You can start sowing as early as early February when soil temperatures reach 45°F, continuing through late August for succession plantings. Peas actually prefer cool soil and will germinate better in February's chill than in warm spring weather.
Work your clay soil well and add compost if it's compacted, but don't worry about warming the soil like you would for warm-season crops. Peas thrive in cool conditions and will sulk in hot weather. Plant seeds 1-2 inches deep and space them 2-4 inches apart. In our heavy clay, planting slightly shallower helps prevent seeds from rotting before they germinate.
For best results, soak seeds overnight before planting and consider inoculating with rhizobia bacteria to boost nitrogen fixation. Our reliable spring moisture means you won't need to water much initially, but keep an eye on germination during dry spells.
Watering Peas in Zone 7B (Southeast)
Peas need consistent moisture but can't tolerate waterlogged conditions, which makes managing irrigation in our wet-summer climate a bit tricky. During spring growing season, aim for about 1 inch of water per week, including rainfall. Use the finger test - stick your finger 2 inches into the soil near the plants, and water if it feels dry.
Our humid conditions mean you should always water at the base of plants rather than overhead. Wet foliage combined with humidity creates perfect conditions for fungal diseases like powdery mildew. Soaker hoses or drip irrigation work beautifully for peas, delivering water directly to roots while keeping leaves dry.
Watch your plants closely during flowering and pod development - this is when they need the most consistent moisture. If peas experience drought stress during flowering, you'll get poor pod set and tough, starchy peas. Conversely, overwatering in our clay soil leads to yellowing leaves and root rot.
A 2-inch layer of organic mulch helps maintain even moisture and keeps roots cool, which is especially important as temperatures climb toward summer. Straw or shredded leaves work well and won't retain as much moisture as heavier mulches that might promote fungal problems in our humid climate.
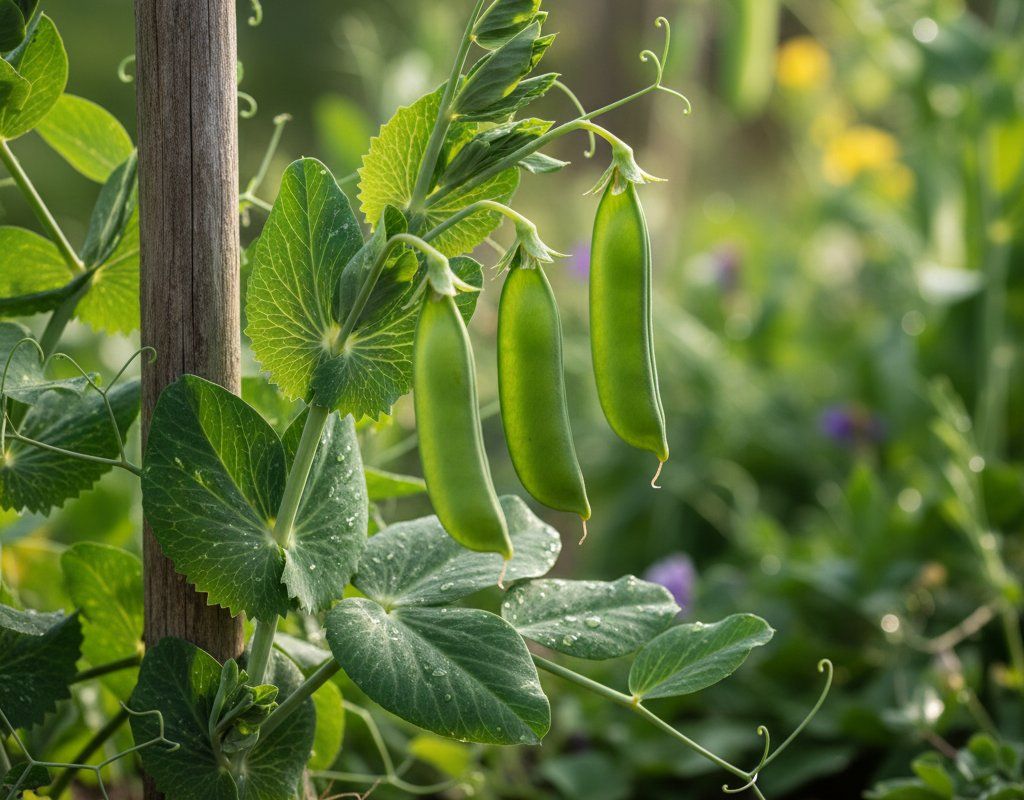
Supporting Your Peas
Even bush varieties of peas benefit from some support, and vining types absolutely need it to produce well. Install trellises, stakes, or pea brush at planting time to avoid disturbing roots later. A simple fence made from chicken wire or welded wire mesh works perfectly, or you can use bamboo poles with string strung between them.
For tall varieties, plan for supports 4-6 feet high. Shorter bush types do fine with 2-3 foot supports. Peas have delicate tendrils that grab onto supports naturally, but you may need to gently guide young plants toward their support initially.
Our afternoon thunderstorms can knock down unsupported plants, so sturdy support pays off. The added air circulation around supported plants also helps prevent disease issues in our humid climate.
🧪Fertilizing Peas
Feeding Schedule
Organic Fertilizer Options
Harvest Time
You can expect your first harvest about 60 days from sowing, which means early spring plantings started in early February will be ready in early April. Fall plantings sown in late August should produce through mid-November, often right up until our first frost in early November.
For shell peas, harvest when pods are plump and you can see the round outline of peas inside, but before pods start turning yellow or getting tough. Pick daily during peak season - peas left on the plant too long become starchy and tough, plus regular harvesting encourages more production.
Harvest in the morning when pods are crisp and full of moisture. Hold the vine with one hand and pick pods with the other to avoid pulling plants out of the ground. Our clay soil holds roots firmly, but the plants themselves are delicate.
As fall approaches and you know frost is coming, harvest all remaining pods regardless of size. Young pods can be eaten whole like snow peas, and even overmature peas can be shelled and used in soups. The plants will die with the first frost, so gather everything you can before early November.
Common Problems in Zone 7B (Southeast)
Powdery Mildew This shows up as white or grayish powdery coating on leaves, stems, and pods. Leaves start curling, yellowing, and eventually dying, which severely reduces your harvest. Unlike many fungal diseases, powdery mildew actually thrives on dry leaf surfaces combined with our warm days and cool nights.
Our spring humidity creates perfect conditions for this disease. Improve air circulation by proper spacing and remove affected leaves immediately. Spray with neem oil or try the surprisingly effective milk spray (1 part milk to 9 parts water). Plant resistant varieties when possible.
Pea Aphids These small, soft-bodied green insects cluster on new growth, stems, and pods, causing leaves to curl and yellow. Heavy infestations can stunt plants and reduce pod production. They're particularly problematic during our warm spring weather.
Encourage beneficial insects like ladybugs and lacewings, or spray off light infestations with water. For heavier problems, insecticidal soap works well. Reflective mulch around plants can help confuse aphids.
Root Rot Plants with root rot show yellowing leaves, stunted growth, and may wilt even when soil is moist. Roots appear brown or black and mushy. This is common in our clay soil when it stays waterlogged, especially during heavy spring rains.
Improve drainage by adding compost and avoid overwatering. Plant in raised beds if your clay doesn't drain well. Once root rot sets in, there's no cure - remove affected plants to prevent spread.
Southeast Specific Challenges: Our combination of clay soil, high humidity, and afternoon thunderstorms creates challenging conditions for peas. The key is timing plantings for cooler weather, ensuring good drainage, and maintaining air circulation to prevent disease issues.
Best Companions for Peas
Plant these nearby for healthier Peas and better harvests.

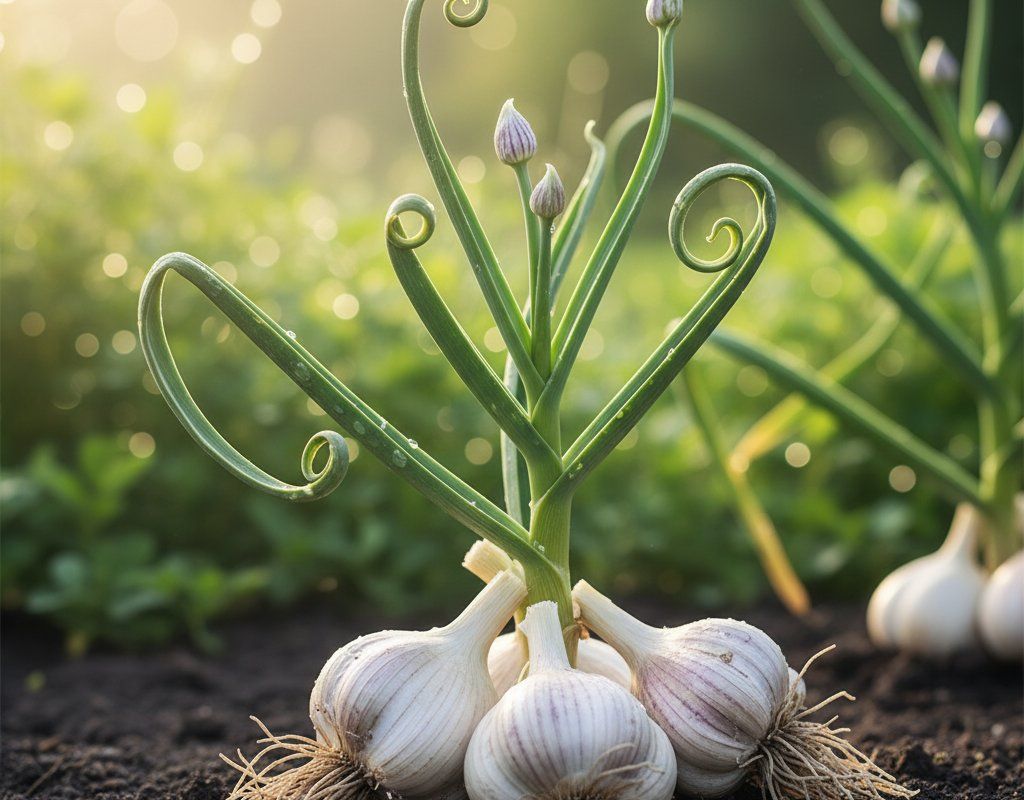
Keep Away From
Companion Planting Details
Carrots and radishes make excellent companions for peas because they help break up clay soil with their taproots, improving drainage around pea roots. The quick-growing radishes also mark your pea rows and can be harvested before peas need the space. Turnips work similarly and thrive in the same cool conditions peas prefer.
Corn planted after peas can benefit from the nitrogen peas fix in the soil, making this a classic succession planting. However, avoid planting onions and garlic near peas - these alliums can actually inhibit pea growth and nitrogen fixation. In our humid climate, good companion choices also help with air circulation and reduce disease pressure.
🌸Best Flowers to Plant with Peas
These flowers protect your Peas from pests and attract pollinators for better harvests.
For Pest Control
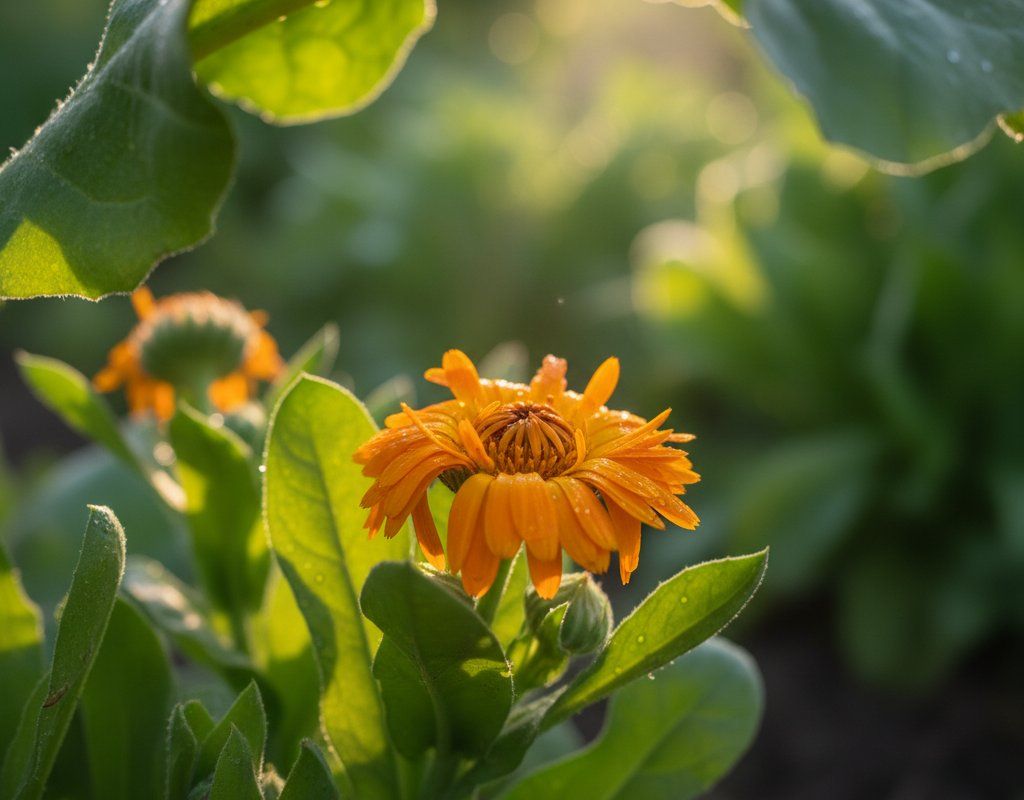
For Pollinators

Get a Reminder When It's Time to Plant
We'll email you when key planting windows open for your zone.