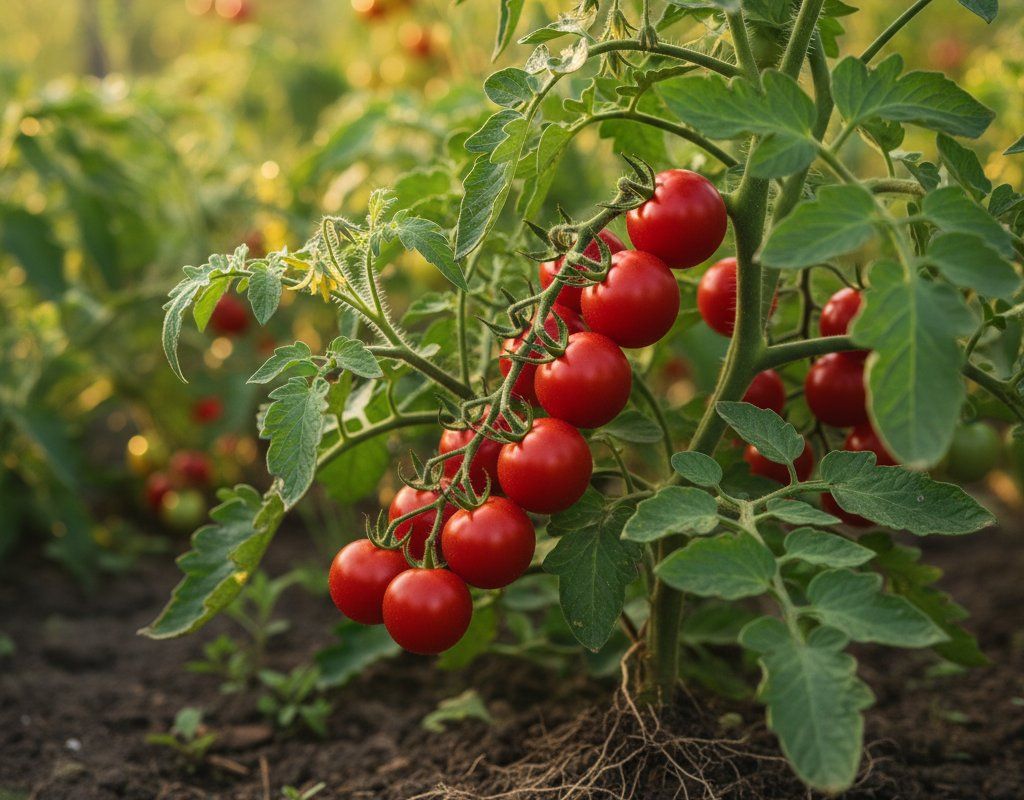
Cherry Tomatoes in Zone 4A — Northeast
Solanum lycopersicum var. cerasiforme · Your Complete 2026 Planting Guide
Planning Ahead — Great!
You’re ahead of the season. Here’s when to start.
Mark Your Calendar
How to Plant Cherry Tomatoes in Zone 4A — Northeast
Here are all your options for getting cherry tomatoes in the ground, from the easiest method to more advanced approaches.
Start Seeds Indoors
RecommendedEarly April through early May
around April 17
Then transplant: Late May through late June
Start seeds 6-8 weeks before transplanting outdoors.
Buy Starts
Works WellLate May through late June
around May 29
Plant purchased starts after last frost (May 15).
Direct Sow Seeds
ChallengingDirect sowing is not typical for Cherry Tomatoes.
Transplant Outdoors
Timing InfoLate May through late June
around May 29
Wait until nighttime temperatures stay above 50°F.
You have a nice window — no need to rush.
Overview
Cherry tomatoes are perfect for our Northeast gardens, delivering sweet, concentrated flavor that makes every bite worth our short but productive 128-day growing season. These prolific plants produce clusters of bite-sized gems from late summer right up to frost, giving you continuous harvests when larger tomatoes might still be ripening. The cool nights we get here actually concentrate the sugars, making our cherry tomatoes exceptionally sweet compared to those grown in hotter climates.
Yes, our late springs and early fall frosts create challenges, but cherry tomatoes are actually ideal for Zone 4A because they mature quickly and produce heavily once established. With indoor starting in early spring and proper timing, you'll have plants ready to make the most of our brief but intense summer growing period.
Starting Seeds Indoors
Start your cherry tomato seeds indoors during early April through early May, about 6 weeks before you plan to transplant them outside. Since our Northeast springs arrive late and stay cool, indoor starting is essential for getting a good harvest before fall frost hits in mid-September.
Set up seed trays with quality seed-starting mix in a warm location (65-75°F works well). Seeds need consistent warmth to germinate, so consider placing trays on top of the refrigerator or using a heat mat. Once seedlings emerge, move them to your brightest south-facing window or under grow lights for 12-14 hours daily.
Use bottom watering by placing seed trays in shallow pans of water rather than watering from above. This prevents damping-off disease and keeps the soil evenly moist without disturbing tiny seedlings. The moderate humidity we get here in spring actually helps prevent the soil from drying out too quickly.
Transplanting Outdoors
Transplant your seedlings outdoors from late May through late June, after all danger of frost has passed and nighttime temperatures consistently stay above 50°F. Our last frost typically occurs around mid-May, but those sneaky late-season cold snaps can still surprise us, so don't rush.
Harden off your seedlings gradually over 7-10 days before transplanting. Start by placing them outside for just a few hours in a protected spot, gradually increasing their outdoor time and exposure to direct sun and wind. This process is especially important in our region since indoor-grown plants aren't used to the temperature swings and cool nights we experience.
Space plants 24-36 inches apart to ensure good air circulation, which helps prevent fungal diseases in our moderate-to-humid summer climate. Choose a full-sun location that gets 6-8 hours of direct sunlight daily. If you're dealing with rocky New England soil, work in compost or aged manure to improve drainage and fertility.
Watering Cherry Tomatoes in Zone 4A (Northeast)
Cherry tomatoes have high water needs and aren't drought tolerant, requiring about 1-2 inches of water per week including rainfall. Fortunately, our Northeast region typically receives 40-50 inches of rainfall annually with fairly even distribution, so you won't be constantly fighting drought like gardeners in drier climates.
The key is consistency rather than quantity. Use the finger test - stick your finger 2 inches deep into the soil near the base of the plant. If it feels dry at that depth, it's time to water deeply. Our moderate summer temperatures (typically peaking around 82°F) mean plants won't be stressed by extreme heat, but they still need steady moisture for proper fruit development.
Water at the base of plants rather than overhead, especially given our moderate-to-humid conditions. Overhead watering in humid weather can promote fungal diseases like early blight. A soaker hose or drip irrigation works perfectly, or simply direct your hose or watering can to the soil around each plant's base.
Watch for signs of water stress: wilting during the heat of the day indicates underwatering, while yellowing lower leaves might signal overwatering or poor drainage. Apply a 2-3 inch layer of organic mulch around plants to maintain even soil moisture and reduce the need for frequent watering.
Supporting Your Cherry Tomatoes
Install tall cages (at least 5-6 feet) or sturdy stakes at planting time since cherry tomatoes are vigorous indeterminate growers that will easily reach 6-8 feet in our climate. Don't wait until the plants get large - the root systems are surprisingly extensive and you'll damage them trying to install support later.
Cages work better than stakes for most gardeners because cherry tomatoes produce so many side branches loaded with fruit clusters. Choose heavy-duty cages or make your own from concrete reinforcing wire. If using stakes, opt for 6-8 foot tall posts and plan to tie the main stems every 12 inches as they grow.
Train the main stems up through the center of cages or tie them loosely to stakes using soft materials like cloth strips or plant ties. The vigorous growth habit means you'll be doing this weekly during peak growing season, but it prevents the weight of fruit clusters from breaking branches or toppling the entire plant.
Pruning & Maintaining Cherry Tomatoes
Remove suckers (shoots growing between main stems and branches) from the lower portion of the plant to improve air circulation and direct energy into fruit production. Cherry tomatoes can handle more suckers than larger varieties since their small fruits ripen quickly, but removing the bottom ones prevents overcrowding near soil level.
Focus on the lower 12-18 inches of the plant, pinching out suckers when they're small and easy to remove with your fingers. Leave the upper suckers alone unless the plant becomes extremely dense - those upper branches will produce plenty of fruit clusters without overwhelming the plant.
As we approach our mid-September frost dates, top the plants by pinching out the growing tips. This stops vertical growth and encourages the plant to ripen existing fruits rather than setting new ones that won't have time to mature. Remove any fruit clusters that are obviously too small to ripen before frost.
🧪Fertilizing Cherry Tomatoes
Feeding Schedule
Organic Fertilizer Options
Harvest Time
Expect your first harvest from late July through mid-September, about 60 days after transplanting. Cherry tomatoes are ready when they're fully colored and give slightly to gentle pressure. Many varieties will practically pop off the vine cluster with a light tug when perfectly ripe.
Harvest every 2-3 days during peak season since cherry tomatoes ripen quickly in clusters. Pick them at full color rather than waiting for them to soften completely on the vine - this encourages continued production and prevents overripe fruits from attracting pests or splitting from our occasional heavy summer rains.
The continuous harvest nature of cherry tomatoes means you'll be picking handfuls regularly from late summer through the first frost. Unlike larger tomatoes that ripen just a few at a time, cherry varieties often produce dozens of ripe fruits simultaneously, making them perfect for our shorter growing season.
As we approach mid-September and first frost threatens, harvest all remaining fruits regardless of ripeness. Green and partially ripe cherry tomatoes will continue ripening indoors on a sunny windowsill or in a paper bag with a ripe apple. This extends your harvest well into October even after garden season ends.
Common Problems in Zone 4A (Northeast)
Cracking appears as splits in the tomato skin - either concentric circles around the stem or radial lines radiating outward. These splits expose the flesh and can lead to rot, especially problematic during our humid summer weather. Heavy rain after a dry period causes fruit to absorb water faster than the skin can expand. Water consistently to avoid the dry/wet cycle that triggers cracking, and harvest promptly when fruits are ripe. Mulching helps maintain even moisture levels.
Blossom End Rot shows up as sunken, dark brown or black leathery patches on the bottom of fruits, often affecting the first tomatoes of the season. Despite our generally adequate rainfall, this calcium deficiency results from inconsistent watering that prevents proper nutrient uptake. The most effective fix is consistent watering - check soil moisture regularly and mulch heavily to maintain even conditions. Remove affected fruits since they won't recover.
Early Blight creates brown spots with distinctive concentric rings (bullseye pattern) on lower leaves first, then spreads upward as leaves yellow and drop. This fungal disease thrives in our moderate-to-humid summer conditions, spreading via soil splash during rain or overhead watering. Remove affected leaves immediately (don't compost them), mulch to prevent soil splash, and water at the base rather than overhead. Space plants properly for good air circulation.
Hornworms strip large sections of leaves overnight, leaving behind dark droppings. These large green caterpillars with white diagonal stripes can defoliate a plant quickly during our warm summer months. Handpick them in early morning (they don't bite) or spray with Bt (Bacillus thuringiensis) for organic control. If you find hornworms covered with small white cocoons, leave them alone - those are beneficial parasitic wasps that will kill the pest and produce more helpers.
Our Northeast climate of moderate heat, moderate-to-humid conditions, and even rainfall creates an environment where fungal diseases like early blight can develop, but the consistent moisture also helps prevent water-stress issues like blossom end rot if you maintain steady watering practices.
Best Companions for Cherry Tomatoes
Plant these nearby for healthier Cherry Tomatoes and better harvests.
View Full Companion Planting Chart →


Companion Planting Details
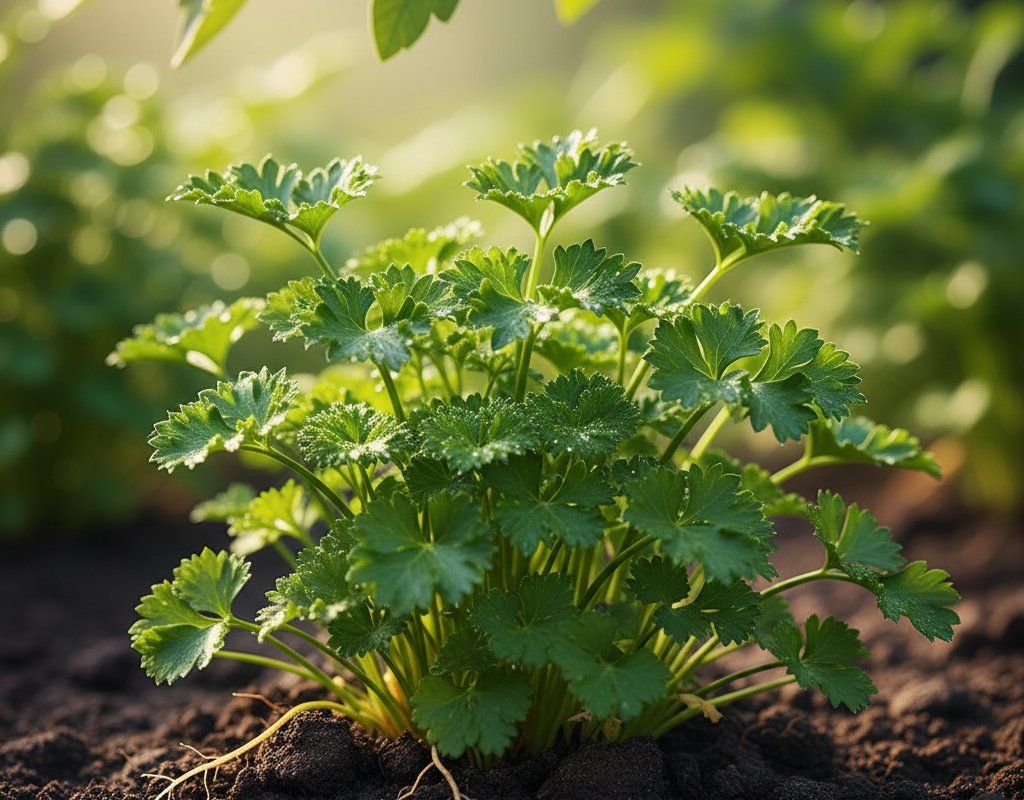
Basil makes an excellent companion for cherry tomatoes, potentially improving flavor while repelling aphids and other pests with its strong scent. Plant carrots nearby to make efficient use of space - their deep taproots don't compete with tomatoes' shallow feeder roots, and carrots actually help break up our often rocky Northeast soil. Parsley and marigolds also work well, with marigolds deterring nematodes and various flying pests while adding cheerful color to the garden.
Avoid planting brassicas (cabbage, broccoli, kale) near tomatoes since they can stunt each other's growth, and both crops are heavy feeders that will compete for nutrients in our shorter growing season. Skip fennel entirely - it releases compounds that inhibit tomato growth. Corn isn't ideal either since both crops attract similar pests like hornworms, and corn's height can shade tomatoes in our already light-limited northern latitude.
🌸Best Flowers to Plant with Cherry Tomatoes
These flowers protect your Cherry Tomatoes from pests and attract pollinators for better harvests.
For Pest Control








Get a Reminder When It's Time to Plant
We'll email you when key planting windows open for your zone.