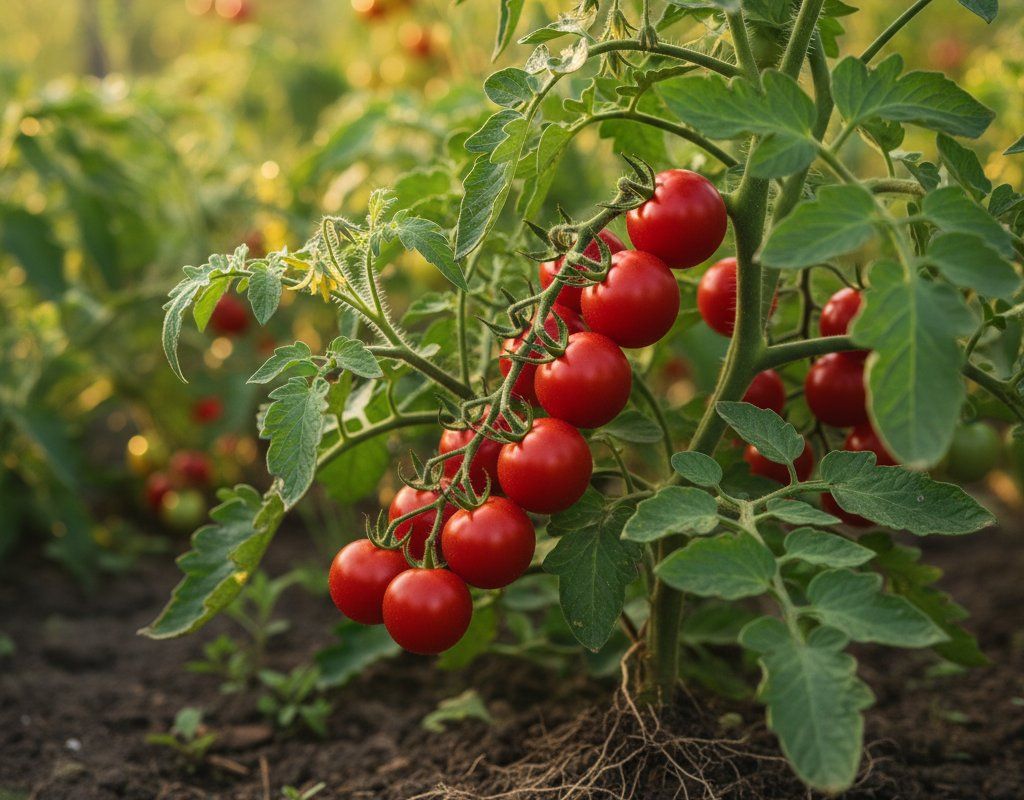
Cherry Tomatoes in Zone 6A — Mid-Atlantic
Solanum lycopersicum var. cerasiforme · Your Complete 2026 Planting Guide
Planning Ahead — Great!
You’re ahead of the season. Here’s when to start.
Mark Your Calendar
How to Plant Cherry Tomatoes in Zone 6A — Mid-Atlantic
Here are all your options for getting cherry tomatoes in the ground, from the easiest method to more advanced approaches.
Start Seeds Indoors
RecommendedMid March through early April
around March 18
Then transplant: Late April through late May
Start seeds 6-8 weeks before transplanting outdoors.
Buy Starts
Works WellLate April through late May
around April 29
Plant purchased starts after last frost (April 15).
Direct Sow Seeds
ChallengingDirect sowing is not typical for Cherry Tomatoes.
Transplant Outdoors
Timing InfoLate April through late May
around April 29
Wait until nighttime temperatures stay above 50°F.
You have a nice window — no need to rush.
Overview
Cherry tomatoes are absolutely perfect for our Mid-Atlantic growing season. With 188 days from last frost to first frost, you have plenty of time to grow these prolific little gems that deliver sweetness and satisfaction all summer long. Our reliable rainfall and humid summers create ideal conditions for cherry tomatoes, which produce continuously from late June through the first frost in mid-October.
While our variable spring weather and humid summers can challenge some crops, cherry tomatoes thrive in these conditions with proper timing. Starting seeds indoors gives you complete control over the early weeks, and by the time you transplant outdoors in late spring, our growing season is in full swing. The key is working with our climate patterns rather than fighting them.
Starting Seeds Indoors
Start your cherry tomato seeds indoors from mid-March through early April, about six weeks before your planned transplant date. This timing works perfectly with our moderate spring character—you'll have strong seedlings ready when the soil warms and the risk of late frost passes.
Set up seed trays with quality seed-starting mix and place them in a warm spot (70-75°F) with good light. A sunny south window works, but grow lights give more consistent results during our sometimes cloudy spring days. Bottom watering is your best approach—place the seed trays in a shallow pan of water and let the soil absorb moisture from below. This prevents the soil surface from staying too wet, which can cause damping-off.
Once seedlings emerge, they need at least 12-14 hours of light daily. Keep them slightly cooler (65-70°F) to prevent them from getting leggy. When the first true leaves appear, you can transplant them to larger containers if you started in small cells.
Transplanting Outdoors
Plan to transplant your cherry tomatoes outdoors from late April through late May, after our average last frost date passes. Watch the extended forecast carefully—even though mid-April marks our typical last frost, we can still get surprise cold snaps that will damage tender tomato plants.
Start hardening off your seedlings about a week before transplant day. Place them outside for a few hours in a protected spot, gradually increasing their outdoor time and sun exposure. Our spring weather can be quite variable, so bring them in if temperatures drop below 50°F or if we get those sudden spring storms.
Space your cherry tomatoes 24-36 inches apart to allow good air circulation in our humid climate. The wider spacing helps prevent fungal diseases that thrive in our moisture-rich summers. Plant them slightly deeper than they were in their containers—cherry tomatoes will develop additional roots along the buried stem, creating a stronger root system for the long growing season ahead.
Watering Cherry Tomatoes in Zone 6A (Mid-Atlantic)
Cherry tomatoes need consistent, deep watering to thrive in our Mid-Atlantic climate. Even though we receive 40-50 inches of rainfall annually, our humid summers with temperatures reaching 88°F create high water demands, especially for these high-producing plants. Plan to provide about 1-2 inches of water per week, including rainfall.
Use the finger test to check soil moisture—stick your finger 2 inches deep into the soil near the base of the plant. If it feels dry at that depth, it's time to water. In our humid climate, always water at the base of the plants rather than overhead. Overhead watering in humid conditions creates a perfect environment for fungal diseases like early blight.
Consistent moisture is absolutely critical for cherry tomatoes because they crack more easily than larger varieties when watering is inconsistent. A deep soaking twice a week works better than frequent shallow watering. Watch for signs of stress: wilting during the hottest part of the day (even with moist soil) is normal, but wilting in the morning or evening indicates water stress.
Apply a 2-3 inch layer of organic mulch around your plants to help maintain consistent soil moisture and reduce the frequency of watering. In our clay soils, mulch also helps prevent the soil from becoming waterlogged during heavy summer downpours, which can lead to root problems and blossom end rot.
Supporting Your Cherry Tomatoes
Cherry tomatoes are vigorous indeterminate growers that absolutely need strong support from the start. Install tall cages (at least 6 feet) or sturdy stakes at planting time—these plants will easily reach 6-8 feet tall in our long growing season and can become quite heavy once loaded with fruit.
Heavy-duty tomato cages work well, but make sure they're tall enough and firmly anchored. Our summer storms can be intense, and a cage that tips over with a full-grown plant is a disaster waiting to happen. If using stakes, choose 8-foot stakes driven 18 inches deep, and plan to tie the main stems every 12 inches as they grow.
Train the main stems upward and loosely tie them with soft material like cloth strips or tomato clips. Check your ties regularly as the stems thicken—tight ties can girdle the plant and restrict growth. Cherry tomatoes tend to have more branching than larger varieties, so you may need to train multiple main stems.
Pruning & Maintaining Cherry Tomatoes
Remove suckers (the shoots that grow between the main stem and branches) from the lower portion of the plant to improve air circulation—this is especially important in our humid climate where fungal diseases thrive. For cherry tomatoes, you can be less aggressive about upper suckers than with larger varieties since the small fruit ripens quickly.
Focus your pruning efforts on the bottom 12-18 inches of the plant. Remove any leaves or branches touching the ground, and continue removing lower growth throughout the season as the plant grows taller. This creates better airflow and reduces the chance of soil-borne diseases splashing onto the foliage during our frequent summer rains.
As we approach the first frost in mid-October, you can top the plants (pinch out the growing tips) to encourage the remaining fruit to ripen. About 4-6 weeks before expected frost, stop the upward growth so the plant puts its energy into ripening existing fruit rather than producing new flowers.
🧪Fertilizing Cherry Tomatoes
Feeding Schedule
Organic Fertilizer Options
Harvest Time
Your first cherry tomatoes will be ready from late June through mid-August, depending on when you transplanted and which varieties you chose. With our 188-day growing season, you'll have months of continuous harvest ahead—cherry tomatoes are among the most productive crops you can grow here.
Look for fruit that's fully colored and gives slightly to gentle pressure. Most cherry tomatoes will pop right off the vine cluster with a light tug when perfectly ripe. If you have to pull hard, give them another day or two. Harvest regularly—daily during peak season—to keep the plants producing new fruit.
The beauty of cherry tomatoes in our climate is their continuous production. Each plant can easily produce several pounds of fruit over the season. Pick them regularly even if you can't use them all immediately—overripe fruit left on the vine can attract insects and slow down new fruit production.
As the first frost approaches in mid-October, you can harvest green cherry tomatoes and ripen them indoors. They'll continue ripening on a countertop or in a paper bag with a ripe apple. You can also pull entire plants and hang them upside down in a cool, dry place to ripen the remaining fruit gradually.
Common Problems in Zone 6A (Mid-Atlantic)
Cracking appears as splits in the tomato skin, either in circles around the stem or as lines radiating outward from the stem. You'll often see this after heavy summer rains following a dry period. Cherry tomatoes are more prone to cracking than larger varieties because their skins are thinner. Prevent cracking with consistent watering—avoid the dry/wet cycle that causes fruit to absorb water faster than the skin can expand. Mulch heavily to maintain even soil moisture, and harvest promptly when ripe.
Blossom end rot shows up as sunken, dark brown or black leathery patches on the bottom of the fruit. Despite what it looks like, this isn't a disease—it's a calcium deficiency caused by inconsistent watering, which is especially problematic in our clay soils that can go from bone dry to waterlogged. The single most effective fix is consistent watering. Mulch heavily and avoid over-fertilizing with nitrogen, which can interfere with calcium uptake.
Early blight appears as brown spots with distinctive concentric rings (like a bullseye) on lower leaves first, then spreads upward. Our warm, humid summers create perfect conditions for this fungal disease. Remove affected leaves immediately and don't compost them. Mulch to prevent soil splash onto leaves, water at the base rather than overhead, and ensure good air circulation through proper spacing and pruning. Copper fungicide can help slow the spread.
Hornworms strip large sections of leaves overnight, leaving behind dark droppings. These large green caterpillars (up to 4 inches long) with white diagonal stripes can defoliate a plant quickly. Handpick them in the early morning or evening when they're easier to spot—they don't bite. If you see white cocoons on a hornworm, leave it alone; those are beneficial parasitic wasp eggs that will kill the hornworm and produce more wasps to help control future pests.
Our Mid-Atlantic climate's combination of humid conditions, variable spring weather, and clay soils creates specific challenges for cherry tomatoes. The humidity promotes fungal diseases, so focus on air circulation and base watering. Our clay soils can create drainage issues during heavy rains, making consistent moisture management critical for preventing both cracking and blossom end rot.
Best Companions for Cherry Tomatoes
Plant these nearby for healthier Cherry Tomatoes and better harvests.
View Full Companion Planting Chart →


Companion Planting Details
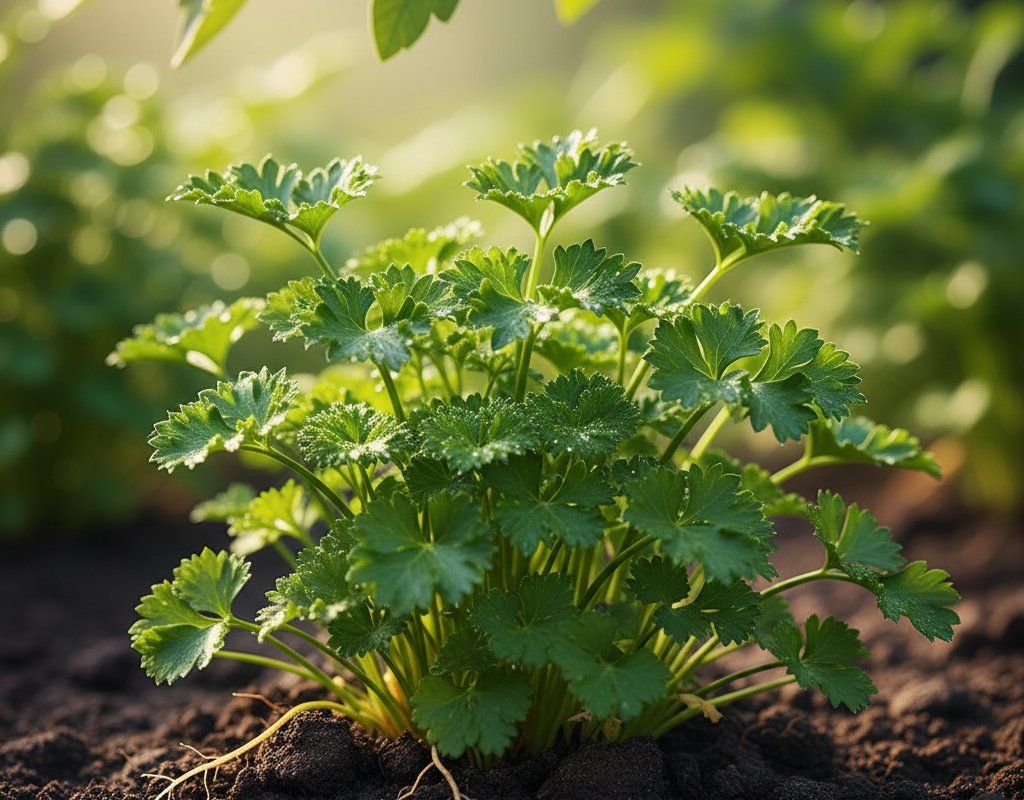
Plant basil near your cherry tomatoes—it naturally repels aphids and whiteflies while improving the flavor of your tomatoes. Carrots make excellent companions because their deep taproots break up clay soil without competing for space, and parsley planted nearby attracts beneficial insects that help control hornworms and other pests. Marigolds scattered throughout the tomato patch deter nematodes and add color while attracting pollinators.
Avoid planting brassicas (cabbage, broccoli, kale) near your tomatoes—they're heavy feeders that compete for the same nutrients and can stunt tomato growth. Keep fennel and corn away as well; fennel releases compounds that inhibit tomato growth, while corn attracts similar pests and creates too much shade for sun-loving cherry tomatoes in our sometimes cloudy Mid-Atlantic summers.
🌸Best Flowers to Plant with Cherry Tomatoes
These flowers protect your Cherry Tomatoes from pests and attract pollinators for better harvests.
For Pest Control








Get a Reminder When It's Time to Plant
We'll email you when key planting windows open for your zone.