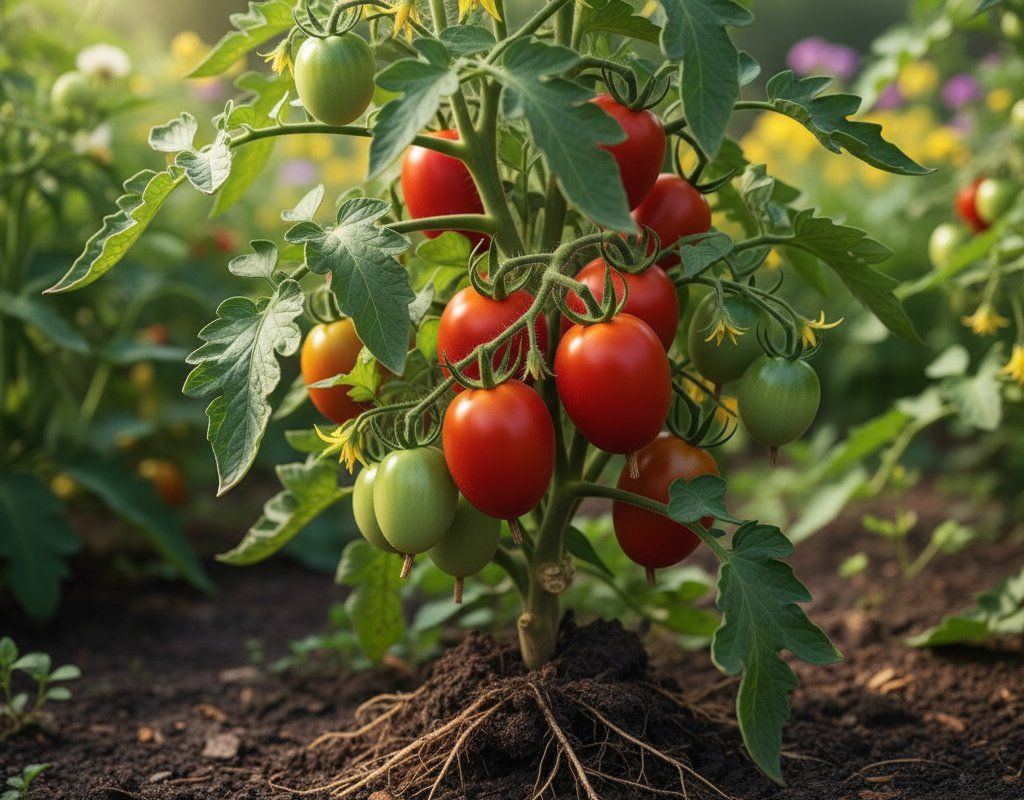
Roma Tomatoes in Zone 4A — Mountain West
Solanum lycopersicum · Your Complete 2026 Planting Guide
Planning Ahead — Great!
You’re ahead of the season. Here’s when to start.
Mark Your Calendar
How to Plant Roma Tomatoes in Zone 4A — Mountain West
Here are all your options for getting roma tomatoes in the ground, from the easiest method to more advanced approaches.
Start Seeds Indoors
RecommendedMid April through early May
around April 22
Then transplant: Early to mid June
Start seeds 6-8 weeks before transplanting outdoors.
Buy Starts
Works WellEarly to mid June
around June 3
Plant purchased starts after last frost (May 20).
Direct Sow Seeds
ChallengingDirect sowing is not typical for Roma Tomatoes.
Transplant Outdoors
Timing InfoEarly to mid June
around June 3
Wait until nighttime temperatures stay above 50°F.
Plan to transplant within a few weeks of your target date.
Overview
Roma tomatoes excel in our Mountain West climate, delivering meaty, paste-perfect fruit that transforms into exceptional sauces and preserves. These determinate plants concentrate their energy into a focused harvest window, making the most of our intense sun and cool nights that develop deep, complex flavors you simply can't get from store-bought varieties. The firm, low-moisture flesh handles our dry climate beautifully and processes into thick sauces without the watery results common in humid regions.
Our Zone 4A presents real challenges with cold nights even in summer and that short 118-day growing season, but Roma's determinate nature actually works in our favor here. While the timing window is tight, these plants produce their full crop in a concentrated burst rather than trickling along all season. Start them indoors in mid-spring, and you'll have bushel loads of processing tomatoes ready by late August.
Starting Seeds Indoors
Start your Roma seeds indoors from mid-April through early May, about 6 weeks before you can safely transplant outdoors. Our Mountain springs come late, so resist the urge to start too early — seedlings sitting indoors for months get leggy and stressed. You'll want seed-starting trays, a quality potting mix, and either a heat mat or warm spot (70-75°F is ideal for germination).
Set up grow lights or place trays in your brightest south-facing window, keeping lights about 2 inches above seedlings once they emerge. Bottom watering works best here — place trays in shallow pans of water and let the soil soak up moisture from below. This prevents the fungal issues that can plague seedlings in our low-humidity environment.
Once seedlings develop their first true leaves, transplant them into individual 4-inch pots. Keep them indoors until outdoor nighttime temperatures consistently stay above 50°F, which typically happens in early June at our altitude.
Transplanting Outdoors
Plan to transplant your Roma seedlings early to mid-June once our unpredictable spring weather finally settles. Even though we're past the average last frost, those sudden temperature drops that come with mountain weather can still damage tender tomato plants. Wait until nighttime lows consistently stay above 50°F.
Harden off your seedlings for a full week before transplanting by gradually exposing them to outdoor conditions. Start with 2-3 hours of morning sun, then increase daily. Our intense UV at altitude can shock plants that haven't been properly conditioned — I've seen transplants get sunburned in a single afternoon.
Space plants 24-36 inches apart to ensure good air circulation, which helps prevent disease in our variable weather patterns. Choose your sunniest, most protected spot since even our "warm" summer nights can dip into the 40s. A south-facing location with some wind protection works best.
Watering Roma Tomatoes in Zone 4A (Mountain West)
Roma tomatoes need consistent moisture throughout the growing season, and our dry Mountain climate makes this more challenging than in humid regions. These paste tomatoes are particularly sensitive to watering fluctuations — inconsistent moisture concentrates blossom end rot on their elongated fruits. With only 10-20 inches of annual rainfall, you'll be doing most of the work yourself.
Water deeply 2-3 times per week rather than daily shallow watering, providing about 1.5 inches total per week. Check soil moisture by pushing your finger 2 inches deep — if it's dry at that depth, it's time to water. Our intense sun and low humidity mean surface soil dries quickly, but you need to check deeper where the roots actually grow.
Water at the base of plants rather than overhead, especially important in our low-humidity environment where wet leaves can still develop fungal issues if moisture sits too long. Early morning watering is best — it gives plants time to absorb moisture before our intense midday sun hits. Signs of underwatering include wilting during the heat of the day and blossom end rot on developing fruit.
Apply a 2-3 inch layer of mulch around plants to conserve moisture and moderate soil temperature swings. Straw or shredded leaves work well here, helping maintain even soil moisture despite our dry air and temperature fluctuations between day and night.
Supporting Your Roma Tomatoes
Install sturdy cages or stakes at planting time since Roma's heavy fruit load can overwhelm unsupported plants. Even though these are determinate varieties that stay more compact than indeterminates, the concentrated weight of their meaty fruit clusters demands solid support. A 4-5 foot cage works perfectly for most Roma varieties.
Stake-and-tie systems also work well if you prefer that method. Drive a 6-foot stake 18 inches into the ground near each plant, then tie the main stem loosely with soft ties as it grows. Our occasional summer storms and hail can knock over unsupported plants, potentially losing your entire harvest.
As plants develop, gently guide main branches through cage openings or tie them to stakes. Determinate plants don't require the extensive pruning that indeterminates need, but removing suckers below the first flower cluster helps focus energy into fruit production.
🧪Fertilizing Roma Tomatoes
Feeding Schedule
Organic Fertilizer Options
Harvest Time
Your first Roma tomatoes will be ready from mid-August through mid-September, typically 75 days after transplanting. Look for fruit that's developed a deep red color throughout with no green shoulders, and flesh that has a slight give when gently squeezed but still feels firm. Ripe Romas should detach easily from the stem with a gentle twist and upward pull.
Unlike cherry tomatoes that you can pick daily, Romas produce their crop in concentrated waves since they're determinate. You might harvest a few early fruits, then get a major flush a week or two later. This concentrated harvest actually works well for processing — you'll have enough ripe fruit at once to make sauce or can.
Harvest regularly once fruits begin ripening to encourage the plant to continue producing from remaining flower clusters. Don't wait for fruits to get soft — Roma's firm texture means they're ready when uniformly colored but still solid.
As our first frost approaches in mid-September, watch the weather forecast closely. If frost threatens and you still have green fruit, harvest everything and ripen them indoors on countertops or in paper bags. Green Romas will continue ripening for weeks after picking, giving you extended harvest even after plants are finished.
Common Problems in Zone 4A (Mountain West)
Blossom End Rot This appears as sunken, dark brown or black leathery patches on the bottom (blossom end) of developing fruit, often affecting your first tomatoes of the season. It looks devastating but isn't actually a disease — it's a calcium deficiency caused by inconsistent watering, which is especially problematic for Roma's elongated fruits. Our dry climate makes it easy to fall into drought-flood watering cycles that trigger this condition. Fix it by maintaining consistent soil moisture through regular deep watering and heavy mulching. Don't over-fertilize with nitrogen, which interferes with calcium uptake, and remove affected fruits since they won't recover.
Early Blight You'll notice brown spots with concentric rings (like a target or bullseye pattern) starting on lower leaves first, then spreading upward as leaves yellow and drop. This fungal disease spreads via soil splash onto lower leaves and thrives when our cool nights meet warm days with any moisture present. Prevent and treat by removing affected leaves immediately (don't compost them), mulching heavily to prevent soil splash, and watering only at the base of plants. Good spacing for air circulation is crucial in our variable mountain weather.
Fusarium Wilt This shows up as wilting on one side of the plant first, with yellowing leaves starting on one side, eventually spreading to the whole plant. If you cut the stem open, you'll see brown streaks inside. This soil-borne fungus enters through roots and persists in soil for years, favored by warm soil temperatures during our intense summer days. There's no cure once a plant is infected — remove and destroy it immediately. Plant resistant varieties marked with 'F' on seed labels, rotate crops on a 4-year cycle, and maintain soil pH above 6.5, which is easier in our naturally alkaline soils.
Mountain West Specific Challenges Our moderate summer heat and low humidity actually reduce many common tomato diseases, but the intense UV can stress plants if they're not properly hardened off. The short season means any setback from disease or pest issues significantly impacts your harvest window, making prevention especially important here.
Best Companions for Roma Tomatoes
Plant these nearby for healthier Roma Tomatoes and better harvests.
View Full Companion Planting Chart →


Companion Planting Details
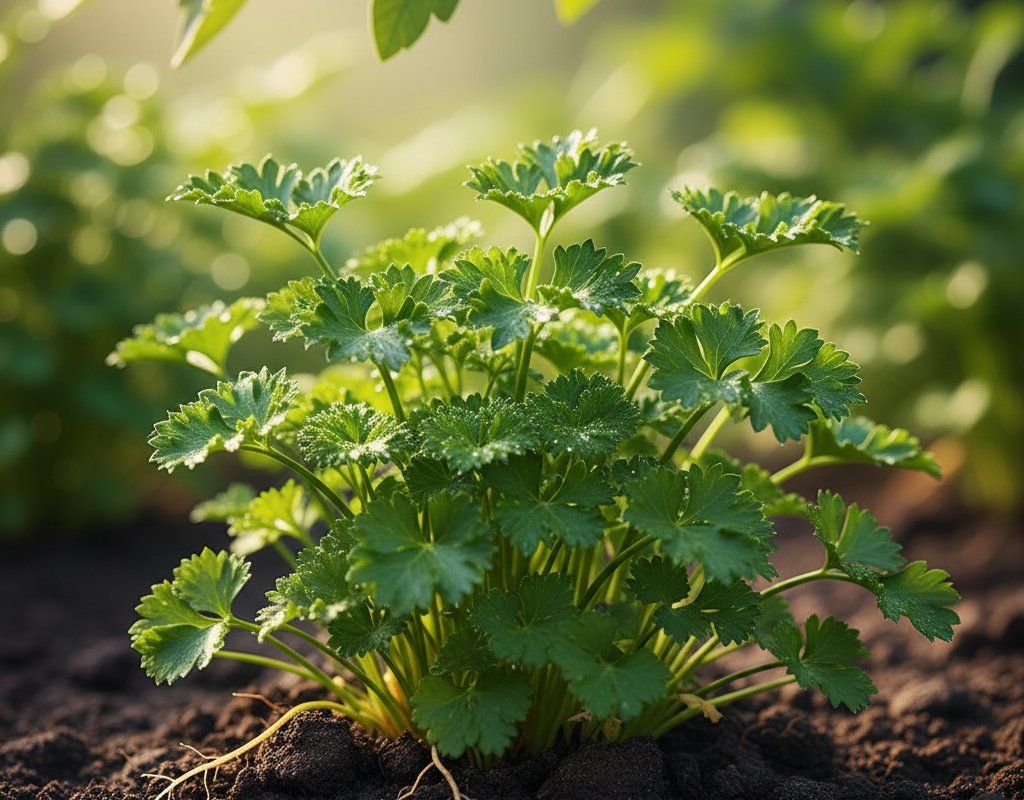
Plant basil alongside your Romas — it naturally repels aphids and thrips while improving tomato flavor, plus you'll have the perfect herb ready when processing time arrives. Carrots make excellent companions since their deep taproots don't compete with tomato roots, and they help break up our often-compacted mountain soils. Parsley provides ground cover that conserves moisture in our dry climate, while marigolds deter nematodes and many flying pests with their strong scent.
Avoid planting brassicas (cabbage family) near tomatoes since they can stunt tomato growth and compete for similar nutrients. Skip fennel, which inhibits tomato growth through chemical compounds it releases into the soil. Corn should be kept separate since both crops attract similar pests, and corn's tall growth can shade your tomatoes from the intense sun they need to thrive in our mountain environment.
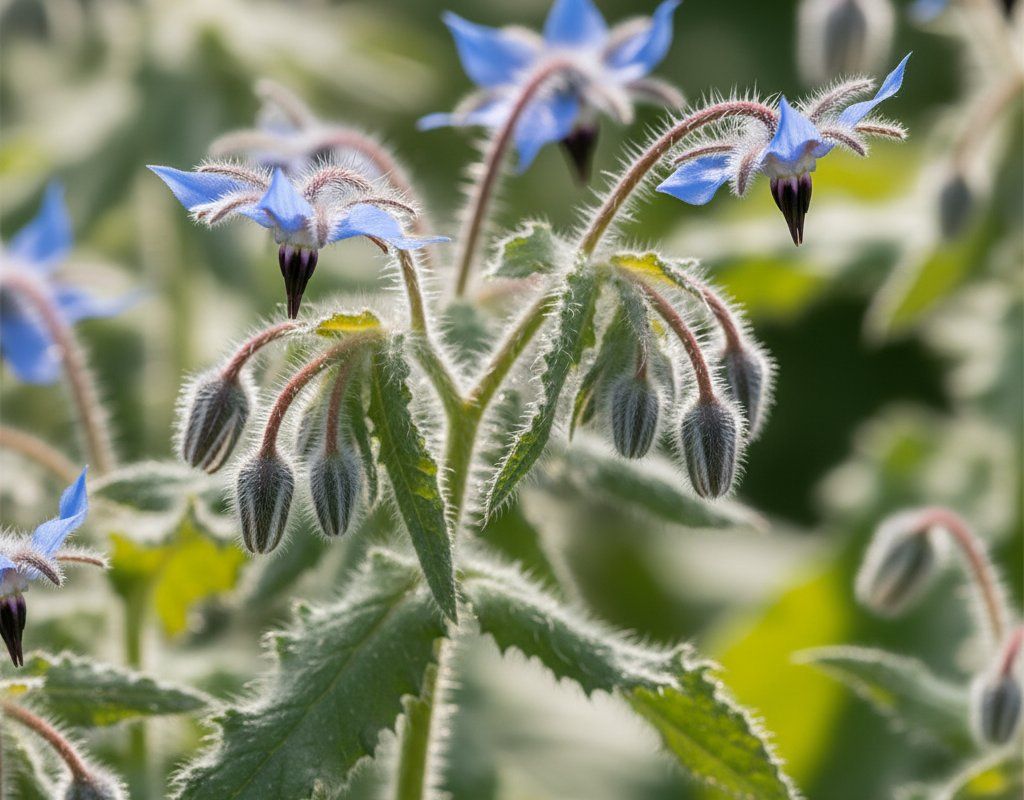
🌸Best Flowers to Plant with Roma Tomatoes
These flowers protect your Roma Tomatoes from pests and attract pollinators for better harvests.
For Pest Control


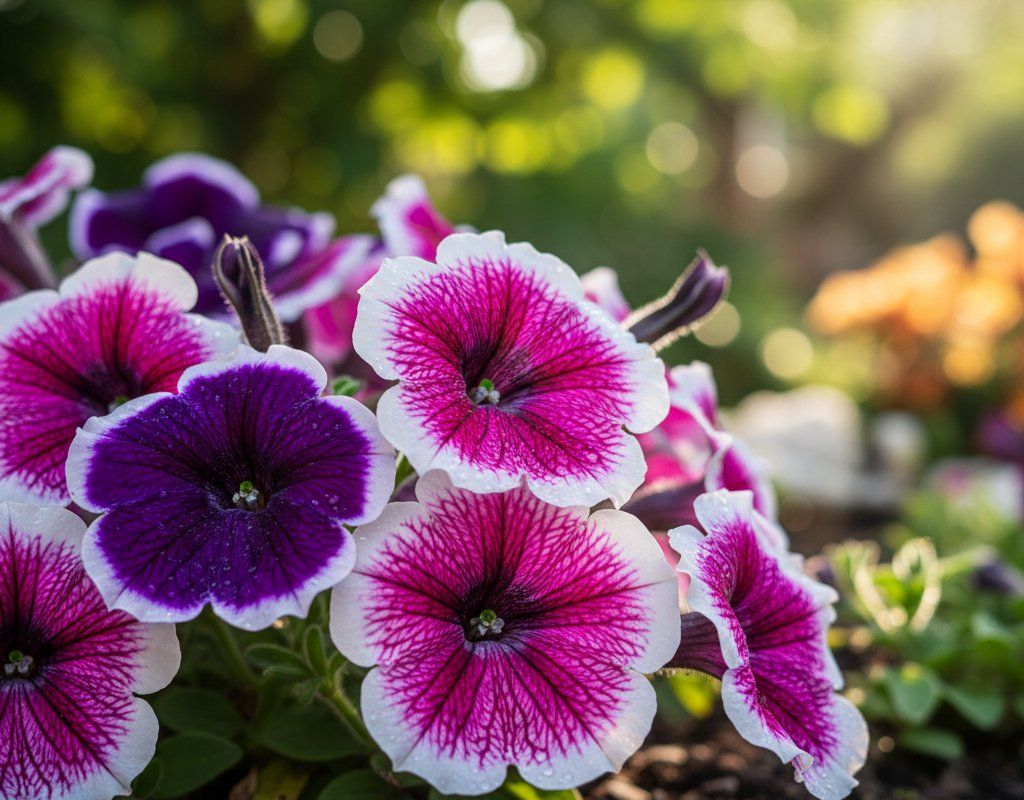
For Pollinators
Get a Reminder When It's Time to Plant
We'll email you when key planting windows open for your zone.