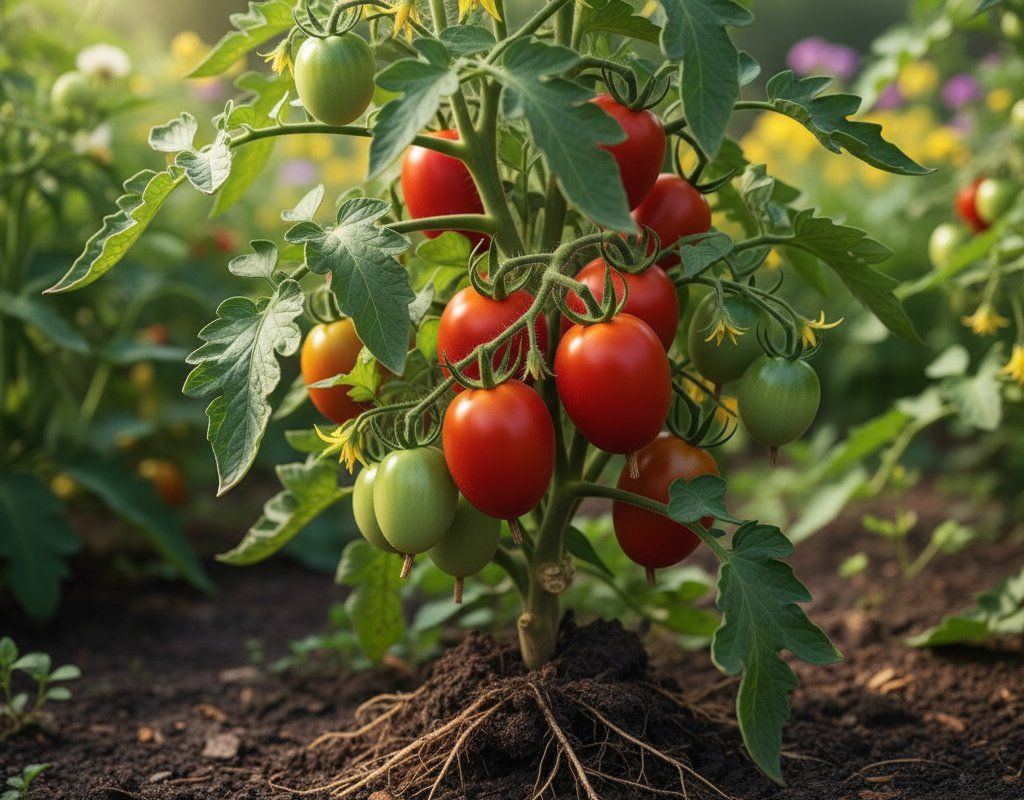
Roma Tomatoes in Zone 7A — Texas
Solanum lycopersicum · Your Complete 2026 Planting Guide
Missed Seed Starting? No Problem!
Wait for starts to become available.
What to Do
Starts will be available at nurseries in 25 days (around March 29).
How to Plant Roma Tomatoes in Zone 7A — Texas
Here are all your options for getting roma tomatoes in the ground, from the easiest method to more advanced approaches.
Start Seeds Indoors
RecommendedEarly February through early March
around February 15
Then transplant: Late March through late April
Start seeds 6-8 weeks before transplanting outdoors.
Buy Starts
Works WellLate March through late April
around March 29
Plant purchased starts after last frost (March 15).
Direct Sow Seeds
ChallengingDirect sowing is not typical for Roma Tomatoes.
Transplant Outdoors
Timing InfoLate March through late April
around March 29
Wait until nighttime temperatures stay above 50°F.
You have a nice window — no need to rush.
Overview
Roma tomatoes thrive in our Texas heat and give you that perfect paste tomato for salsas, sauces, and preserving. These determinate varieties produce their entire crop over a concentrated period, which works beautifully with our early spring start and the unpredictable weather that follows. The meaty, low-moisture fruit handles the Texas heat better than slicing varieties, and you'll get that authentic tomato flavor that makes store-bought seem like cardboard.
Growing Romas here means working with our climate swings and that brutal summer heat, but the timing actually works in your favor. With our 245-day growing season, you can start seeds in late winter while it's still cool, transplant in early spring, and harvest before the worst heat hits. The key is getting them established early so they're producing when temperatures are still manageable.
Starting Seeds Indoors
Start your Roma seeds indoors during early February through early March, about 6 weeks before you plan to transplant. This timing lets you take advantage of our early spring while avoiding those late winter temperature swings that can still surprise us. Set up seed trays in a warm spot - aim for 65-70°F soil temperature, which might mean using a heat mat if your house runs cool.
Place the trays near a south-facing window or under grow lights, and use bottom watering to keep the soil consistently moist without creating fungal problems. Fill a shallow tray with water and let the seed containers absorb moisture from below. This method prevents the soil surface from staying too wet, which can lead to damping off in our variable humidity conditions.
Seeds typically germinate within 7-10 days in warm conditions. Once they sprout their first true leaves, you can transplant them to individual pots and continue growing them indoors until transplant time arrives.
Transplanting Outdoors
Transplant your Roma seedlings outdoors from late March through late April, after our last frost typically passes in mid-March. Even though the danger of hard freezes is mostly over, keep an eye on weather forecasts since we can still get surprise cold snaps that'll set back tender plants. A week before transplanting, start hardening off your seedlings by placing them outside for gradually increasing periods - start with an hour in filtered sun and work up to full days.
Space your plants 24-36 inches apart to allow for good air circulation, which becomes critical when our humidity starts climbing in late spring. The wider spacing also makes it easier to mulch around each plant and gives you room to work during the growing season. Choose a spot that gets full sun but has some protection from our infamous afternoon heat if possible.
Plant them slightly deeper than they were growing in their pots - tomatoes will develop roots along buried stem sections, creating a stronger root system to handle summer stress. Water them in well and apply a thick layer of mulch immediately to help regulate soil temperature as we head into warming weather.
Watering Roma Tomatoes in Zone 7A (Texas)
Romas need consistent, deep watering throughout the growing season, and this becomes especially critical in our unpredictable Texas climate. These paste tomatoes are particularly susceptible to blossom end rot when watering is inconsistent, and their elongated fruit shape makes the problem even more noticeable. Plan on providing about 1-1.5 inches of water per week through a combination of rainfall and irrigation.
Check soil moisture using the finger test - stick your finger 2 inches deep into the soil near the base of the plant. If it's dry at that depth, it's time to water. During our hot summer months when temperatures hit 97°F regularly, you might need to water every other day, while cooler spring weather might mean twice-weekly watering. The key is maintaining that consistent moisture level rather than letting plants go through drought-flood cycles.
Water at the base of plants rather than overhead to reduce disease pressure in our variable humidity conditions. Soaker hoses or drip irrigation work well, or you can simply water slowly at the base with a hose. Early morning watering is ideal since it gives plants time to absorb moisture before the heat hits and reduces water loss to evaporation.
Apply a 3-4 inch layer of organic mulch around plants to help maintain consistent soil moisture and moderate soil temperature. Shredded hardwood, grass clippings, or straw all work well in our climate. Keep mulch a few inches away from the stem to prevent pest problems and allow air circulation.
Supporting Your Roma Tomatoes
Romas are determinate varieties, meaning they grow to a set height and produce most of their fruit at once, but they still benefit from support due to their heavy fruit load. Standard tomato cages work perfectly - you don't need the tall cages required for indeterminate varieties. Look for cages that are 4-5 feet tall and made from heavy-gauge wire that won't bend under the weight of fruit.
Install your supports at planting time to avoid disturbing roots later. Push cages firmly into the ground, especially important here where we can get strong thunderstorms that might topple unsecured plants. If you prefer staking, use 6-foot stakes and tie plants loosely with soft material like cloth strips or tomato ties.
As plants grow, gently guide branches through cage openings or tie them to stakes. Romas tend to be bushier than indeterminate varieties, so you might need to tuck wayward branches inside cages. Remove suckers - the shoots that grow between main stems and branches - to keep plants manageable and direct energy into fruit production.
🧪Fertilizing Roma Tomatoes
Feeding Schedule
Organic Fertilizer Options
Harvest Time
Your first Roma tomatoes will be ready from mid-June through late July, roughly 75 days from transplanting. Since these are determinate varieties, most of your crop will ripen within a 2-3 week window, which makes them perfect for big canning sessions or sauce-making projects. The concentrated harvest timing actually works well with our climate since you'll get most fruit before the worst summer heat stress hits.
Romas are ready when they turn deep red throughout with no green shoulders, and the fruit feels firm but gives slightly when gently squeezed. Unlike slicing tomatoes, you want Romas to be fully ripe on the vine for maximum flavor concentration. The fruit should detach easily from the stem when gently twisted - if you have to pull hard, give it another day or two.
Harvest in the morning when possible, as fruit picked during cooler temperatures stores better. Check plants every 2-3 days during peak harvest since fruit can go from perfect to overripe quickly in our heat. Don't worry about harvesting every single tomato at peak ripeness - Romas can be picked slightly underripe and will finish ripening on the counter.
As our first frost approaches in mid-November, harvest any remaining green fruit. Green Romas will ripen indoors if stored in a warm spot away from direct sunlight. Wrap individual fruits in newspaper or place them in paper bags to speed the process, checking regularly and removing any that start to rot.
Common Problems in Zone 7A (Texas)
Blossom End Rot This appears as sunken, dark brown or black leathery patches on the bottom (blossom end) of your Roma fruits. It often affects the first fruits of the season and can be particularly frustrating since the rest of the fruit looks perfect. The elongated shape of Romas makes this problem especially noticeable compared to round tomatoes.
Blossom end rot isn't actually a disease - it's a calcium deficiency caused by inconsistent watering, which disrupts the plant's ability to uptake calcium from the soil. Our unpredictable Texas rainfall pattern of drought followed by flooding makes this problem common here. The single most effective fix is consistent watering throughout the growing season. Heavy mulching helps maintain even soil moisture, and avoid over-fertilizing with nitrogen which can interfere with calcium uptake.
Early Blight You'll recognize this as brown spots with distinctive concentric rings that look like targets or bullseyes, typically starting on the lower leaves first and spreading upward. Affected leaves turn yellow and eventually drop off, potentially defoliating the entire plant if left unchecked. This fungal disease thrives in our warm, humid conditions and spreads when soil splashes onto leaves during watering or storms.
Remove and destroy affected leaves immediately - don't compost them since the fungus can survive. Mulch heavily to prevent soil splash, water at the base rather than overhead, and ensure good air circulation through proper spacing. If the disease persists, copper-based fungicides can help slow the spread, but prevention through cultural practices is more effective.
Fusarium Wilt This soil-borne disease typically shows up as wilting that starts on one side of the plant, then spreads. You'll see yellowing leaves beginning on one side, and if you cut open the stem, there will be brown streaks inside. Unlike other wilting causes, the soil will be adequately moist when this happens.
Unfortunately, there's no cure once a plant is infected - remove and destroy it immediately. This fungus persists in soil for years and enters through the roots, favored by our warm soil temperatures. Plant resistant varieties marked with 'F' on seed packets, rotate crops on a 4-year cycle, and maintain soil pH above 6.5 to discourage the fungus.
Texas Specific Challenges Our extreme heat, variable humidity, and unpredictable rainfall create perfect conditions for inconsistent watering, which is the root cause of most Roma tomato problems. The drought-flood cycles we experience trigger blossom end rot, while warm, humid periods following rain encourage fungal diseases. Focus on consistent irrigation and good air circulation to combat our climate challenges.
Best Companions for Roma Tomatoes
Plant these nearby for healthier Roma Tomatoes and better harvests.
View Full Companion Planting Chart →
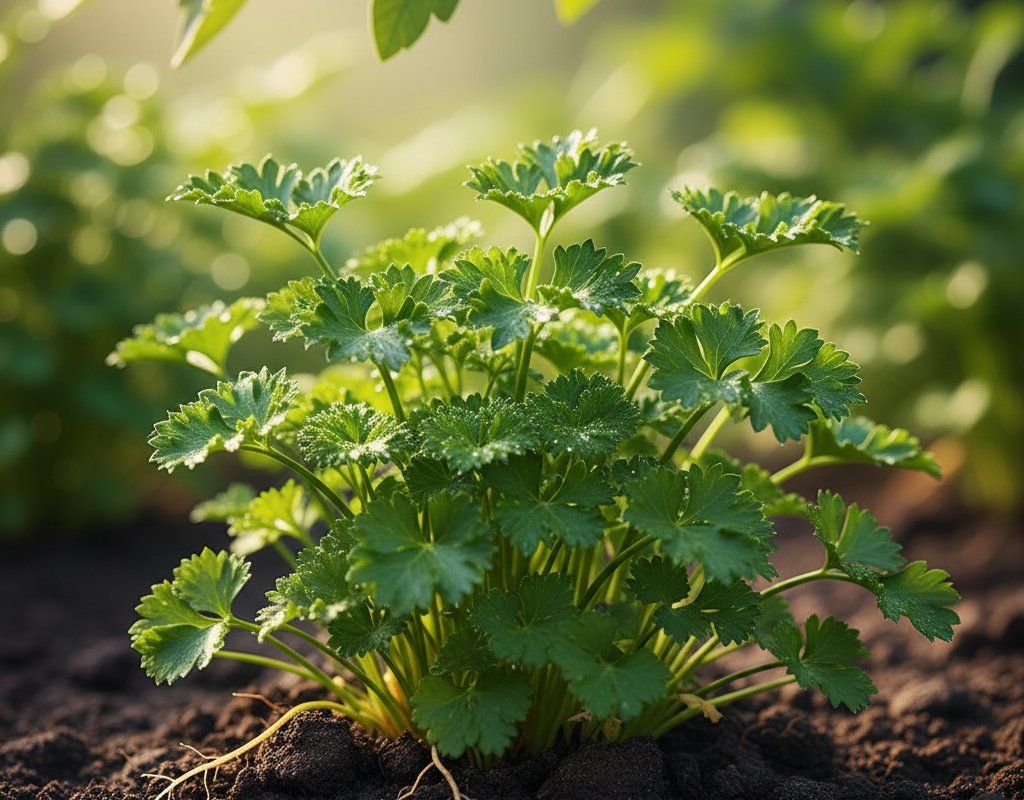


Companion Planting Details
Basil makes an excellent companion for Romas, improving flavor while helping repel aphids and other pests that can be problematic in our warm climate. Plant basil around the edges of your tomato bed where it'll get some afternoon shade from the tomato plants. Carrots work well as ground cover companions since their light foliage won't compete for light, and their taproots break up soil without competing with tomato roots. Marigolds planted nearby help deter nematodes, which can be an issue in our warm soils.
Avoid planting brassicas like cabbage or broccoli near your Romas since they're heavy feeders that compete for the same nutrients, and their cool-season nature doesn't align with tomato growing seasons anyway. Keep corn away from tomatoes since both attract corn earworms, concentrating pest pressure. Fennel should be planted elsewhere in the garden as it can inhibit tomato growth through allelopathic compounds.
🌸Best Flowers to Plant with Roma Tomatoes
These flowers protect your Roma Tomatoes from pests and attract pollinators for better harvests.
For Pest Control



For Pollinators

Get a Reminder When It's Time to Plant
We'll email you when key planting windows open for your zone.