Black-Eyed Susan in Zone 10A — Florida
Rudbeckia hirta · Your Complete 2026 Planting Guide
You Can Still Sow!
Direct sowing window is open for Black-Eyed Susan.
Direct Sow Now
Plant seeds directly in prepared garden soil.
How to Plant Black-Eyed Susan in Zone 10A — Florida
Here are all your options for getting black-eyed susan in the ground, from the easiest method to more advanced approaches.
Buy Starts
RecommendedEarly to late January
around January 3
Plant purchased starts after last frost (January 10).
Perennial. Buy starts for flowers the first year.
Start Seeds Indoors
Works WellEarly to late November
around November 8
Then transplant: Early to late January
Start seeds 8-10 weeks before transplanting outdoors.
Direct Sow Seeds
Works WellEarly January through early October
around January 10
Consider succession planting every 2-3 weeks for continuous harvest.
Transplant Outdoors
Timing InfoEarly to late January
around January 3
Can tolerate light frost, but wait for soil to be workable.
You have a nice window — no need to rush.
Overview
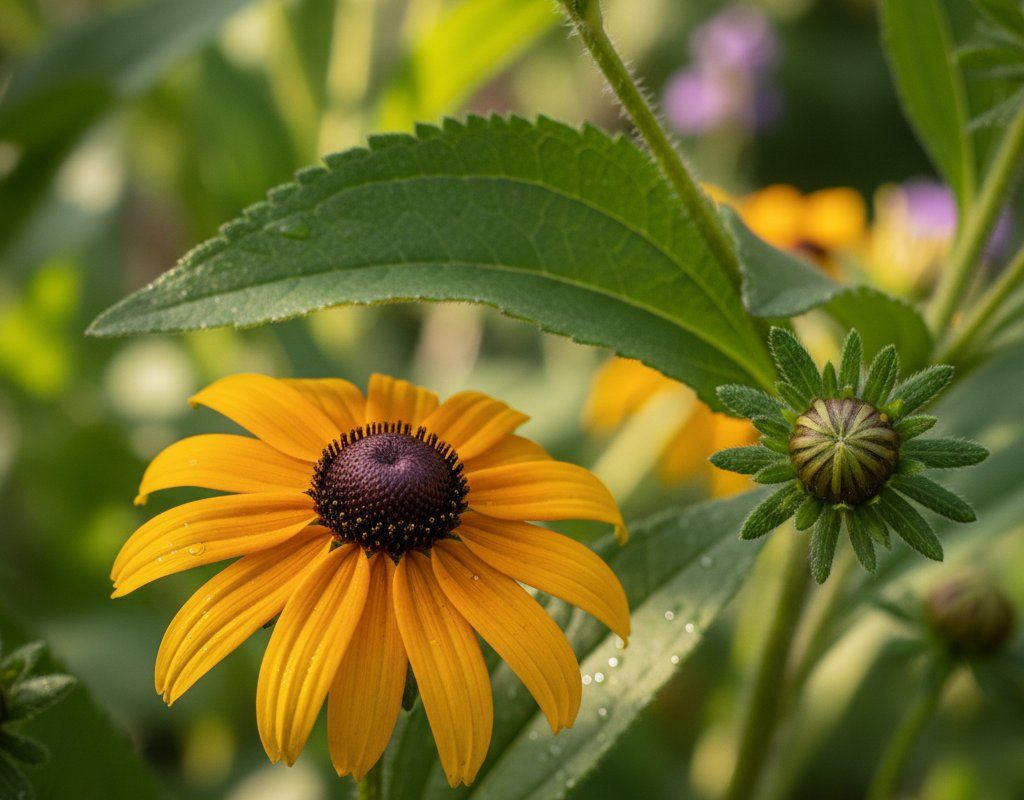
Black-Eyed Susans are a fantastic addition to any Florida garden. Their cheerful yellow petals bring a splash of color, and they attract pollinators like butterflies, which are always welcome. Plus, they're super low-maintenance once established, perfect for our busy lives.
Our Florida gardening calendar is different, and we face challenges like humidity and sandy soil. But with the right timing and a few tricks, you can absolutely grow these beauties. With our long, 355-day growing season, there's plenty of opportunity to enjoy them.
Starting Seeds Indoors
Starting Black-Eyed Susans indoors isn't essential, but it can give you a head start, especially if you want blooms the first year. Start your seeds indoors from early to late November, about eight weeks before you plan to transplant them outside. Use seed trays with a good seed-starting mix.
Keep the trays in a warm spot and provide plenty of light – a grow light works wonders. Remember to water from the bottom to prevent damping off, a common issue with seedlings in our humid climate. Because our spring is reversed, starting indoors gives plants a chance to mature before the heat hits.
Transplanting Outdoors
Transplant your Black-Eyed Susan seedlings outdoors from early to late January. Before planting, harden them off by gradually exposing them to outdoor conditions for about a week. This helps them adjust to the Florida sunshine and temperature swings.
Space the plants 12-18 inches apart to allow for good air circulation, which is key in our humid environment. Black-Eyed Susans are perennials, so buying starts might give you flowers the first year.
Direct Sowing
Direct sowing is a great option for Black-Eyed Susans in Florida, and it works from early January through early October. Prepare the soil by loosening it and mixing in some compost to improve drainage. While our sandy soil drains well, it needs the added nutrients and water retention that compost provides.
Sow the seeds directly into the ground, spacing them 12-18 inches apart. Keep the soil consistently moist until the seedlings emerge. Direct sowing is less work, but be aware that seedlings might take longer to establish, especially during the hotter parts of the year.
Watering Black-Eyed Susan in Zone 10A (Florida)
Black-Eyed Susans are known for their drought tolerance, making them a good fit for Florida's occasional dry spells. However, consistent watering is important, especially when they're getting established. During the cooler months (late fall through early spring), water deeply about once a week, providing about an inch of water.
In the hotter, wetter summer months, you might not need to water at all, thanks to our regular rainfall. Use the finger test: stick your finger about two inches into the soil. If it feels dry, it's time to water. Always water at the base of the plant to avoid wetting the foliage, which can encourage fungal diseases in our humid climate.
Signs of underwatering include wilting leaves and stunted growth. Overwatering can lead to root rot, which is common in our heavy summer rains. A layer of pine straw mulch can help retain moisture in the soil and suppress weeds, but keep it away from the plant's base to prevent rot.
Pruning & Maintaining Black-Eyed Susan
Deadheading is key to keeping your Black-Eyed Susans blooming throughout the season. Simply snip off the spent flowers just below the flower head. This encourages the plant to produce more blooms instead of focusing on seed production.
You can deadhead throughout the growing season, from late March through late fall. If you want to attract birds or allow the plant to self-seed, you can leave some of the seed heads intact. In late winter, cut the plants back to a few inches above the ground to encourage fresh growth in the spring.
🧪Fertilizing Black-Eyed Susan
Feeding Schedule
Organic Fertilizer Options
Harvest Time
You can expect your first Black-Eyed Susan blooms about 75 days after planting, with the harvest period lasting from late March through early January. These flowers make excellent cut flowers, so don't hesitate to bring them indoors to enjoy. The blooms usually appear midsummer through fall.
Look for fully opened flowers with vibrant petals for the best cut flowers. Cut the stems at an angle in the morning for the longest vase life. To encourage continued production, keep deadheading spent flowers.
As our first frost approaches around late December, you can still harvest any remaining blooms, but the plant's growth will slow down. Leaving some seed heads on the plant will allow it to self-seed, ensuring you have more Black-Eyed Susans next year.
Common Problems in Zone 10A (Florida)
Here are some common problems you might encounter with Black-Eyed Susans in Florida:
Powdery Mildew
- What it looks like: White or grayish powdery coating on leaves, stems. Leaves curl, yellow, and die.
- What causes it: Fungi that thrive in warm days, cool nights, and moderate humidity. It's more common in drier conditions *on the leaf surface*, ironically. Our humidity can actually help *prevent* this if there's enough air flow!
- How to fix/prevent it: Improve air circulation by spacing plants properly. Remove affected leaves. Neem oil or potassium bicarbonate sprays can help. Milk spray (1 part milk to 9 parts water) is surprisingly effective.
Septoria Leaf Spot
- What it looks like: Small, circular spots on leaves that start as brown or black and eventually develop gray centers. Severely affected leaves may turn yellow and drop off.
- What causes it: A fungal disease that thrives in warm, humid conditions, which we have plenty of in Florida. Spores are spread by splashing water, so overhead watering can worsen the problem.
- How to fix/prevent it: Remove and destroy infected leaves. Avoid overhead watering. Apply a fungicide containing copper or chlorothalonil. Improve air circulation around the plants by spacing them properly.
Aphids
- What it looks like: Clusters of tiny soft-bodied insects (green, black, or white) on stems and leaf undersides. Sticky honeydew residue. Curled or distorted new growth.
- What causes it: Rapid-reproducing sap-sucking insects. Populations explode in warm weather. Ant colonies may farm them for honeydew.
- How to fix/prevent it: Strong water spray knocks them off. Encourage ladybugs and lacewings (natural predators). Insecticidal soap for heavy infestations. Neem oil works systemically. Avoid excess nitrogen fertilizer (it attracts them).
Florida Specific Challenges: Our hot, humid summers and wet-summer rainfall can create ideal conditions for fungal diseases like powdery mildew and septoria leaf spot. Good air circulation and avoiding overhead watering are crucial. Sandy soil can also be a challenge, so amending it with compost is essential to improve drainage and nutrient retention. Nematodes can be a problem in some areas, so consider using nematode-resistant varieties or soil amendments.
Best Companions for Black-Eyed Susan
Plant these nearby for healthier Black-Eyed Susan and better harvests.
View Full Companion Planting Chart →

Companion Planting Details
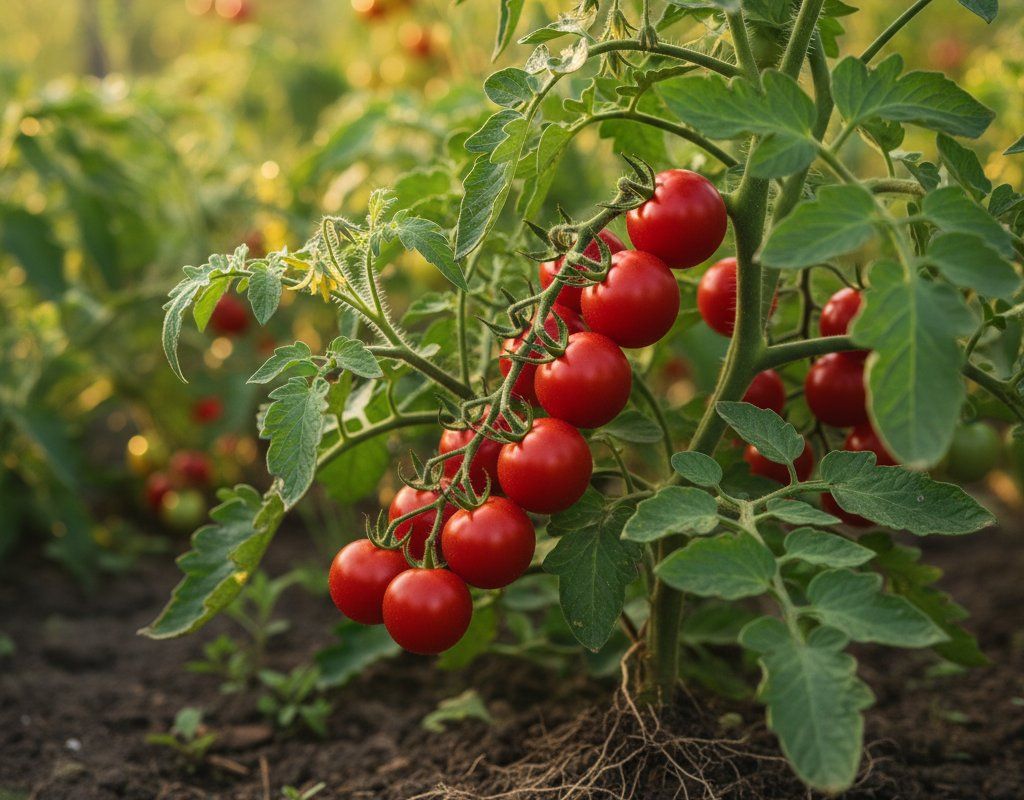
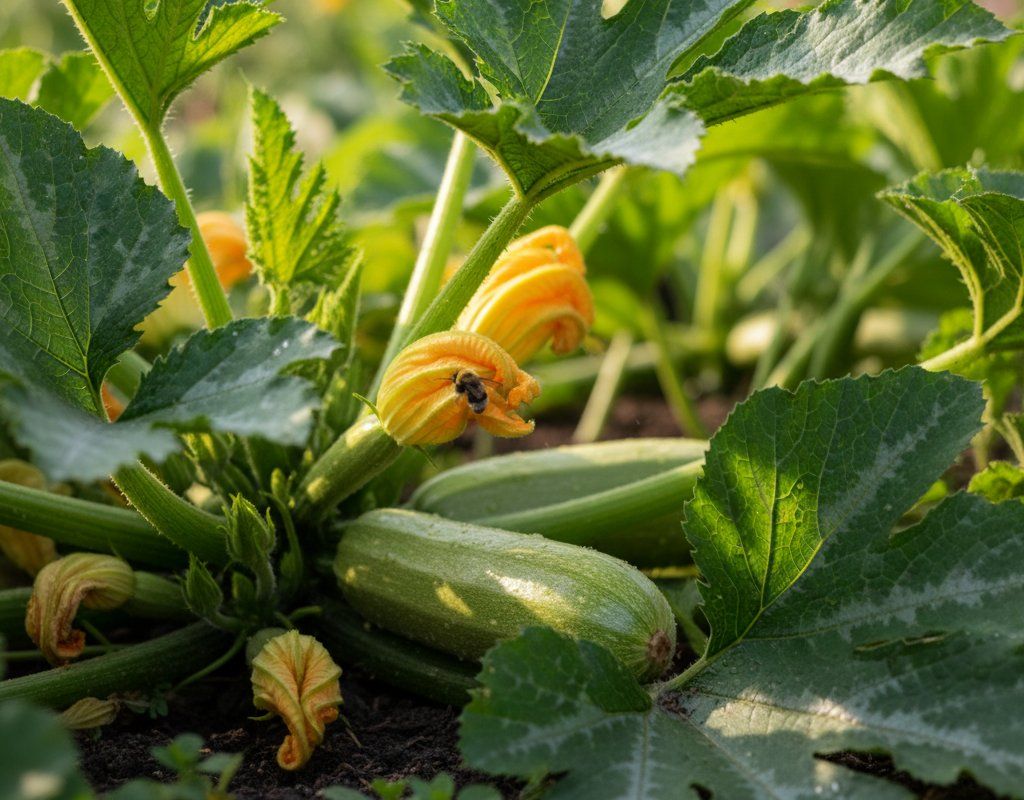
Black-Eyed Susans play well with others in the Florida garden! Tomatoes make great companions because the Black-Eyed Susans attract pollinators that also benefit the tomato plants. Squash also benefits from the increased pollinator activity.
Herbs like basil and rosemary are good companions as well. They can help repel some pests that might bother the Black-Eyed Susans. Avoid planting Black-Eyed Susans near plants that are highly susceptible to fungal diseases, as the humidity in Florida can cause these diseases to spread easily.
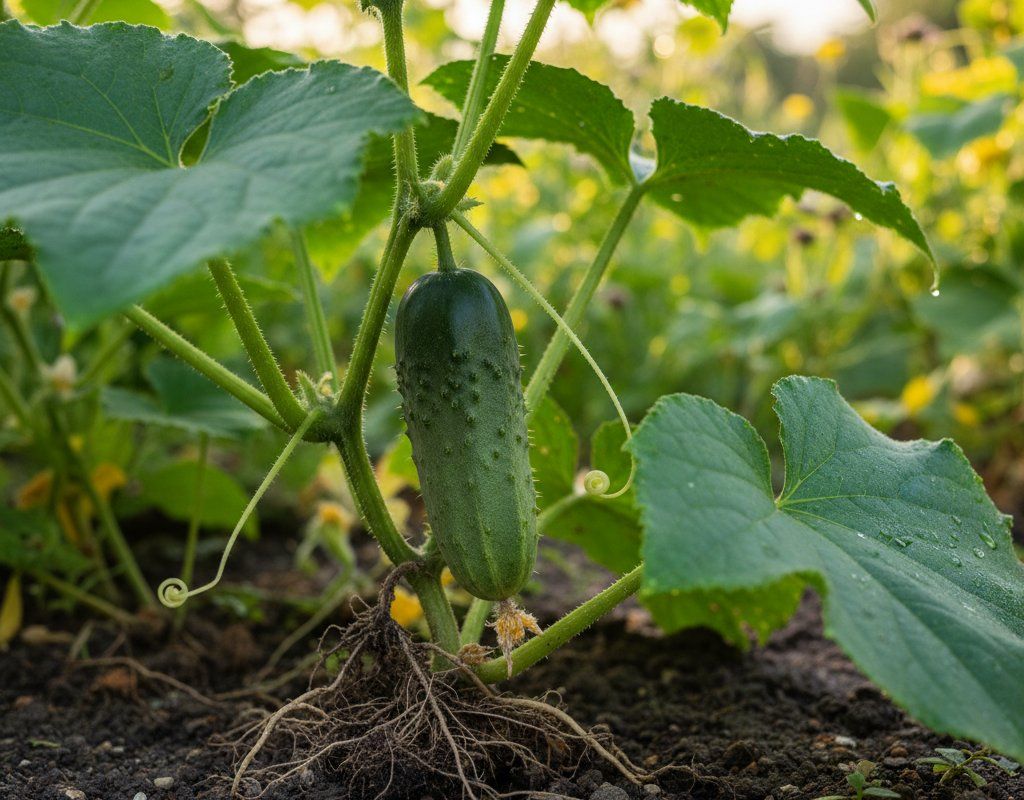
🥬Best Vegetables to Pair With Black-Eyed Susan
Black-Eyed Susan benefits these vegetables through pest control, pollinator attraction, or improved garden health.

Get a Reminder When It's Time to Plant
We'll email you when key planting windows open for your zone.