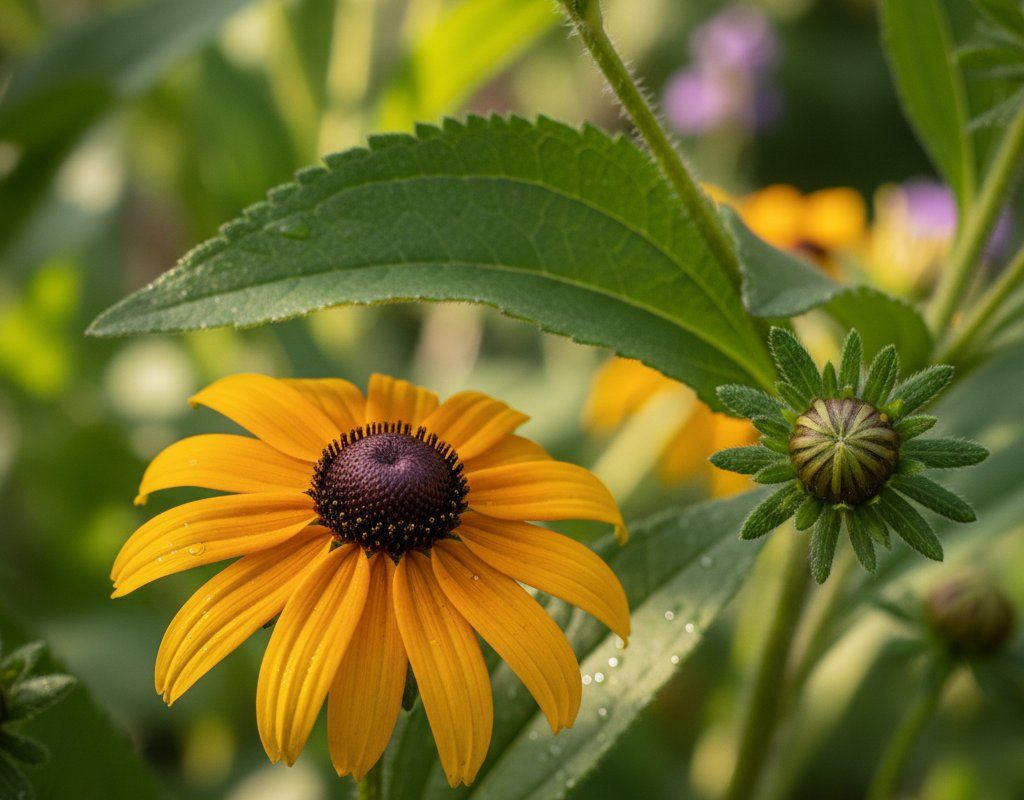
Black-Eyed Susan in Zone 6B — Mid-Atlantic
Rudbeckia hirta · Your Complete 2026 Planting Guide
Missed Seed Starting? No Problem!
Wait for starts to become available.
What to Do
Starts will be available at nurseries in 30 days (around April 3).
How to Plant Black-Eyed Susan in Zone 6B — Mid-Atlantic
Here are all your options for getting black-eyed susan in the ground, from the easiest method to more advanced approaches.
Buy Starts
RecommendedEarly April through early May
around April 3
Plant purchased starts after last frost (April 10).
Perennial. Buy starts for flowers the first year.
Start Seeds Indoors
Works WellLate January through mid February
around February 6
Then transplant: Early April through early May
Start seeds 8-10 weeks before transplanting outdoors.
Direct Sow Seeds
Works WellEarly April through late July
around April 10
Consider succession planting every 2-3 weeks for continuous harvest.
Transplant Outdoors
Timing InfoEarly April through early May
around April 3
Can tolerate light frost, but wait for soil to be workable.
You have a nice window — no need to rush.
Overview
Black-Eyed Susans bring a cheerful burst of color to our Mid-Atlantic gardens, brightening up those humid summer days and extending the season well into fall. They're fantastic as cut flowers, attracting pollinators, and adding a touch of that classic wildflower look to your landscape. Plus, they're pretty low-maintenance once established, making them perfect for busy gardeners like us.
Our Mid-Atlantic climate, with its four distinct seasons, does present a few challenges, from variable spring weather to the occasional pest. But with a 198-day growing season and a bit of planning, you can easily grow these beauties. The trick is timing and choosing the right spot, and we'll get you set up for success.
Starting Seeds Indoors
Starting Black-Eyed Susans indoors isn't strictly necessary, but it can give you a head start, especially if you're eager to see blooms in the first year. If you want to get a jump on the season, aim to sow your seeds indoors from late January through mid February, about eight weeks before you plan to transplant them outside.
Use seed trays or small pots filled with a good seed-starting mix. Keep the soil consistently moist but not soggy – bottom watering is a good trick. Place the trays in a warm spot and provide plenty of light, either from a sunny window or a grow light. Here in the Mid-Atlantic, our springs can be a bit unpredictable, so starting indoors gives you some extra control.
Transplanting Outdoors
Transplanting your Black-Eyed Susan seedlings outdoors is best done from early April through early May, after the danger of hard frost has passed. Before planting them in their final spot, be sure to harden them off over about a week. Gradually expose them to outdoor conditions, starting with just a few hours a day and increasing the time each day.
Choose a sunny spot with well-drained soil, spacing the plants about 12-18 inches apart. Our Mid-Atlantic weather can still be a bit chilly in early spring, so keep an eye on the forecast and be prepared to cover the seedlings if a late frost threatens. Since they're perennials, buying starts already in bloom can give you that first-year color.
Direct Sowing
Direct sowing Black-Eyed Susan seeds is a perfectly viable option, especially if you're not in a rush for blooms. You can sow directly into the garden from early April through late July. This gives you a wide window to work with, taking advantage of our Mid-Atlantic's moderate spring and summer temperatures.
Prepare the soil by loosening it and removing any weeds. Scatter the seeds lightly over the surface and gently press them into the soil. Keep the soil consistently moist until the seedlings emerge. Thin them to 12-18 inches apart as they grow. Direct sowing is easy, but remember that the plants may not flower until their second year.
Watering Black-Eyed Susan in Zone 6B (Mid-Atlantic)
Black-Eyed Susans are wonderfully drought-tolerant once they're established, making them a great choice for our Mid-Atlantic gardens. In the first few weeks after planting, whether from seed or transplant, water regularly to help them get settled. After that, you can ease up.
During our humid summers, aim for about an inch of water per week, including rainfall. Use the "finger test" – stick your finger about two inches into the soil. If it feels dry, it's time to water. Water at the base of the plants to avoid wetting the foliage, which can encourage fungal diseases in our humid conditions.
Signs of underwatering include wilting leaves and stunted growth, while overwatering can lead to yellowing leaves and root rot. A layer of mulch around the base of the plants helps retain moisture and suppress weeds – a win-win in our Mid-Atlantic gardens.
Pruning & Maintaining Black-Eyed Susan
Pruning Black-Eyed Susans is pretty straightforward. Throughout the growing season, deadhead the spent flowers to encourage continued blooming. Simply snip off the flower heads just below the bloom. This keeps the plants looking tidy and directs energy into producing more flowers.
Toward the end of the season, as we approach our first frost around late October, you have a couple of choices. You can either leave the seed heads on the plants to provide food for birds and allow for self-seeding, or you can cut the plants back to the ground for a neater appearance. If you choose to cut them back, do it in late winter before new growth emerges.
🧪Fertilizing Black-Eyed Susan
Feeding Schedule
Organic Fertilizer Options
Harvest Time
You can expect your first Black-Eyed Susan blooms from late June through early November in our Mid-Atlantic gardens. These flowers make excellent cut flowers, adding a splash of sunshine to any bouquet.
Harvest the flowers when they are fully open, cutting the stems at an angle. Place them immediately in water. To encourage continued production, keep deadheading the spent blooms. As the season winds down and we approach our first frost in late October, you can still harvest any remaining blooms.
Black-Eyed Susans readily self-seed, so if you want to control their spread, be sure to deadhead regularly. Otherwise, let them do their thing and enjoy the naturalized look they create.
Common Problems in Zone 6B (Mid-Atlantic)
Black-Eyed Susans are generally easy to grow, but here are a few common problems we face in the Mid-Atlantic:
Powdery Mildew
- What it looks like: White or grayish powdery coating on leaves, stems. Leaves curl, yellow, and die.
- What causes it: Fungi that love warm days, cool nights, and moderate humidity. Dry leaf surfaces favor it, ironically. Our Mid-Atlantic humidity can make this a recurring issue.
- How to fix/prevent it: Improve air circulation through spacing and pruning. Remove affected leaves. Neem oil or potassium bicarbonate sprays help. Milk spray (1 part milk to 9 parts water) is surprisingly effective. Plant resistant varieties.
Septoria Leaf Spot
- What it looks like: Small, circular spots on leaves that start yellow and turn brown or black. Spots may have a light center with a dark border. Severely affected leaves may drop off.
- What causes it: A fungal disease that thrives in wet conditions. Our even rainfall in the Mid-Atlantic can contribute to this problem, especially if plants are crowded and air circulation is poor.
- How to fix/prevent it: Remove and destroy infected leaves. Improve air circulation by spacing plants properly. Water at the base of the plants to avoid wetting the foliage. Apply a fungicide if necessary, following label instructions.
Aphids
- What it looks like: Clusters of tiny soft-bodied insects (green, black, or white) on stems and leaf undersides. Sticky honeydew residue. Curled or distorted new growth.
- What causes it: Rapid-reproducing sap-sucking insects. Populations explode in warm weather. Ant colonies may farm them for honeydew.
- How to fix/prevent it: Strong water spray knocks them off. Encourage ladybugs and lacewings (natural predators). Insecticidal soap for heavy infestations. Neem oil works systemically. Avoid excess nitrogen fertilizer (it attracts them).
Mid-Atlantic Specific Challenges: Our moderate-to-hot summers and humid conditions can create a breeding ground for fungal diseases like powdery mildew and septoria leaf spot. Deer pressure can also be a concern, so consider using deer repellent or fencing if they are a problem in your area.
Best Companions for Black-Eyed Susan
Plant these nearby for healthier Black-Eyed Susan and better harvests.
View Full Companion Planting Chart →

Companion Planting Details
Black-Eyed Susans make great companions for a variety of plants in our Mid-Atlantic gardens.
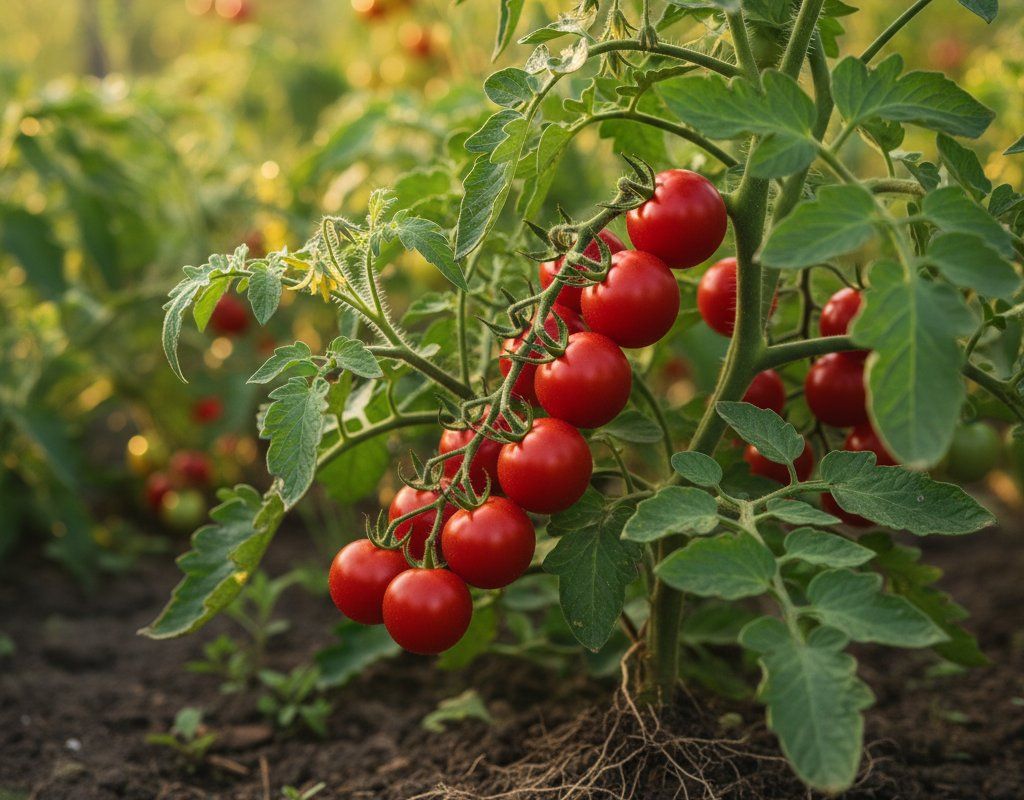
- Tomatoes: The bright blooms attract pollinators that will also benefit your tomato plants.
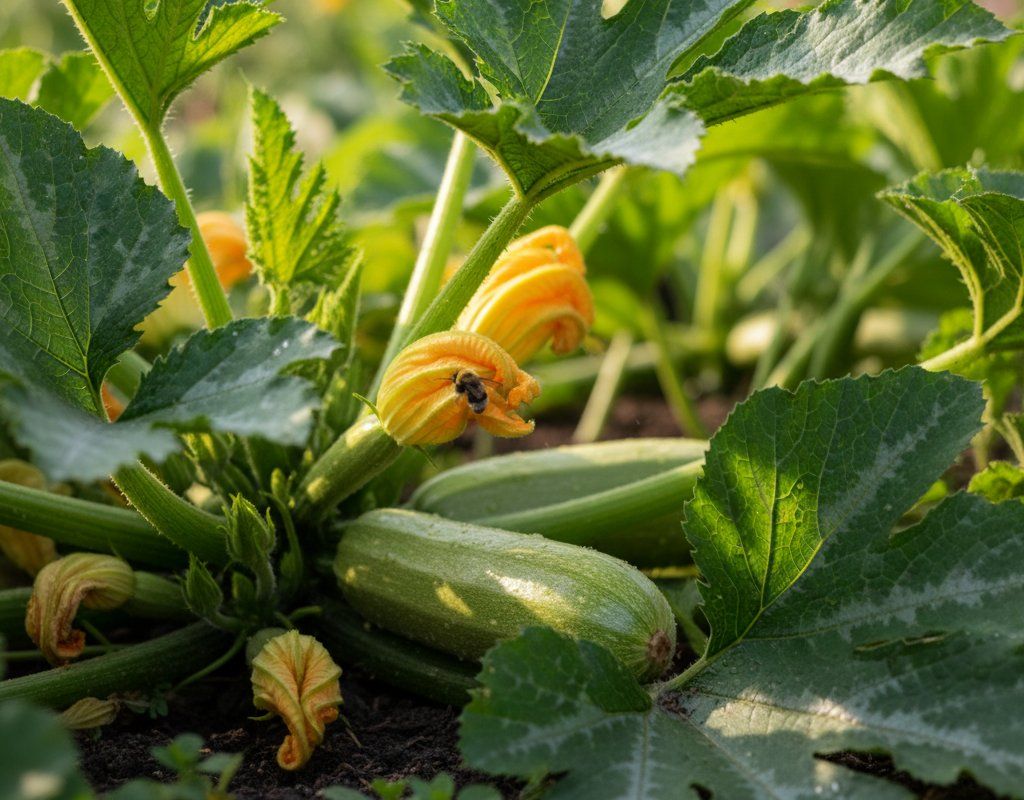
- Squash: The sprawling foliage of squash can help to suppress weeds around the base of the Black-Eyed Susans.
- Herbs: Many herbs, like rosemary and thyme, have strong scents that can deter pests that might otherwise bother your Black-Eyed Susans.
Avoid planting them near anything that requires very rich, constantly moist soil. Black-Eyed Susans prefer well-drained soil and can be outcompeted by plants with higher nutrient needs.
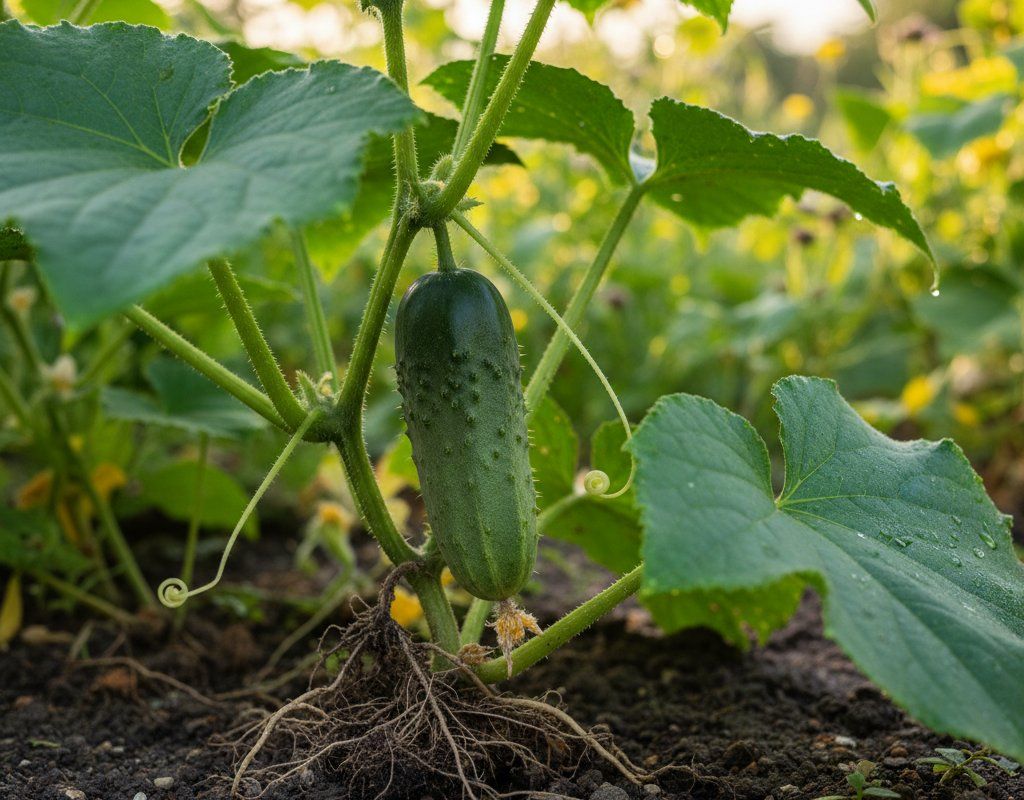
🥬Best Vegetables to Pair With Black-Eyed Susan
Black-Eyed Susan benefits these vegetables through pest control, pollinator attraction, or improved garden health.

Get a Reminder When It's Time to Plant
We'll email you when key planting windows open for your zone.