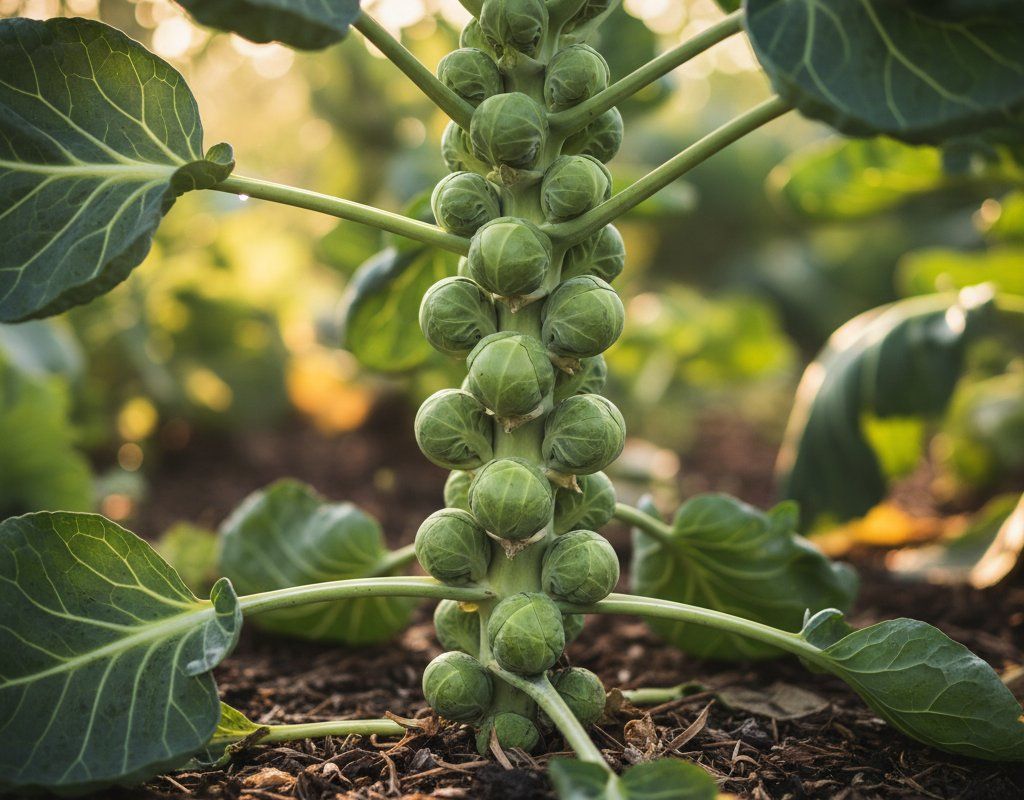
Brussels Sprouts in Zone 9A — Gulf Coast
Brassica oleracea var. gemmifera · Your Complete 2026 Planting Guide
Check Planting Details Below
See the full planting guide for timing information.
How to Plant Brussels Sprouts in Zone 9A — Gulf Coast
Here are all your options for getting brussels sprouts in the ground, from the easiest method to more advanced approaches.
Start Seeds Indoors
RecommendedLate December through mid January
around December 30
Then transplant: Early February through early March
Start seeds 6-8 weeks before transplanting outdoors.
Very long season (90+ days). Must start early or plant for fall harvest.
Buy Starts
Works WellEarly February through early March
around February 10
Plant purchased starts after last frost (February 10).
Direct Sow Seeds
ChallengingDirect sowing is not typical for Brussels Sprouts.
Transplant Outdoors
Timing InfoEarly February through early March
around February 10
Can tolerate light frost, but wait for soil to be workable.
Plan to transplant within a few weeks of your target date.
Fall Planting
Early September through early October
September 24 ideal · Transplant for fall harvest
Plant a second crop in mid-summer for fall harvest. Brussels Sprouts actually prefers the cooling temperatures of fall.
Overview
Brussels sprouts might seem like a cool-weather crop, but don't let that fool you! They can thrive in our Gulf Coast gardens, offering a unique, nutty flavor that's delicious roasted, sautéed, or even shredded in salads. There’s real satisfaction in harvesting your own homegrown sprouts, especially when you've nurtured them through our long growing season.
Now, we all know the challenges of gardening in the Gulf Coast. The high humidity and potential for fungal diseases can be daunting, but with careful timing and the right techniques, you can absolutely grow fantastic Brussels sprouts. Thanks to our 303-day growing season, we have a window of opportunity to get these plants established before the worst of the summer heat hits.
Starting Seeds Indoors
Starting Brussels sprouts indoors is the way to go here in the Gulf Coast. Begin in late December through mid January, about six weeks before you plan to transplant. This gives them a head start before our early spring weather.
Use seed trays with a good seed-starting mix. Keep them warm, and provide plenty of light – a grow light works wonders. Don't forget to water from the bottom to avoid damping off, which can be a real problem with our high humidity. Starting early helps your plants mature before the worst of our summer heat arrives.
Transplanting Outdoors
Transplant your Brussels sprouts seedlings outdoors in early February through early March. Before you do, harden them off by gradually exposing them to outdoor conditions for about a week. This helps them adjust to the sunlight and temperature changes.
Space your plants 18-24 inches apart in well-drained soil. Keep an eye on the weather forecast – those early February cold snaps can still sneak up on us. If a freeze is predicted, be ready to cover your young plants.
Watering Brussels Sprouts in Zone 9A (Gulf Coast)
Watering is critical for Brussels sprouts, especially here in the Gulf Coast. Consistent moisture is key for even sprout development. If they dry out, you'll end up with loose, bitter sprouts.
During our typical spring weather – which can be dry at times – aim for about 1-1.5 inches of water per week. Stick your finger about 2 inches into the soil; if it feels dry, it's time to water. As the weather heats up, you might need to water more frequently. With our high humidity, water at the base of the plants to avoid creating a breeding ground for fungal diseases.
Pay attention to your plants. Wilting leaves can indicate underwatering, while yellowing leaves can be a sign of overwatering. A good layer of mulch, like pine straw, can help retain moisture and suppress weeds, but be careful not to pile it against the stem to prevent rot.
Supporting Your Brussels Sprouts
Brussels sprouts can get tall and top-heavy, especially with our afternoon storms and gusty winds. Staking is a must to keep them upright and prevent them from toppling over.
Bamboo stakes or sturdy wooden stakes work best. Install them when the plants are about 2 feet tall, driving the stake a few inches into the ground near the base of the plant. As the plant grows, gently tie the stalk to the stake with soft twine. Check the ties regularly and adjust as needed.
Pruning & Maintaining Brussels Sprouts
Pruning Brussels sprouts is pretty straightforward. As the sprouts develop upward along the stalk, remove the lower leaves that start to yellow or brown. This helps improve air circulation and directs energy to the developing sprouts.
About 3-4 weeks before you plan to harvest, top the plant by cutting off the growing tip. This encourages the plant to put all its energy into the sprouts, resulting in larger, more uniform sprouts. Don't wait too late in the season to top them.
🧪Fertilizing Brussels Sprouts
Feeding Schedule
Organic Fertilizer Options
Harvest Time
You can usually expect your first Brussels sprouts harvest in mid May through late June, about 90 days after transplanting. The sprouts are ready to pick when they are firm, tight, and about 1-2 inches in diameter. Start harvesting from the bottom of the stalk and work your way up.
To harvest, simply twist or snap the sprouts off the stalk. Don't pull or tug, as this can damage the plant. Even after you harvest the lower sprouts, the plant will continue to produce more sprouts higher up the stalk.
As our first frost approaches in early December, harvest any remaining sprouts, as the flavor often improves after a light frost. You can even cut the entire stalk and hang it upside down in a cool, dry place for a few weeks to extend the harvest.
Common Problems in Zone 9A (Gulf Coast)
Even with careful planning, you might encounter some problems with your Brussels sprouts here in the Gulf Coast. Here are a few common ones:
Aphids
- What it looks like: Clusters of tiny green, black, or white insects on stems and undersides of leaves. Sticky honeydew residue. Distorted or curled new growth.
- What causes it: Rapid-reproducing, sap-sucking insects. Populations explode in warm weather. Ants may farm them.
- How to fix/prevent it: Strong water spray to knock them off. Encourage ladybugs and lacewings. Insecticidal soap for heavy infestations. Neem oil works systemically. Avoid excess nitrogen fertilizer.
Cabbage Worms
- What it looks like: Smooth, green caterpillars on brassica leaves. Irregular holes chewed in leaves. Dark green droppings. White butterflies fluttering around plants.
- What causes it: Larvae of white cabbage butterflies. Multiple generations per season in our warm climate.
- How to fix/prevent it: Bt spray is very effective. Floating row covers prevent egg laying. Handpick caterpillars. Interplant with aromatic herbs (thyme, sage). Encourage parasitic wasps.
Loose Sprouts from Heat
- What it looks like: Sprouts that don't form tight, compact heads. They're loose and leafy.
- What causes it: High temperatures during sprout development. The plant struggles to form tight heads in the heat.
- How to fix/prevent it: Choose heat-tolerant varieties. Provide afternoon shade during the hottest part of the day. Ensure consistent watering. Mulch to keep the soil cool.
Clubroot
- What it looks like: Stunted growth, wilting in afternoon heat, yellowing leaves. Roots are swollen, distorted, and club-shaped when dug up.
- What causes it: Soil-borne pathogen (Plasmodiophora brassicae) that persists in soil for 10+ years. Favors acidic, wet soil.
- How to fix/prevent it: Raise soil pH to 7.0-7.2 with lime. Improve drainage. Rotate brassicas on a 7-year cycle. Remove and destroy infected plants (don't compost). Start transplants in sterile mix.
Gulf Coast Specific Challenges: Our high humidity and wet-year-round rainfall create ideal conditions for fungal diseases. Make sure to provide good air circulation, avoid overhead watering, and monitor your plants closely for any signs of disease.
Best Companions for Brussels Sprouts
Plant these nearby for healthier Brussels Sprouts and better harvests.

Keep Away From


Companion Planting Details
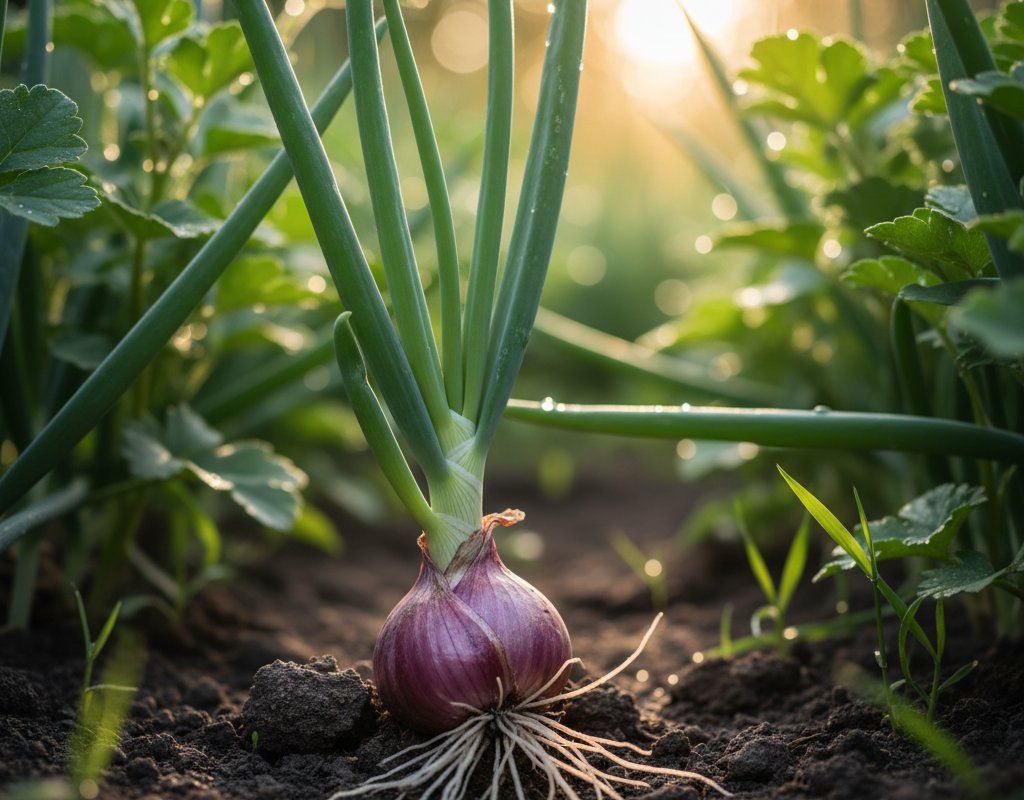
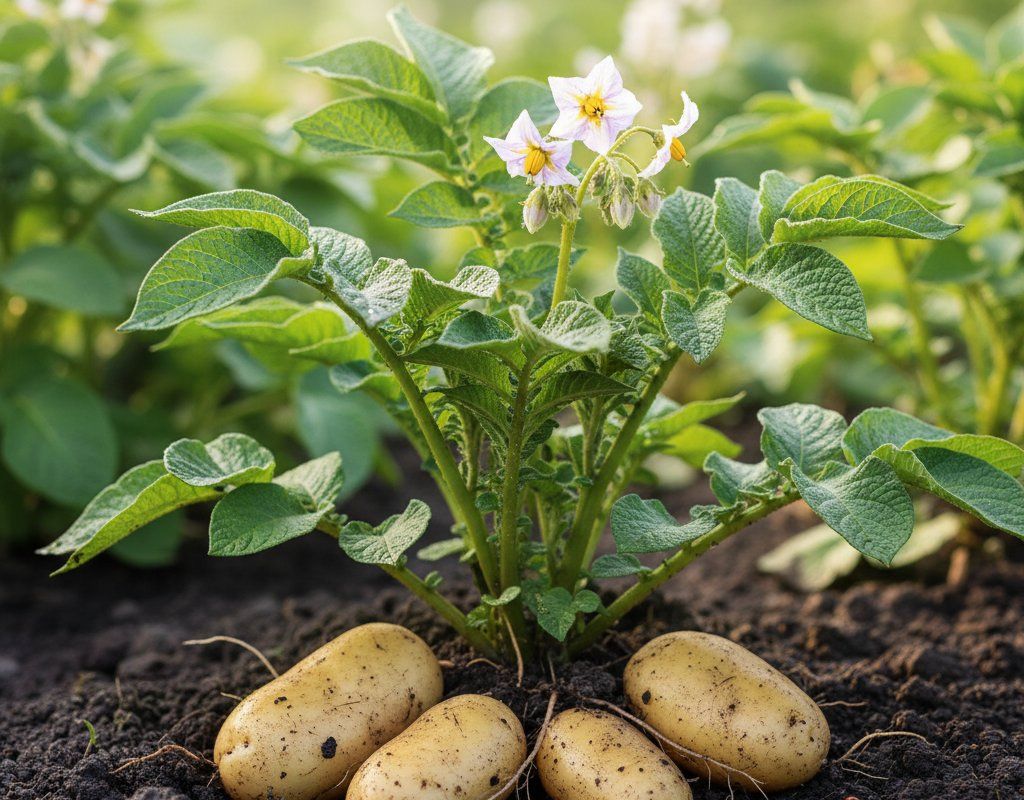
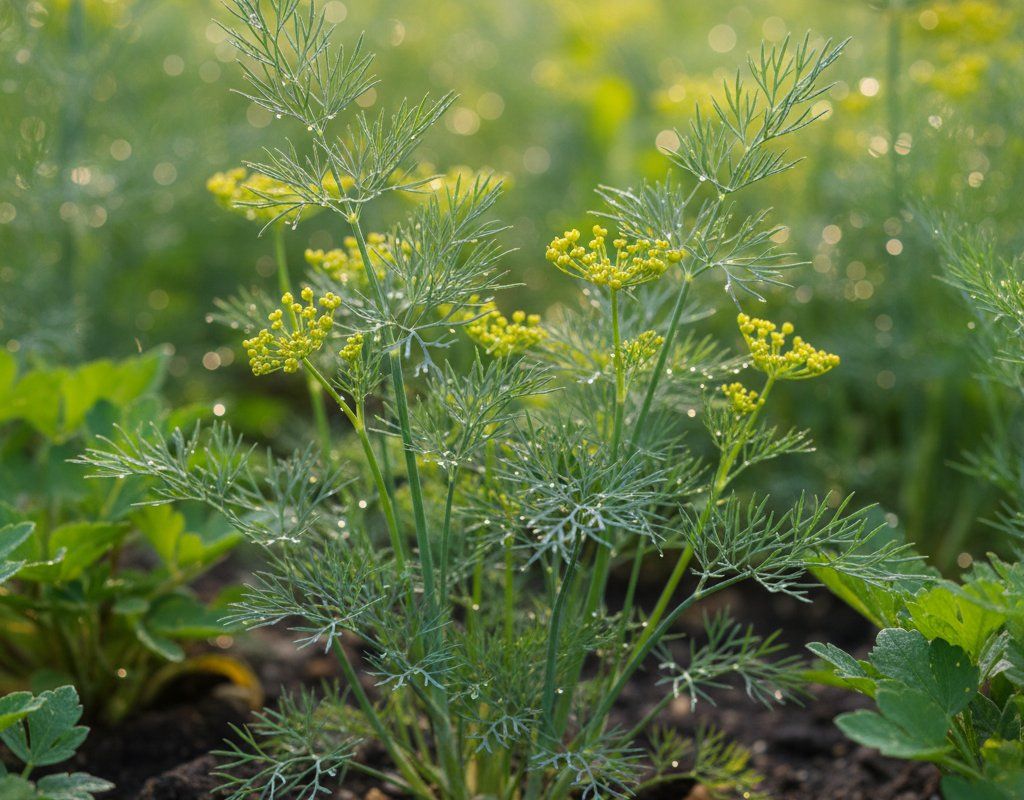
Companion planting can be a great way to boost your Brussels sprouts' growth and health. Green beans are good companions because they fix nitrogen in the soil, benefiting the Brussels sprouts. Celery and onions can help deter pests, while potatoes don't compete for the same nutrients in the soil. Dill attracts beneficial insects that prey on pests like aphids and cabbage worms.
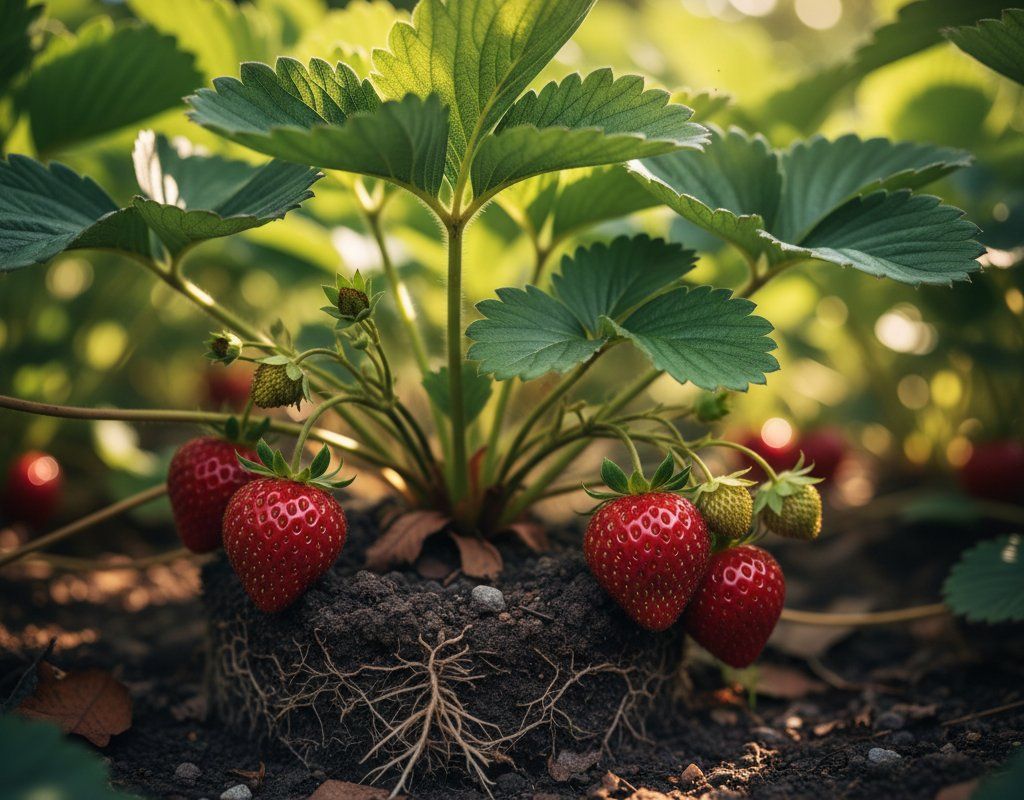
Avoid planting Brussels sprouts near tomatoes, strawberries, or peppers. Tomatoes and peppers can attract similar pests, while strawberries can inhibit the growth of brassicas. Keeping these plants separate helps minimize potential problems and maximize the health of your Brussels sprouts.
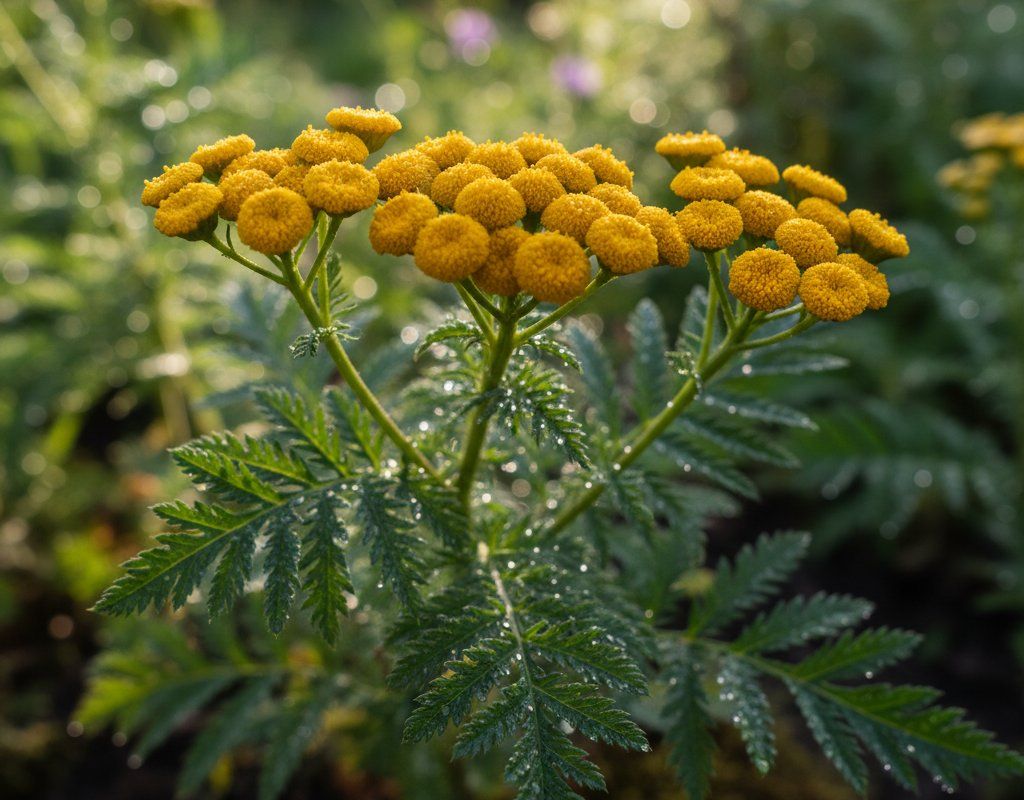
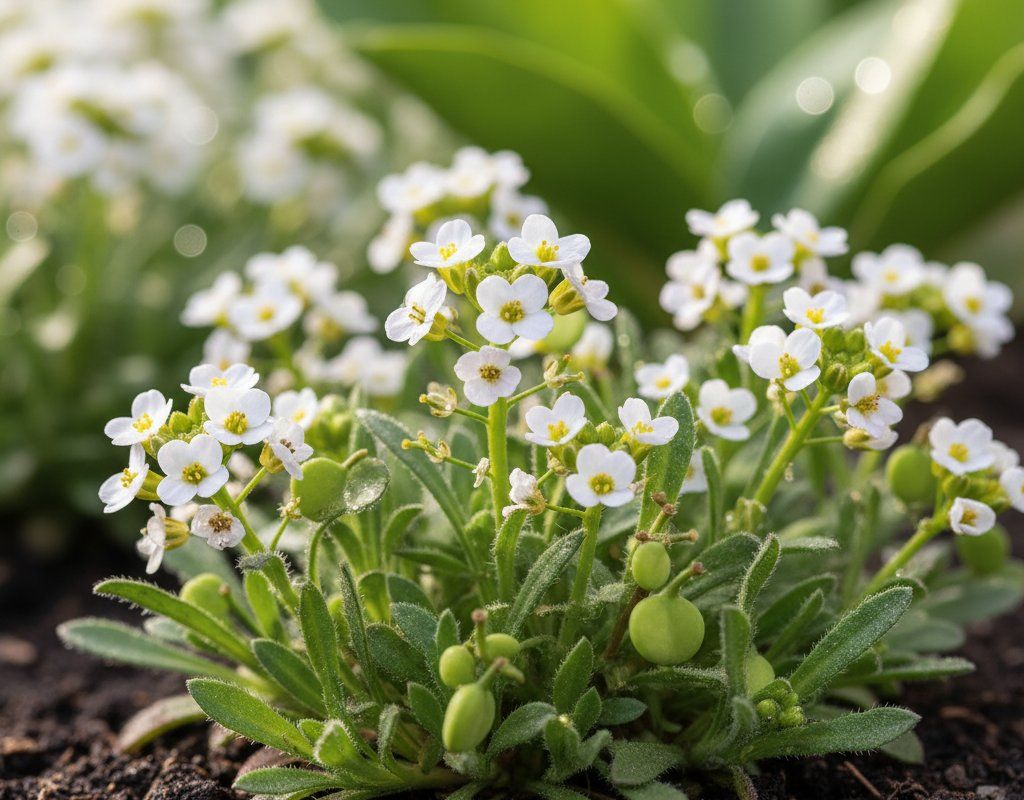
🌸Best Flowers to Plant with Brussels Sprouts
These flowers protect your Brussels Sprouts from pests and attract pollinators for better harvests.
For Pest Control



Get a Reminder When It's Time to Plant
We'll email you when key planting windows open for your zone.