
Tomato in Zone 9A — Gulf Coast
Solanum lycopersicum · Your Complete 2026 Planting Guide
Time to Buy Starts!
Seed starting window passed, but starts are available now.
Buy Starts Now
Head to your local nursery, Home Depot, or farmers market for transplants.
- Look for stocky plants with dark green leaves
- Avoid leggy seedlings or plants already flowering
- Check that roots aren't circling the pot (rootbound)
How to Plant Tomato in Zone 9A — Gulf Coast
Here are all your options for getting tomato in the ground, from the easiest method to more advanced approaches.
Start Seeds Indoors
RecommendedEarly to late January
around January 13
Then transplant: Late February through late March
Start seeds 6-8 weeks before transplanting outdoors.
Tomatoes need 6-8 weeks head start indoors for best production.
Buy Starts
Works WellLate February through late March
around February 24
Plant purchased starts after last frost (February 10).
Look for stocky plants with dark green leaves. Avoid leggy or already-flowering seedlings.
Direct Sow Seeds
ChallengingDirect sowing is not typical for Tomato.
Transplant Outdoors
Timing InfoLate February through late March
around February 24
Wait until nighttime temperatures stay above 50°F.
You have a nice window — no need to rush.
Overview
Growing tomatoes in the Gulf Coast gives you unmatched flavor and that perfect summer satisfaction of slicing into a sun-warmed fruit that tastes nothing like those grocery store imposters. With our 303-day growing season and abundant rainfall, you can actually grow two full crops - a spring planting that produces through early summer, and if you're ambitious, a late summer planting for fall harvest.
The key to success here isn't fighting our high humidity and disease pressure, but working with our timing advantages. Yes, we deal with more fungal issues than drier climates, but we also get to start transplants outside in late February when northern gardeners are still dreaming of spring. Plant at the right time, choose disease-resistant varieties, and you'll be harvesting heavy clusters of tomatoes while managing our summer challenges.
Starting Seeds Indoors
Start your tomato seeds indoors during early to late January, about 6 weeks before you plan to transplant outside. In the Gulf Coast, this timing takes advantage of our early spring warmth - you'll be setting transplants out in late February or March when soil temperatures are perfect.
Set up seed trays with good drainage and keep them consistently warm (70-75°F works well). A heat mat helps maintain steady temperature, especially during any January cold snaps we occasionally get. Place under grow lights or in a sunny south-facing window, keeping seedlings about 2 inches from light sources to prevent leggy growth.
Water from the bottom by placing trays in shallow water rather than watering from above. This prevents damping-off disease, which loves our humid conditions even indoors. Let the soil surface dry slightly between waterings, but never let seedlings wilt. Your tomatoes will need this full 6-week head start to develop strong root systems before facing our intense summer heat and humidity.
Transplanting Outdoors
Transplant your tomato seedlings outside from late February through late March, when nighttime temperatures consistently stay above 50°F and soil temperature reaches 60°F. This window works perfectly with our Gulf Coast climate - late enough to avoid most frost risk but early enough to get plants established before summer heat hits.
Harden off seedlings gradually over 7-10 days by placing them outside for increasing periods, starting with 2-3 hours in filtered sun and building to full days. Watch for late-season cold fronts during this process - our February and March weather can still surprise you with sudden temperature drops.
Space plants 24-36 inches apart to promote air circulation, which is crucial for preventing fungal diseases in our humid climate. Choose stocky transplants with dark green leaves and thick stems. Avoid leggy plants or those already flowering - they'll struggle to establish strong root systems in our increasingly warm spring weather. Plant slightly deeper than the original soil line, burying 2/3 of the stem to encourage additional root development.
Watering Tomato in Zone 9A (Gulf Coast)
Tomatoes need consistent, deep watering to thrive in our Gulf Coast heat and humidity. Despite our 50-65 inches of annual rainfall, you'll still need to supplement regularly since tomatoes have high water needs and inconsistent moisture causes major problems like blossom end rot, fruit cracking, and flower drop.
Water at the base of plants, never overhead, to avoid encouraging the fungal diseases that flourish in our humid conditions. Soaker hoses or drip irrigation work perfectly here. Check soil moisture 2 inches deep with your finger - if it's dry, it's time to water. During our hot summers with 93°F days, established plants need about 1.5-2 inches of water weekly, including any rainfall.
In spring and fall, when afternoon storms provide irregular but heavy downpours, monitor soil moisture carefully. Too much water can be as damaging as too little, especially in our clay-heavy soils that don't drain quickly. During extended rainy periods, improve drainage around plants with raised beds or mounded soil.
Watch for signs of stress: wilting during midday heat (normal), droopy leaves in morning or evening (underwatered), or yellowing lower leaves with soft, mushy fruit (overwatered). Mulch heavily with 3-4 inches of straw or shredded leaves to maintain even moisture and reduce your watering workload during our intense summer months.
Supporting Your Tomato
Install tomato cages or stakes at planting time since indeterminate varieties will grow 6-8 feet tall in our long growing season. Use heavy-duty cages at least 5-6 feet tall and 18 inches wide, or drive 6-foot stakes 12 inches deep next to each plant. Flimsy store-bought cages won't survive a loaded tomato plant in summer thunderstorms.
Train plants weekly by gently weaving new growth through cage openings or tying stems to stakes with soft cloth strips. Never use wire or string that can cut into stems as plants sway in our frequent afternoon storms and hurricane-season winds.
Consider the weight factor - healthy indeterminate tomatoes in our fertile, well-watered Gulf Coast soil can produce 15-20 pounds of fruit per plant. Your support system needs to handle that load plus summer storm winds. Sturdy metal cages or thick wooden stakes work much better than bamboo or thin wire supports.
Pruning & Maintaining Tomato
Remove suckers (shoots growing between the main stem and branches) below the first flower cluster throughout the growing season. These lower suckers drain energy from fruit production and create dense foliage that restricts airflow - especially problematic in our humid climate where good air circulation prevents disease.
You can also remove upper suckers if you prefer fewer, larger tomatoes, though this reduces total yield. In our Gulf Coast heat, some gardeners prefer leaving upper suckers to provide extra leaf cover protecting fruit from sun scald. Remove any branches touching the ground and prune off yellowing lower leaves as they appear.
As first frost approaches in early December, top plants by pinching growing tips about 4-6 weeks beforehand. This redirects energy into ripening existing fruit rather than producing new flowers that won't have time to mature. Remove any obviously diseased foliage throughout the season to prevent spread of fungal problems common in our climate.
🧪Fertilizing Tomato
Feeding Schedule
Organic Fertilizer Options
Harvest Time
Expect your first tomatoes from early May through late June, depending on when you transplanted and which varieties you chose. From that first harvest, properly maintained indeterminate plants will produce continuously until first frost in early December - one of the major advantages of our extended Gulf Coast growing season.
Harvest tomatoes when they're fully colored but still slightly firm, with just a little give when gently squeezed. They should twist off the vine easily with minimal pressure. Don't wait until they're completely soft on the plant, especially during summer heat when overripe fruit attracts pests and develops blossom end rot.
Pick regularly to encourage continued production - leaving ripe fruit on the vine signals the plant to slow down flowering. During peak season (late May through July), you'll likely harvest every 2-3 days. If Hurricane season threatens or you're dealing with extended heat stress, harvest fruits showing the first blush of color and ripen them indoors.
As temperatures start dropping in late November, harvest all green fruits larger than golf ball size. Green tomatoes will continue ripening indoors for weeks if stored in a cool, dry place. This strategy helps you maximize your harvest before our typical early December first frost ends the outdoor season.
Common Problems in Zone 9A (Gulf Coast)
Blossom End Rot Dark, sunken, leathery patches on the bottom (blossom end) of tomatoes, often affecting the first fruits of the season. The spots start small but can cover half the fruit as it grows.
Inconsistent watering causes this calcium uptake problem - not an actual calcium deficiency in soil. Our irregular spring rains followed by hot, dry spells create the perfect conditions for blossom end rot. Water consistently and mulch heavily to maintain even soil moisture. Remove affected fruits and focus on steady watering rather than calcium supplements.
Early Blight Brown spots with distinctive concentric rings (like bullseyes) appearing on lower leaves first, then spreading upward. Leaves yellow and drop, eventually leaving stems bare from the bottom up.
This fungal disease thrives in our warm, humid conditions and spreads when rain or irrigation splashes soil onto lower leaves. Remove affected leaves immediately and destroy them (don't compost). Water at the base only, mulch to prevent soil splash, and ensure good air circulation through proper spacing and pruning. Copper-based fungicides help slow spread during humid periods.
Hornworms Large sections of leaves stripped overnight, often leaving just stems. Look for large (3-4 inch) green caterpillars with white diagonal stripes and dark droppings on leaves below the damage.
These larvae of hawk moths can defoliate entire plants quickly during summer months. Handpick them (they don't bite) or spray with Bt (Bacillus thuringiensis) for organic control. If you find hornworms covered with white cocoons, leave them alone - those are beneficial parasitic wasps that will kill the hornworm and reproduce to help control future infestations.
Fruit Cracking Splits in tomato skin appearing as concentric circles around the stem or radial lines from stem to bottom. Cracks can expose flesh to rot and ruin the fruit.
Heavy watering or rainfall after dry periods causes fruit to absorb water faster than skin can expand. Our summer pattern of afternoon thunderstorms after hot, dry mornings creates perfect cracking conditions. Maintain consistent soil moisture with mulching and regular watering. Harvest fruits at first color change during periods of irregular rainfall.
Gulf Coast Specific Challenges: Our combination of high humidity, frequent afternoon storms, and hurricane season creates ongoing disease pressure and unpredictable watering conditions. Focus on varieties with disease resistance, ensure excellent drainage, and be prepared to harvest early if severe weather threatens during peak season.
Best Companions for Tomato
Plant these nearby for healthier Tomato and better harvests.
View Full Companion Planting Chart →


Companion Planting Details
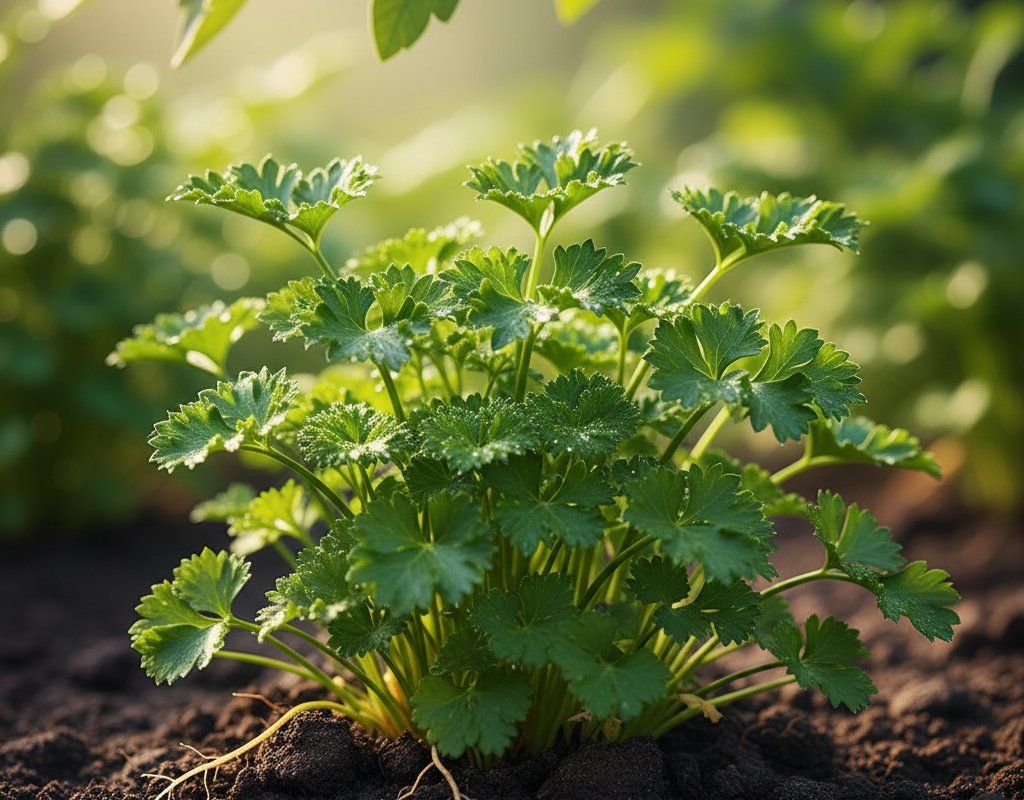
Plant basil near your tomatoes - it naturally repels aphids and whiteflies while thriving in the same warm conditions. Carrots work well as understory plants since they don't compete for space and their light foliage won't block airflow around tomato stems. Parsley attracts beneficial insects that prey on tomato pests, and marigolds help deter nematodes in our warm soils where these microscopic worms multiply quickly.
Avoid planting brassicas (cabbage, broccoli, cauliflower) near tomatoes since they attract different pests and have conflicting nutrient needs. Skip fennel entirely - it inhibits tomato growth through chemical compounds in its roots. Don't plant corn nearby either, as both corn and tomatoes attract hornworms, creating a pest magnet in your garden. In our humid climate where diseases spread rapidly, giving tomatoes plenty of space and compatible neighbors becomes even more critical.
🌸Best Flowers to Plant with Tomato
These flowers protect your Tomato from pests and attract pollinators for better harvests.
For Pest Control







Get a Reminder When It's Time to Plant
We'll email you when key planting windows open for your zone.