
Chrysanthemum in Zone 5A — Mountain West
Chrysanthemum morifolium · Your Complete 2026 Planting Guide
Planning Ahead — Great!
You’re ahead of the season. Here’s when to start.
Mark Your Calendar
How to Plant Chrysanthemum in Zone 5A — Mountain West
Here are all your options for getting chrysanthemum in the ground, from the easiest method to more advanced approaches.
Buy Starts
RecommendedEarly May through early June
around May 10
Plant purchased starts after last frost (May 10).
Buy potted mums in fall, or starts in spring.
Start Seeds Indoors
Works WellEarly to late March
around March 15
Then transplant: Early May through early June
Start seeds 8-10 weeks before transplanting outdoors.
Direct Sow Seeds
ChallengingDirect sowing is not typical for Chrysanthemum.
Transplant Outdoors
Timing InfoEarly May through early June
around May 10
Can tolerate light frost, but wait for soil to be workable.
You have a nice window — no need to rush.
Overview
Chrysanthemums are a fantastic addition to any high-altitude garden, bringing vibrant color and late-season blooms when many other plants are fading. Their cheerful flowers brighten our short growing season and make excellent cut flowers, adding beauty both indoors and out. Plus, the cool nights we experience even in summer seem to intensify their colors.
Growing chrysanthemums in our Mountain West climate does present some unique challenges, including intense UV, alkaline soil, and a relatively short 138-day growing season. However, with a little planning and the right timing, you can easily enjoy these beautiful blooms in your garden.
Starting Seeds Indoors
Starting chrysanthemums from seed indoors gives you a head start, especially considering our short season. Begin in early to late March, about eight weeks before you plan to transplant them outdoors. This can be a good option if you're looking for specific varieties not readily available as starts.
Use seed trays or small pots filled with a good quality seed-starting mix. Keep the soil consistently moist by bottom watering – place the tray in a shallow container of water and let the soil absorb it from the bottom. This helps prevent damping-off disease and keeps the seedlings happy. Provide warmth and plenty of light, either with a sunny windowsill or grow lights. Remember, spring can be late getting here, so don't rush the process.
Transplanting Outdoors
You can transplant your chrysanthemum seedlings outdoors from early May through early June, once the danger of hard frost has passed. Before transplanting, harden them off by gradually exposing them to outdoor conditions for about a week. This helps them adjust to the intense sun and cooler temperatures.
Space the plants 12-18 inches apart to allow for good air circulation. You can also purchase potted mums in the fall, or starts in the spring, from local nurseries. This is a very common practice in our region.
Watering Chrysanthemum in Zone 5A (Mountain West)
Chrysanthemums need consistent moisture, but overwatering can lead to problems, especially in our alkaline soils. During the active growing season, from late spring through summer, aim for about 1 inch of water per week, either from rainfall or irrigation.
The "finger test" is your best guide – stick your finger about 2 inches deep into the soil near the base of the plant. If it feels dry, it's time to water. Water deeply at the base of the plant, avoiding wetting the foliage. Our low humidity helps reduce the risk of fungal diseases, but it’s still best to be cautious.
Watch for signs of underwatering, such as wilting leaves and dry soil, or overwatering, such as yellowing leaves and soggy soil. A light layer of organic mulch, like compost or shredded bark, can help retain moisture and regulate soil temperature, which is beneficial in our intense sun.
Pruning & Maintaining Chrysanthemum
Pinching your chrysanthemums is key to getting a bushy plant with lots of blooms. Begin pinching the growing tips every 2-3 weeks, starting when the plants are about 6 inches tall.
Continue pinching until around July 4th; this encourages side branching and more flower buds. After July 4th, stop pinching to allow the buds to develop. At the end of the season, after the first frost in late September, you can cut back the foliage to ground level.
🧪Fertilizing Chrysanthemum
Feeding Schedule
Organic Fertilizer Options
Harvest Time
You can expect your first chrysanthemum blooms from mid-July through early September, depending on the variety and when you transplanted. The flowers will last for weeks in the garden, providing a long-lasting splash of color.
Harvest the flowers for bouquets when they are fully open, as they won't continue to open much after cutting. Cut the stems at an angle, and remove any leaves that will be below the waterline in the vase. This helps prevent bacterial growth and extends the life of your cut flowers.
As the first frost approaches in late September, don't be afraid to cut all the remaining blooms to enjoy indoors. Even after a light frost, you may still be able to salvage some blooms, but they won't last as long.
Common Problems in Zone 5A (Mountain West)
Here are some common problems you might encounter with chrysanthemums in our region:
Aphids
- What it looks like: Clusters of tiny green, black, or white insects on stems and leaf undersides. You might also see a sticky honeydew residue and curled or distorted new growth.
- What causes it: These sap-sucking insects reproduce rapidly, especially in warm weather. Ants may even farm them.
- How to fix/prevent it: Knock them off with a strong spray of water. Encourage natural predators like ladybugs and lacewings. Use insecticidal soap for heavy infestations, or neem oil. Avoid excess nitrogen fertilizer, which attracts them.
Spider Mites
- What it looks like: Fine stippling on leaves (tiny white dots), fine webbing on leaf undersides and between stems. Leaves may turn bronze or yellow.
- What causes it: These tiny arachnids thrive in hot, dry conditions, and populations explode during drought stress. Our low humidity can contribute to this problem.
- How to fix/prevent it: A strong spray of water daily for a week is often the best treatment. Increase humidity around plants. Use neem oil or insecticidal soap. You can also release predatory mites. Avoid broad-spectrum pesticides that kill beneficial predators.
Leaf Miners
- What it looks like: Tan, winding trails or blotches inside the leaves. The larvae feed between the leaf surfaces, leaving visible tunnels.
- What causes it: Small flies or moths lay eggs on the leaves, and the larvae burrow into the leaf tissue.
- How to fix/prevent it: Remove and destroy infested leaves. You can also use sticky traps to catch adult flies. Insecticidal soap or neem oil can help control infestations. In severe cases, systemic insecticides may be necessary.
Rust
- What it looks like: Rusty orange, yellow, or brown pustules on leaves and stems, mostly on undersides. Leaves may yellow and drop prematurely.
- What causes it: Various rust fungi spread via wind-borne spores. Favored by warm, humid conditions with moisture on leaves.
- How to fix/prevent it: Remove affected leaves immediately. Avoid overhead watering. Improve air circulation around the plants. Apply sulfur or copper fungicide. Don't work among wet plants, and rotate crops each year.
Mountain West Specific Challenges: The intense sun can stress chrysanthemums, making them more susceptible to pests and diseases. Our alkaline soil can also affect nutrient availability. Regular watering and soil amendments like compost can help mitigate these issues. The dry climate generally reduces fungal disease pressure, but spider mites can be a persistent problem.
Best Companions for Chrysanthemum
Plant these nearby for healthier Chrysanthemum and better harvests.
View Full Companion Planting Chart →

Companion Planting Details
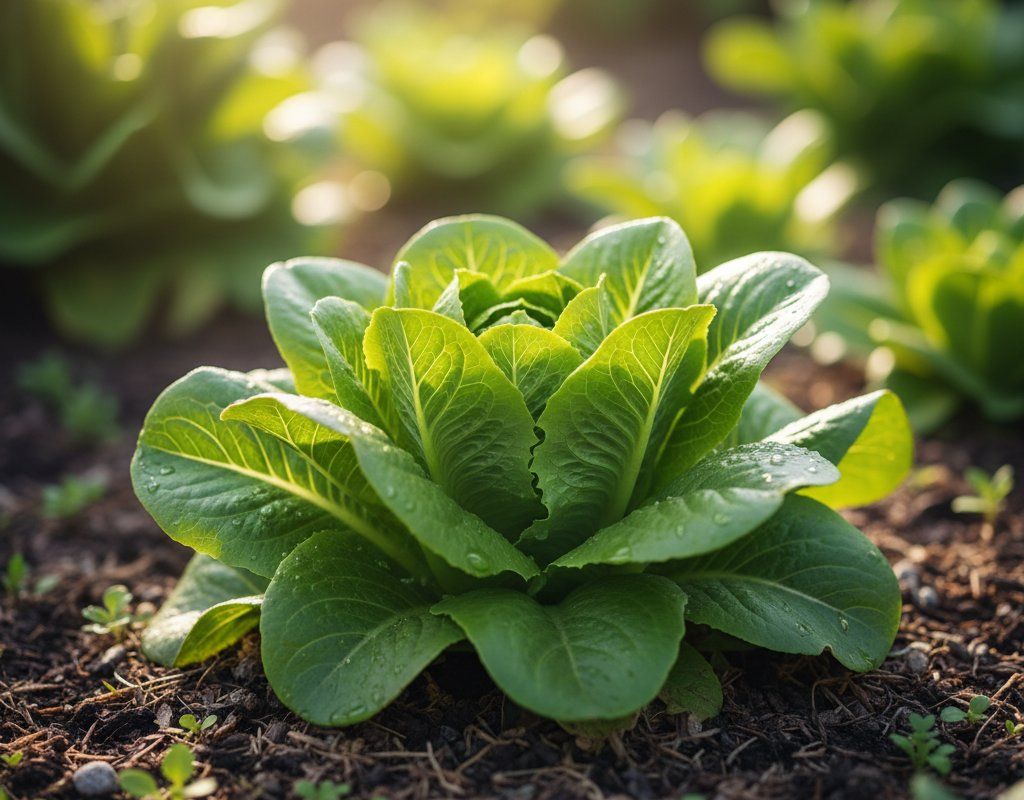
Chrysanthemums make good companions for several vegetables in our Mountain gardens. Tomatoes and peppers benefit from the chrysanthemums' ability to repel certain pests, like aphids, keeping your veggie patch healthier. Lettuce also appreciates the partial shade that taller chrysanthemum varieties can provide, especially during the hottest part of our summer days.
Avoid planting chrysanthemums near members of the cabbage family (broccoli, cabbage, kale, etc.) as they can attract similar pests, increasing the likelihood of infestations.
🥬Best Vegetables to Pair With Chrysanthemum
Chrysanthemum benefits these vegetables through pest control, pollinator attraction, or improved garden health.



Get a Reminder When It's Time to Plant
We'll email you when key planting windows open for your zone.