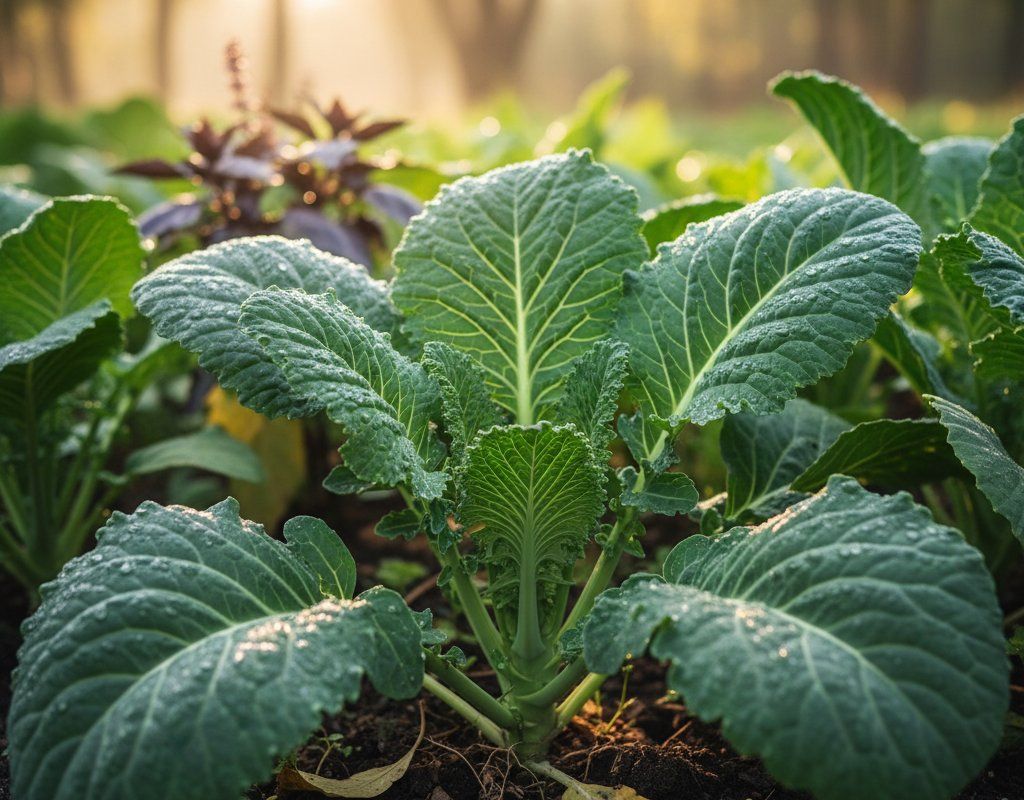
Collard Greens in Zone 4B — Northeast
Brassica oleracea var. viridis · Your Complete 2026 Planting Guide
Planning Ahead — Great!
You’re ahead of the season. Here’s when to start.
Mark Your Calendar
How to Plant Collard Greens in Zone 4B — Northeast
Here are all your options for getting collard greens in the ground, from the easiest method to more advanced approaches.
Direct Sow Seeds
RecommendedLate April through late June
around April 26
Consider succession planting every 2-3 weeks for continuous harvest.
Start Seeds Indoors
RecommendedEarly to late April
around April 12
Then transplant: Early May through early June
Start seeds 4-6 weeks before transplanting outdoors.
Buy Starts
Works WellEarly May through early June
around May 10
Plant purchased starts after last frost (May 10).
Transplant Outdoors
Timing InfoEarly May through early June
around May 10
Can tolerate light frost, but wait for soil to be workable.
You have a nice window — no need to rush.
Fall Planting
Late June through late July
July 10 ideal · Direct sow for fall harvest
Plant a second crop in mid-summer for fall harvest. Collard Greens actually prefers the cooling temperatures of fall.
Overview
Collard greens are a fantastic addition to any Northeast garden. Their slightly bitter, earthy flavor mellows with cool nights, making them a delicious and versatile green for cooking or enjoying fresh. Plus, they’re surprisingly cold-hardy, giving us a welcome harvest even as summer winds down.
Our short growing season and the occasional late spring frost can be a challenge, but collards are adaptable. With a little planning and attention to timing, you can definitely make the most of our roughly 138-day growing season and enjoy a great harvest.
Starting Seeds Indoors
Starting collard greens indoors in the Northeast isn't always necessary, but it can give you a head start, especially if we have a particularly late spring. If you want to go this route, start your seeds indoors from early to late April, about four weeks before you plan to transplant them outside.
Use seed trays or small pots filled with a good seed-starting mix. Keep them warm and provide plenty of light – a sunny windowsill or grow lights work well. Don't forget to water from the bottom by setting the tray in a shallow dish of water, so the seedlings don't get damping off. It's a good way to get ahead of our unpredictable spring weather.
Transplanting Outdoors
Transplant your collard greens seedlings outdoors from early May through early June, once the danger of a hard frost has passed. Before transplanting, harden off your seedlings by gradually exposing them to outdoor conditions for about a week. This will help them adjust to the cooler temperatures and stronger sunlight.
When transplanting, space the seedlings 18-24 inches apart to give them plenty of room to grow. Keep an eye on the weather forecast around transplant time. A sudden cold snap can set them back, so be ready to cover them if needed.
Direct Sowing
Direct sowing collard greens is a perfectly viable option here in the Northeast. The main advantage is that it avoids the extra step of transplanting. On the other hand, you're more exposed to weather fluctuations, and the plants take longer to mature.
Sow seeds directly into the garden from late April through late June, once the soil has warmed up a bit. Prepare the soil well, ensuring it's loose and fertile. Plant seeds about ½ inch deep and space them 18-24 inches apart.
Watering Collard Greens in Zone 4B (Northeast)
Collard greens need consistent moisture to thrive, but overwatering can be just as harmful. In our Northeast climate, with its moderate heat and humidity, finding the right balance is key.
During the peak of summer, when temperatures reach the 80s, aim to water your collard greens deeply about once or twice a week, providing around 1-1.5 inches of water. The best way to know if they need water is the finger test: stick your finger about two inches into the soil near the plant. If it feels dry, it's time to water. With our even rainfall of 40-50 inches, you might not need to water much some weeks.
Water at the base of the plants rather than overhead, especially with our moderate-to-humid conditions. Overhead watering can create a humid environment around the leaves, increasing the risk of fungal diseases. Yellowing leaves or stunted growth can indicate underwatering, while soggy soil and wilting can be signs of overwatering.
A good layer of mulch around your collard greens can help retain moisture in the soil and suppress weeds. In the Northeast, organic mulches like straw or shredded leaves work well.
🧪Fertilizing Collard Greens
Feeding Schedule
Organic Fertilizer Options
Harvest Time
You can expect your first collard greens harvest from early July through early October, about 75 days after planting. Look for the lower leaves to reach about 10-12 inches in length. These are usually ready to pick first.
Harvest by cutting the outer leaves near the base of the plant, leaving the top rosette intact. This allows the plant to continue producing new leaves throughout the season. And here's a tip: the flavor of collard greens actually sweetens after a light frost, so don't be afraid to leave them in the garden a little longer into the fall.
As our first frost approaches in late September, you can either harvest all the remaining leaves or cover the plants to extend the harvest a bit longer. They're pretty cold-hardy, so a light frost won't hurt them, but a hard freeze will likely damage the leaves.
Common Problems in Zone 4B (Northeast)
Here are a few common problems you might encounter with collard greens in the Northeast, and how to deal with them.
Cabbage Worms *What it looks like:* You'll see smooth green caterpillars munching on the leaves, leaving irregular holes. You might also notice dark green droppings and white butterflies fluttering around. *What causes it:* These are the larvae of cabbage butterflies. They can go through multiple generations during our warmer months. *How to fix/prevent it:* Use Bt spray, which is very effective. Floating row covers will prevent the butterflies from laying eggs. You can also handpick the caterpillars. Interplanting with thyme and sage can help repel them, and encourage parasitic wasps to keep them in check.
Aphids *What it looks like:* Clusters of tiny green, black, or white insects on the stems and undersides of leaves. You might also notice a sticky residue called honeydew, and curled or distorted new growth. *What causes it:* Aphids are sap-sucking insects that reproduce rapidly, especially in warm weather. Ants sometimes "farm" them for their honeydew. *How to fix/prevent it:* A strong spray of water can knock them off. Encourage ladybugs and lacewings, which are natural predators. Insecticidal soap can help with heavy infestations, and neem oil works systemically. Avoid using too much nitrogen fertilizer, as it attracts them.
Cabbage Loopers *What it looks like:* Similar to cabbage worms, cabbage loopers are pale green caterpillars that feed on leaves, creating large, ragged holes. They move in a distinctive looping motion. *What causes it:* These are the larvae of nocturnal moths. They can be more challenging to spot than cabbage worms. *How to fix/prevent it:* Handpicking is effective for smaller infestations. Bt spray also works well. Row covers can prevent moths from laying eggs on the plants.
Downy Mildew *What it looks like:* Yellow patches on the tops of leaves, with fuzzy gray-purple growth on the undersides. Leaves will eventually turn brown and die, starting from the bottom of the plant. *What causes it:* This is a fungal disease that spreads in cool, humid conditions via wind-carried spores. *How to fix/prevent it:* Remove affected leaves immediately. Improve air circulation around the plants. Water at the base, avoiding overhead watering. Copper-based fungicides can be used for prevention.
Northeast Specific Challenges: Our moderate heat, moderate-to-humid humidity, and even rainfall can create ideal conditions for fungal diseases like downy mildew and attract pests like aphids. Regular monitoring and prompt action are key to keeping your collard greens healthy. Deer are also a constant threat in many areas, so consider fencing or other deterrents to protect your crop.
Best Companions for Collard Greens
Plant these nearby for healthier Collard Greens and better harvests.

Keep Away From

Companion Planting Details
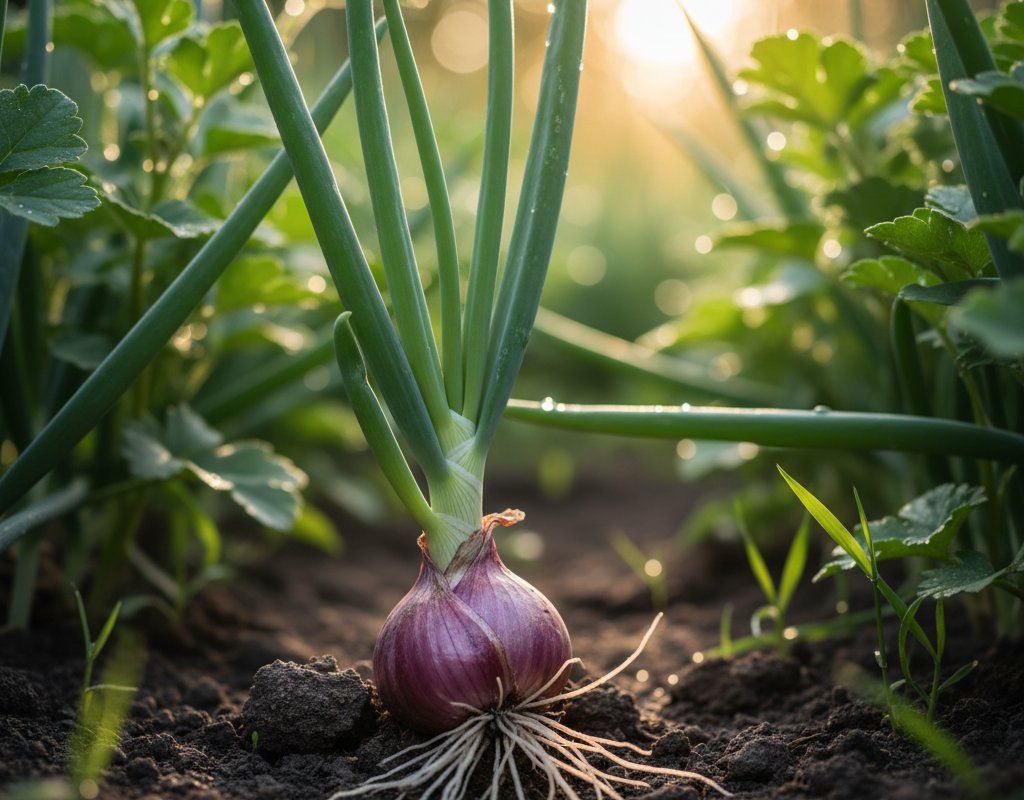
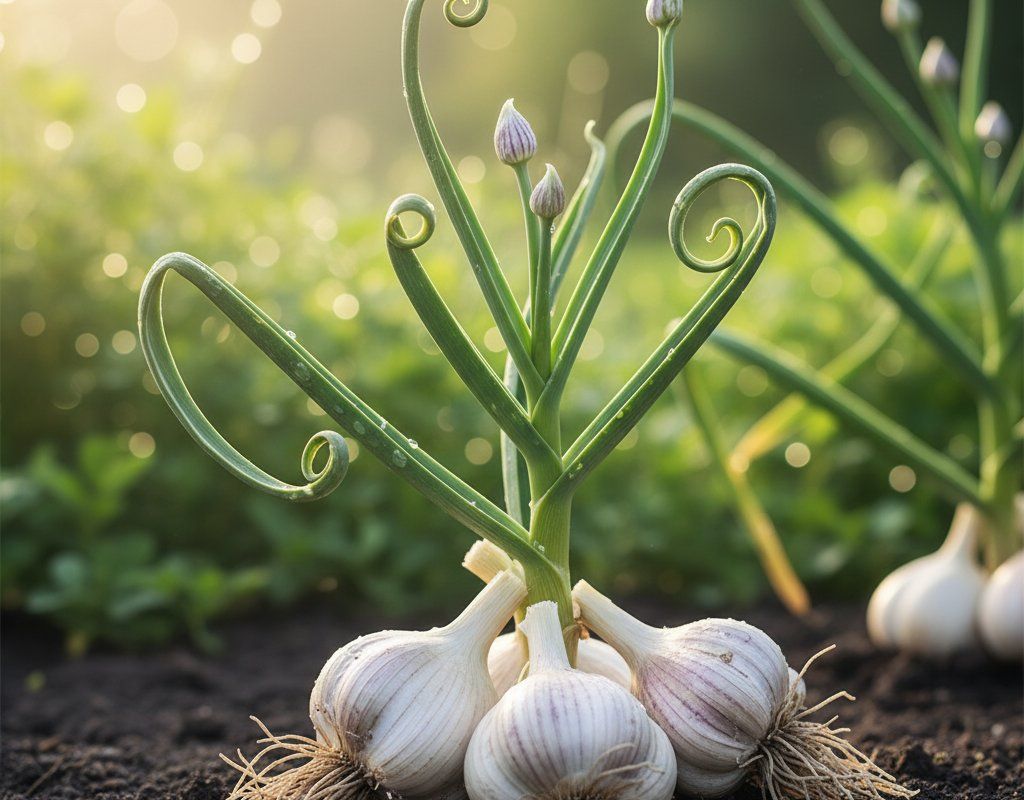
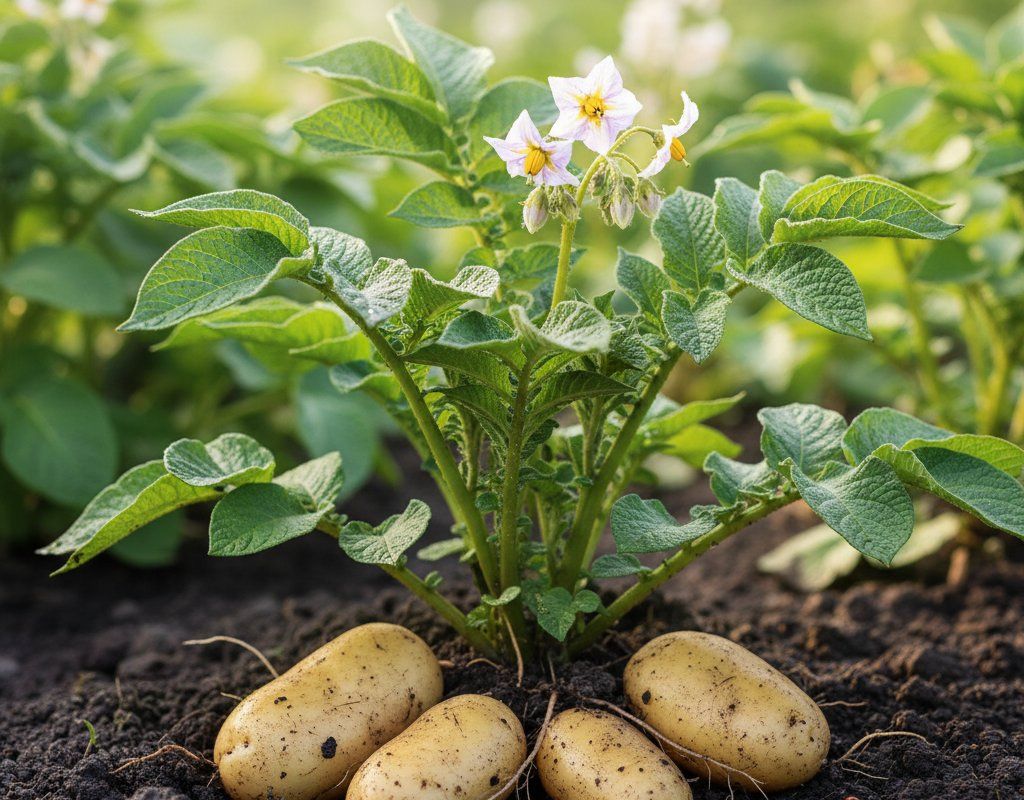
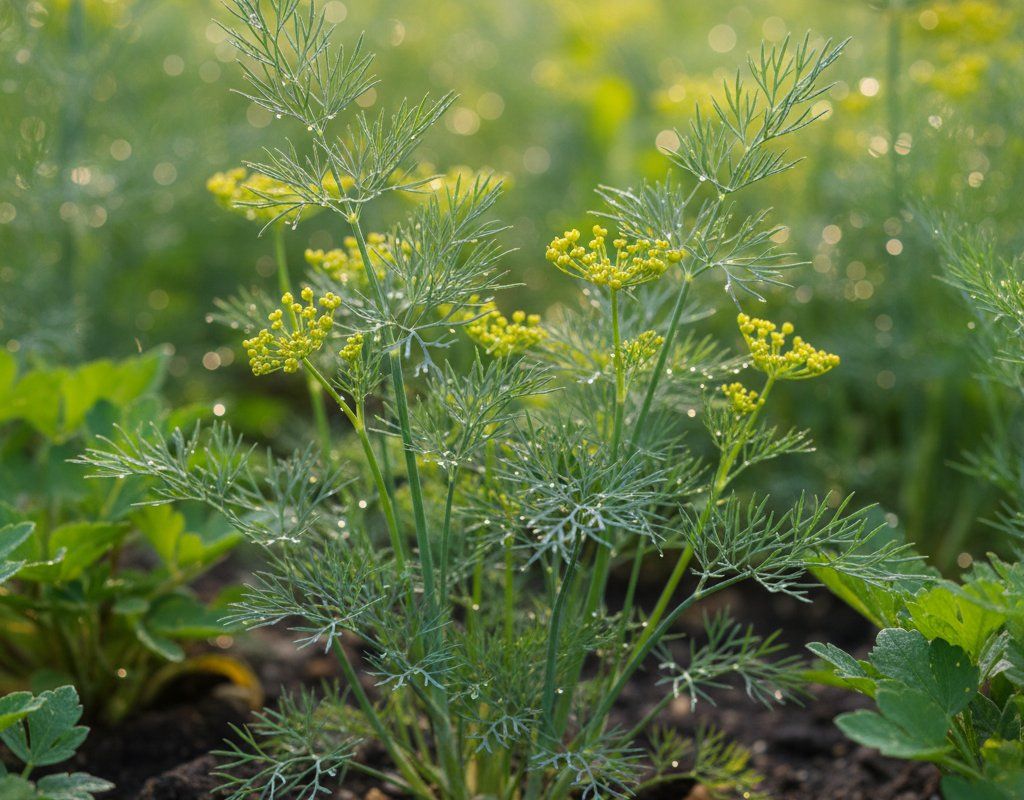
Companion planting can be a great way to improve the health and yield of your collard greens. Onions and garlic are good companions because their strong scent can help deter pests like aphids and cabbage moths. Beets and potatoes are also beneficial companions, as they don't compete for the same nutrients in the soil. Dill attracts beneficial insects that prey on pests like aphids and cabbage worms.
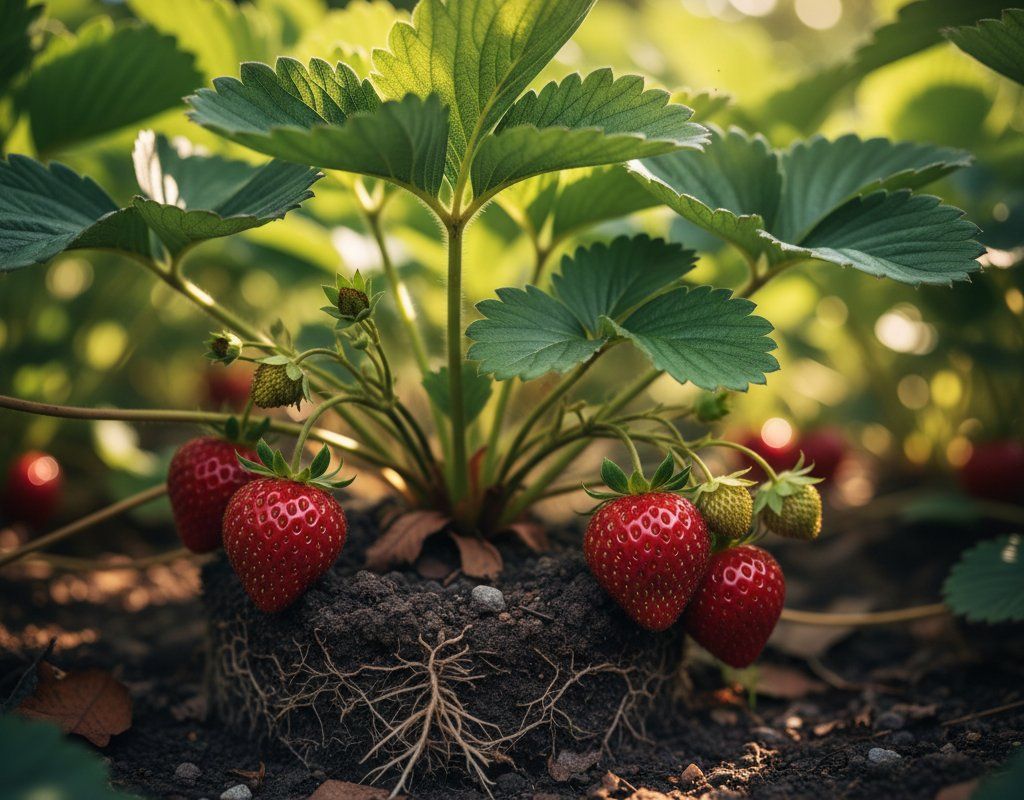
Avoid planting collard greens near strawberries or tomatoes. Strawberries can attract slugs, which can also damage collard greens. Tomatoes can stunt the growth of collard greens, so it's best to keep them separated.
🌸Best Flowers to Plant with Collard Greens
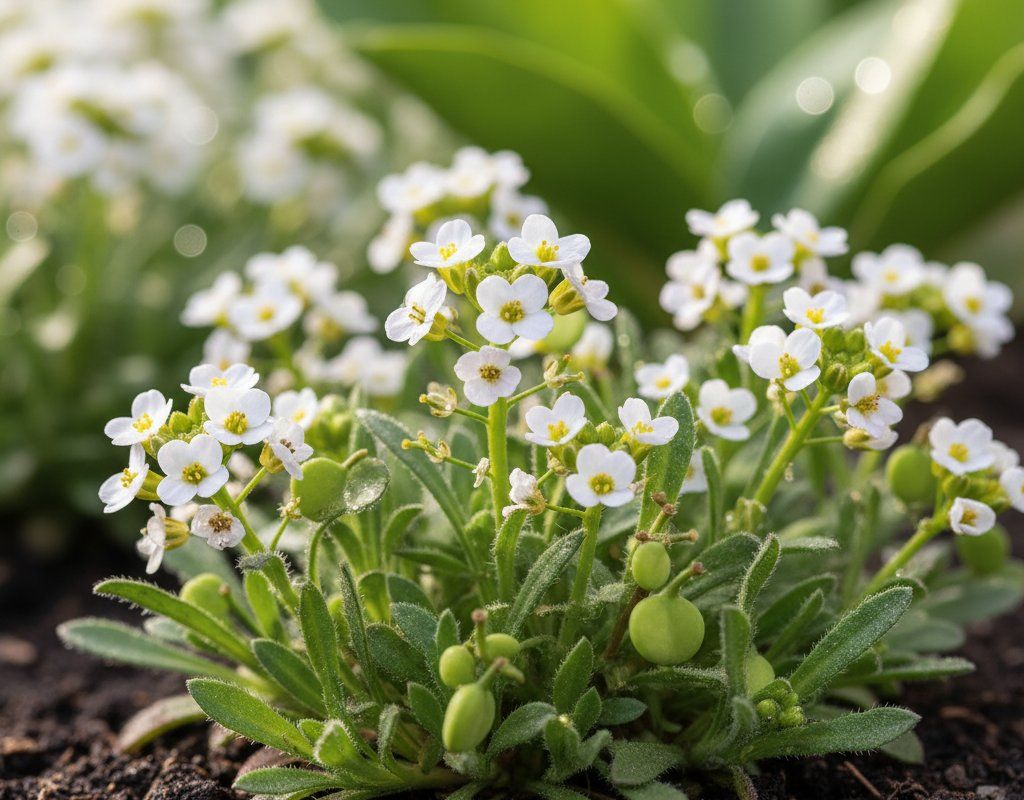
These flowers protect your Collard Greens from pests and attract pollinators for better harvests.
For Pest Control
Get a Reminder When It's Time to Plant
We'll email you when key planting windows open for your zone.