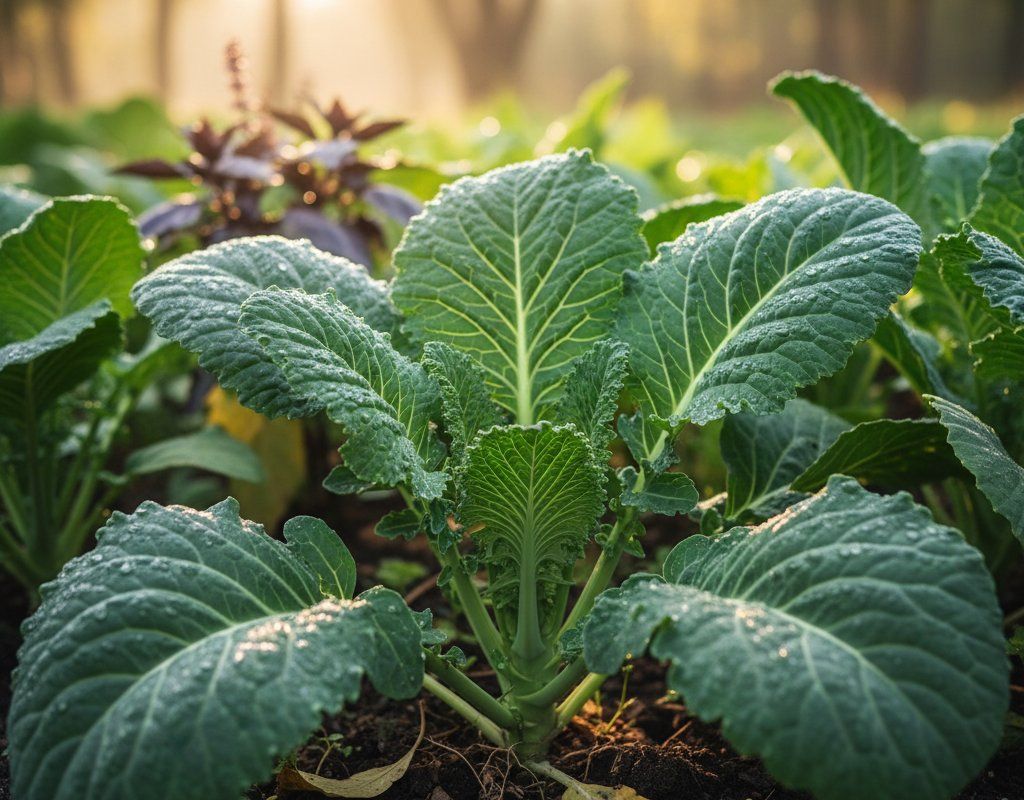
Collard Greens in Zone 7A — Pacific Northwest
Brassica oleracea var. viridis · Your Complete 2026 Planting Guide
Planning Ahead — Great!
You’re ahead of the season. Here’s when to start.
Mark Your Calendar
How to Plant Collard Greens in Zone 7A — Pacific Northwest
Here are all your options for getting collard greens in the ground, from the easiest method to more advanced approaches.
Direct Sow Seeds
RecommendedEarly April through late July
around April 6
Consider succession planting every 2-3 weeks for continuous harvest.
Start Seeds Indoors
RecommendedMid March through early April
around March 23
Then transplant: Mid April through mid May
Start seeds 4-6 weeks before transplanting outdoors.
Buy Starts
Works WellMid April through mid May
around April 20
Plant purchased starts after last frost (April 20).
Transplant Outdoors
Timing InfoMid April through mid May
around April 20
Can tolerate light frost, but wait for soil to be workable.
You have a nice window — no need to rush.
Fall Planting
Late July through mid August
August 4 ideal · Direct sow for fall harvest
Plant a second crop in mid-summer for fall harvest. Collard Greens actually prefers the cooling temperatures of fall.
Overview
Collard greens are a fantastic addition to any Pacific Northwest garden. Their slightly bitter, earthy flavor mellows beautifully when cooked, making them incredibly versatile in soups, stews, or as a simple side. Plus, they thrive in our cool nights and long, mild fall, providing a steady supply of greens well after other crops have faded.
While we do have our gardening quirks in the PNW, like cool soil in spring and the occasional slug, collards are surprisingly resilient. With a 183-day growing season and the right timing, you can enjoy a bountiful harvest of these nutritious greens.
Starting Seeds Indoors
Starting collard greens indoors gives you a head start, especially if you're aiming for an early harvest. Begin sowing seeds indoors from mid-March through early April, about four weeks before you plan to transplant them outside. Use seed trays filled with a good seed-starting mix, and keep them consistently moist – bottom watering is a great way to avoid damping off.
Place the trays in a warm location with plenty of light. In the PNW, our overcast spring days can make supplemental lighting necessary for strong, healthy seedlings.
Transplanting Outdoors
Transplant your collard green seedlings outdoors from mid-April through mid-May. Before planting, harden them off by gradually exposing them to outdoor conditions for about a week. This helps them adjust to the cooler temperatures and stronger sunlight.
Space the seedlings 18-24 inches apart in well-drained soil. Keep an eye on the weather forecast – a late frost can still happen, so be prepared to cover your young plants if needed.
Direct Sowing
Direct sowing collard greens is a simple and effective method, especially for later harvests. Sow seeds directly into the garden from early April through late July. The key is to wait until the soil has warmed up a bit; collards germinate best when the soil temperature is consistently above 50°F.
Prepare the soil by loosening it and adding compost. Sow seeds about ½ inch deep and 18-24 inches apart. Thin seedlings as they grow, leaving the strongest plants to mature.
Watering Collard Greens in Zone 7A (Pacific Northwest)
Collard greens need consistent moisture to produce tender, flavorful leaves. In our dry summer months, regular watering is essential. Aim for about 1 inch of water per week, especially during hot spells.
Check the soil moisture regularly using the "finger test" – stick your finger about 2 inches deep into the soil. If it feels dry, it's time to water. Water at the base of the plants to avoid wetting the leaves, which can encourage fungal diseases in our sometimes humid conditions.
Signs of underwatering include wilting leaves and slow growth. Overwatering, on the other hand, can lead to yellowing leaves and root rot. Mulching around your collard greens with straw or compost helps retain moisture and suppress weeds, reducing the need for frequent watering.
🧪Fertilizing Collard Greens
Feeding Schedule
Organic Fertilizer Options
Harvest Time
You can expect your first harvest of collard greens from mid-June through late October, about 75 days after planting. The best time to harvest is when the lower leaves are 10-12 inches long and a healthy green color.
Harvest by snapping off the outer leaves, leaving the top rosette to continue growing. This allows for continuous production throughout the season. The flavor of collard greens actually sweetens after a light frost, so don't be afraid to leave them in the garden as the weather cools down.
As the first frost approaches in mid-October, harvest any remaining large leaves. Smaller leaves can often withstand a light frost and provide a final harvest before winter sets in.
Common Problems in Zone 7A (Pacific Northwest)
Here are some common problems you might encounter growing collard greens in the Pacific Northwest:
Cabbage Worms
- What it looks like: Smooth green caterpillars on brassica leaves. Irregular holes chewed in leaves. Dark green droppings. White butterflies hovering around plants.
- What causes it: Larvae of white cabbage butterflies. Multiple generations per season in warm climates.
- How to fix/prevent it: Bt spray is very effective. Floating row covers prevent egg laying. Handpick caterpillars. Interplant with aromatic herbs (thyme, sage). Encourage parasitic wasps.
Aphids
- What it looks like: Clusters of tiny soft-bodied insects (green, black, or white) on stems and leaf undersides. Sticky honeydew residue. Curled or distorted new growth.
- What causes it: Rapid-reproducing sap-sucking insects. Populations explode in warm weather. Ant colonies may farm them for honeydew.
- How to fix/prevent it: Strong water spray knocks them off. Encourage ladybugs and lacewings (natural predators). Insecticidal soap for heavy infestations. Neem oil works systemically. Avoid excess nitrogen fertilizer (it attracts them).
Cabbage Loopers
- What it looks like: Pale green caterpillars that move in a looping motion. They chew large holes in leaves, often leaving only the veins behind.
- What causes it: Similar to cabbage worms, these are the larvae of moths. They thrive in warm weather and can quickly defoliate plants.
- How to fix/prevent it: Handpick them off plants. Bt spray is effective, especially when applied early in the infestation. Floating row covers can also help prevent moths from laying eggs on your collard greens.
Downy Mildew
- What it looks like: Yellow patches on leaf tops with fuzzy gray-purple growth on undersides. Leaves brown and die from the bottom up.
- What causes it: Oomycete pathogen that spreads in cool, humid conditions via wind-carried spores.
- How to fix/prevent it: Remove affected leaves immediately. Improve air circulation. Water at the base, never overhead. Copper-based fungicides for prevention. Plant resistant varieties where available.
Pacific Northwest Specific Challenges: Our mild heat and dry-summer humidity can create favorable conditions for downy mildew, so good air circulation and watering practices are crucial. Slugs can also be a nuisance, especially for young plants, so use slug bait or traps as needed. Late blight is less of a concern for collards than tomatoes, but it's still wise to monitor your plants for any signs of disease.
Best Companions for Collard Greens
Plant these nearby for healthier Collard Greens and better harvests.

Keep Away From

Companion Planting Details
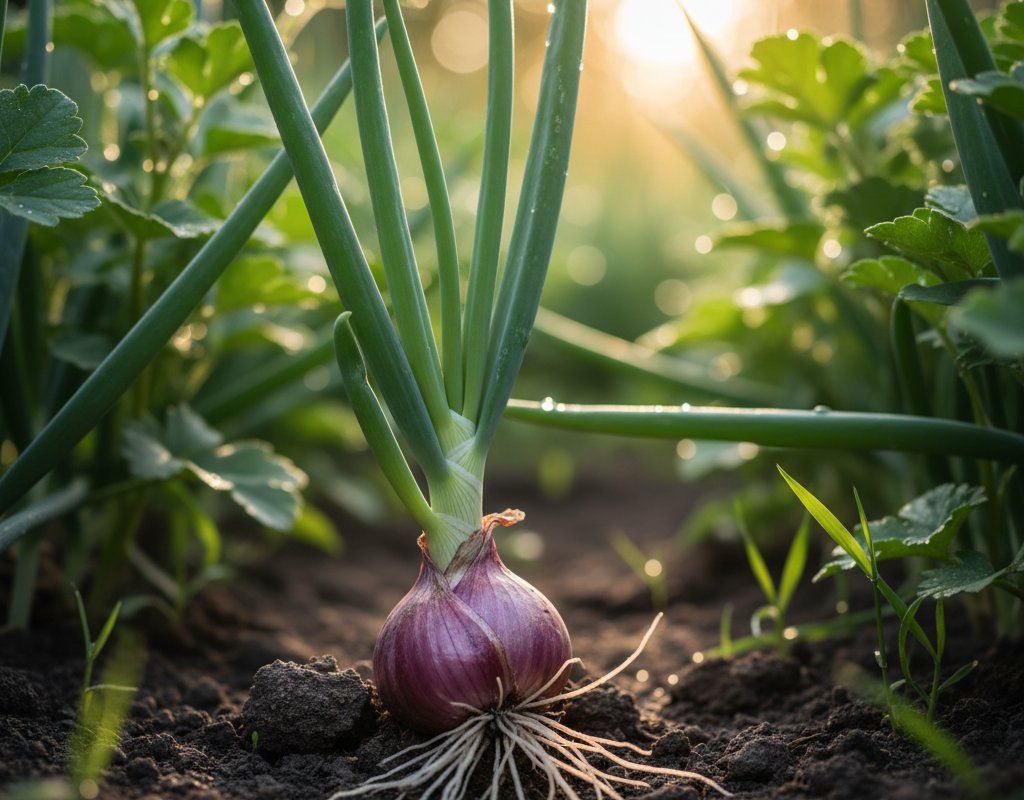
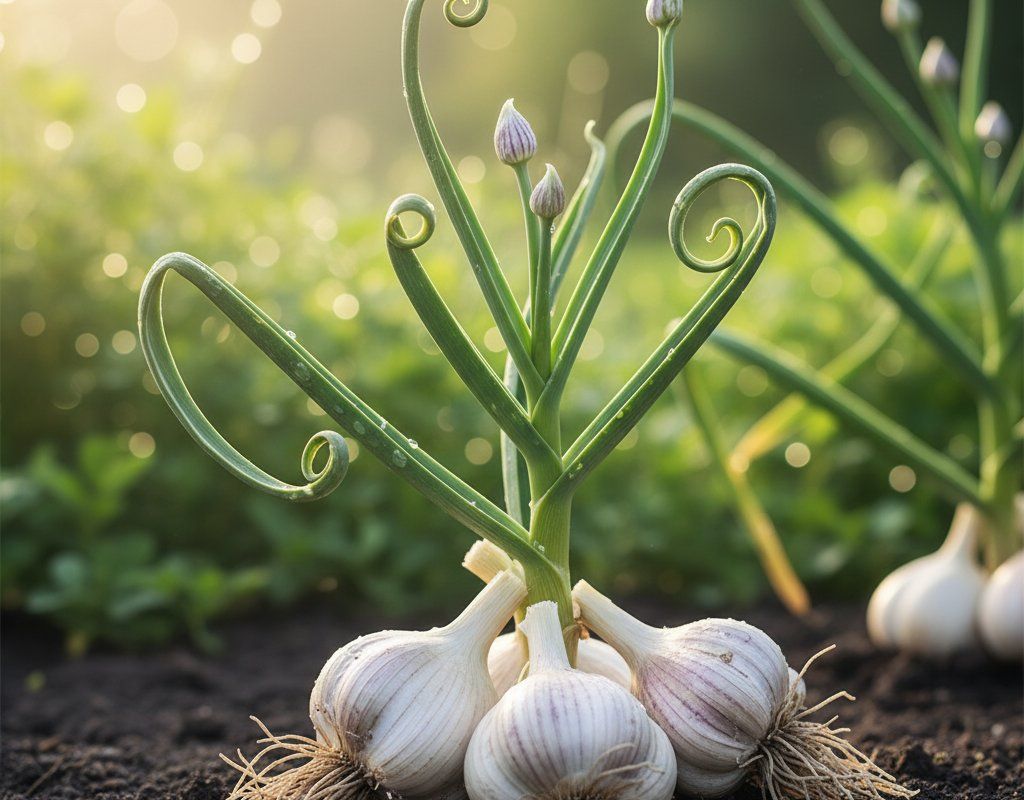
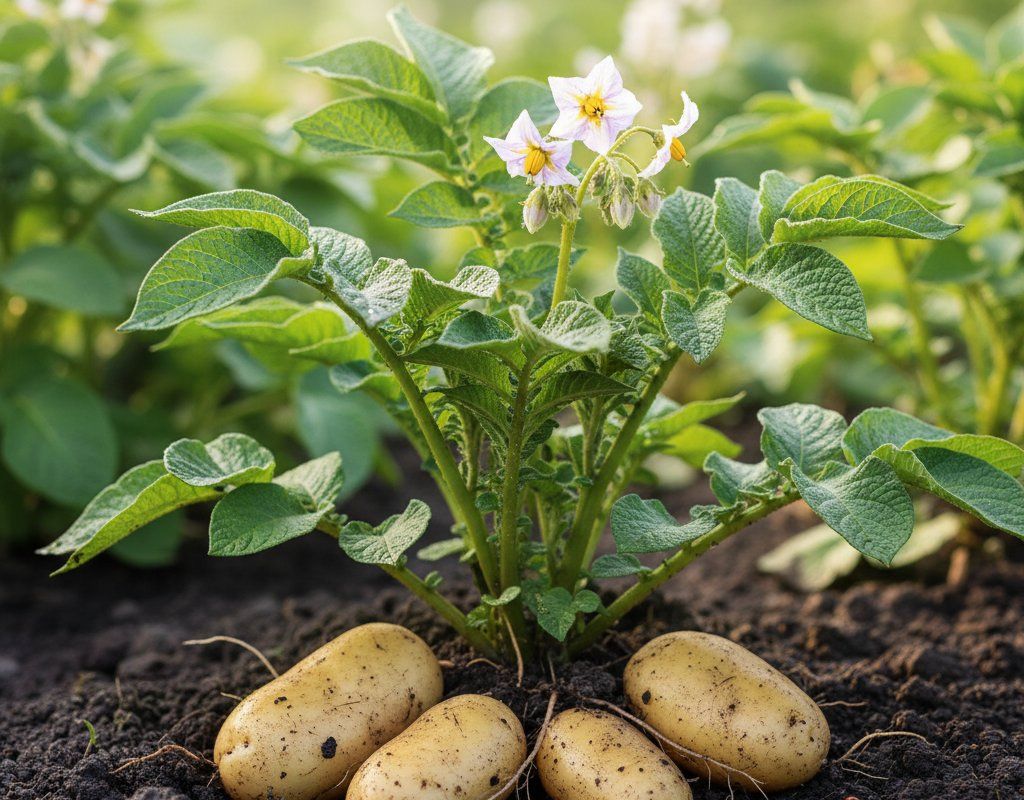
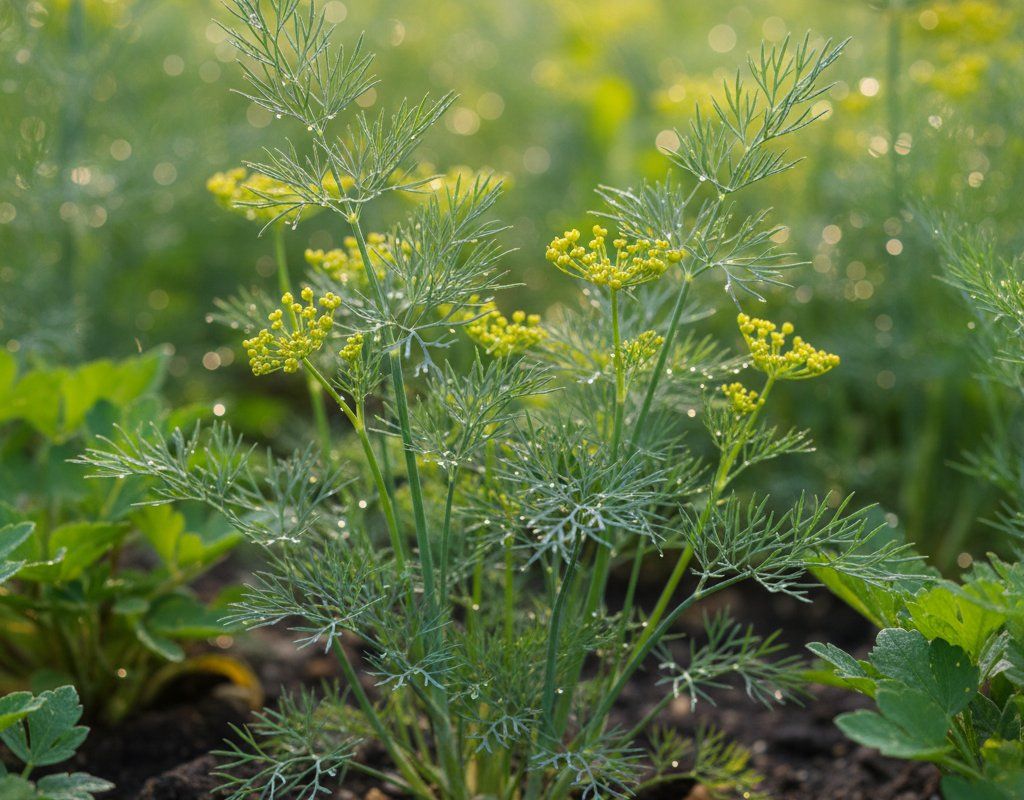
Companion planting can help your collard greens thrive. Onions and garlic are great companions because their strong scent deters many pests. Beets improve the soil and don't compete for the same nutrients, while potatoes are simply neutral and don't cause any harm. Dill attracts beneficial insects like ladybugs and lacewings, which prey on aphids and other pests.
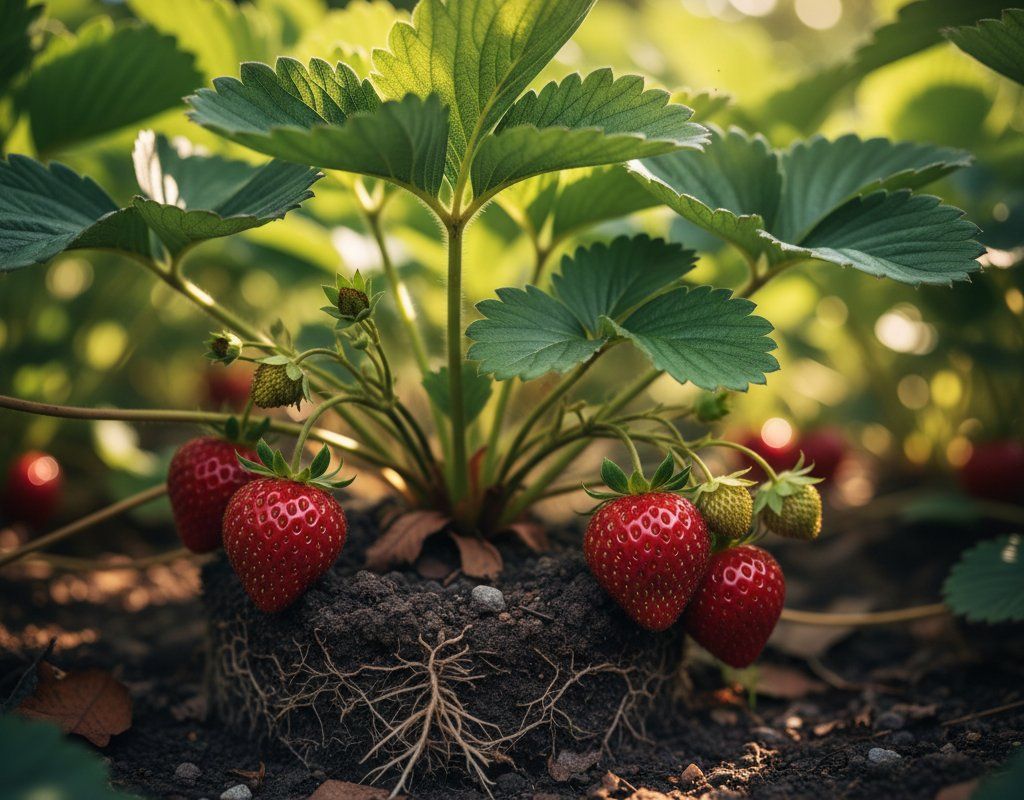
Avoid planting collard greens near strawberries or tomatoes. Strawberries and collards compete for the same nutrients, while tomatoes are susceptible to similar diseases and pests, potentially increasing the risk for both plants.
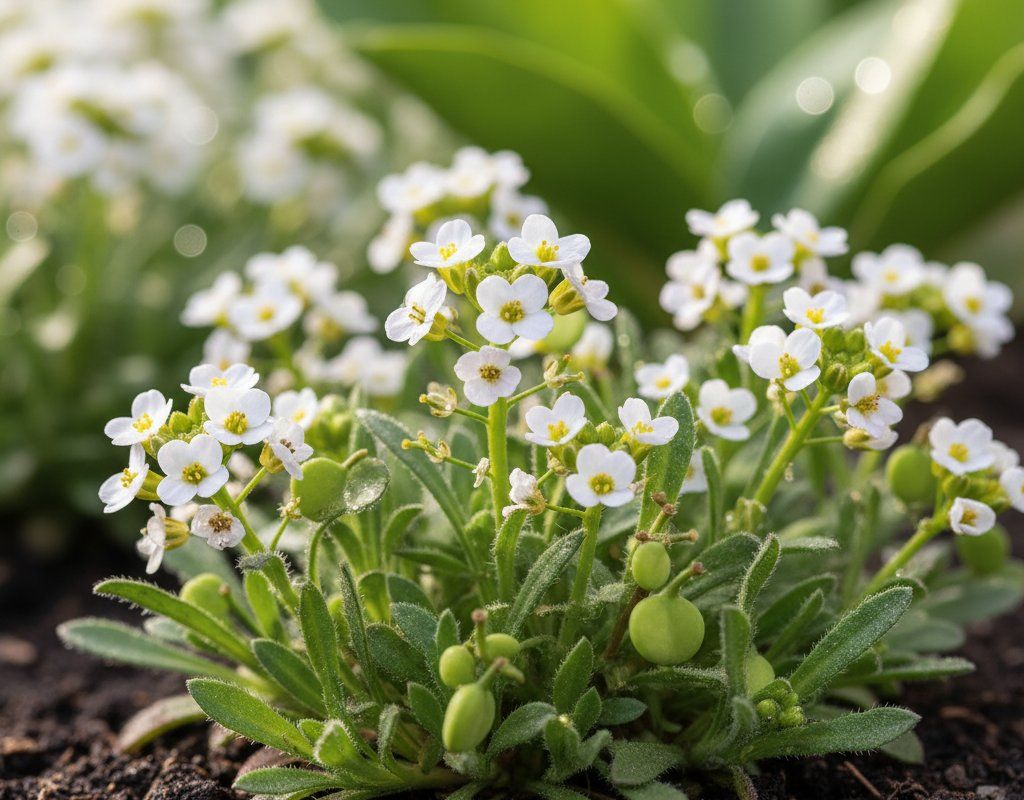
🌸Best Flowers to Plant with Collard Greens
These flowers protect your Collard Greens from pests and attract pollinators for better harvests.
For Pest Control
Get a Reminder When It's Time to Plant
We'll email you when key planting windows open for your zone.