Dill in Zone 10A — Southern California
Anethum graveolens · Your Complete 2026 Planting Guide
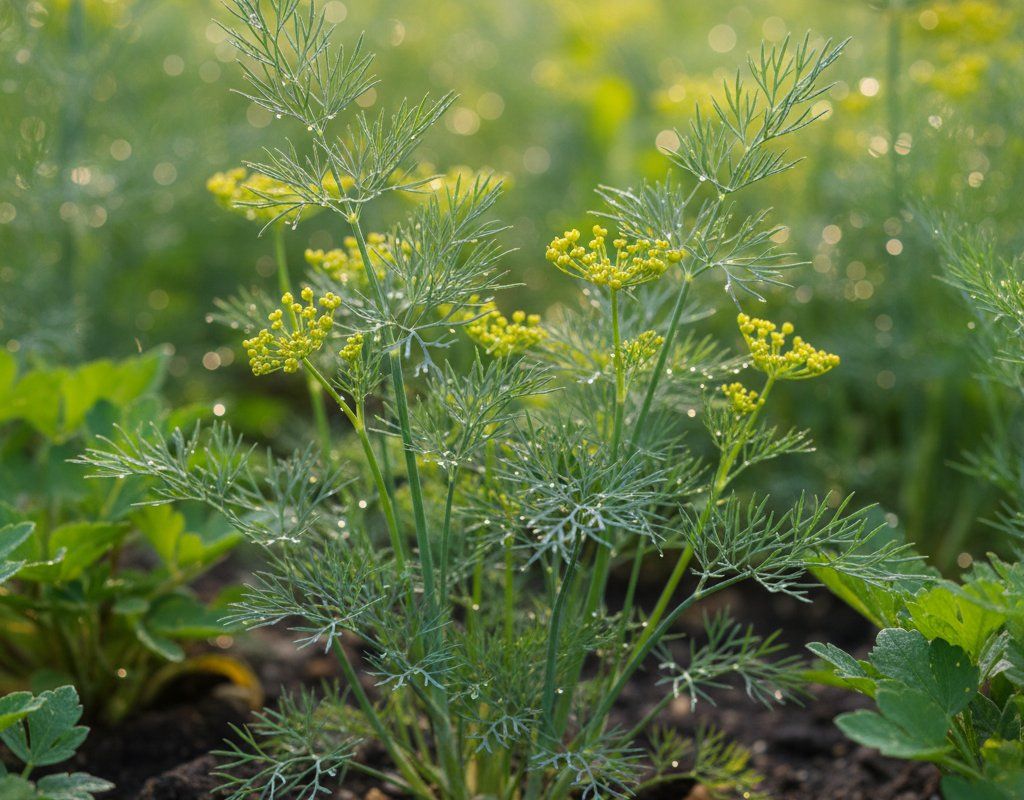
Harvest Time!
Your Dill should be producing now!
Harvest Tips
Harvest in the morning after dew dries for the best flavor.
How to Plant Dill in Zone 10A — Southern California
Here are all your options for getting dill in the ground, from the easiest method to more advanced approaches.
Direct Sow Seeds
RecommendedMid January through early November
around January 15
Consider succession planting every 2-3 weeks for continuous harvest.
Dill has a taproot and prefers direct sowing, but transplants work if handled carefully.
Start Seeds Indoors
RecommendedMid December through early January
around December 25
Then transplant: Late January through early March
Start seeds 4-6 weeks before transplanting outdoors.
Buy Starts
Works WellLate January through early March
around January 22
Plant purchased starts after last frost (January 15).
Transplant Outdoors
Timing InfoLate January through early March
around January 22
Can tolerate light frost, but wait for soil to be workable.
You have a nice window — no need to rush.
Fall Planting
Early November through early December
November 18 ideal · Direct sow for fall harvest
Plant a second crop in mid-summer for fall harvest. Dill actually prefers the cooling temperatures of fall.
Overview
Dill is a gardening superstar in Southern California, offering delicate feathery foliage and aromatic seeds that transform everything from pickles to salmon dishes. Our year-round growing climate means you can enjoy fresh dill from late winter through fall, with succession plantings giving you a continuous supply. The herb's quick 40-day maturity makes it perfect for our fast-paced growing seasons, and nothing beats the flavor difference between fresh garden dill and the tired stuff from the grocery store.
While our hot summers can cause dill to bolt quickly, our mild winters and extended growing season of 349 days give you plenty of opportunities to get it right. The key is working with our climate patterns—planting during cooler months and providing some afternoon shade during inland heat waves. With proper timing, you'll have more dill than you know what to do with.
Starting Seeds Indoors
Starting dill indoors isn't the most common approach since this herb prefers direct sowing, but it can work well in Southern California during our cooler months. Start seeds in mid-December through early January, about 4 weeks before you plan to transplant outdoors. Our very early spring character means you can get transplants into the ground by late January when conditions are ideal.
Use seed trays with good drainage and keep them in a warm spot around 65-70°F—a sunny windowsill or heated garage works well. Dill seeds germinate in 7-10 days with consistent moisture, so bottom watering works better than overhead watering to prevent disturbing the delicate seedlings. The main advantage of indoor starting here is getting a jump on the season, though dill's taproot means you'll need to be extra careful during transplanting.
Indoor starting makes the most sense if you want early spring harvests or if you're dealing with unpredictable weather patterns during our occasional winter storms.
Transplanting Outdoors
Transplant your indoor-started dill seedlings from late January through early March, when our mild winter nights have settled and daytime temperatures stay consistently above 50°F. This timing takes advantage of Southern California's gentle spring weather before the inland heat kicks in. Give seedlings a full week of hardening off, gradually exposing them to outdoor conditions for longer periods each day.
Space transplants 12 inches apart to give them room to develop their characteristic upright growth habit. Dill's taproot makes it somewhat finicky about transplanting, so handle the root ball gently and plant at the same depth as in the containers. Choose a morning for transplanting when possible, giving plants time to settle before afternoon sun.
Watch for those occasional temperature swings we get in late winter—a light frost cloth can protect young transplants if temperatures threaten to dip below 35°F, though this is rare in most SoCal areas.
Direct Sowing
Direct sowing is really dill's preferred method, and it works beautifully in Southern California from mid-January through early November. The extended sowing window lets you succession plant every 2-3 weeks for continuous harvests. Dill's taproot develops much better when seeds start where they'll stay, giving you stronger, more productive plants.
Prepare your soil by working in some compost and ensuring good drainage—our winter rains can create soggy conditions that dill doesn't appreciate. Sow seeds about 1/4 inch deep and 12 inches apart, or scatter them more densely and thin later. Seeds germinate best when soil temperatures reach 60°F, which happens quite early in our mild climate.
The main advantage of direct sowing here is avoiding transplant shock entirely. Spring sowings (January through March) give you the most reliable results, while fall plantings (September through November) can work well in coastal areas but may struggle with inland summer heat carryover.
Watering Dill in Zone 10A (Southern California)
Dill needs moderate, consistent water to prevent bolting, but it's not particularly drought tolerant despite being an herb. In Southern California's low-to-moderate humidity and winter-wet pattern, you'll need to supplement rainfall during our dry months. Give established plants about 1 inch of water per week, checking soil moisture with the finger test—stick your finger 2 inches down, and water when it feels dry at that depth.
During our hot summer months with typical highs around 92°F, dill becomes much more demanding. The combination of heat and inconsistent watering triggers bolting faster than almost anything else. Water at soil level rather than overhead to prevent foliar diseases, though our low humidity makes this less critical than in more humid regions. Early morning watering works best, giving plants time to absorb moisture before the heat hits.
In winter, scale back watering significantly since our 10-20 inches of annual rainfall usually provides plenty of moisture during the growing season. However, keep an eye on soil moisture during those dry spells between rain events. A 2-inch layer of organic mulch helps retain soil moisture and keeps roots cool during unexpected warm spells.
Watch for signs of stress: wilting during hot afternoons (normal), yellowing lower leaves (overwatering), and premature flowering (underwatering combined with heat). Consistent moisture is your best defense against early bolting in our climate.
🧪Fertilizing Dill
Feeding Schedule
Organic Fertilizer Options
Harvest Time
Your first dill harvest starts around late February if you planted in January, following that reliable 40-day timeline. The feathery leaves (called dill weed) can be harvested anytime once plants reach 6-8 inches tall. Cut outer stems first, leaving the center growing point intact for continuous production—this approach works perfectly with our extended growing season.
For fresh leaves, harvest in the morning after dew dries but before the day heats up. Cut stems about 2 inches from the base, and new growth will emerge from the center. If you're after dill seeds for pickling, let the plant flower and wait until the seed heads turn brown and dry—usually 2-3 months after planting. Shake the dried heads into a paper bag to collect seeds.
The key to continuous harvest in Southern California is succession planting every 2-3 weeks during cooler months. Once summer heat arrives, dill quickly goes to seed regardless of harvesting technique. Plan your last spring planting for early April in coastal areas, or mid-March inland, to get good leaf production before bolting takes over.
With our first frost typically arriving around late December, you can keep harvesting fall plantings right up until then. Cold actually improves dill's flavor, making those late-season harvests particularly aromatic.
Common Problems in Zone 10A (Southern California)
Bolting Premature flowering shows up as tall stalks shooting up from the center of the plant, with umbrella-like flower clusters appearing weeks earlier than expected. Leaves become bitter and tough once flowering starts. This is dill's biggest challenge in Southern California, triggered by our temperature swings, long days during spring, and inconsistent watering during heat waves.
Plant during cooler months (January through March, September through November) and provide afternoon shade during inland heat spells above 85°F. Keep soil consistently moist—never let it dry out completely between waterings. Choose a location with morning sun and some protection from hot afternoon rays, especially if you're inland where temperatures soar.
Aphids Look for clusters of tiny green, black, or white soft-bodied insects on stem tips and leaf undersides, often accompanied by sticky honeydew residue and curled new growth. These sap-suckers multiply rapidly in our warm weather and can quickly overwhelm young dill plants. You'll often see ants farming them for their sweet secretions.
Blast them off with a strong spray from your hose—this works especially well in our low-to-moderate humidity where plants dry quickly. Encourage beneficial insects like ladybugs and lacewings by planting diverse flowers nearby. For heavy infestations, insecticidal soap or neem oil provides effective control. Avoid over-fertilizing with nitrogen, which creates the tender growth aphids love.
Caterpillars Watch for chewed leaves, holes in foliage, and small green or yellow caterpillars hiding on leaf undersides. Parsley worms (swallowtail butterfly larvae) particularly love dill and related plants, creating distinctive stripped caterpillars that can defoliate plants quickly. You might also see dark pellets (frass) around the base of affected plants.
Hand-pick larger caterpillars in the morning when they're most visible. Bt (Bacillus thuringiensis) spray works effectively for smaller infestations and is safe for beneficial insects. Row covers during peak butterfly season (spring and early summer) prevent egg-laying, though this limits air circulation during hot weather.
Southern California Specific Challenges Our hot, dry summers combined with low-to-moderate humidity create the perfect storm for dill stress. Unlike more humid regions where dill can tolerate some heat, our combination of high temperatures and dry air triggers bolting almost immediately. The Santa Ana winds can desiccate plants quickly, while our winter-wet rainfall pattern means you'll need to manage watering carefully as plants transition from natural moisture to supplemental irrigation.
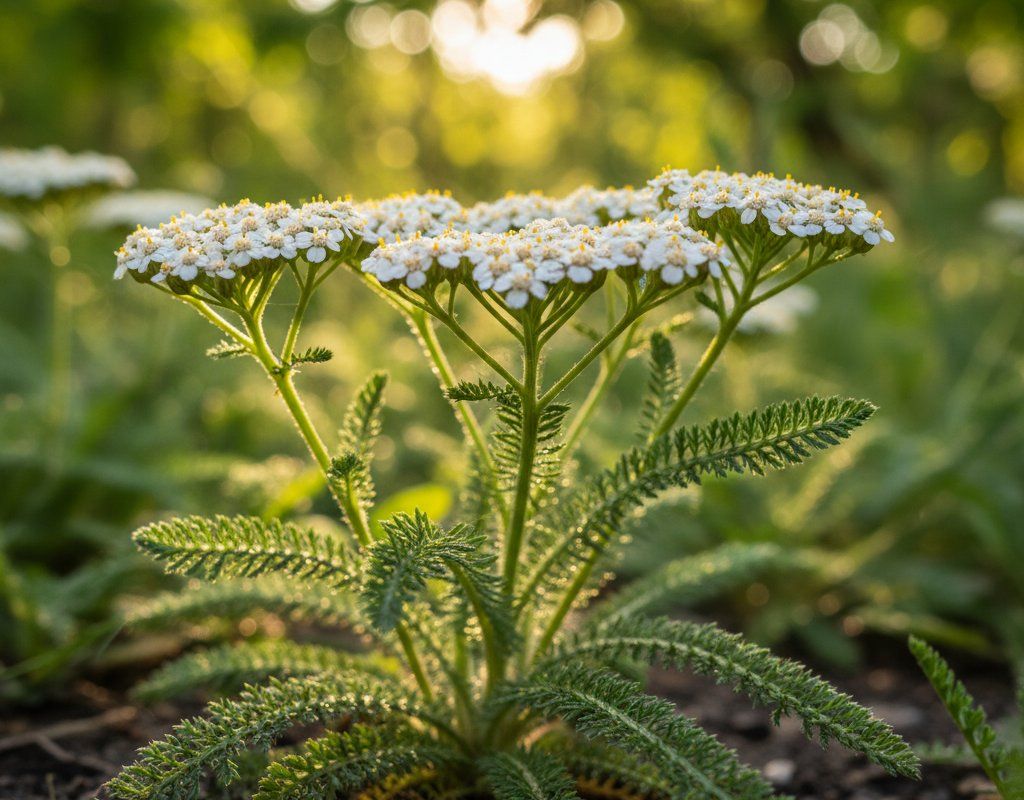
Best Companions for Dill
Plant these nearby for healthier Dill and better harvests.

Keep Away From
Companion Planting Details
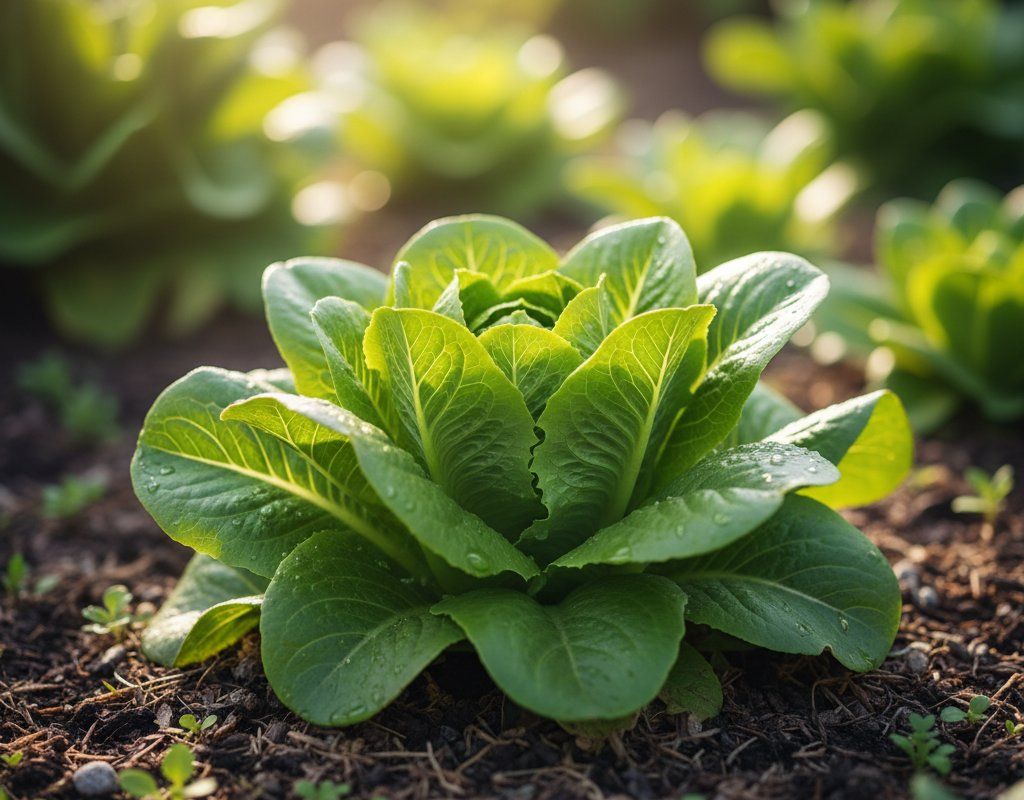
Dill makes an excellent companion for cabbage family plants, naturally repelling cabbage worms and other pests that plague broccoli, kale, and Brussels sprouts. Its delicate foliage provides light shade for lettuce during our intense spring sun, while the taproot draws nutrients from deeper soil layers without competing with shallow-rooted crops. Cucumbers benefit from dill's presence too—the herb attracts beneficial insects that help with pollination and pest control.
Plant dill near onions for mutual pest protection, as both plants help confuse insects looking for their preferred hosts. Avoid planting dill close to carrots, since both are in the same family and can cross-pollinate, potentially affecting flavor. Keep dill away from tomatoes as well—the herb can stunt tomato growth and may attract pests that affect both plants. In Southern California's intensive growing conditions, giving each plant adequate space prevents competition for our precious water resources.
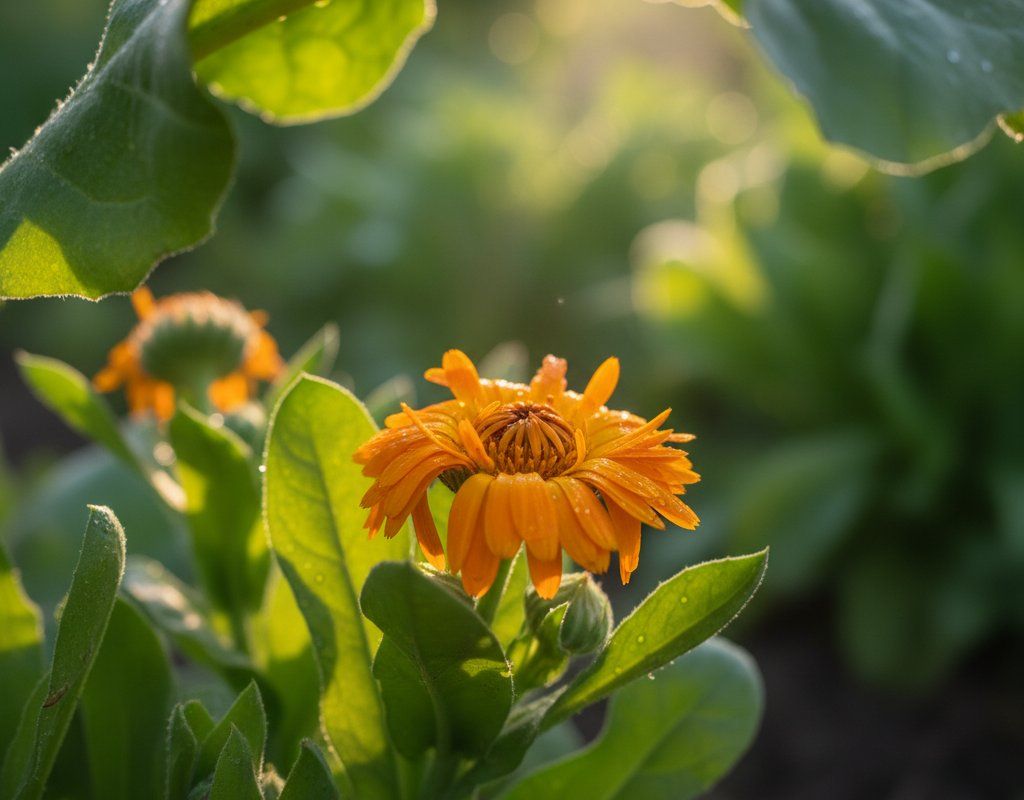
🌸Best Flowers to Plant with Dill
These flowers protect your Dill from pests and attract pollinators for better harvests.
For Pest Control


Get a Reminder When It's Time to Plant
We'll email you when key planting windows open for your zone.