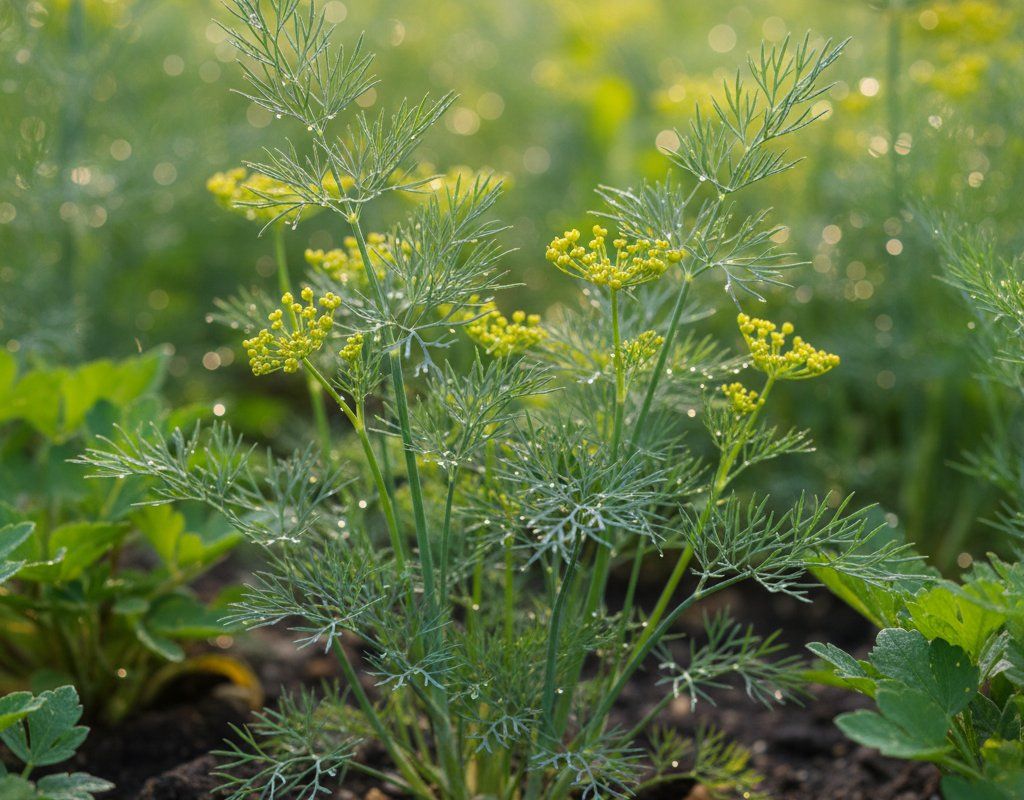
Dill in Zone 9B — Southern California
Anethum graveolens · Your Complete 2026 Planting Guide
Time to Buy Starts!
Seed starting window passed, but starts are available now.
Buy Starts Now
Head to your local nursery, Home Depot, or farmers market for transplants.
- Look for stocky plants with dark green leaves
- Avoid leggy seedlings or plants already flowering
- Check that roots aren't circling the pot (rootbound)
How to Plant Dill in Zone 9B — Southern California
Here are all your options for getting dill in the ground, from the easiest method to more advanced approaches.
Direct Sow Seeds
RecommendedLate January through early November
around January 25
Consider succession planting every 2-3 weeks for continuous harvest.
Dill has a taproot and prefers direct sowing, but transplants work if handled carefully.
Start Seeds Indoors
RecommendedLate December through mid January
around January 4
Then transplant: Early February through mid March
Start seeds 4-6 weeks before transplanting outdoors.
Buy Starts
Works WellEarly February through mid March
around February 1
Plant purchased starts after last frost (January 25).
Transplant Outdoors
Timing InfoEarly February through mid March
around February 1
Can tolerate light frost, but wait for soil to be workable.
You have a nice window — no need to rush.
Fall Planting
Late October through late November
November 13 ideal · Direct sow for fall harvest
Plant a second crop in mid-summer for fall harvest. Dill actually prefers the cooling temperatures of fall.
Overview
Dill thrives in Southern California's mild winters and extended growing season, giving you nearly year-round access to fresh fronds for pickling, seafood, and Mediterranean dishes. Our 334-day growing season means you can succession plant every few weeks from late winter through fall, ensuring a constant supply of this aromatic herb that's so much more flavorful than anything you'll find dried in stores.
While our summer heat can cause dill to bolt quickly, timing your plantings for spring and fall takes advantage of our naturally mild winters and lets you avoid the intense inland heat. With careful water management during our dry months and smart scheduling around our fire season, you'll discover dill is surprisingly adaptable to our semi-arid climate.
Starting Seeds Indoors
Starting dill indoors makes sense if you want an early spring crop or need better control over germination timing. Sow seeds in seed trays from late December through mid-January, about four weeks before you plan to transplant outdoors. Dill seeds germinate quickly in warm soil, so keep your trays around 65-70°F.
Use bottom watering to keep the soil evenly moist without disturbing the delicate seedlings. A sunny south-facing window works well, or supplement with grow lights for 12-14 hours daily. Since our spring arrives very early compared to most regions, indoor starting gives you a head start on the growing season.
Handle seedlings gently when transplanting since dill has a taproot that doesn't love disturbance. While direct sowing is often easier, indoor starting works well if you're dealing with clay soil that's slow to warm or want precise timing for your first harvest.
Transplanting Outdoors
Transplant your indoor-started dill seedlings from early February through mid-March, after our last frost window typically passes in late January. Harden them off gradually over a week, starting with just a few hours of morning sun and extending to full outdoor exposure.
Space plants 12 inches apart in well-draining soil, as dill needs room for its feathery foliage to develop fully. Plant at the same depth they were growing in their containers, being extra gentle with the taproot. Our variable February weather can bring unexpected warm spells followed by cooler nights, so watch for any transplant shock.
Choose a spot with morning sun and some afternoon protection if you're inland where temperatures can spike unexpectedly. Coastal areas can handle full sun exposure during transplant season, but inland gardens benefit from a bit of shade during the hottest part of the day.
Direct Sowing
Direct sowing is actually dill's preferred method since it develops a taproot that dislikes transplant disturbance. You can direct sow from late January through early November, taking advantage of our extended growing season. Sow seeds ¼ inch deep in loose, well-draining soil when soil temperatures reach about 60°F.
Space seeds 12 inches apart or sow more densely and thin later, since dill doesn't compete well when crowded. The soil should be consistently moist but not waterlogged—our clay soils can hold too much water while sandy soils drain too quickly. Work in some compost to improve soil structure.
For continuous harvests, succession plant every 2-3 weeks during the cooler months. Avoid sowing during the peak summer heat from July through September, as plants will bolt immediately. Fall plantings from late October through late November often produce the most tender, flavorful fronds.
Watering Dill in Zone 9B (Southern California)
Dill needs moderate, consistent moisture to produce tender leaves, but it's not drought tolerant like many Mediterranean herbs. In Southern California, this means deep watering once or twice weekly during our dry months, adjusting based on your soil type and distance from the coast. Sandy soils need more frequent watering, while clay soils hold moisture longer.
Use the finger test—stick your finger 2 inches into the soil near the plant base. If it's dry, it's time to water. During our mild winters, rainfall may handle most watering needs, but supplement during dry spells. Summer plantings need daily attention, as our low humidity and hot temperatures can stress plants quickly.
Water at the base rather than overhead to prevent fungal issues, though our low-to-moderate humidity makes this less critical than in more humid regions. Provide about 1 inch of water weekly, increasing to 1.5 inches during heat waves. Inconsistent watering triggers bolting, so maintaining steady soil moisture is crucial for leaf production.
A 2-3 inch layer of organic mulch helps retain moisture during our long dry season while keeping roots cool. Avoid mulching right up to the stem base to prevent pest issues, leaving about an inch of space around each plant.
🧪Fertilizing Dill
Feeding Schedule
Organic Fertilizer Options
Harvest Time
You can begin harvesting dill fronds about 40 days after sowing, typically starting in early March for winter-planted crops and continuing through early January with succession plantings. Cut outer leaves first, leaving the center growing point intact to encourage continued production. Harvest in the early morning when oils are most concentrated.
For fresh use, cut feathery fronds just above a set of leaves to encourage branching. The more you harvest, the more the plant produces—until it decides to flower. Once flower heads appear, leaves become less tender and flavorful, though you can still use them for cooking rather than fresh garnishes.
If you want dill seeds for pickling, let some plants flower and go to seed. Harvest seed heads when they turn brown and dry, usually 6-8 weeks after flowering. Cut the entire head and shake seeds into a paper bag. Time this carefully before our Santa Ana winds scatter the seeds everywhere.
In Southern California, you can keep harvesting almost year-round by succession planting every few weeks. Your last plantings of the season in late fall often produce the most tender, slowly-bolting plants thanks to our naturally shortening days and cooling temperatures.
Common Problems in Zone 9B (Southern California)
Bolting appears as a tall flower stalk shooting up from the center of the plant, with leaves becoming bitter and tough. In Southern California, bolting is triggered by our intense summer heat, long daylight hours, and inconsistent watering during dry spells. Our inland temperatures regularly hitting the 90s cause dill to shift from leaf production to seed production almost overnight.
Plant dill during cooler months (fall through spring) to avoid bolting. Provide afternoon shade during hot weather, especially inland areas that see extreme heat. Keep soil consistently moist and consider succession planting every 2-3 weeks rather than trying to maintain summer plantings. Choose slow-bolt varieties if available.
Aphids show up as clusters of tiny green, black, or white insects on stems and leaf undersides, leaving sticky honeydew residue and causing new growth to curl. These sap-sucking pests reproduce rapidly in our warm weather and are often tended by ant colonies that farm them for their sugary secretions. They're particularly problematic during our mild winters when natural predators are less active.
Blast them off with a strong water spray from your hose, focusing on leaf undersides. Encourage beneficial insects like ladybugs and lacewings by planting diverse flowers nearby. For heavy infestations, use insecticidal soap or neem oil, applying in the early morning or evening to avoid leaf burn in our intense sun.
Caterpillars, particularly parsley worms (swallowtail butterfly larvae), can defoliate dill plants quickly. These large green caterpillars with black stripes and orange spots are actually beneficial butterfly larvae, but they can destroy small dill plants. They're most active during our warm months when adult butterflies are laying eggs.
Hand-pick larger caterpillars if you can tolerate sharing your crop with future butterflies. For serious damage, use Bt (Bacillus thuringiensis) spray in the evening when beneficial pollinators aren't active. Consider planting extra dill if you want to support local butterfly populations while still harvesting for yourself.
Southern California Specific Challenges: Our combination of hot, dry summers and mild, wet winters creates unique timing challenges for dill. The key is working with our natural seasons rather than fighting them—focus plantings in fall through spring, use our excellent winter growing weather to your advantage, and accept that summer dill requires extra attention and frequent succession planting.
Best Companions for Dill
Plant these nearby for healthier Dill and better harvests.

Keep Away From
Companion Planting Details
Dill makes an excellent companion for cool-season crops that share similar growing windows in Southern California. Plant it near cabbage family crops like broccoli, kale, and Brussels sprouts, where it helps repel cabbage worms and flea beetles. The timing works perfectly since both prefer our cooler months. Dill also complements cucumbers beautifully, improving their flavor while deterring cucumber beetles—just harvest dill regularly to prevent it from overwhelming smaller cucumber plants.
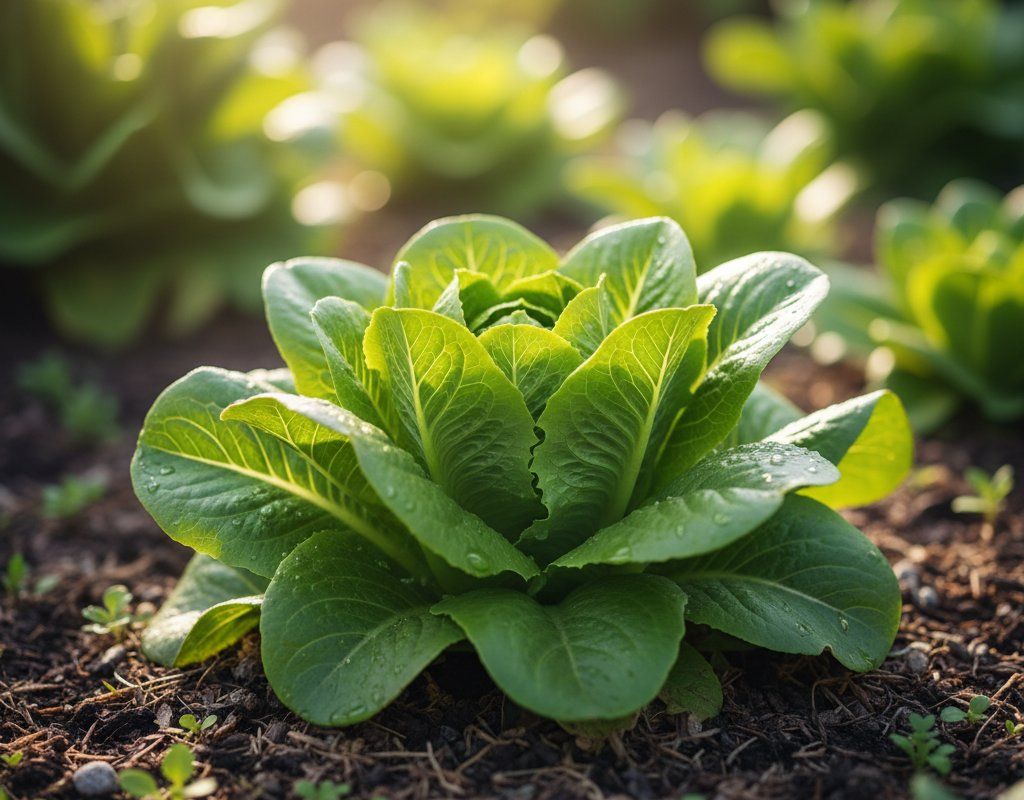
Lettuce and onions make practical companions since they all thrive in our mild winters and spring weather before summer heat hits. The onions help deter aphids that commonly attack dill, while lettuce provides living mulch that keeps soil moist. Avoid planting dill near carrots, as they can cross-pollinate and create bitter-tasting carrots. Also keep it away from tomatoes, as dill can inhibit tomato growth and the timing doesn't work well—tomatoes prefer our warm season when dill struggles with heat.
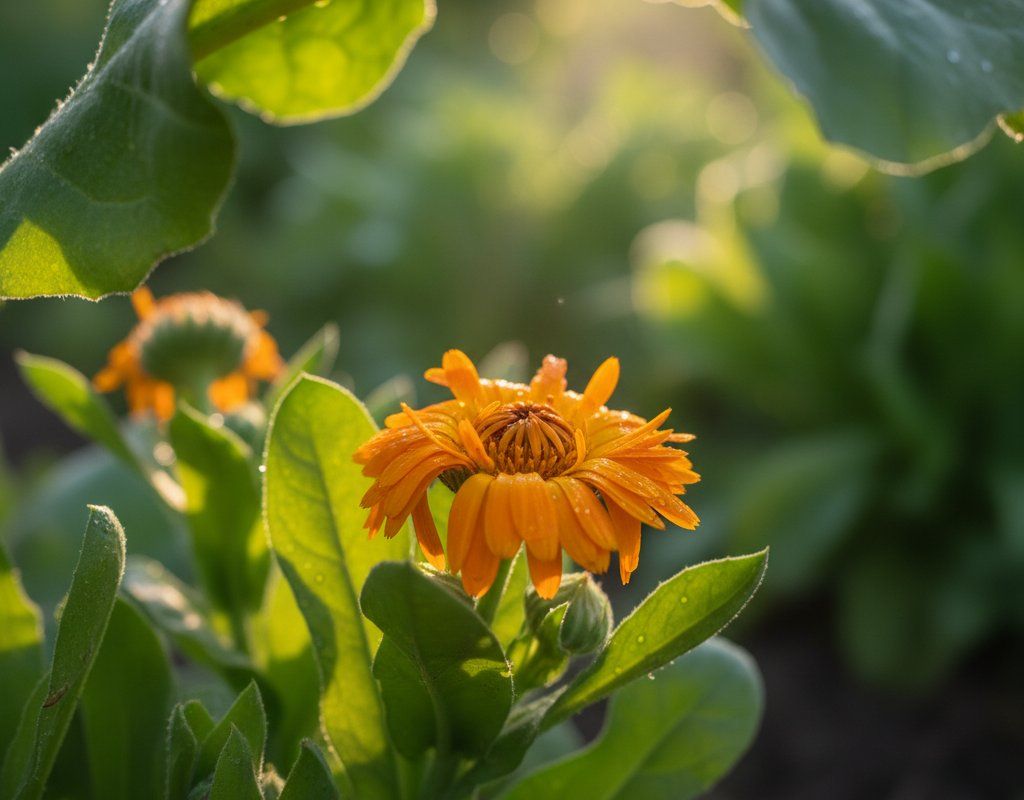
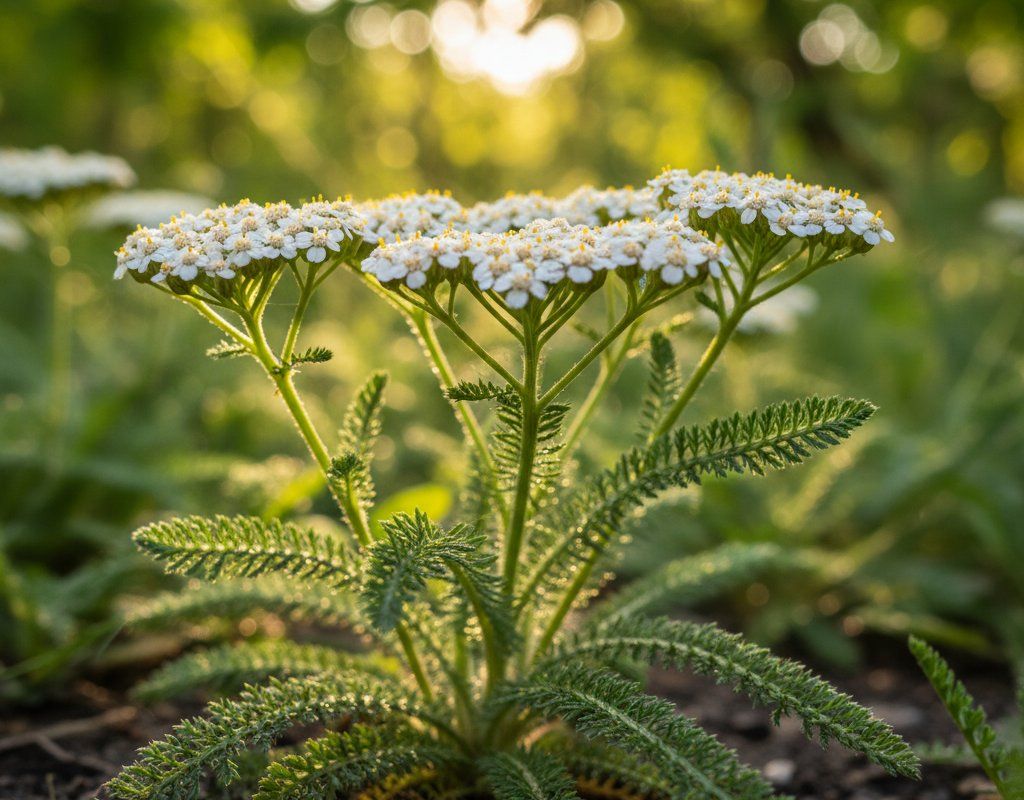
🌸Best Flowers to Plant with Dill
These flowers protect your Dill from pests and attract pollinators for better harvests.
For Pest Control


Get a Reminder When It's Time to Plant
We'll email you when key planting windows open for your zone.