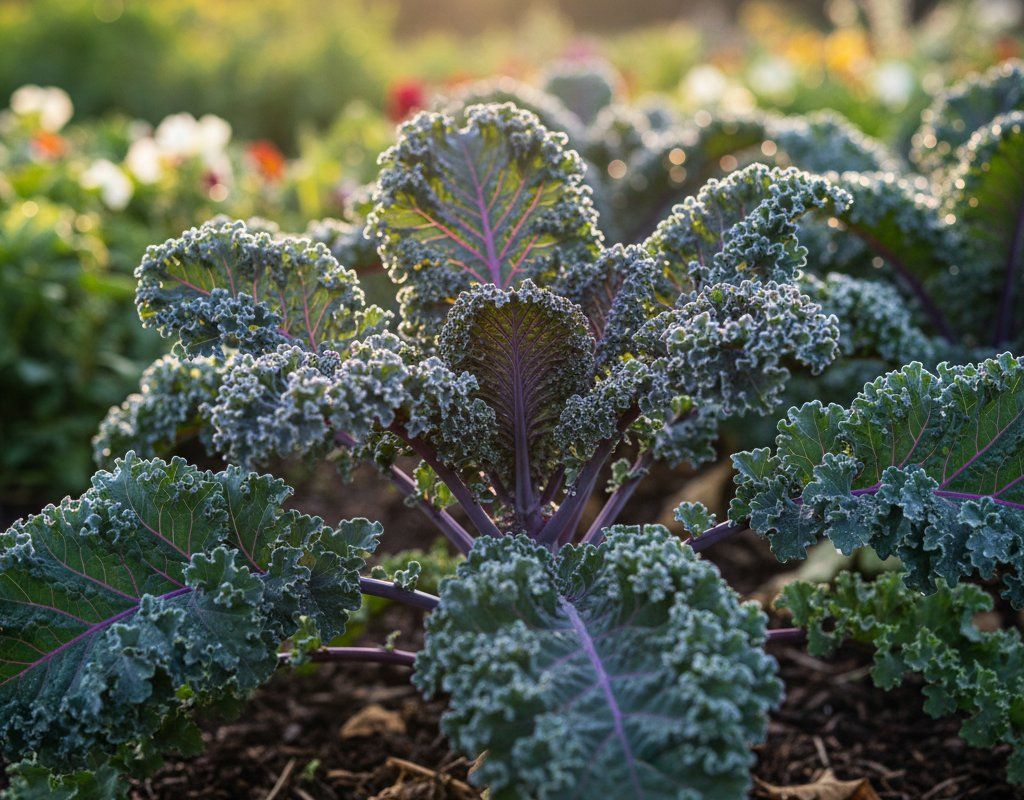
Kale in Zone 6A — Pacific Northwest
Brassica oleracea var. sabellica · Your Complete 2026 Planting Guide
Planning Ahead — Great!
You’re ahead of the season. Here’s when to start.
Mark Your Calendar
How to Plant Kale in Zone 6A — Pacific Northwest
Here are all your options for getting kale in the ground, from the easiest method to more advanced approaches.
Direct Sow Seeds
RecommendedMid April through late July
around April 12
Consider succession planting every 2-3 weeks for continuous harvest.
Hardy and easy to direct sow in spring or late summer for fall harvest.
Start Seeds Indoors
RecommendedLate March through mid April
around March 29
Then transplant: Late April through late May
Start seeds 4-6 weeks before transplanting outdoors.
Buy Starts
Works WellLate April through late May
around April 26
Plant purchased starts after last frost (May 10).
Transplant Outdoors
Timing InfoLate April through late May
around April 26
Can tolerate light frost, but wait for soil to be workable.
You have a nice window — no need to rush.
Fall Planting
Mid July through mid August
August 3 ideal · Direct sow for fall harvest
Plant a second crop in mid-summer for fall harvest. Kale actually prefers the cooling temperatures of fall.
Overview
Kale thrives in our Pacific Northwest climate like few other vegetables can. Those cool nights that make our summers so pleasant? They're exactly what kale needs to develop sweet, tender leaves without the bitter edge you'll find in grocery store varieties grown in hotter climates. Our mild summers mean you can harvest fresh kale from early June straight through our long, gentle fall - something gardeners in hotter zones can only dream of.
Yes, our cool spring soil can slow things down initially, and you'll need to watch for slugs during those wet spring months. But with our 148-day growing season and naturally cool conditions, kale becomes one of the most reliable crops in your garden. Time your plantings right, and you'll wonder why you ever bought those expensive bags at the store.
Starting Seeds Indoors
Starting kale seeds indoors makes sense if you want an early harvest or need to protect seedlings from our notorious spring slugs. Sow seeds late March through mid-April, about 4 weeks before you plan to transplant outside. Our slow spring means there's no rush - the soil won't be ready much before late April anyway.
Use standard seed trays with good drainage and keep them warm (65-75°F works well). Bottom watering prevents damping-off disease, which can be an issue during our overcast spring days when seedlings don't dry out quickly. A basic grow light helps compensate for our limited spring sunshine.
The main advantage of starting indoors here is getting a head start on slug protection. Those tender direct-sown seedlings are slug magnets, but transplants that have developed some size indoors can better withstand the occasional nibble.
Transplanting Outdoors
Your kale transplants can go outside from late April through late May, once soil temperatures consistently hit 50°F. Don't rush this timing - our springs can have surprising cold snaps even after the weather seems settled. Start hardening off your seedlings about a week before transplanting by gradually increasing their outdoor time each day.
Space transplants 12-18 inches apart to allow good air circulation. This spacing is especially important here because our wet springs can promote fungal issues if plants are crowded. Plant on a cloudy day if possible, or in the late afternoon to reduce transplant shock.
Watch the weather forecast for unexpected late cold spells. While kale handles frost just fine, newly transplanted seedlings need a few days to establish roots before dealing with temperature stress. A simple row cover provides insurance during those first vulnerable weeks.
Direct Sowing
Direct sowing works beautifully for kale in our climate, especially for succession plantings. You can sow from mid-April through late July, giving you flexibility to plant when conditions are right rather than being locked into an indoor starting schedule. Spring sowings should wait until soil temperatures reach 45°F consistently.
Prepare your soil well - kale appreciates rich, well-draining earth that won't get waterlogged during spring rains. Sow seeds 12-18 inches apart, or plant closer and thin later. Our cool spring soil means germination takes longer than the packet suggests, so be patient.
The real advantage of direct sowing here is for fall crops. Late July plantings mature perfectly in our long, mild fall, often producing the sweetest leaves after our first light frost in early October. These fall-planted crops often outperform spring plantings because they avoid the worst of slug season and benefit from improving fall weather.
Watering Kale in Zone 6A (Pacific Northwest)
Kale needs consistent moisture but not soggy conditions - about 1-1.5 inches per week during our dry summer months. The finger test works perfectly: stick your finger 2 inches into the soil near the plants. If it's dry at that depth, it's time to water. During our typical dry summers, this usually means watering 2-3 times per week.
Water at the base of plants rather than overhead. Our dry summer air means foliar diseases aren't as much of a concern as in humid climates, but ground-level watering is still more efficient and keeps water off the leaves that slugs love to hide under. Deep, less frequent watering encourages stronger root systems than daily light sprinklings.
During our wet springs, you might not need to water at all for weeks at a time. Watch for signs of overwatering: yellowing lower leaves and stunted growth. Once our dry season kicks in (usually by early July), consistent watering becomes critical. Stressed, drought-hit kale turns bitter and tough - exactly what you don't want.
A 2-3 inch layer of mulch helps tremendously during our dry months, keeping soil moisture consistent and reducing your watering workload. Just keep mulch a few inches away from the stem to discourage slug hideouts during the transition periods when we get occasional summer rain.
🧪Fertilizing Kale
Feeding Schedule
Organic Fertilizer Options
Harvest Time
Your first kale harvest typically arrives in early June if you started with transplants, or mid-to-late June for direct-sown crops. Look for outer leaves that have reached 8-10 inches long - they should feel substantial but not tough or leathery. Always harvest from the outside and leave the growing center intact so the plant keeps producing new leaves.
Cut or twist off individual leaves rather than pulling them, which can damage the plant. A sharp knife or garden shears works best. You can harvest 3-4 outer leaves per plant every week or two without stressing the plant. The key is regular harvesting - leaves left too long become tough and bitter.
Our long fall season is where kale really shines. Plants started in mid-summer will give you the sweetest harvest from September through October. That first light frost we typically get in early October actually improves flavor, converting starches to sugars and making the leaves noticeably sweeter and more tender.
Keep harvesting right up until hard freeze arrives (usually late November or December). The plants can handle our typical October frosts without protection, and those cold-sweetened leaves are absolutely worth the wait. Some varieties will even overwinter with minimal protection, giving you fresh greens well into the new year.
Common Problems in Zone 6A (Pacific Northwest)
Aphids cluster on stems and the undersides of leaves, appearing as tiny green, black, or white soft-bodied insects. You'll notice sticky honeydew residue on leaves and curled or distorted new growth. Our mild summers create perfect conditions for aphid population explosions, especially during warm spells in late spring and early summer.
A strong spray from the hose knocks most aphids right off the plants. Encourage natural predators like ladybugs and lacewings by planting yarrow and fennel nearby. For heavy infestations, insecticidal soap works well in our dry summer conditions. Avoid over-fertilizing with nitrogen, which creates the tender new growth that aphids crave.
Cabbage worms appear as smooth green caterpillars that chew irregular holes in leaves, leaving behind dark green droppings. You'll often see white butterflies hovering around your plants - they're laying the eggs that become these destructive larvae. Our mild climate allows multiple generations per season.
Bt (Bacillus thuringiensis) spray is incredibly effective and safe for beneficial insects. Apply in the evening when butterflies aren't active. Floating row covers prevent egg-laying entirely, though you'll need to remove them for harvesting. Handpicking works for small infestations - check plants every few days during butterfly season.
Flea beetles create a distinctive "shot-hole" pattern of tiny round holes in leaves. These small, dark beetles jump when disturbed and cause the most damage to young seedlings. They're particularly problematic during warm, dry periods in late spring when seedlings are most vulnerable.
Row covers protect seedlings during their most vulnerable stage - usually the first 3-4 weeks after emergence. Kaolin clay coating makes leaves less appealing to beetles. Healthy, vigorous plants typically outgrow flea beetle damage once they're established. Interplanting with basil or catnip can help deter them.
Pacific Northwest Specific Challenges: Our wet springs create perfect conditions for slugs, which can devastate young kale plants overnight. Use copper barriers, diatomaceous earth, or beer traps around seedlings. The cool, moist conditions can also promote fungal issues if plants are crowded, so proper spacing and good air circulation are essential here.
Best Companions for Kale
Plant these nearby for healthier Kale and better harvests.

Keep Away From
Companion Planting Details
Kale pairs beautifully with beets, celery, and onions in Pacific Northwest gardens. Beets and kale have similar watering needs and both appreciate our cool nights, making them natural garden partners that won't compete for resources. Celery helps break up the soil with its deep roots while providing a living mulch effect that conserves moisture during our dry summers. Onions planted around kale help deter aphids and cabbage worms with their strong scent - particularly useful given how these pests thrive in our mild climate.
Avoid planting kale near tomatoes, peppers, or strawberries. These crops have different watering and nutrient needs, and tomatoes and peppers need the heat and protection that work against kale's preference for cool, exposed conditions. Strawberries can harbor slugs, which will inevitably find their way to your tender kale leaves during our wet spring months.
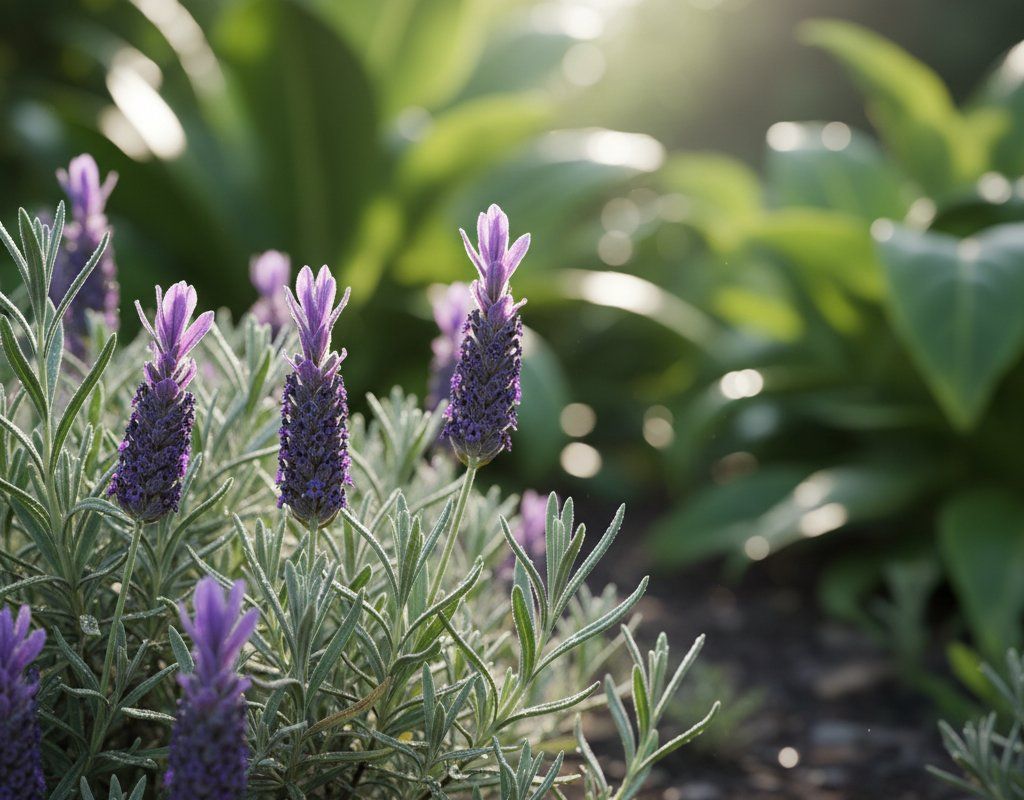
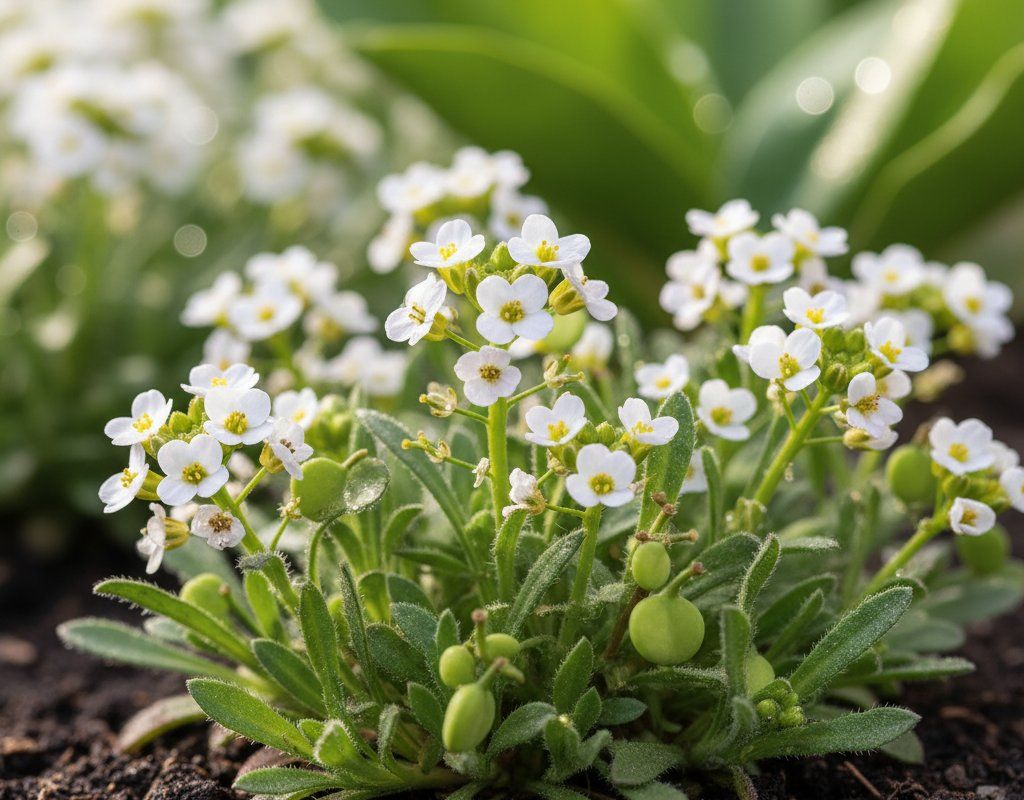
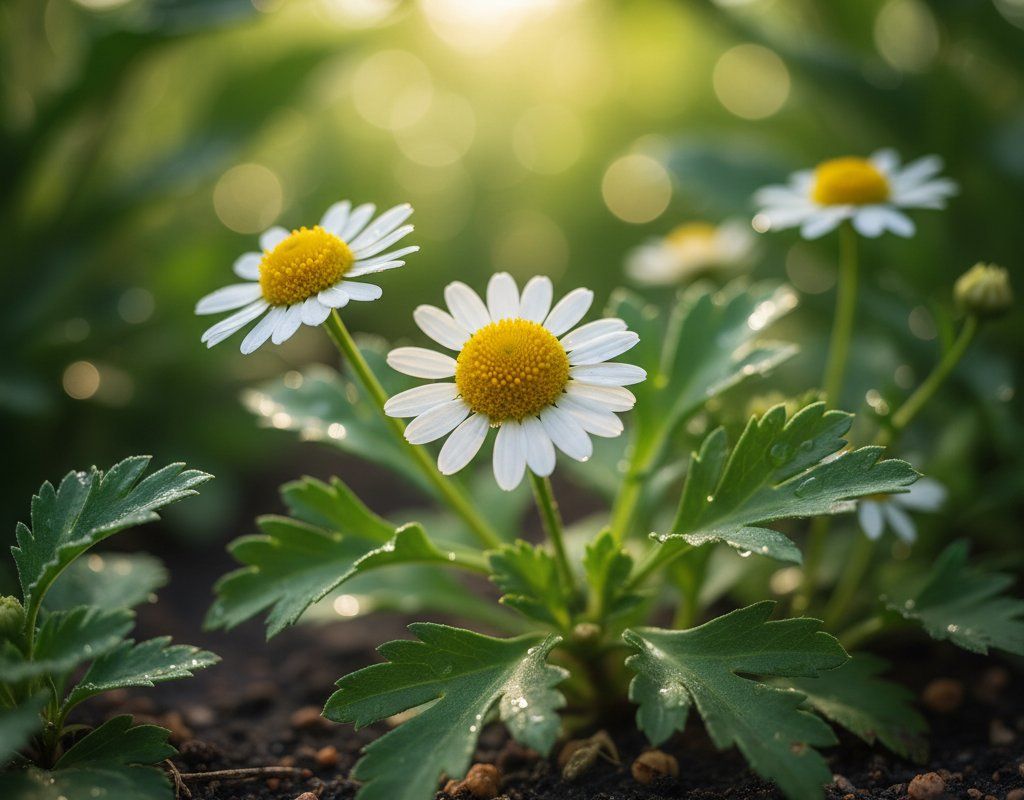
🌸Best Flowers to Plant with Kale
These flowers protect your Kale from pests and attract pollinators for better harvests.

Get a Reminder When It's Time to Plant
We'll email you when key planting windows open for your zone.