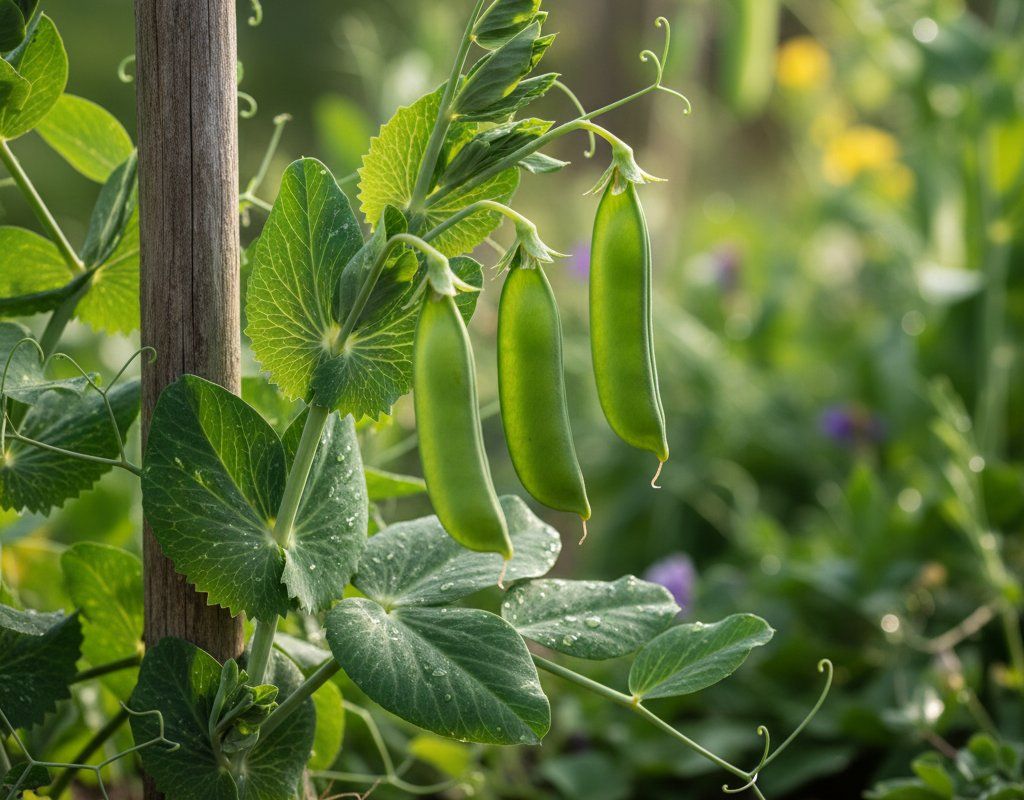
Peas in Zone 3B — Mountain West
Pisum sativum · Your Complete 2026 Planting Guide
Planning Ahead — Great!
You’re ahead of the season. Here’s when to start.
Mark Your Calendar
How to Plant Peas in Zone 3B — Mountain West
Here are all your options for getting peas in the ground, from the easiest method to more advanced approaches.
Direct Sow Seeds
RecommendedMid April through late June
around April 13
Consider succession planting every 2-3 weeks for continuous harvest.
Peas prefer cool soil and don't transplant well. Direct sow in early spring.
Buy Starts
Works WellLate April through late May
around April 27
Plant purchased starts after last frost (May 25).
Start Seeds Indoors
ChallengingThis plant is typically not started indoors.
Transplant Outdoors
Timing InfoLate April through late May
around April 27
Can tolerate light frost, but wait for soil to be workable.
You have a nice window — no need to rush.
Fall Planting
Late June through late July
July 9 ideal · Direct sow for fall harvest
Plant a second crop in mid-summer for fall harvest. Peas actually prefers the cooling temperatures of fall.
Overview
Peas are one of the most reliable spring crops for our Mountain West gardens, thriving in our cool conditions and producing sweet, tender pods while other vegetables are still struggling with the altitude. These hardy legumes actually prefer our cool spring weather and moderate summer temperatures, giving you fresh peas and pods throughout the growing season when many warm-season crops are barely getting started. The intense mountain sunlight helps develop exceptional flavor, while our cool nights keep the pods crisp and sweet.
Our short 108-day growing season might seem limiting, but peas are perfectly suited to this challenge since they mature quickly and prefer cool weather anyway. The key is working with our late spring start and potential for unexpected temperature swings, but once you get the timing right, peas become one of your most dependable crops in high altitude gardening.
Transplanting Outdoors
While you can transplant pea seedlings from late April through late May, this isn't the preferred method since peas develop better root systems when direct sown. If you do choose to transplant, start seeds indoors only 3-4 weeks before your planned transplant date, as older seedlings don't establish well.
Harden off transplants gradually over a full week, starting with just 2-3 hours of morning mountain sun and working up to full days outdoors. Our intense UV can shock tender seedlings, so this gradual exposure is crucial at altitude. Space transplants 2-4 inches apart and plant them at the same depth they were growing in their containers.
Be prepared to protect young transplants if late season cold snaps threaten - our mountain weather can still surprise you with frost well into late May, though established pea plants can handle light frost once they're acclimated.
Direct Sowing
Direct sowing is definitely the way to go with peas in our mountain climate. You can start sowing from mid-April through late June, taking advantage of our extended cool season to make multiple plantings for continuous harvest. Peas actually prefer cool soil and germinate better in temperatures between 45-65°F, which matches our spring conditions perfectly.
Prepare your planting area by working compost into the soil, though peas aren't heavy feeders since they fix their own nitrogen. Our alkaline mountain soils work fine for peas - they actually prefer slightly alkaline conditions. Plant seeds 1-2 inches deep and space them 2-4 inches apart, or scatter them more densely if you're growing for pea shoots.
The beauty of our mountain climate is that you can make successive sowings every 2-3 weeks through late June. While other regions get too hot for peas by early summer, our moderate temperatures at altitude keep them productive well into the season. Just remember that peas planted in late June will need consistent watering as they mature during our driest months.
Watering Peas in Zone 3B (Mountain West)
Peas need consistent moisture throughout their growing cycle, which means you'll be supplementing our typically dry mountain springs and summers. In our low-humidity climate with only 10-20 inches of annual rainfall, plan to provide about 1 inch of water per week through deep, infrequent watering sessions rather than daily sprinkling.
During flowering and pod development, even moisture becomes critical since drought stress causes poor pod set and tough, stringy pods. Use the finger test - stick your finger 2 inches into the soil near your plants, and if it's dry at that depth, it's time to water. Our intense mountain sun and low humidity mean soil dries out faster than you might expect, especially in raised beds or containers.
Water at the base of plants rather than overhead to avoid encouraging fungal problems, though our dry air actually reduces disease pressure compared to more humid climates. Soaker hoses work exceptionally well for pea rows in our conditions. A 2-3 inch layer of straw mulch helps retain moisture and keeps roots cool during our warmer summer days, though avoid thick mulches early in the season when soil is still warming up.
Watch for signs of water stress like wilting during the heat of the day (even at our moderate 85°F highs) or pods that feel thin and underdeveloped. Overwatering shows up as yellowing lower leaves and can lead to root rot in our sometimes-heavy clay soils.
Supporting Your Peas
Even dwarf pea varieties benefit from some type of support in our mountain conditions, where afternoon winds can topple unsupported plants. Install trellises, pea netting, or even simple string supports at planting time - it's much harder to add support once the plants are established and their tendrils have started reaching.
For climbing varieties, plan on 4-6 feet of vertical support using bamboo poles, wire fencing, or traditional pea brush if you can find it. A simple A-frame trellis works well for double rows, maximizing your harvest in our short growing season. The support also keeps pods off the ground and makes harvesting much easier.
Train young plants gently onto their supports as they grow, though pea tendrils will naturally grab onto anything nearby. In our sometimes windy mountain conditions, secure your support structures well - a sudden afternoon thunderstorm can topple poorly anchored trellises and damage your entire crop.
🧪Fertilizing Peas
Feeding Schedule
Organic Fertilizer Options
Harvest Time
You can expect your first harvest from mid-June through mid-September, depending on when you planted and which varieties you're growing. Most peas reach maturity in about 60 days from germination, which fits perfectly within our 108-day growing season even with late spring planting.
For shell peas, harvest when pods are plump and you can see the round shape of individual peas inside, but before the pods turn yellow or tough. Snap peas should be picked when pods are full but still bright green and crisp. Sugar peas (snow peas) are ready when pods are flat with barely visible seeds. Check your plants daily once harvest begins - peas can go from perfect to overripe quickly in our intense mountain sunshine.
Harvest by gently pulling or snapping pods from the vine, being careful not to damage the plant since peas produce continuously over several weeks. Pick in the early morning when pods are crisp and full of moisture, especially important in our dry mountain air where pods can become tough by afternoon.
Keep harvesting regularly to encourage continued production, and don't worry if some pods get ahead of you - even overmature shell peas can be dried for winter use. As our first frost approaches in early September, harvest any remaining green pods for a final stir-fry or let the last pods dry on the vine for seed saving.
Common Problems in Zone 3B (Mountain West)
Powdery Mildew
This fungal disease appears as white or grayish powdery coating on leaves and stems, eventually causing leaves to curl, yellow, and die. In our mountain climate, the combination of warm days and cool nights actually creates ideal conditions for powdery mildew, even though our low humidity usually reduces fungal problems.
The dry leaf surfaces in our low-humidity environment can actually favor this particular fungus, unlike most plant diseases. Our intense UV helps somewhat, but dense plantings and poor air circulation make the problem worse. Improve spacing between plants and remove affected leaves immediately. Spray with neem oil or try the old-fashioned milk spray (1 part milk to 9 parts water) which works surprisingly well at altitude.
Pea Aphids
These small, soft-bodied insects cluster on new growth and pod tips, causing leaves to curl and distort while secreting sticky honeydew. Pea aphids particularly love the tender new growth that our cool mountain mornings encourage, and they multiply rapidly during the moderate temperatures of late spring.
Our dry mountain air means beneficial insects like ladybugs may be less active early in the season when aphids first appear. Spray them off with a strong stream of water, or use insecticidal soap for heavy infestations. Row covers during early growth can prevent initial infestations, though you'll need to remove them once flowers appear for pollination.
Root Rot
This soil-borne disease causes plants to wilt and die despite adequate moisture, with roots appearing brown and mushy. In our mountain clay soils that may drain poorly after snowmelt, root rot becomes more likely during cool, wet springs or with overwatering.
Our alkaline soils can contribute to root problems if drainage is poor, especially in low-lying areas where snowmelt collects. Improve drainage by adding compost or planting in raised beds. Avoid overwatering and ensure your soil drains well - the finger test should show moisture but never soggy conditions 2 inches down.
Mountain West Specific Challenges
Our intense UV can stress pea plants during the hottest part of summer days, while hail storms can shred tender leaves and pods in minutes. Consider shade cloth during extreme heat periods and be prepared to replant if hail destroys your crop - our relatively long cool season allows for succession planting through late June.
Best Companions for Peas
Plant these nearby for healthier Peas and better harvests.

Keep Away From
Companion Planting Details
Peas make excellent companions for carrots and radishes since their nitrogen-fixing roots benefit these heavy feeders, while the root crops help break up soil around pea roots in our sometimes-dense mountain clay. Turnips work similarly and mature at different times, making efficient use of garden space in our short growing season. Corn planted nearby provides natural trellising for climbing peas while benefiting from the nitrogen peas add to the soil.
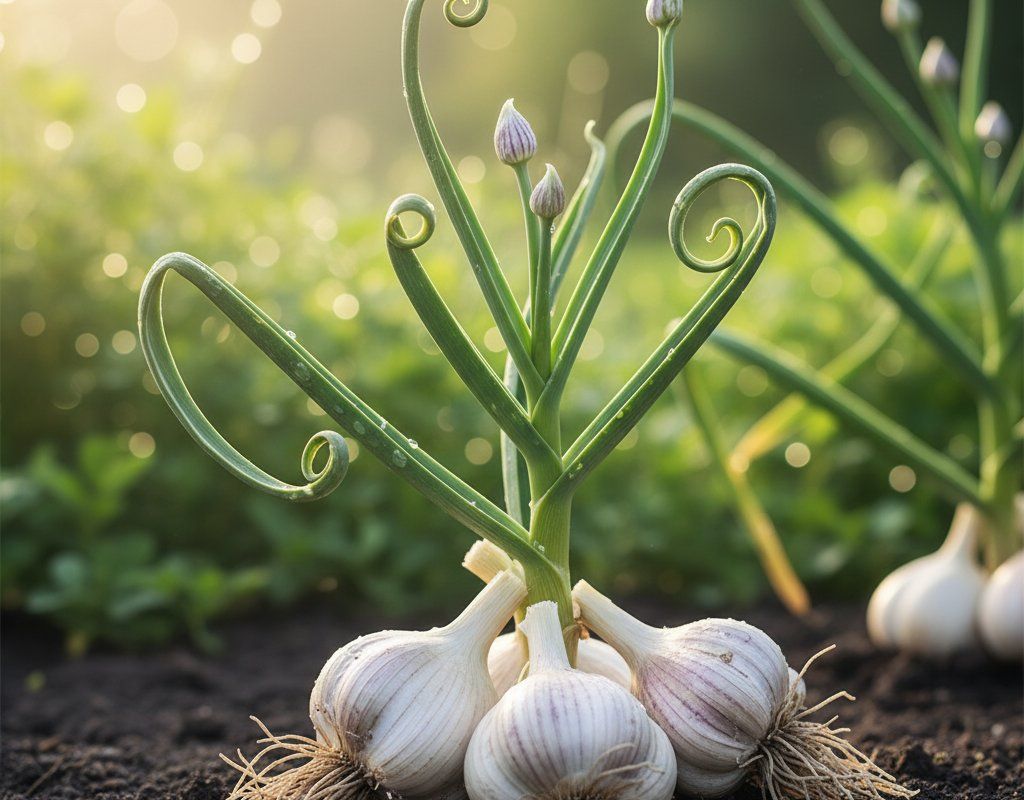
Avoid planting peas near onions and garlic, as these alliums can inhibit pea growth and nitrogen fixation. In our alkaline mountain soils where nutrient availability can be challenging, you want your peas fixing nitrogen efficiently rather than struggling against companion plants that interfere with this beneficial process.
🌸Best Flowers to Plant with Peas
These flowers protect your Peas from pests and attract pollinators for better harvests.
For Pest Control

For Pollinators

Get a Reminder When It's Time to Plant
We'll email you when key planting windows open for your zone.