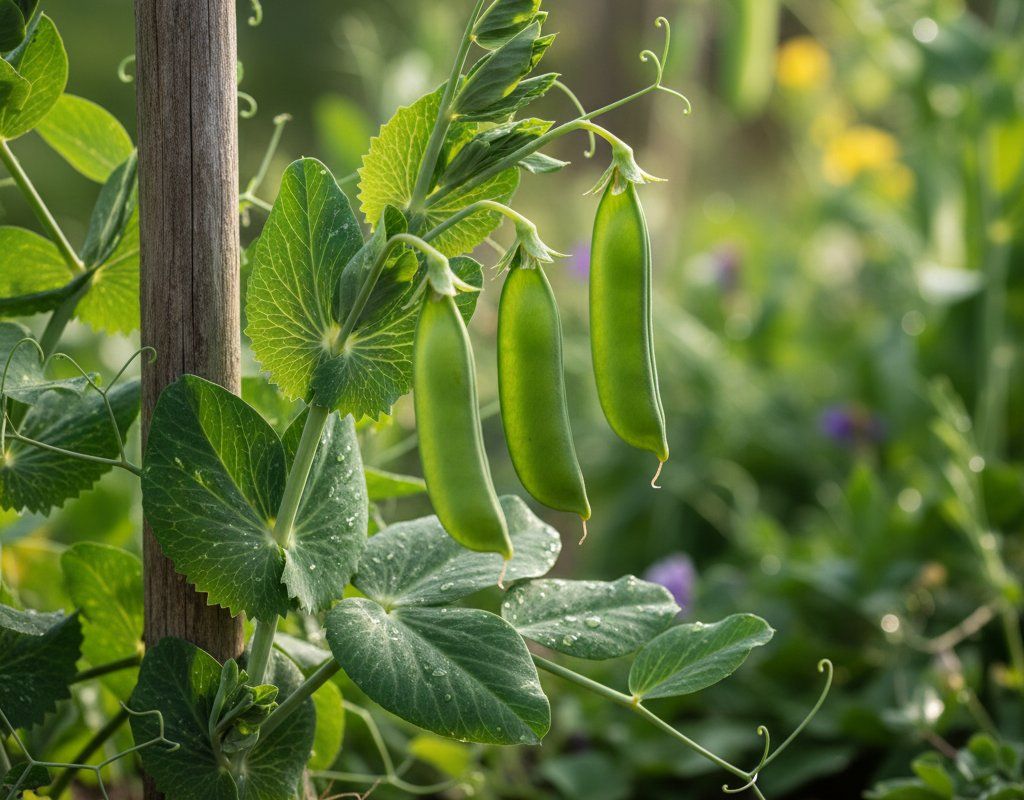
Peas in Zone 6B — Mountain West
Pisum sativum · Your Complete 2026 Planting Guide
Planning Ahead — Great!
You’re ahead of the season. Here’s when to start.
Mark Your Calendar
How to Plant Peas in Zone 6B — Mountain West
Here are all your options for getting peas in the ground, from the easiest method to more advanced approaches.
Direct Sow Seeds
RecommendedMid March through late July
around March 14
Consider succession planting every 2-3 weeks for continuous harvest.
Peas prefer cool soil and don't transplant well. Direct sow in early spring.
Buy Starts
Works WellLate March through late April
around March 28
Plant purchased starts after last frost (April 25).
Start Seeds Indoors
ChallengingThis plant is typically not started indoors.
Transplant Outdoors
Timing InfoLate March through late April
around March 28
Can tolerate light frost, but wait for soil to be workable.
You have a nice window — no need to rush.
Fall Planting
Mid July through mid August
August 3 ideal · Direct sow for fall harvest
Plant a second crop in mid-summer for fall harvest. Peas actually prefers the cooling temperatures of fall.
Overview
Peas are perfectly suited to our Mountain West climate, where cool nights even in summer create ideal conditions for these frost-hardy legumes. Our intense sunlight helps pods fill out beautifully while the cool temperatures prevent the bitter flavors that plague peas grown in hotter regions. You'll get crisp, sweet pods that far surpass anything from the store, and peas actually fix nitrogen in our often-poor mountain soils.
While our short 163-day growing season and potential late spring frosts might seem challenging, peas are actually one of the most forgiving crops for mountain gardeners. They tolerate frost down to the mid-20s and actually prefer cool soil for germination. The timing window is generous enough that you can succession plant for harvests from late spring through early fall.
Transplanting Outdoors
Transplanting peas outdoors works from late March through late April, though most mountain gardeners skip this method since peas prefer direct sowing. If you do start indoors, transplant when soil can be worked and nighttime temperatures stay above 20°F consistently.
Harden off transplants gradually over a full week, starting with just 2-3 hours outdoors in filtered sunlight. Our intense UV at altitude can shock seedlings that haven't been acclimated properly. Space transplants 2-4 inches apart and plant them slightly deeper than they were growing in containers.
Be prepared for temperature swings during transplant season - late March and April can bring everything from snow to 70°F days. Row covers or cold frames help buffer these extremes while transplants establish.
Direct Sowing
Direct sowing is the preferred method for peas in our mountain climate, with a generous window from mid-March through late July. Plant as soon as soil can be worked in spring - peas germinate best in cool soil around 45-50°F, which is exactly what we have during late winter and early spring.
Prepare beds by working compost into our typically alkaline soil, aiming for loose, well-draining conditions. Plant seeds 2-4 inches apart and about 1-2 inches deep in heavy soil, up to 2 inches deep in sandy soil. The seeds handle frost beautifully, so don't worry about occasional temperature dips into the 20s.
For continuous harvests, succession plant every 2-3 weeks through mid-summer. Our cool nights allow later plantings that would fail in hotter climates - you can plant as late as mid-July for fall harvests before our typical early October frost.
Watering Peas in Zone 6B (Mountain West)
Peas need consistent moisture but not waterlogged conditions, which works well with our moderate mountain temperatures and dry climate. During germination and early growth, keep soil evenly moist but not soggy - use the finger test by checking 2 inches deep. The soil should feel like a wrung-out sponge.
Once established, provide about 1 inch of water per week through soaker hoses or watering at the base of plants. Our low humidity means water evaporates quickly, so morning watering gives plants time to absorb moisture before the intense afternoon sun hits. Overhead watering in our dry climate is actually fine since leaves dry quickly, reducing disease pressure.
Pay special attention during flowering and pod development - drought stress during this critical period leads to poor pod set and tough, bitter peas. You'll notice plants wilting in late afternoon heat even with adequate soil moisture; this is normal in our intense sun and dry air. Signs of real water stress include morning wilting, yellowing lower leaves, and stunted growth.
A 2-3 inch layer of straw mulch helps retain moisture in our dry climate while keeping roots cool during hot spells. Avoid overwatering, which shows up as yellowing leaves and weak, spindly growth - our well-draining mountain soils make this less common than in heavier soils.
Supporting Your Peas
Even dwarf pea varieties benefit from support in our mountain winds and intense sun. Install a simple trellis, fence, or pea brush at planting time - trying to add support later damages the shallow root system. A 4-6 foot structure works for tall varieties, while 2-3 feet handles shorter types.
String trellises work especially well here since they're easy to install and remove. Run horizontal strings every 6-8 inches between sturdy end posts, creating a ladder effect. The peas' tendrils grab onto string readily, and the structure flexes with our occasional strong winds rather than breaking.
Train young plants to the support by gently wrapping tendrils around strings or wires. Once they start climbing, they'll find their own way up. Proper support keeps pods off the ground, improves air circulation, and makes harvesting much easier when plants are loaded with pods.
🧪Fertilizing Peas
Feeding Schedule
Organic Fertilizer Options
Harvest Time
Your first peas will be ready for harvest from mid-May through mid-October, depending on planting time and variety. Snow peas are ready when pods are flat with tiny bumps showing developing seeds inside. Snap peas should have plump, round pods that snap crisply. Shell peas are perfect when pods are bright green and well-filled but before they turn yellow or feel hard.
Harvest in the cool morning hours when pods are crisp and full of moisture. Pick with two hands - hold the vine with one hand while gently pulling pods with the other to avoid damaging the plant. Daily harvesting during peak season keeps plants producing longer and prevents over-mature pods.
The beauty of our cool mountain nights is that peas continue producing well into summer when they'd quit in hotter climates. Keep picking regularly, and plants will keep flowering and setting new pods. Even small pods are tender and sweet when harvested young.
As first frost approaches in early October, harvest all remaining pods regardless of size. While the plants handle light frost well, hard freezes will end production. You can pick slightly immature pods for stir-fries or let the last pods mature for dried peas and seed saving.
Common Problems in Zone 6B (Mountain West)
Powdery Mildew This fungal disease appears as white or grayish powdery coating on leaves, stems, and pods, causing leaves to curl, yellow, and eventually die. You'll first notice it on older, lower leaves before it spreads upward through the plant.
Our mountain climate's cool nights and warm days actually favor powdery mildew development, even in our low humidity. Unlike most fungal diseases that need moisture, powdery mildew thrives on dry leaf surfaces. Improve air circulation by proper spacing and removing lower leaves that touch the soil. Spray affected plants with neem oil or try the surprisingly effective milk spray - 1 part milk to 9 parts water applied weekly.
Pea Aphids These small, green insects cluster on stems, leaves, and growing tips, causing stunted growth and distorted leaves. Heavy infestations can seriously reduce pod production and plant vigor.
Our cool spring weather slows aphid reproduction, but they can still build up as temperatures warm. Encourage beneficial insects like ladybugs and lacewings with diverse plantings nearby. Blast aphids off with water from the hose, or use insecticidal soap spray for heavy infestations. Row covers during early growth help prevent initial colonization.
Root Rot Plants suddenly wilt and die, often just as they're starting to produce well. Roots appear brown, mushy, and may have a foul smell when you dig up affected plants.
Poor drainage and overwatering are the main causes, though our well-draining mountain soils make this less common. Plant in raised beds if your soil has drainage issues, and avoid overwatering during cool spring weather. Crop rotation helps prevent soil-borne pathogens from building up.
Mountain West Specific Challenges: Our intense UV can stress pea plants during hot spells, while sudden temperature swings and hail storms can damage tender growth. The alkaline soil common in our region may cause nutrient deficiencies - watch for yellowing between leaf veins, which indicates iron deficiency in high-pH soil.
Best Companions for Peas
Plant these nearby for healthier Peas and better harvests.

Keep Away From
Companion Planting Details
Peas make excellent companions for carrots, radishes, and turnips in mountain gardens. The peas fix nitrogen that feeds these root crops, while the root vegetables break up soil around pea roots and don't compete for the same nutrients. Plant carrots and radishes between pea rows to maximize space in our short growing season.
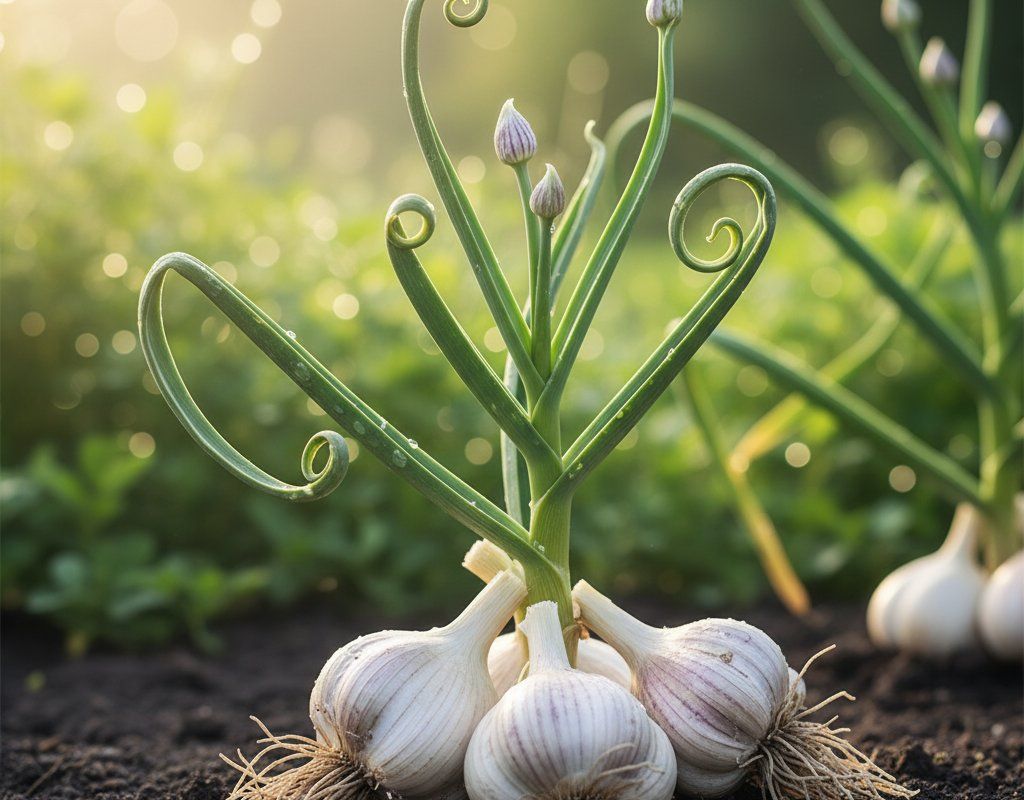
Corn works well with peas if you plant corn 2-3 weeks after peas are established. The corn provides natural support for peas while the peas add nitrogen to feed the heavy-feeding corn. Avoid planting peas near onions or garlic, which can inhibit pea growth through root exudates - keep them in separate garden areas for best results.
🌸Best Flowers to Plant with Peas
These flowers protect your Peas from pests and attract pollinators for better harvests.
For Pest Control

For Pollinators

Get a Reminder When It's Time to Plant
We'll email you when key planting windows open for your zone.