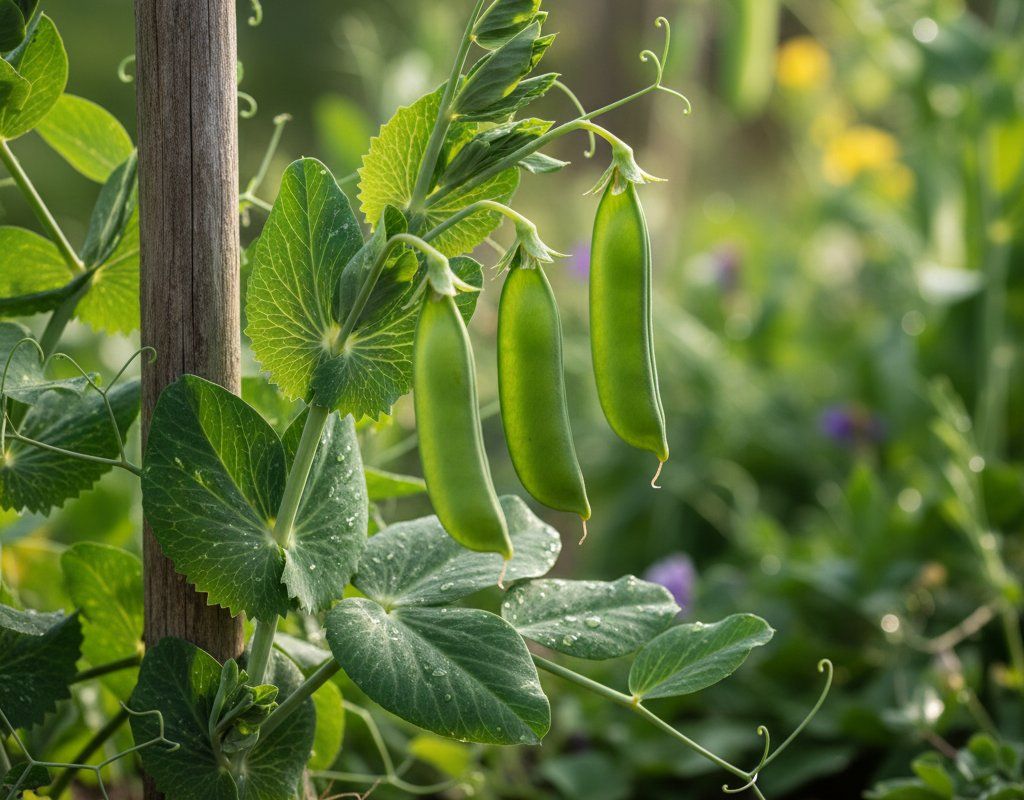
Peas in Zone 7B — Mid-Atlantic
Pisum sativum · Your Complete 2026 Planting Guide
Still Time to Sow!
The sowing window is still open for Peas.
Sow Seeds Soon
Peas prefer cool soil and don't transplant well. Direct sow in early spring.
How to Plant Peas in Zone 7B — Mid-Atlantic
Here are all your options for getting peas in the ground, from the easiest method to more advanced approaches.
Direct Sow Seeds
RecommendedMid February through mid August
around February 18
Consider succession planting every 2-3 weeks for continuous harvest.
Peas prefer cool soil and don't transplant well. Direct sow in early spring.
Buy Starts
Works WellEarly March through early April
around March 4
Plant purchased starts after last frost (April 1).
Start Seeds Indoors
ChallengingThis plant is typically not started indoors.
Transplant Outdoors
Timing InfoEarly March through early April
around March 4
Can tolerate light frost, but wait for soil to be workable.
You have a nice window — no need to rush.
Fall Planting
Mid August through mid September
August 30 ideal · Direct sow for fall harvest
Plant a second crop in mid-summer for fall harvest. Peas actually prefers the cooling temperatures of fall.
Overview
Peas are one of the earliest rewards of our Mid-Atlantic growing season, delivering sweet, crisp pods when most vegetables are still months away from harvest. In our humid summers with moderate-to-hot temperatures, peas thrive in the cooler months of spring and fall, making them perfect for extending your harvest window beyond the main summer season. The satisfaction of snapping fresh peas straight from the vine in April beats anything you'll find in the grocery store.
Our Mid-Atlantic climate can throw some curveballs with variable spring weather and humid conditions that favor certain diseases, but peas are surprisingly resilient when planted at the right time. With our 214-day growing season, you have plenty of opportunities for both spring and fall plantings, and the timing flexibility means you can work around those unpredictable temperature swings we're known for.
Transplanting Outdoors
While peas can be transplanted, they don't love the process and direct sowing is almost always more successful. If you do choose to transplant, start with seedlings in early March through early April, timing your planting so they go in the ground while soil is still cool but frost danger is mostly past.
Give transplants a full week of hardening off with gradual outdoor exposure, since our variable spring weather can stress young plants quickly. Space them 2-4 inches apart in rows, and water them in well since transplant shock can delay development significantly.
The biggest challenge with transplanting peas in our region is that by the time conditions are right for moving seedlings outdoors, you could have already direct-sown and had them up and growing for weeks. Our clay soil also stays cooler longer in spring, which favors direct seeding over transplant timing.
Direct Sowing
Direct sowing is absolutely the way to go with peas in the Mid-Atlantic. You can start as early as mid-February when the soil is workable, even if there's still frost in the forecast - peas actually prefer cool soil and will sit patiently waiting for the right conditions to germinate. Your window extends through mid-August for fall crops.
Peas don't need warm soil like beans or squash, so you can sow them when soil temperatures are still around 40-45°F. Work your clay soil when it's not too wet (it should crumble, not stick together when squeezed), and plant seeds 2-4 inches apart and about 2 inches deep. In our heavier soils, you might want to plant slightly shallower to help emergence.
The beauty of direct sowing peas here is that they'll germinate slowly and steadily as conditions warm up, developing strong root systems that transplants often struggle to match. Even if a late cold snap hits, established seedlings will bounce back better than transplants ever would.
Watering Peas in Zone 7B (Mid-Atlantic)
Peas need consistent moisture but not soggy conditions, which can be tricky to balance in our humid Mid-Atlantic climate. During their critical flowering and pod development stages, even brief dry spells can cause poor pod set and reduced yields. Check soil moisture by sticking your finger 2 inches deep - if it's dry, it's time to water.
Plan to provide about 1 inch of water per week, including rainfall. Since we typically get 40-50 inches annually with fairly even distribution, you'll often need less supplemental watering than gardeners in drier regions. However, don't count on nature alone during dry spells in late spring or early summer when pods are forming.
Water at the base of plants rather than overhead to avoid encouraging fungal diseases that thrive in our humid conditions. Overhead watering combined with our naturally high humidity creates perfect conditions for powdery mildew and other issues. A soaker hose or drip irrigation works beautifully for pea rows.
Watch for signs of stress: wilting during the hottest part of the day (even with adequate soil moisture) is normal, but if plants don't perk up by evening, they need water. Overwatering shows up as yellowing leaves and poor growth, especially in our clay soils that don't drain quickly. A 2-inch layer of straw mulch helps maintain even soil moisture without creating soggy conditions.
Supporting Your Peas
Even dwarf pea varieties benefit from some kind of support in our region, where spring winds and summer storms can flatten unsupported plants. Install trellises, fences, or pea brush at planting time - it's much harder to add support after plants are established and their tendrils have already started reaching.
A simple string trellis stretched between posts works well for most varieties, or you can use a section of wire fencing. For tall varieties that can reach 4-6 feet, make sure your support is sturdy enough to handle both the weight of mature plants and our occasional severe thunderstorms. Shorter bush types still appreciate 2-3 feet of support.
Train young plants by gently weaving their tendrils around the support structure. Peas climb naturally with their tendrils, so once you get them started, they'll largely take care of themselves. The support also improves air circulation, which helps prevent fungal issues in our humid climate.
🧪Fertilizing Peas
Feeding Schedule
Organic Fertilizer Options
Harvest Time
Your first peas will be ready in mid-April from early spring plantings, with fall crops producing through early November until our first frost arrives. With 60 days to maturity, you can time plantings to have continuous harvests throughout the cooler months of our growing season.
For shell peas, harvest when pods are plump and you can see the round outline of peas inside, but before the pods turn yellow or the peas become starchy. Sugar snap peas should be picked when pods are full but still bright green and crisp. Check plants daily during peak season - peas can go from perfect to overripe in just a day or two during warm weather.
Harvest by pinching or cutting the stem rather than pulling, which can damage the plant and reduce future production. Pick in the morning when pods are crisp and full of moisture, and get them into the refrigerator quickly since peas start converting sugars to starch immediately after harvest.
Keep harvesting regularly to encourage continued production - plants that are allowed to fully mature their pods will stop flowering. As our first frost approaches in early November, harvest any remaining pods and consider saving some for dried peas if plants have stopped producing fresh ones.
Common Problems in Zone 7B (Mid-Atlantic)
Powdery Mildew This shows up as white or grayish powdery coating on leaves, stems, and sometimes pods themselves. Leaves start to curl, turn yellow, and eventually die back, reducing the plant's ability to produce. In severe cases, it can coat entire plants and significantly reduce your harvest.
Our Mid-Atlantic climate of warm days, cool nights, and moderate humidity creates perfect conditions for powdery mildew, especially on peas grown in late spring as temperatures rise. Unlike other fungal diseases, powdery mildew actually prefers dry leaf surfaces, so our humidity helps but doesn't prevent it.
Improve air circulation by proper spacing and removing lower leaves that touch the ground. Remove affected plant parts immediately and dispose of them in the trash, not compost. Spray with neem oil or potassium bicarbonate solutions, or try the surprisingly effective milk spray (1 part milk to 9 parts water) applied weekly.
Pea Aphids These small, green insects cluster on growing tips and new leaves, causing yellowing, stunted growth, and honeydew deposits that attract sooty mold. Heavy infestations can seriously weaken plants and reduce pod production.
Pea aphids thrive in our mild spring weather and can build up quickly, especially on plants that are stressed by inconsistent watering or poor soil conditions. They're particularly problematic on fall crops as they build populations throughout the summer.
Blast them off with a strong spray of water, or release beneficial insects like ladybugs. Insecticidal soap works well for heavier infestations, but avoid spraying during the heat of the day. Row covers can prevent initial infestations on young plants.
Root Rot Plants develop yellowing leaves, stunted growth, and may wilt even when soil is moist. Roots appear brown or black and may be soft or mushy. Plants often die back completely in severe cases.
Our clay soils and humid conditions can create waterlogged situations that promote root rot fungi, especially during wet springs or in poorly draining areas. Overwatering combined with heavy soil compounds the problem.
Improve drainage by adding compost to clay soil and avoid overwatering. Plant in raised beds if your area stays soggy. Once root rot appears, affected plants rarely recover - remove them and improve soil conditions before replanting.
Mid-Atlantic Specific Challenges: Our humid conditions and clay soils create a perfect storm for fungal issues, while the variable spring weather can stress plants and make them more susceptible to problems. The key is preventive care - proper spacing for air circulation, consistent but not excessive watering, and soil improvement to help plants stay strong enough to resist disease pressure.
Best Companions for Peas
Plant these nearby for healthier Peas and better harvests.

Keep Away From
Companion Planting Details
Plant peas alongside carrots, radishes, and turnips for a perfect spring combination. The peas fix nitrogen in the soil that benefits the root vegetables, while the carrots and radishes help break up our clay soil with their taproots, improving drainage for everyone. Radishes also mature quickly and are harvested before they compete with developing pea plants.
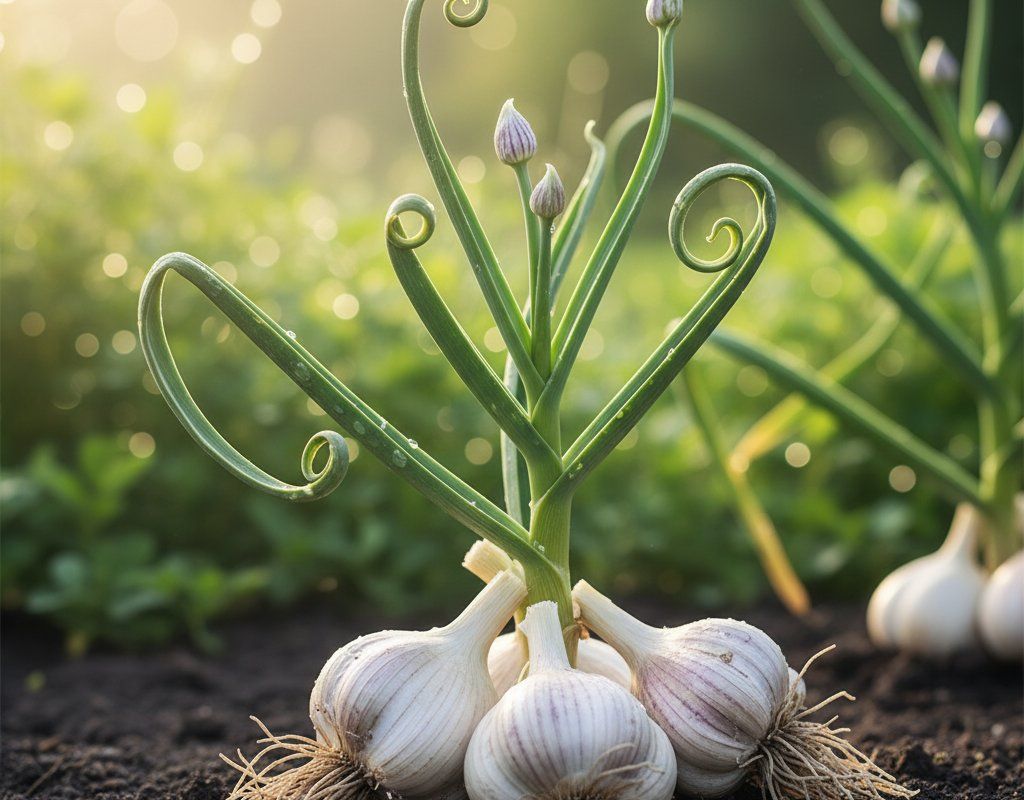
Corn makes an excellent summer companion for peas in our region - plant peas in early spring, harvest them by late May, then plant corn in the same space to take advantage of the nitrogen the peas left behind. Avoid planting peas near onions and garlic, as these alliums can inhibit pea growth and nitrogen fixation. In our humid climate, you also want to avoid overcrowding that reduces air circulation and increases disease pressure.
🌸Best Flowers to Plant with Peas
These flowers protect your Peas from pests and attract pollinators for better harvests.
For Pest Control

For Pollinators

Get a Reminder When It's Time to Plant
We'll email you when key planting windows open for your zone.