
Pepper in Zone 10A — Southern California
Capsicum annuum · Your Complete 2026 Planting Guide
Check Planting Details Below
See the full planting guide for timing information.
How to Plant Pepper in Zone 10A — Southern California
Here are all your options for getting pepper in the ground, from the easiest method to more advanced approaches.
Start Seeds Indoors
RecommendedLate November through mid December
around December 4
Then transplant: Late January through late February
Start seeds 8-10 weeks before transplanting outdoors.
Peppers need 8-10 weeks head start. They're slow to germinate and grow.
Buy Starts
Works WellLate January through late February
around January 29
Plant purchased starts after last frost (January 15).
Look for dark green, stocky plants. Avoid plants with flowers or fruit already set.
Direct Sow Seeds
ChallengingDirect sowing is not typical for Pepper.
Transplant Outdoors
Timing InfoLate January through late February
around January 29
Wait until nighttime temperatures stay above 50°F.
You have a nice window — no need to rush.
Overview
Growing peppers in Southern California is like having a permanent summer garden advantage. Our mild winters and nearly year-round warmth create perfect conditions for these heat-loving plants, which struggle in cooler climates but absolutely thrive here. You'll get months of continuous harvests from plants that can produce well into late fall, making peppers one of the most rewarding vegetables for our region.
While our intense summer heat inland and occasional Santa Ana winds can stress plants, starting peppers at the right time lets you work with our climate instead of against it. With our 349-day growing season, you have an enormous window for success — much longer than gardeners in colder zones could ever dream of.
Starting Seeds Indoors
Start your pepper seeds indoors from late November through mid-December, giving them about 8 weeks to develop before transplanting. Peppers are notoriously slow starters, taking 10-14 days just to germinate and another 6-8 weeks to reach transplant size, so this early start is essential for our very-early spring planting season.
Set up seed trays with quality seed-starting mix in a warm spot — peppers need soil temperatures around 75-80°F to germinate well. A heat mat works wonders in our mild winter homes. Once seedlings emerge, they'll need bright light from a south-facing window or grow lights. Bottom watering prevents damping-off disease and keeps soil evenly moist without waterlogging.
Keep seedlings warm and avoid our occasional winter cold snaps by bringing trays indoors during any unusual cold spells. By late January, your plants should be stocky, dark green, and ready for the transition outdoors.
Transplanting Outdoors
Transplant your pepper seedlings from late January through late February, when our mild winter weather gives way to consistent warmth. Look for plants that are dark green, stocky, and about 4-6 inches tall — avoid any that already have flowers or small fruits, as these stressed plants rarely recover well.
Harden off your seedlings gradually over one week by placing them outside for increasing periods each day. Start with 2-3 hours in morning sun, then gradually extend to full days. Our mild winter weather makes this process easier than in harsh-winter climates, but sudden temperature swings can still shock tender plants.
Space plants 18-24 inches apart in full sun locations that receive 6-8 hours of direct sunlight. Plant slightly deeper than they were in their pots to encourage strong root development. Water thoroughly after transplanting and watch for any late-season cold snaps that might require temporary protection with row covers.
Watering Pepper in Zone 10A (Southern California)
Peppers need consistent, moderate watering but are less thirsty than tomatoes once established. In our hot, dry Southern California summers, aim for about 1-1.5 inches of water per week, adjusting based on your specific microclimate and soil type. Inland areas will need more frequent watering than coastal gardens.
Use the finger test — stick your finger 2 inches deep into the soil around the plant base. If it's dry at that depth, it's time to water. Water at the base of plants rather than overhead to reduce disease risk, though our low-to-moderate humidity makes foliar diseases less problematic than in humid climates.
During our winter-wet season, reduce watering significantly and let natural rainfall do most of the work. Come summer heat, establish a regular deep watering schedule rather than frequent shallow watering. Mulch around plants with 2-3 inches of organic matter to conserve moisture and protect roots from our intense sun, but keep mulch a few inches away from plant stems.
As fruits begin to ripen, you can reduce watering slightly to concentrate flavors, but never let plants become drought-stressed. Yellow, dropping leaves or blossom-end rot indicate inconsistent watering — both common issues during our hot, dry periods when water restrictions may limit garden irrigation.
Supporting Your Pepper
Most pepper varieties benefit from some support, especially once they're loaded with fruit. A single sturdy stake placed 6 inches from the plant base at planting time works well for most bush-type peppers. Use soft ties like cloth strips or plant ties to secure main stems without cutting into the plant.
Heavy-fruited varieties or plants grown in windy areas definitely need staking to prevent branch breakage. Our Santa Ana winds can be particularly hard on loaded pepper plants, snapping branches that would otherwise be fine. Install support early — trying to stake a mature, fruit-laden plant often causes more damage than it prevents.
For multiple plants, consider a simple trellis system using posts and horizontal wires. This works especially well if you're growing peppers in rows and want to maximize space while providing wind protection during our fire season when dry winds are strongest.
Pruning & Maintaining Pepper
Pinch off the first few flowers that appear on young pepper plants to encourage stronger root and branch development before fruit production begins. Remove any small fruits that form before plants reach 12 inches tall — this early sacrifice pays off with much higher yields later in the season.
Throughout the growing season, remove any branches or leaves touching the soil to prevent disease and pest issues. In our low-humidity climate, disease pressure is lower than in humid regions, but good airflow around plants is still important. Remove suckers growing from the base of plants to focus energy on main stems.
As our first frost approaches in late December, you can either harvest all remaining peppers or bring potted plants indoors to overwinter. Many pepper varieties are actually perennials in our mild climate, and established plants often produce earlier and more heavily in their second year if protected from our brief winter cold.
🧪Fertilizing Pepper
Feeding Schedule
Organic Fertilizer Options
Harvest Time
Your first peppers will be ready from early April through late May, about 65 days from transplanting. Most peppers can be harvested at any stage — small and green for mild flavor, or fully colored and mature for maximum sweetness and heat. Mature peppers feel slightly soft when gently squeezed and have reached their full color development.
Harvest regularly by cutting (never pulling) peppers from plants with clean garden shears. This prevents damage to branches and encourages continued production throughout our long growing season. A well-tended pepper plant can produce continuously from spring through late fall in our mild climate.
Check plants every 2-3 days during peak season as peppers can go from perfect to overripe quickly in summer heat. Overripe peppers become soft, wrinkled, and may develop dark spots, though they're still edible. Regular harvesting signals the plant to keep producing rather than focusing energy on ripening existing fruits.
As late December approaches and first frost threatens, harvest all remaining peppers regardless of size. Green peppers will continue ripening indoors at room temperature, turning their mature colors over 1-2 weeks. Store ripe peppers in the refrigerator for up to two weeks, or preserve your harvest by freezing, drying, or making hot sauce.
Common Problems in Zone 10A (Southern California)
Blossom Drop Flowers fall off without setting fruit, or small fruits yellow and drop despite healthy-looking plants. This frustrating problem is usually caused by temperature stress — peppers struggle to set fruit when nighttime temperatures stay above 75°F or daytime temperatures exceed 95°F, both common during our inland summer heat waves. Low humidity, excess nitrogen fertilizer, or poor pollination can also trigger blossom drop.
Be patient during extreme heat — fruit set typically resumes when temperatures moderate in late summer. Provide afternoon shade during the hottest periods using shade cloth or strategic planting near taller crops. Keep soil consistently moist but not waterlogged, and avoid high-nitrogen fertilizers that promote leafy growth at the expense of flowers. Try hand-pollinating with a small paintbrush during peak bloom periods.
Aphids Small, soft-bodied insects cluster on stems and leaf undersides, often appearing as green, black, or white colonies. You'll notice sticky honeydew residue on leaves and curled or distorted new growth. Ant trails leading to plants indicate aphid farming — ants protect aphids for their honeydew production. These rapid-reproducing pests explode in populations during warm weather.
Blast aphids off with a strong water spray early in the day, allowing plants to dry before evening. Encourage natural predators like ladybugs and lacewings by planting flowers nearby and avoiding broad-spectrum insecticides. For heavy infestations, apply insecticidal soap or neem oil according to label directions. Reduce excess nitrogen fertilization, which creates tender growth that attracts aphids.
Sunscald White, papery patches appear on fruits exposed to direct sunlight, often blistering and becoming entry points for rot. This damage typically occurs after leaves are lost to disease or removed through overpruning, suddenly exposing previously shaded fruits to our intense sun. The combination of low humidity and high temperatures makes Southern California peppers particularly susceptible.
Maintain healthy foliage throughout the season to provide natural fruit shading — resist the urge to overprune even diseased leaves until replacements have grown. During extreme heat periods, use 30% shade cloth over pepper beds or drape individual exposed fruits with row cover material. Focus on consistent watering and proper nutrition to keep plants leafy and vigorous rather than stressed and sparse.
Southern California Specific Challenges: Our hot, dry summers combined with low-to-moderate humidity create unique challenges for pepper growing. The intense inland heat can cause temperature stress and sunscald, while our winter-wet, summer-dry rainfall pattern requires careful irrigation management. Santa Ana winds can damage loaded plants and increase water stress, making proper staking and consistent watering essential for success.
Best Companions for Pepper
Plant these nearby for healthier Pepper and better harvests.

Keep Away From

Companion Planting Details
Plant peppers alongside tomatoes, basil, carrots, and onions for natural pest control and space efficiency. Basil planted between pepper rows repels aphids and thrips while improving pepper flavor — both crops love heat and similar watering schedules, making them perfect partners in our climate. Carrots and onions work as living mulch, their shallow roots helping retain soil moisture during our dry summers without competing with pepper root systems.
Avoid planting peppers near fennel or kohlrabi, which can stunt pepper growth through allelopathic compounds. Fennel particularly interferes with pepper development and attracts pests that may spread to your pepper plants. In our water-wise gardens, companion planting becomes even more important for maximizing space and creating beneficial plant communities that support each other through our long, dry summers.
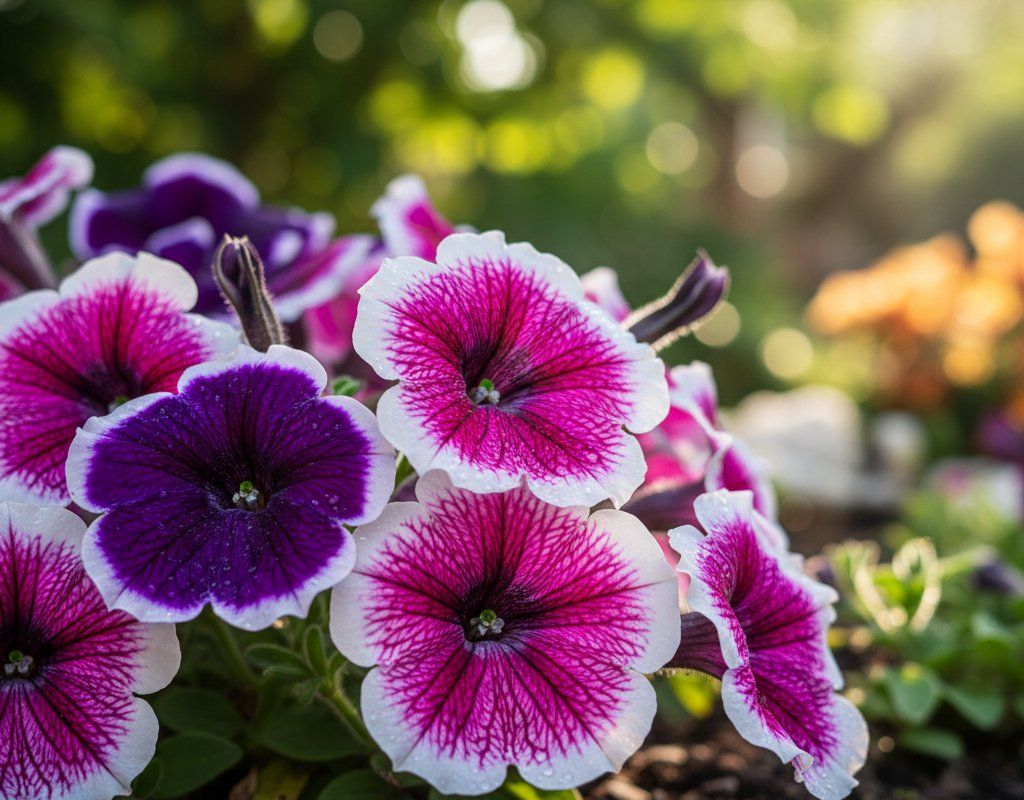
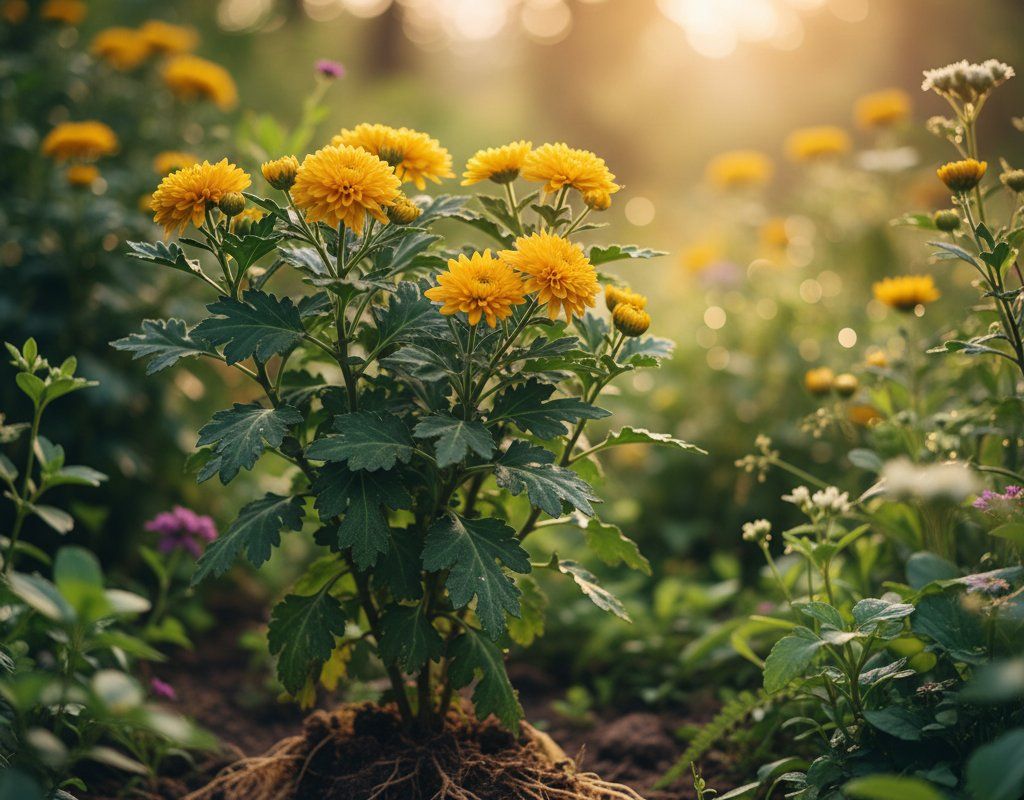
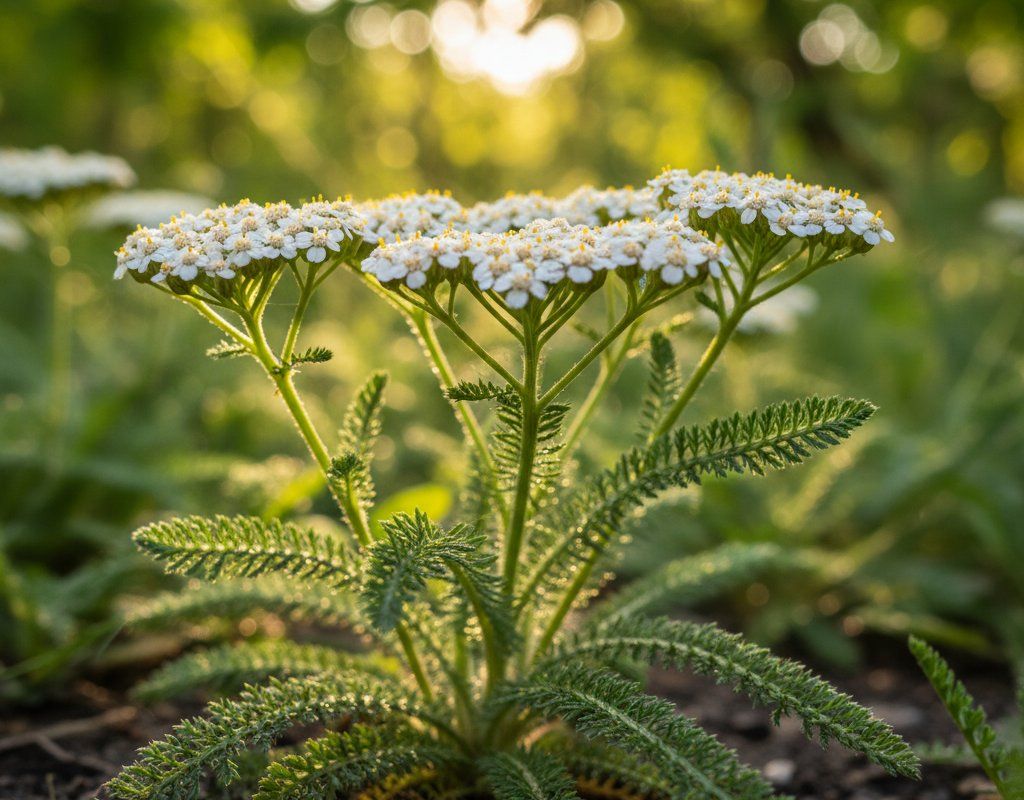
🌸Best Flowers to Plant with Pepper
These flowers protect your Pepper from pests and attract pollinators for better harvests.
For Pest Control


Get a Reminder When It's Time to Plant
We'll email you when key planting windows open for your zone.