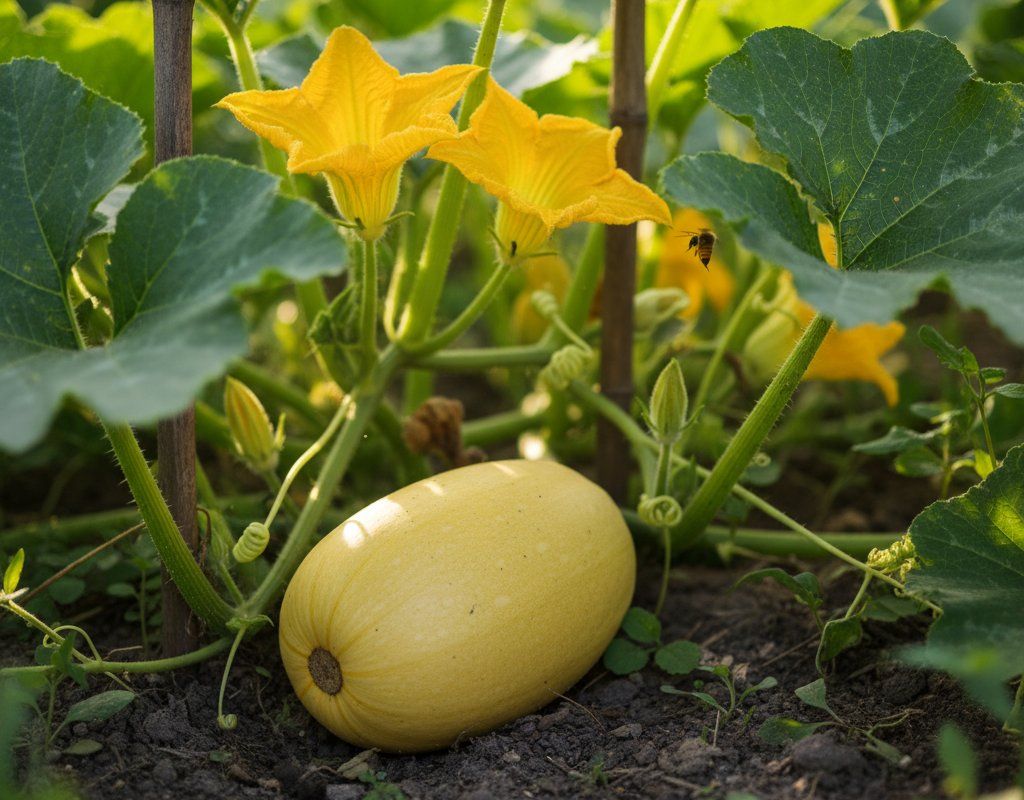
Spaghetti Squash in Zone 5A — Mountain West
Cucurbita pepo · Your Complete 2026 Planting Guide
Planning Ahead — Great!
You’re ahead of the season. Here’s when to start.
Mark Your Calendar
How to Plant Spaghetti Squash in Zone 5A — Mountain West
Here are all your options for getting spaghetti squash in the ground, from the easiest method to more advanced approaches.
Direct Sow Seeds
RecommendedMid May through early June
around May 17
Direct sow as soon as conditions allow.
Buy Starts
Works WellLate May through early June
around May 24
Plant purchased starts after last frost (May 10).
Start Seeds Indoors
Works WellLate April through mid May
around May 3
Then transplant: Late May through early June
Start seeds 3-5 weeks before transplanting outdoors.
Transplant Outdoors
Timing InfoLate May through early June
around May 24
Wait until nighttime temperatures stay above 50°F.
Plan to transplant within a few weeks of your target date.
Overview
Spaghetti squash is a rewarding crop for Mountain West gardeners. The mild, slightly sweet flavor and unique texture make it a versatile addition to your meals. Roasting a homegrown spaghetti squash and enjoying it on a cool autumn evening after a day of intense sun is a true taste of the Mountain harvest.
Our high altitude, short season, and alkaline soil present challenges, but with careful timing, you can absolutely succeed with spaghetti squash. The 138-day growing season can feel tight, but starting seeds at the right time and choosing the right location can make all the difference.
Starting Seeds Indoors
Starting spaghetti squash indoors is an option, especially if you're itching to get a jump start on the season. Begin in late April through mid May, giving you about three weeks to get seedlings strong before transplanting. This can be helpful with our short growing season.
Use seed trays or small pots filled with a good seed-starting mix. Keep them warm (around 70-75°F) and provide plenty of light, either with a grow light or in a south-facing window. Bottom watering is a great way to prevent damping off; just set the tray in a shallow dish of water and let the soil soak it up. Given our late springs, starting indoors can give you a head start.
Transplanting Outdoors
Transplant your spaghetti squash seedlings outdoors in late May through early June, once the danger of frost has passed. Before transplanting, harden off your seedlings by gradually exposing them to outdoor conditions for about a week. This helps them adjust to the intense sun and cooler nights that are common in our region.
Space plants 36-48 inches apart to allow for their sprawling vines. Keep an eye on the weather forecast; even in late May, we can still get unexpected cold snaps or even hail. Protect young transplants with row covers if needed.
Direct Sowing
Direct sowing is the recommended method for spaghetti squash in our region, as it avoids transplant shock and allows the roots to develop naturally. Sow seeds mid May through early June, once the soil has warmed up to at least 60°F.
Prepare a garden bed in full sun with well-draining soil. Amend with compost to improve fertility and drainage, especially if your soil is alkaline. Plant seeds about 1 inch deep, spacing them 36-48 inches apart. Water gently but thoroughly after planting.
Watering Spaghetti Squash in Zone 5A (Mountain West)
Consistent watering is crucial for spaghetti squash, especially during the early growth stages. In our dry Mountain climate, aim for about 1-2 inches of water per week, depending on rainfall. Use the "finger test" to check soil moisture: if the top 2 inches feel dry, it's time to water.
Water deeply at the base of the plants, avoiding overhead watering as much as possible. The low humidity in our region minimizes the risk of fungal diseases, but watering at the base still helps prevent moisture loss through evaporation. As the fruits reach their full size and the skin begins to harden, you can reduce watering slightly.
Signs of underwatering include wilting leaves and stunted growth. Overwatering, on the other hand, can lead to root rot, especially in heavy clay soils. Mulching around the base of the plants with straw or wood chips helps retain moisture, regulate soil temperature, and suppress weeds.
🧪Fertilizing Spaghetti Squash
Feeding Schedule
Organic Fertilizer Options
Harvest Time
Your first spaghetti squash harvest will likely be from mid August through late September, about 95 days after planting. Look for a bright yellow skin and a hard shell that's difficult to pierce with your fingernail. The stem should be dry and starting to turn brown. A good indicator is the "hollow sound" test: tap the squash; if it sounds hollow, it's ready.
To harvest, use a sharp knife or pruning shears to cut the squash from the vine, leaving a few inches of stem attached. This helps prevent rot and prolongs storage life. Spaghetti squash doesn't ripen off the vine, so be sure it's fully mature before harvesting.
As our first frost approaches in late September, harvest any remaining squash, even if they're not quite fully ripe. While they won't be as sweet, you can still cook and enjoy them. Store harvested squash in a cool, dry place.
Common Problems in Zone 5A (Mountain West)
Here are some common problems you might encounter growing spaghetti squash in the Mountain West:
Squash Vine Borer
- What it looks like: Wilting vines, often near the base of the plant. Small holes with sawdust-like frass (larva excrement) near the base.
- What causes it: Squash vine borers are moth larvae that burrow into the stems and feed on the plant tissue. The intense sun can stress plants, making them more susceptible.
- How to fix/prevent it: Wrap the base of the stems with aluminum foil or pantyhose to prevent borers from laying eggs. Inspect stems regularly for signs of infestation. If you find borers, you can try to remove them manually with a knife or inject Bacillus thuringiensis (Bt) into the stem.
Powdery Mildew
- What it looks like: White or grayish powdery coating on leaves, stems, and sometimes fruit. Leaves curl, yellow, and die. Reduces plant vigor.
- What causes it: Various fungi that thrive in warm days, cool nights, and moderate humidity. Dry leaf surfaces actually favor it (unlike most fungi).
- How to fix/prevent it: Improve air circulation through spacing and pruning. Remove affected leaves. Neem oil or potassium bicarbonate sprays help. Milk spray (1 part milk to 9 parts water) is surprisingly effective. Plant resistant varieties.
Squash Bugs
- What it looks like: Gray-brown shield-shaped bugs on leaf undersides. Bronze egg clusters on leaves. Wilting leaves that turn brown and crispy.
- What causes it: Sap-sucking insects that inject toxin while feeding. Adults overwinter in garden debris and emerge in spring.
- How to fix/prevent it: Hand-pick adults and crush egg clusters. Board traps (adults hide under boards at night — flip and destroy in morning). Neem oil spray. Remove plant debris in fall. Companion plant with nasturtiums.
Blossom End Rot
- What it looks like: Sunken, dark brown or black leathery patch on the bottom (blossom end) of fruit. Often affects first fruits of the season.
- What causes it: Calcium deficiency caused by inconsistent watering. Not a disease — it's a nutrient uptake problem triggered by drought/flood cycles.
- How to fix/prevent it: Water consistently (the single most effective fix). Mulch heavily to maintain even soil moisture. Don't over-fertilize with nitrogen. Calcium sprays help marginally. Remove affected fruit.
Mountain West Specific Challenges: Our moderate-at-altitude heat, low humidity, and dry rainfall can create unique challenges for spaghetti squash. The intense sun can stress plants if they're not adequately watered. The dry air can exacerbate blossom end rot if watering is inconsistent. And while low humidity reduces fungal diseases, powdery mildew can still be a problem if air circulation is poor.
Best Companions for Spaghetti Squash
Plant these nearby for healthier Spaghetti Squash and better harvests.

Keep Away From
Companion Planting Details
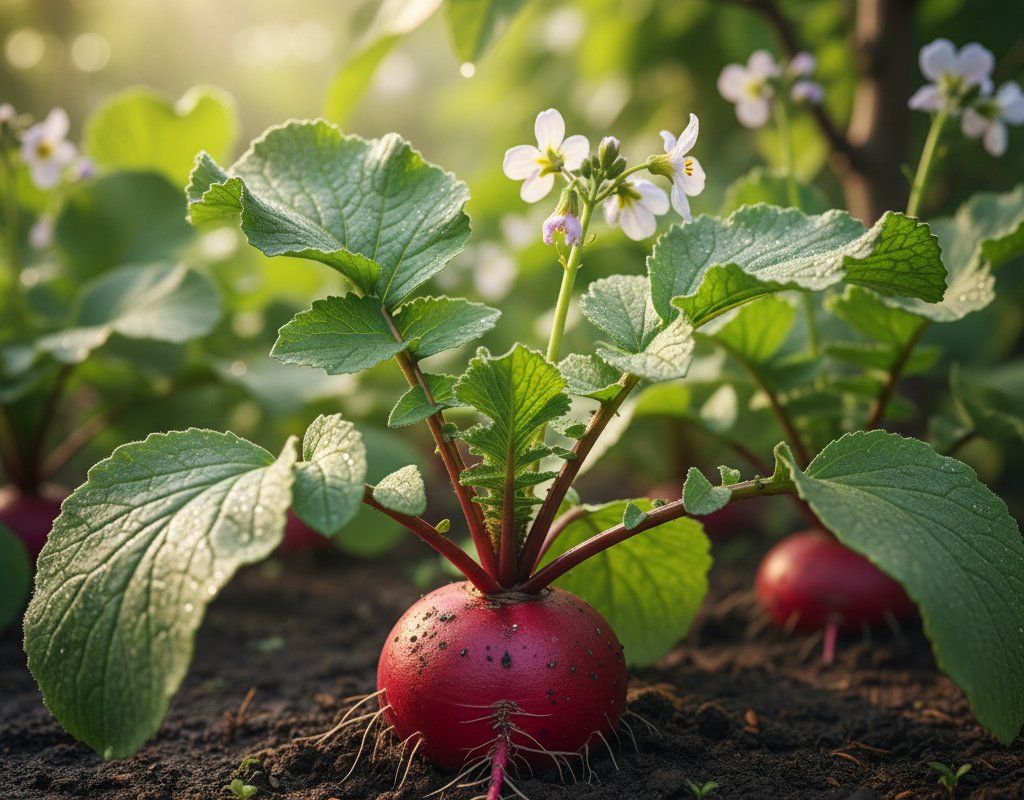
Companion planting can enhance the growth and health of your spaghetti squash. Corn provides a natural trellis for the squash vines, and beans-green fix nitrogen in the soil, benefiting the squash. Radish can deter pests, and marigolds repel nematodes and other harmful insects.
Avoid planting spaghetti squash near potatoes, which compete for nutrients, and brassicas (like cabbage and broccoli), which can attract pests that also attack squash. Planting the right companions can create a thriving ecosystem in your Mountain garden.
🌸Best Flowers to Plant with Spaghetti Squash
These flowers protect your Spaghetti Squash from pests and attract pollinators for better harvests.
For Pest Control

Get a Reminder When It's Time to Plant
We'll email you when key planting windows open for your zone.