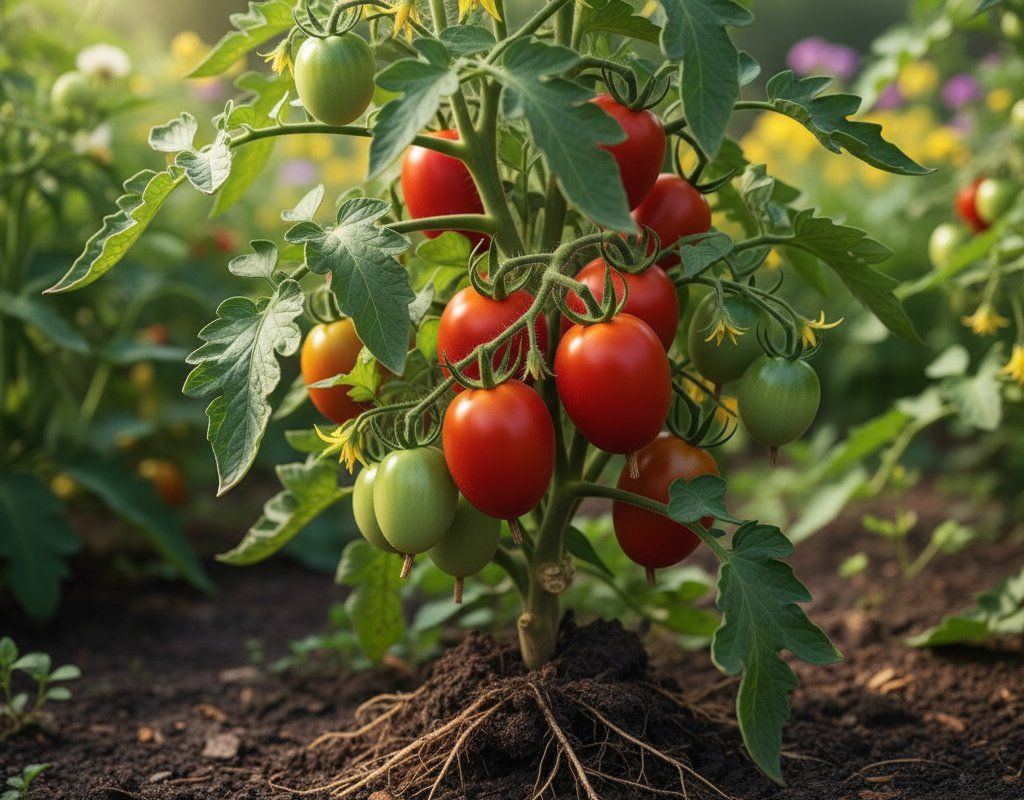
Roma Tomatoes in Zone 5B — Mountain West
Solanum lycopersicum · Your Complete 2026 Planting Guide
Planning Ahead — Great!
You’re ahead of the season. Here’s when to start.
Mark Your Calendar
How to Plant Roma Tomatoes in Zone 5B — Mountain West
Here are all your options for getting roma tomatoes in the ground, from the easiest method to more advanced approaches.
Start Seeds Indoors
RecommendedLate March through late April
around April 7
Then transplant: Mid May through mid June
Start seeds 6-8 weeks before transplanting outdoors.
Buy Starts
Works WellMid May through mid June
around May 19
Plant purchased starts after last frost (May 5).
Direct Sow Seeds
ChallengingDirect sowing is not typical for Roma Tomatoes.
Transplant Outdoors
Timing InfoMid May through mid June
around May 19
Wait until nighttime temperatures stay above 50°F.
You have a nice window — no need to rush.
Overview
Roma tomatoes thrive in our Mountain West climate, delivering meaty, low-seed fruit perfect for sauces and preserving. These determinate paste tomatoes concentrate their harvest into a manageable window, ideal for busy gardeners who want to process their crop all at once. The intense sunlight at our altitude develops exceptional flavor, while cool summer nights help the fruit maintain firm texture and concentrated taste.
Growing Romas in Zone 5B requires careful timing with our short 149-day season and late spring starts, but the payoff is worth it. Our low humidity actually works in your favor, reducing disease pressure that plagues tomato growers in more humid regions. With proper indoor starting and consistent watering through our dry summers, you'll harvest pounds of premium paste tomatoes for your kitchen.
Starting Seeds Indoors
Start your Roma seeds indoors during late March through late April, about 6 weeks before your planned transplant date. Since our springs arrive late and stay unpredictable, indoor starting is essential for getting a decent harvest before our early October frosts hit.
Set up seed trays with good potting mix in a warm spot - aim for 70-75°F soil temperature for best germination. A heat mat underneath helps tremendously in our cool spring conditions. Once seedlings emerge, provide strong light for 12-14 hours daily, keeping grow lights just 2-3 inches above the leaves.
Bottom water your seedlings by setting trays in shallow pans of water rather than watering from above. This prevents damping-off disease and encourages strong root development. The seedlings will be ready for transplanting when they're 4-6 inches tall with their first true leaves well-developed.
Transplanting Outdoors
Transplant your Roma seedlings outdoors from mid-May through mid-June, after soil temperatures reach at least 60°F and nighttime lows stay consistently above 45°F. Don't rush this timing - our altitude means even late May nights can dip unexpectedly cold.
Harden off seedlings gradually over a week by placing them outside for increasing periods each day, starting with just 2-3 hours in morning sun. This acclimates them to our intense UV radiation and temperature swings. Space plants 24-36 inches apart - the wider spacing helps with air circulation in our dry climate and gives each plant room for full sun exposure.
Plant on a calm day if possible, as our spring winds can stress newly transplanted seedlings. Water thoroughly after planting and consider temporary shade cloth for the first few days if temperatures spike above 85°F. Row covers provide insurance against late cold snaps that can still surprise us into early June.
Watering Roma Tomatoes in Zone 5B (Mountain West)
Roma tomatoes need consistent, deep watering throughout our dry Mountain growing season - about 1-2 inches per week including any rainfall. With our typical 10-20 inches of annual precipitation, you'll be providing most of their water needs yourself. Check soil moisture by pushing your finger 2 inches down; if it's dry at that depth, it's time to water.
Water deeply at the base of plants rather than overhead, taking advantage of our low humidity to keep foliage dry and disease-free. Early morning watering works best, giving plants time to absorb moisture before our intense midday sun hits. During peak summer heat in July and August, you may need to water every 2-3 days.
Inconsistent watering spells disaster for Roma tomatoes, causing blossom end rot on their elongated fruit. Our dry climate makes it easy to underwater, while our clay soils can create waterlogged conditions if you overdo it. Signs of underwatering include wilting in afternoon heat and blossom end rot on developing fruit. Overwatering shows up as yellowing leaves and slow growth.
Apply 2-3 inches of mulch around plants to conserve moisture and moderate soil temperature swings. In our intense sun and low humidity, unmulched soil dries out fast. Grass clippings or shredded leaves work well and break down to improve our often alkaline soil.
Supporting Your Roma Tomatoes
Roma tomatoes benefit from caging or staking despite their determinate growth habit. These plants stay more compact than indeterminate varieties but produce heavy loads of fruit that can bend or break branches without support. Install support systems at planting time to avoid disturbing roots later.
Shorter tomato cages work perfectly for Romas - 4-5 foot cages provide adequate support without the expense of taller versions needed for indeterminate types. If staking, use 6-foot stakes driven 12 inches deep, tying plants loosely with soft materials every 8-10 inches as they grow.
The determinate nature means you won't need extensive pruning - just remove suckers below the first flower cluster and any branches touching the ground. Our intense UV can sunscald exposed fruit, so don't over-prune. Let some foliage shade the developing tomatoes while maintaining good air circulation.
🧪Fertilizing Roma Tomatoes
Feeding Schedule
Organic Fertilizer Options
Harvest Time
Your first Roma tomatoes will be ready from early August through mid-September, about 75 days from transplanting. Look for deep red color throughout the fruit with no green shoulders, and flesh that gives slightly to gentle pressure while still feeling firm. Ripe Romas detach easily from the stem with a gentle twist.
Since Romas are determinate, most fruit ripens within a 2-3 week window rather than continuously through the season. This concentrated harvest works perfectly for making sauce or paste in batches. Pick fruit every 2-3 days during peak harvest to keep plants productive and prevent overripe fruit from attracting pests.
As our first frost approaches in early October, harvest all remaining fruit regardless of ripeness. Green tomatoes will ripen indoors if kept at room temperature - place them in a paper bag with a ripe apple to speed the process. Mature green fruit (those that have reached full size) ripen best; very small green tomatoes rarely develop good flavor indoors.
Store ripe Romas at room temperature for best flavor, using them within a week. For longer storage, slightly underripe fruit can be kept in cool conditions and brought to room temperature as needed. The meaty texture and concentrated flavor make Romas excellent for drying, freezing whole, or processing into sauce.
Common Problems in Zone 5B (Mountain West)
Blossom End Rot Dark, sunken patches appear on the bottom (blossom end) of developing fruit, starting small and expanding into leathery brown or black areas. This typically hits the first fruits of the season hardest and looks alarming but isn't a disease.
Inconsistent watering causes this calcium deficiency - common in our dry climate where it's easy to let plants get too dry between waterings. Our alkaline soil may have plenty of calcium, but drought-stressed roots can't absorb it properly. Water consistently and deeply, maintaining even soil moisture with mulch. Remove affected fruit and focus on consistent watering going forward.
Early Blight Brown spots with distinctive concentric rings (bullseye pattern) appear on lower leaves first, gradually moving up the plant. Affected leaves turn yellow and drop, weakening the plant and reducing harvest.
This fungal disease spreads through soil splash onto lower leaves, though our low humidity actually reduces its severity compared to more humid regions. Remove affected leaves immediately and don't compost them. Water at soil level rather than overhead, and mulch heavily to prevent soil splash during our occasional thunderstorms. Space plants properly for air circulation.
Fusarium Wilt Plants wilt on one side first, then spread to the entire plant despite adequate soil moisture. Yellow leaves often accompany the wilting, and cutting the stem reveals brown streaks inside.
This soil-borne fungus persists for years once established and can't be cured. Remove and destroy affected plants immediately. Our warm summer soil temperatures can favor this disease. Choose resistant varieties marked with 'F' on seed packets, rotate tomato family crops every 4 years, and maintain soil pH above 6.5 - helpful in our typically alkaline conditions.
Mountain West Specific Challenges Our intense UV can cause sunscald on fruit, appearing as white or yellow patches that turn brown. Don't over-prune foliage that shades fruit. Sudden hailstorms can devastate tender plants - row covers provide protection if storms threaten. Cool nighttime temperatures, even in summer, can slow ripening but actually improve fruit quality and storage life.
Best Companions for Roma Tomatoes
Plant these nearby for healthier Roma Tomatoes and better harvests.
View Full Companion Planting Chart →


Companion Planting Details
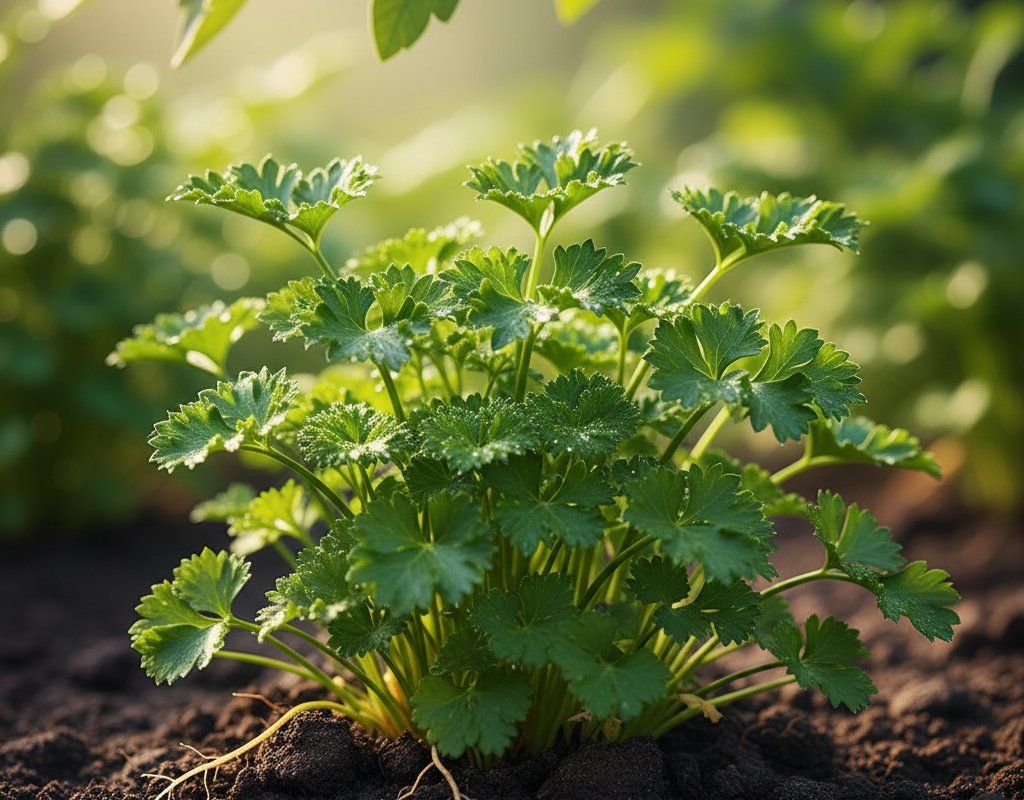
Plant basil near your Roma tomatoes - it reportedly improves tomato flavor while repelling aphids and hornworms with its strong scent. Carrots make excellent companions since their deep taproots don't compete with tomato roots, and they help break up our often compacted clay soils. Parsley and marigolds also work well, with marigolds potentially deterring nematodes and adding beneficial insect habitat.
Avoid planting brassicas like cabbage or broccoli near tomatoes, as they can stunt tomato growth through allelopathic compounds. Skip fennel entirely - it inhibits tomato growth significantly. Corn creates too much shade for proper tomato development and can harbor similar pests like hornworms. In our intense sun climate, tomatoes need all the light they can get, so avoid any companions that might cast shade.
🌸Best Flowers to Plant with Roma Tomatoes
These flowers protect your Roma Tomatoes from pests and attract pollinators for better harvests.
For Pest Control



For Pollinators

Get a Reminder When It's Time to Plant
We'll email you when key planting windows open for your zone.