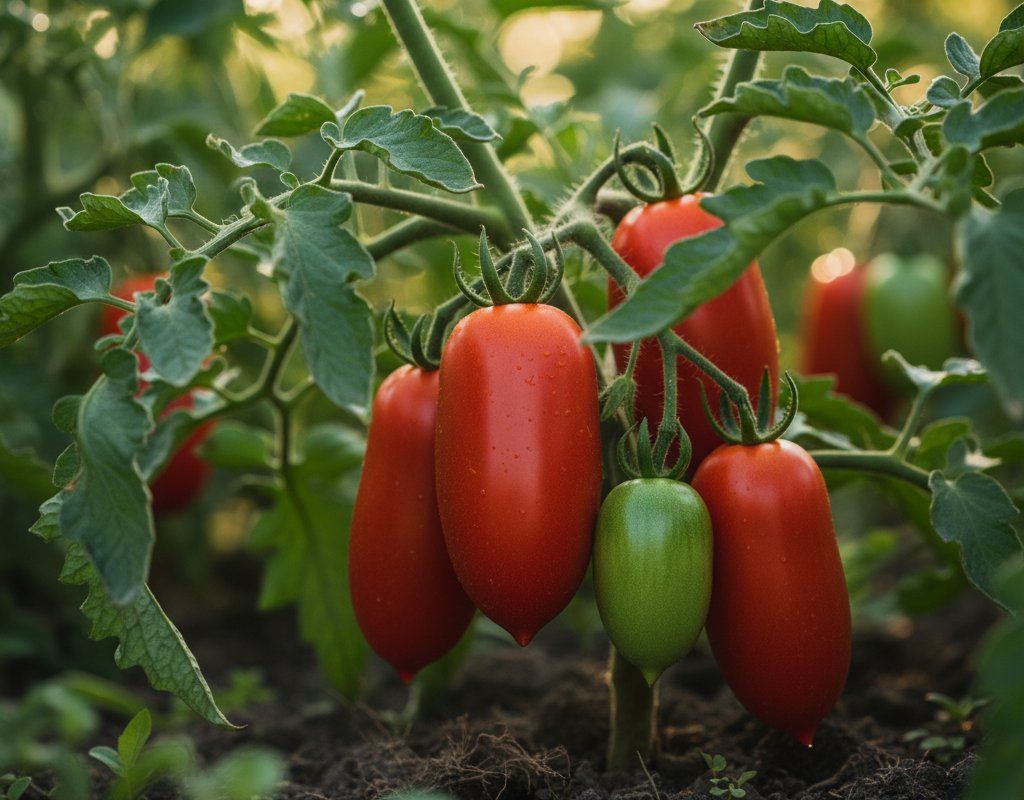
San Marzano Tomatoes in Zone 6A — Great Plains
Solanum lycopersicum · Your Complete 2026 Planting Guide
Planning Ahead — Great!
You’re ahead of the season. Here’s when to start.
Mark Your Calendar
How to Plant San Marzano Tomatoes in Zone 6A — Great Plains
Here are all your options for getting san marzano tomatoes in the ground, from the easiest method to more advanced approaches.
Start Seeds Indoors
RecommendedMid March through early April
around March 18
Then transplant: Late April through late May
Start seeds 6-8 weeks before transplanting outdoors.
Buy Starts
Works WellLate April through late May
around April 29
Plant purchased starts after last frost (April 15).
Direct Sow Seeds
ChallengingDirect sowing is not typical for San Marzano Tomatoes.
Transplant Outdoors
Timing InfoLate April through late May
around April 29
Wait until nighttime temperatures stay above 50°F.
You have a nice window — no need to rush.
Overview
San Marzano tomatoes are absolutely worth growing here in Zone 6A's Great Plains climate, where our intense sunshine and fertile prairie soil create exceptional conditions for these legendary paste tomatoes. You'll get that authentic, sweet-tart flavor that makes San Marzanos the gold standard for sauce-making, with meaty flesh that cooks down beautifully without the watery mess of regular tomatoes. The 80-day maturity works perfectly with our 188-day growing season, giving you plenty of time for multiple harvests.
Our Plains climate does present challenges with wind, drought stress, and those famous temperature swings, but starting seeds indoors gives you complete control over the critical early weeks. Once you get past the variable spring weather and establish these plants with good wind protection, they'll reward you with heavy clusters of elongated fruit from mid-summer right up to our first frost in mid-October.
Starting Seeds Indoors
Start your San Marzano seeds indoors from mid-March through early April, about 6 weeks before you plan to transplant outdoors. This timing works perfectly with our variable Plains springs, keeping your seedlings safely inside while outdoor temperatures swing wildly between winter and summer. You'll need seed trays, a good potting mix, and either a sunny south window or grow lights for 12-14 hours daily.
Keep your seed trays warm (70-75°F) for the first week to encourage germination, then maintain temperatures around 65-70°F once seedlings emerge. Use bottom watering rather than watering from above - this prevents damping off disease and encourages strong root development. Fill a tray with water and let your seedling containers soak it up from below.
Once your seedlings develop their second set of true leaves, transplant them into larger individual containers. This gives their root systems room to develop during those final 3-4 weeks before outdoor transplanting, creating stronger plants that can handle our Plains wind and weather extremes better.
Transplanting Outdoors
Transplant your San Marzano seedlings outdoors from late April through late May, once soil temperatures consistently stay above 60°F and your last frost date has safely passed. Here in the Plains, that "safely passed" part is crucial - our spring weather can fool you with warm spells followed by surprise cold snaps. Wait until nighttime temperatures consistently stay above 50°F for at least a week.
Harden off your seedlings gradually over 7-10 days before transplanting. Start with just 2-3 hours outdoors in a protected spot, gradually increasing exposure time and moving them to windier locations. Our Plains wind can shock tender seedlings, so this gradual process is essential for strong establishment.
Space plants 24-36 inches apart to ensure good air circulation and room for their indeterminate growth habit. Plant slightly deeper than they were growing in containers, burying part of the stem to encourage additional root development. This extra root mass helps them access water during our variable rainfall patterns and anchor against wind.
Watering San Marzano Tomatoes in Zone 6A (Great Plains)
San Marzano tomatoes need consistent, deep watering to produce their best fruit, which makes them more demanding than drought-tolerant plants in our Plains climate. Plan on providing 1-2 inches of water per week, including rainfall, but adjust based on our variable precipitation patterns and summer heat. During our typical 93°F summer days with low-to-moderate humidity, you'll likely need to supplement whatever rain we get.
Check soil moisture by inserting your finger 2 inches deep near the plant base - if it's dry at that depth, it's time to water. Water deeply at the base rather than overhead, which works well with our low humidity since we don't need to worry as much about foliar diseases. Deep, infrequent watering encourages roots to grow down rather than staying shallow, helping plants access moisture during dry spells.
Inconsistent watering causes blossom end rot, which San Marzano paste tomatoes are particularly prone to due to their calcium needs. During our variable rainfall summers, this means staying vigilant about supplementing when rain doesn't come. Mulch heavily with straw or grass clippings to maintain even soil moisture and reduce water loss from our frequent winds.
Watch for signs of water stress: wilting during hot afternoons (normal), but also curled leaves, blossom end rot on developing fruit, or cracking when heavy rain follows a dry period. Overwatering shows up as yellowing lower leaves and poor fruit development, though this is less common here than underwatering.
Supporting Your San Marzano Tomatoes
Install strong cages or stakes at planting time since San Marzanos are vigorous indeterminate varieties that can easily reach 6-8 feet tall with heavy fruit clusters. Use 6-foot tall cages made from concrete reinforcing wire, or drive 8-foot stakes 2 feet deep for stability against our Plains winds. Flimsy tomato cages from garden centers won't hold up to both the plant weight and wind stress.
Train main stems up your support structure weekly, using soft ties or strips of old fabric rather than wire or string that can cut into stems during windy weather. For staked plants, pinch side shoots to maintain 1-2 main stems, which concentrates energy into fewer but larger fruit clusters. Caged plants can support more stems but still benefit from removing the lowest branches.
Position supports on the north or northwest side when possible to provide some wind protection for your plants. Our prevailing winds can snap unsupported branches loaded with fruit, so consistent training and sturdy support systems are essential for a good harvest. Consider planting near a fence or installing temporary windbreaks if your garden is particularly exposed.
Pruning & Maintaining San Marzano Tomatoes
Remove suckers (shoots growing between main stems and branches) when they're small and easy to pinch off, focusing on the lower portions of the plant. San Marzanos benefit from moderate pruning to improve air circulation and concentrate energy into fruit production, but don't go overboard - they need adequate leaf cover to protect fruit from our intense Plains sunshine.
Strip off the lowest branches as plants grow, keeping fruit clusters at least 12 inches off the ground to prevent soil splash and reduce disease pressure. Remove any yellowing or diseased leaves throughout the season, especially after our occasional summer thunderstorms that can spread fungal spores. Make clean cuts with pruning shears rather than tearing to avoid damaging the plant.
As first frost approaches in mid-October, top your plants by pinching growing tips in early September. This redirects energy into ripening existing fruit rather than setting new flowers that won't have time to mature. You can also remove small, late-forming fruit clusters to help larger tomatoes finish ripening before cold weather arrives.
🧪Fertilizing San Marzano Tomatoes
Feeding Schedule
Organic Fertilizer Options
Harvest Time
Your first San Marzano tomatoes will be ready from mid-July through early September, depending on when you transplanted and spring weather conditions. Look for deep red color throughout the elongated fruit, with a slight give when gently squeezed. Ripe San Marzanos detach easily from the stem with a gentle twist and pull, leaving the green calyx behind on the plant.
Harvest regularly to encourage continued production throughout our growing season. Pick fruits when they're fully colored but still firm, as they'll continue developing flavor for a few days after harvest. During hot spells above 95°F, harvest slightly early and let them finish ripening indoors to prevent sun scalding and maintain better texture.
As our first frost approaches in mid-October, harvest all remaining fruit regardless of ripeness. Green and partially ripe tomatoes will continue ripening indoors when stored in a warm location with good air circulation. Wrap individual green tomatoes in newspaper or place them in paper bags to speed ripening, checking weekly and removing any that develop soft spots.
San Marzanos are particularly valuable for sauce-making, so consider processing your harvest in batches throughout the season rather than waiting for one large harvest. This spreads out the kitchen work and ensures you capture peak flavor from each picking.
Common Problems in Zone 6A (Great Plains)
Blossom End Rot Dark, sunken patches appear on the bottom of developing fruit, starting small but expanding to cover the entire blossom end. The affected area becomes leathery and black, making the fruit unusable. This is especially common on the first fruit clusters of the season and during periods of inconsistent rainfall.
Our variable Plains rainfall creates the perfect conditions for blossom end rot since it's caused by inconsistent watering that prevents calcium uptake, not actual calcium deficiency. When soil alternates between wet and dry, roots can't maintain steady nutrient flow to developing fruit. Maintain consistent soil moisture through regular watering and heavy mulching, especially during dry spells between thunderstorms. Remove affected fruit immediately to redirect plant energy.
Early Blight Brown spots with distinctive concentric rings (like bullseye targets) appear first on lower leaves, then spread upward as the disease progresses. Affected leaves yellow and drop, eventually defoliating plants from the bottom up. This fungal disease thrives during our warm, humid periods following summer storms.
Remove affected leaves immediately and dispose of them in the trash, not your compost pile. Water at the base of plants rather than overhead, and maintain good air circulation through proper spacing and pruning. Our low-to-moderate humidity helps limit spread compared to more humid regions, but mulching to prevent soil splash during thunderstorms is still crucial. Apply copper fungicide early in the season if early blight has been a problem in previous years.
Fusarium Wilt Plants wilt on one side first, with yellowing leaves that don't recover even with adequate water. When you cut the stem open, you'll see brown streaking in the vascular tissue. This soil-borne fungus is particularly problematic in our warm summer soils and can persist for years once established.
There's no cure once plants are infected - remove and destroy affected plants immediately. Choose resistant varieties marked with 'F' on seed packets for future plantings. Rotate your tomato family crops (tomatoes, peppers, eggplants) to different garden areas on a 4-year cycle, and consider solarizing soil during our hot summers by covering with clear plastic for 6-8 weeks.
Great Plains Specific Challenges Our combination of intense heat, variable rainfall, and frequent winds creates particular stress for San Marzanos. The extreme temperature swings can cause fruit cracking when cool nights follow hot days, while our drying winds increase water stress even when soil seems moist. Consistent watering and wind protection become absolutely critical for success with this variety in our challenging Plains climate.
Best Companions for San Marzano Tomatoes
Plant these nearby for healthier San Marzano Tomatoes and better harvests.
View Full Companion Planting Chart →


Companion Planting Details
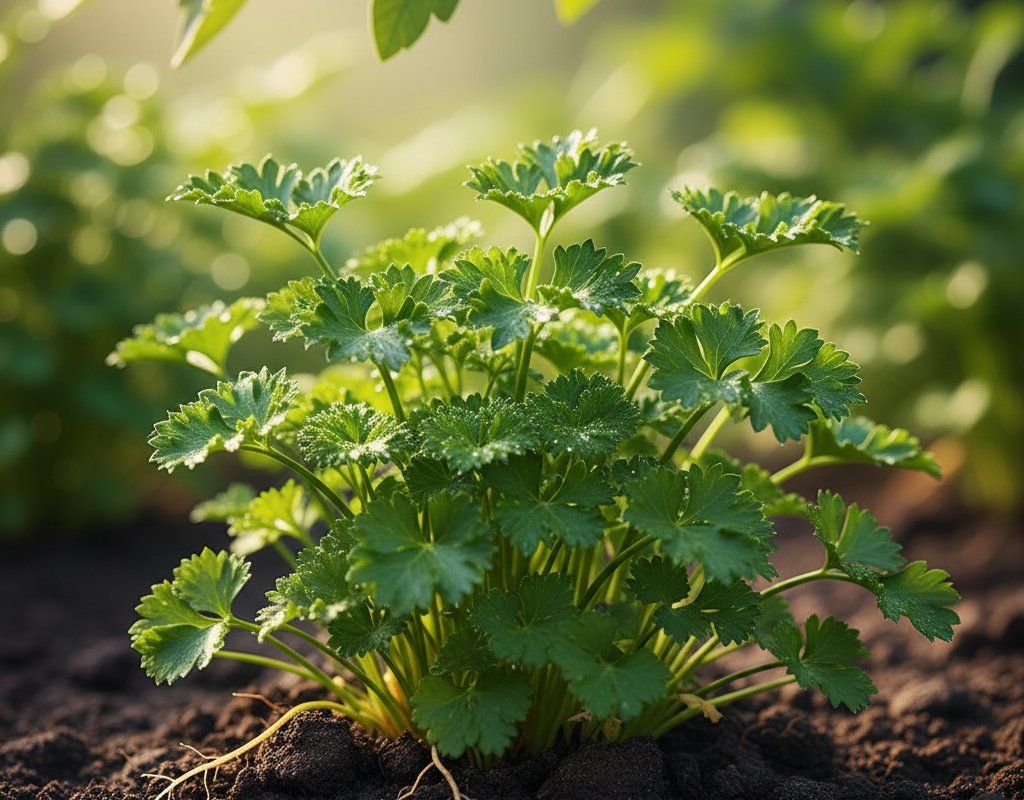
Plant basil nearby for both practical and flavor benefits - it naturally repels aphids and whiteflies while its strong scent may confuse pests looking for tomato plants. Carrots make excellent companions since their deep taproots don't compete with tomato root systems, and they help break up our sometimes compacted prairie soil. Parsley provides ground cover that conserves moisture during dry spells, while marigolds planted around the garden perimeter help repel nematodes and other soil pests.
Avoid planting brassicas like cabbage or broccoli near your San Marzanos, as they're heavy nitrogen feeders that will compete for nutrients and can stunt tomato growth. Keep fennel far away since it inhibits tomato growth through allelopathic compounds, and avoid corn which attracts similar pests like hornworms and creates too much shade for proper tomato development in our already challenging growing conditions.
🌸Best Flowers to Plant with San Marzano Tomatoes
These flowers protect your San Marzano Tomatoes from pests and attract pollinators for better harvests.
For Pest Control

Get a Reminder When It's Time to Plant
We'll email you when key planting windows open for your zone.