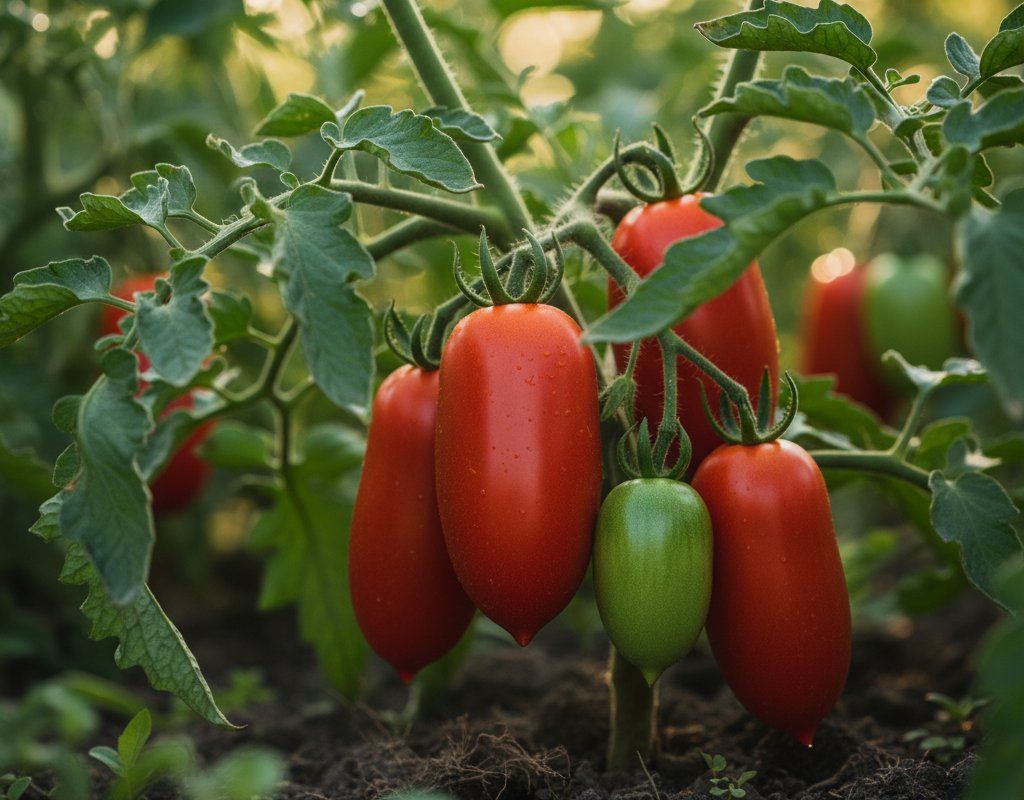
San Marzano Tomatoes in Zone 7B — Northern California
Solanum lycopersicum · Your Complete 2026 Planting Guide
Missed Seed Starting? No Problem!
Wait for starts to become available.
What to Do
Starts will be available at nurseries in 25 days (around March 29).
How to Plant San Marzano Tomatoes in Zone 7B — Northern California
Here are all your options for getting san marzano tomatoes in the ground, from the easiest method to more advanced approaches.
Start Seeds Indoors
RecommendedEarly February through early March
around February 15
Then transplant: Late March through late April
Start seeds 6-8 weeks before transplanting outdoors.
Buy Starts
Works WellLate March through late April
around March 29
Plant purchased starts after last frost (March 15).
Direct Sow Seeds
ChallengingDirect sowing is not typical for San Marzano Tomatoes.
Transplant Outdoors
Timing InfoLate March through late April
around March 29
Wait until nighttime temperatures stay above 50°F.
You have a nice window — no need to rush.
Overview
San Marzano tomatoes are the gold standard for sauce making, and our Northern California Mediterranean climate gives you the perfect conditions to grow these prized Italian heirlooms. With their sweet, low-acid flavor and meaty texture, these elongated paste tomatoes transform into incredibly rich sauces that make store-bought versions taste watery by comparison. Our long, warm growing season lets these indeterminate plants reach their full potential, producing clusters of authentic San Marzanos that Italian chefs would recognize.
Our Zone 7B climate does present some challenges—those dry summers and occasional heat spikes can stress tomato plants, and water restrictions mean you need to be strategic about irrigation. But with our 245-day growing season and mild winters, you have plenty of time to get these heat-loving plants established and producing well before any serious weather concerns. The key is starting early indoors and timing your transplants right.
Starting Seeds Indoors
Start your San Marzano seeds indoors during early February through early March, about 6 weeks before you plan to transplant outside. Use seed starting trays filled with quality seed starting mix, and keep the soil consistently warm (70-75°F) for reliable germination. A heating mat under your trays makes a huge difference in our sometimes-cool late winter homes.
Set up grow lights or place trays in your brightest south-facing window, but artificial lighting gives more consistent results. Water from the bottom by placing seed trays in larger trays filled with water—this prevents damping-off disease and encourages strong root development. Your seedlings should emerge within 7-14 days.
Our early spring weather in Northern California can be unpredictable, with warm spells followed by cool snaps, so having your plants safely indoors gives you complete control over their environment. Once seedlings develop their first true leaves, transplant them into individual 4-inch pots to give their roots room to develop before outdoor planting.
Transplanting Outdoors
Plan to transplant your San Marzano seedlings outdoors from late March through late April, when nighttime temperatures consistently stay above 50°F and the soil has warmed. These tender plants can't handle any frost, so wait until you're confident the last cold snap has passed—typically mid-March in our area, though microclimates vary significantly across Northern California.
Harden off your seedlings gradually over a week before transplanting. Start with 2-3 hours outside in a protected spot, then gradually increase their outdoor time daily. This process prevents transplant shock and helps plants adjust to our sometimes-intense UV exposure and drying afternoon winds.
Space your plants 24-36 inches apart to ensure good air circulation—critical for preventing disease in our low-humidity climate. Plant them slightly deeper than they were in their pots, burying part of the stem to encourage additional root development. Choose your sunniest garden spot, as these plants need 6-8 hours of direct sunlight daily to produce well.
Watering San Marzano Tomatoes in Zone 7B (Northern California)
San Marzano tomatoes have high water needs and aren't drought tolerant, which means you'll need to stay on top of irrigation throughout our dry summer season. These paste tomatoes are particularly prone to blossom end rot when watering is inconsistent, so establishing a regular schedule is crucial for fruit quality.
Water deeply 2-3 times per week rather than daily light watering, aiming for about 1-1.5 inches total per week during our moderate-to-hot summers. The finger test works well—stick your finger 2 inches into the soil near the plant base. If it's dry at that depth, it's time to water. With our low humidity and typical 88°F summer highs, plants lose moisture quickly through their leaves.
Always water at the base of plants rather than overhead to prevent leaf diseases and reduce water waste through evaporation. Soaker hoses or drip irrigation work perfectly for tomatoes and help you comply with potential water restrictions. Signs of underwatering include wilting during hot afternoons and small, cracked fruit. Overwatering shows up as yellowing lower leaves and poor fruit development.
Apply a 2-3 inch layer of mulch around plants to conserve soil moisture and reduce watering frequency—especially important during fire season when water usage becomes critical. Straw, shredded leaves, or wood chips all work well in our climate and help maintain consistent soil moisture that prevents blossom end rot.
Supporting Your San Marzano Tomatoes
San Marzano tomatoes are vigorous indeterminate varieties that can easily reach 6-8 feet tall with heavy fruit clusters, so sturdy support is essential from day one. Install tall tomato cages (at least 5 feet) or stake systems at planting time—trying to add support later damages established root systems and makes training much harder.
Heavy-duty cages work well for home gardens, but many gardeners prefer the stake-and-tie method for better control over plant growth. Use 6-8 foot stakes driven 12 inches deep, then tie the main stem loosely with soft material like cloth strips or tomato ties every 12-18 inches as the plant grows.
Train the main stem upward and secure side branches that develop heavy fruit clusters. These tomatoes produce in clusters of 4-6 elongated fruits that get surprisingly heavy when ripe, so check your ties regularly and add support where needed throughout the growing season.
Pruning & Maintaining San Marzano Tomatoes
Focus your pruning efforts on removing suckers (shoots that grow between the main stem and leaf branches) and lower leaves that touch the ground. Start sucker removal when plants are about 12 inches tall, pinching them off when they're small and tender—easier on the plant and less likely to create entry points for disease.
Remove the bottom 6-8 inches of leaves once fruit starts setting to improve air circulation and prevent soil-borne diseases from splashing onto foliage. This is especially important in our low-humidity climate where good airflow helps prevent the fungal issues that can develop during our occasional summer fog events near the coast.
As the growing season progresses, continue removing suckers below the first fruit cluster and any yellow or diseased leaves. About 4-6 weeks before your first expected frost (which typically arrives in mid-November), top the plants by removing growing tips to direct energy into ripening existing fruit rather than producing new flowers.
🧪Fertilizing San Marzano Tomatoes
Feeding Schedule
Organic Fertilizer Options
Harvest Time
Your first San Marzano tomatoes should be ready from mid-June through early August, about 80 days from transplanting. These paste tomatoes are ready when they've developed their characteristic deep red color and the fruit feels firm but gives slightly to gentle pressure. The elongated fruits should easily detach from the stem with a gentle twist when fully ripe.
Look for the distinctive San Marzano shape—elongated and plum-like, typically 3-4 inches long with a pointed blossom end. Ripe fruits have deep red color with no green shoulders and a slightly glossy skin. Harvest regularly to encourage continued production throughout our long growing season.
These indeterminate plants produce continuously until frost, so you'll be picking tomatoes well into fall with proper care. Harvest in the morning when possible, as fruits picked during our hot afternoons can be stressed and may not store as well. If fruits start splitting during hot weather, pick them slightly underripe and let them finish ripening indoors.
As November approaches and first frost threatens, harvest all remaining fruits regardless of ripeness. Green and partially ripe San Marzanos ripen well indoors when stored at room temperature away from direct light. You can extend your harvest season by covering plants during light frost warnings, potentially gaining several extra weeks of production in our mild fall climate.
Common Problems in Zone 7B (Northern California)
Blossom End Rot What it looks like: Dark brown or black leathery patches on the bottom (blossom end) of fruits, often affecting the first tomatoes of the season. The spots start small but can eventually cover the entire bottom third of the fruit. What causes it: Calcium deficiency triggered by inconsistent watering rather than lack of calcium in soil. Our dry summers and water restrictions can lead to drought-stress followed by heavy watering, disrupting calcium uptake. How to fix/prevent it: Maintain consistent soil moisture with regular deep watering and heavy mulching. Avoid letting soil dry completely between waterings, especially during hot spells. Remove affected fruits immediately and focus on steady irrigation schedules.
Early Blight What it looks like: Brown spots with distinctive concentric rings (bullseye pattern) starting on lower leaves and moving upward. Affected leaves turn yellow and drop, eventually defoliating the plant from bottom to top. What causes it: Fungal disease that thrives when soil splashes onto lower leaves during watering. Our low humidity actually helps, but the fungus spreads quickly once established, especially during morning fog events near the coast. How to fix/prevent it: Remove affected leaves immediately and dispose of them (never compost). Mulch heavily to prevent soil splash, water only at plant base, and ensure good spacing for air circulation. Copper-based fungicides can slow spread if applied early.
Fusarium Wilt What it looks like: Wilting that starts on one side of the plant, then spreads. Leaves yellow and drop, and cutting the stem reveals brown streaking inside. Plants eventually collapse despite adequate watering. What causes it: Soil-borne fungus that persists in soil for years and enters through roots. Our warm summer soil temperatures favor this disease, and it's particularly problematic in areas with poor drainage. How to fix/prevent it: No cure exists—remove and destroy infected plants immediately. Plant only resistant varieties marked with 'F' on seed labels, rotate tomato family crops on a 4-year cycle, and improve soil drainage. Solarizing soil during our hot summers can reduce fungal populations.
Northern California Specific Challenges: Our moderate-to-hot summers combined with low humidity create perfect conditions for spider mites and aphids, while water restrictions can make maintaining consistent moisture challenging. Morning coastal fog can promote fungal diseases, so ensure excellent drainage and air circulation. The good news is our dry summers actually reduce many common tomato diseases compared to more humid regions.
Best Companions for San Marzano Tomatoes
Plant these nearby for healthier San Marzano Tomatoes and better harvests.
View Full Companion Planting Chart →


Companion Planting Details
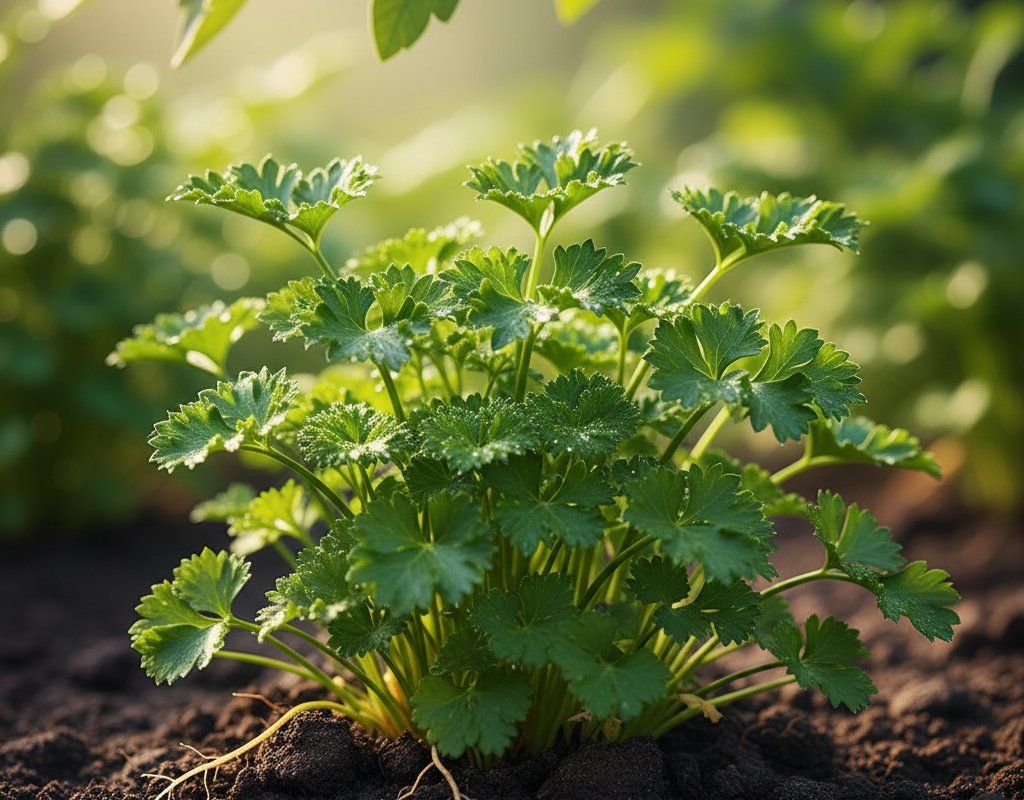
Plant basil alongside your San Marzano tomatoes—it naturally repels aphids and whiteflies while improving tomato flavor, plus you'll have fresh basil for your homemade sauce. Carrots make excellent companions because their taproots break up soil without competing for surface nutrients, and marigolds planted nearby help deter nematodes and other soil pests that can stress tomato plants. Parsley attracts beneficial insects like parasitic wasps that prey on tomato hornworms and other garden pests.
Avoid planting brassicas (cabbage, broccoli, kale) near tomatoes as they can stunt tomato growth and attract pests that also target tomatoes. Keep fennel away from your tomato patch—it releases compounds that inhibit tomato growth. Corn should also be separated from tomatoes since both plants attract similar pests like corn earworms, and corn's heavy feeding requirements can compete with your tomatoes' high nutrient needs during our long growing season.
🌸Best Flowers to Plant with San Marzano Tomatoes
These flowers protect your San Marzano Tomatoes from pests and attract pollinators for better harvests.
For Pest Control

Get a Reminder When It's Time to Plant
We'll email you when key planting windows open for your zone.