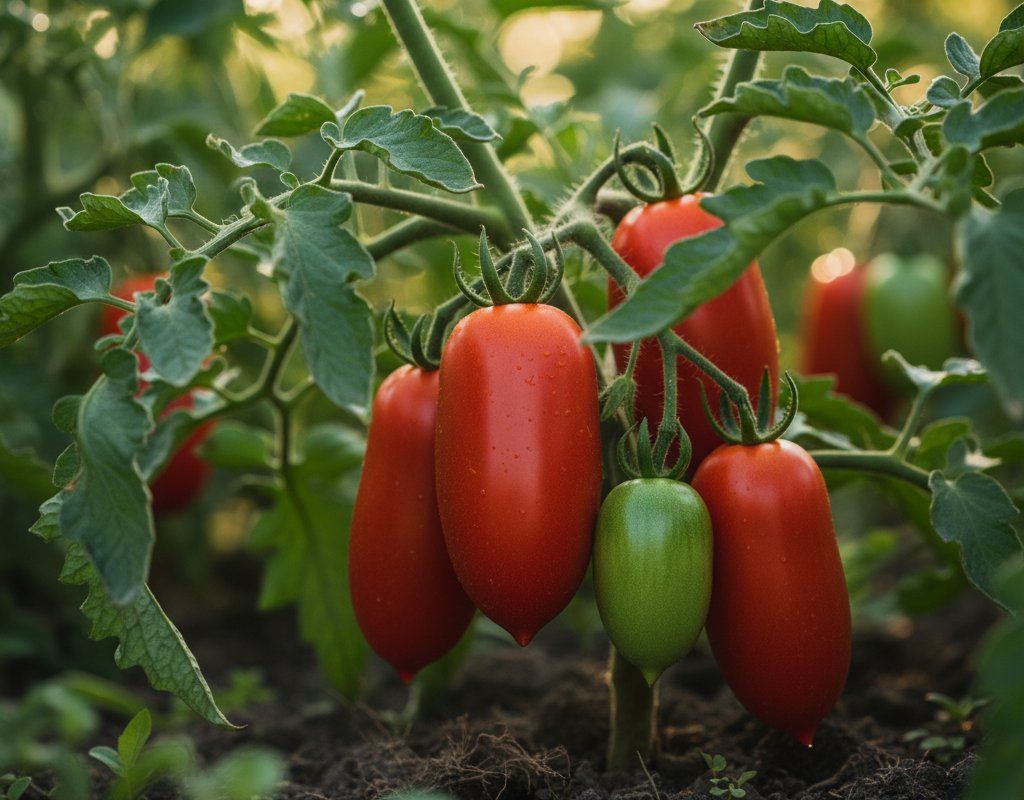
San Marzano Tomatoes in Zone 9A — Northern California
Solanum lycopersicum · Your Complete 2026 Planting Guide
Missed Seed Starting? No Problem!
Wait for starts to become available.
What to Do
Starts will be available at nurseries in 2 days (around March 6).
How to Plant San Marzano Tomatoes in Zone 9A — Northern California
Here are all your options for getting san marzano tomatoes in the ground, from the easiest method to more advanced approaches.
Start Seeds Indoors
RecommendedMid January through early February
around January 23
Then transplant: Early March through early April
Start seeds 6-8 weeks before transplanting outdoors.
Buy Starts
Works WellEarly March through early April
around March 6
Plant purchased starts after last frost (February 20).
Direct Sow Seeds
ChallengingDirect sowing is not typical for San Marzano Tomatoes.
Transplant Outdoors
Timing InfoEarly March through early April
around March 6
Wait until nighttime temperatures stay above 50°F.
You have a nice window — no need to rush.
Overview
San Marzano tomatoes are the crown jewel of paste tomatoes, and Northern California's Mediterranean climate creates perfect conditions for growing these Italian treasures. These elongated, meaty fruits deliver unparalleled flavor for sauces, canning, and fresh eating—far superior to anything you'll find in stores. Your long growing season of 288 days means you can start early and harvest well into fall, maximizing your yield from each precious plant.
Our region's early spring warmth and extended growing season work beautifully for San Marzanos, though you'll need to plan around our dry summers and occasional heat waves. With proper timing and consistent water management, these indeterminate vines will reward you with continuous harvests from late spring through your first frost in early December.
Starting Seeds Indoors
Start your San Marzano seeds indoors from mid-January through early February, giving yourself about 6 weeks before your transplant window opens. This timing takes advantage of Northern California's early spring character while ensuring your seedlings won't outgrow their containers before the weather settles.
Set up seed trays with quality seed-starting mix and place them in a warm spot—75-80°F is ideal for germination. A heat mat underneath helps maintain consistent soil temperature during our cooler winter nights. Once seedlings emerge in 7-10 days, provide 14-16 hours of light daily using grow lights positioned 2-3 inches above the plants.
Bottom watering works best to prevent fungal issues that can plague tomato seedlings in our sometimes humid winter conditions. Place your seed trays in a shallow pan of water and let the soil absorb moisture from below. This keeps the soil surface drier while ensuring deep root hydration.
Transplanting Outdoors
Transplant your San Marzano seedlings outdoors from early March through early April, when nighttime temperatures consistently stay above 50°F. Your transplants should be stocky with 4-6 true leaves and well-developed root systems after their 6-week indoor head start.
Harden off your seedlings gradually over one week before transplanting. Start with just 2-3 hours of morning sun, then increase outdoor exposure daily. This process is especially important in Northern California, where our bright spring sun can shock tender indoor-grown plants. Even our "mild" spring sun is much more intense than grow lights.
Space your San Marzanos 24-36 inches apart to accommodate their vigorous indeterminate growth habit. The wider spacing also improves air circulation—crucial for preventing fungal diseases in our sometimes foggy spring weather. Plant them deep, burying 2/3 of the stem to encourage a strong root system that can handle our long, dry summers ahead.
Watering San Marzano Tomatoes in Zone 9A (Northern California)
San Marzanos have high water needs and are not drought tolerant—a significant consideration in Northern California's dry-summer Mediterranean climate. These paste tomatoes are particularly prone to blossom end rot when watering is inconsistent, so establishing a reliable watering routine is essential for success.
During spring establishment (March-May), water deeply twice weekly, providing about 1-1.5 inches total. As summer heat builds and our rainfall drops to near zero, increase to every other day or even daily during heat waves when temperatures climb into the 90s. The goal is keeping soil consistently moist but not waterlogged—use the finger test by checking 2 inches deep.
Our low humidity means you can water at the base without worrying about foliar diseases that plague humid regions. Drip irrigation or soaker hoses work exceptionally well here, delivering deep, consistent moisture while conserving water during drought restrictions. Avoid overhead watering, which wastes water through evaporation in our dry air and can splash soil-borne pathogens onto lower leaves.
Apply 2-3 inches of organic mulch around plants to retain moisture and moderate soil temperatures during our intense summer sun. Signs of underwatering include wilting during midday heat and blossom end rot on developing fruit. Overwatering shows as yellowing lower leaves and soggy soil that takes days to dry.
Supporting Your San Marzano Tomatoes
San Marzano tomatoes are vigorous indeterminate vines that can easily reach 6-8 feet tall in our long growing season, requiring substantial support for their heavy fruit clusters. Install sturdy tomato cages at least 6 feet tall or use a stake-and-tie system with 8-foot posts driven 18 inches deep.
Install support systems at planting time to avoid disturbing established root systems later. For cages, choose heavy-duty models with wide openings for easy harvesting—the flimsy store-bought versions will buckle under the weight of a productive San Marzano plant loaded with fruit clusters.
If using stakes, tie plants loosely with soft cloth strips or tomato ties, allowing room for stem growth. Check and adjust ties monthly as the vine climbs, always tying just above a fruit cluster to provide maximum support where it's needed most.
Pruning & Maintaining San Marzano Tomatoes
San Marzano tomatoes benefit from moderate pruning to improve air circulation and direct energy into fruit production rather than excessive foliage. Remove suckers (shoots growing between the main stem and branches) when they're 2-4 inches long, especially on the lower portion of the plant.
Strip off lower leaves that touch the ground or show any yellowing throughout the growing season. This prevents soil-borne diseases from splashing up and improves airflow around the base of the plant—particularly important in our microclimates where morning fog can linger.
In late October or early November, about 6-8 weeks before your expected first frost in early December, top the plants by pinching out the growing tips. This redirects the plant's energy into ripening existing fruit rather than producing new flowers that won't have time to mature before cold weather arrives.
🧪Fertilizing San Marzano Tomatoes
Feeding Schedule
Organic Fertilizer Options
Harvest Time
Your first San Marzano tomatoes will be ready from late May through mid-July, approximately 80 days from transplant. These paste tomatoes are ready when they turn deep red, feel firm but give slightly to pressure, and detach easily from the vine with a gentle twist.
Look for the classic San Marzano shape—elongated and plum-like with a pointed blossom end. The fruit should have developed its full size and show uniform red color with no green shoulders. Unlike round tomatoes, San Marzanos hold their shape well even when fully ripe, making timing less critical.
Harvest regularly every 2-3 days during peak season to encourage continued production. Each plant can produce 10-15 pounds of fruit over the season in our favorable climate. Pick fruit in the morning when they're cool and firm, handling them gently to avoid bruising the tender skin.
As your first frost approaches in early December, harvest all mature green fruits and ripen them indoors. San Marzanos ripen well off the vine when stored in a warm spot with good air circulation. You can extend your harvest season by several weeks this way, maximizing the value of your long growing season investment.
Common Problems in Zone 9A (Northern California)
Blossom End Rot What it looks like: Dark brown or black leathery patches on the bottom (blossom end) of developing fruits. The spots start small but can cover half the tomato, making it inedible.
What causes it: Calcium deficiency triggered by inconsistent watering—a common problem in Northern California's dry climate where irrigation timing becomes critical. Not a disease, but a nutrient uptake issue caused by drought-flood cycles.
How to fix/prevent it: Maintain consistent soil moisture through our dry summer months. Water deeply and regularly rather than light, frequent sprinklings. Heavy mulching helps tremendously in our low-humidity climate. Remove affected fruits immediately and focus on steady watering practices.
Early Blight What it looks like: Brown spots with distinctive concentric rings (bullseye pattern) starting on lower leaves and moving upward. Leaves yellow and drop, weakening the plant.
What causes it: Fungal disease that thrives in warm conditions with fluctuating moisture—exactly what we get during Northern California's spring fog season followed by dry heat. Spreads through soil splash onto lower foliage.
How to fix/prevent it: Remove affected leaves immediately and destroy them (never compost). Water at soil level to prevent splash, and maintain good air circulation through proper spacing. Copper fungicide applications during spring can slow spread.
Fusarium Wilt What it looks like: Wilting that starts on one side of the plant, then spreads. Lower leaves yellow and brown streaks appear inside the stem when cut open.
What causes it: Soil-borne fungus that persists for years and enters through root systems. Warm soil temperatures during our hot summers favor this disease.
How to fix/prevent it: No cure exists—remove and destroy infected plants immediately. Plant resistant varieties marked with 'F' on seed packets. Practice crop rotation and consider soil solarization during our intense summer heat.
Northern California Specific Challenges: Our combination of moderate-to-hot summers, low humidity, and dry conditions creates unique challenges. Water stress from drought restrictions can trigger blossom end rot, while our variable spring weather with fog followed by sudden heat creates ideal conditions for fungal diseases. Focus on consistent irrigation and good air circulation to combat these regional issues.
Best Companions for San Marzano Tomatoes
Plant these nearby for healthier San Marzano Tomatoes and better harvests.
View Full Companion Planting Chart →


Companion Planting Details
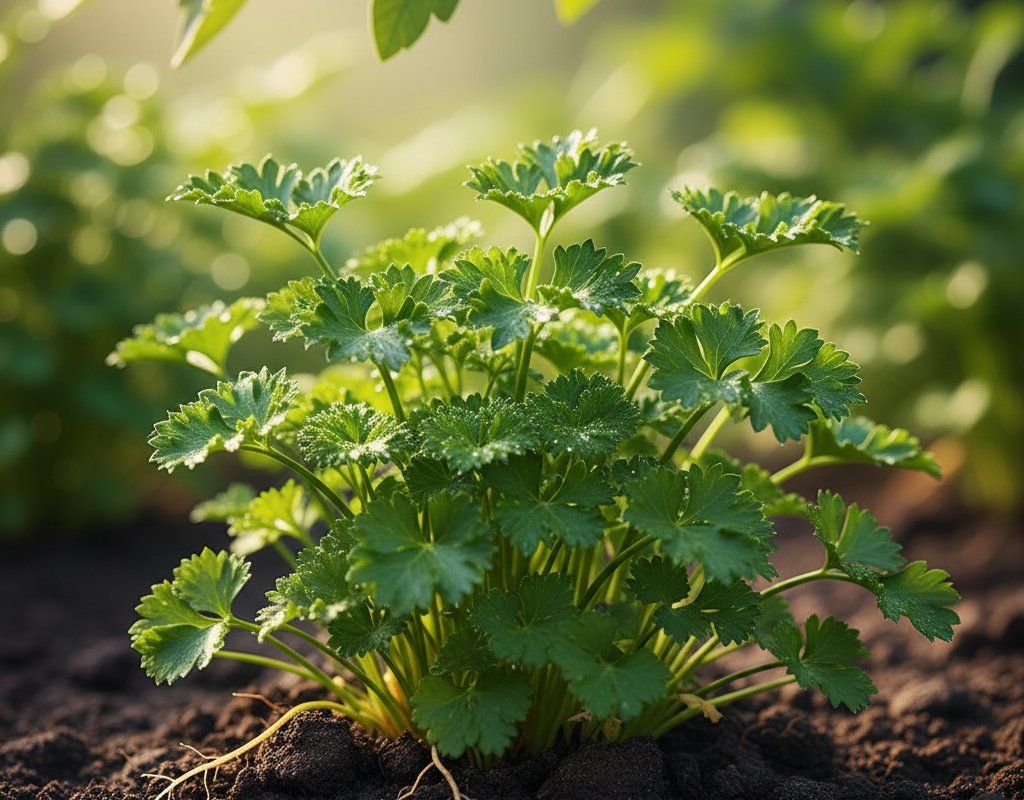
Basil makes an excellent companion for San Marzanos, not just for culinary harmony but because it naturally repels aphids and may improve tomato flavor. Plant basil between your tomato plants where it will appreciate the same warm, sunny conditions and regular watering schedule. Carrots work well as a ground cover companion, breaking up soil compaction around tomato roots while making efficient use of garden space in our water-conscious region.
Marigolds planted nearby help deter nematodes and other soil pests while adding beneficial color to your tomato patch. Avoid planting brassicas like cabbage or broccoli near San Marzanos—they compete for nutrients and can harbor similar pests. Fennel should be planted far away as it can inhibit tomato growth, and corn creates too much shade while competing heavily for water during our dry summers.
🌸Best Flowers to Plant with San Marzano Tomatoes
These flowers protect your San Marzano Tomatoes from pests and attract pollinators for better harvests.
For Pest Control

Get a Reminder When It's Time to Plant
We'll email you when key planting windows open for your zone.