
Tomato in Zone 9A — Northern California
Solanum lycopersicum · Your Complete 2026 Planting Guide
Missed Seed Starting? No Problem!
Wait for starts to become available.
What to Do
Starts will be available at nurseries in 2 days (around March 6).
How to Plant Tomato in Zone 9A — Northern California
Here are all your options for getting tomato in the ground, from the easiest method to more advanced approaches.
Start Seeds Indoors
RecommendedMid January through early February
around January 23
Then transplant: Early March through early April
Start seeds 6-8 weeks before transplanting outdoors.
Tomatoes need 6-8 weeks head start indoors for best production.
Buy Starts
Works WellEarly March through early April
around March 6
Plant purchased starts after last frost (February 20).
Look for stocky plants with dark green leaves. Avoid leggy or already-flowering seedlings.
Direct Sow Seeds
ChallengingDirect sowing is not typical for Tomato.
Transplant Outdoors
Timing InfoEarly March through early April
around March 6
Wait until nighttime temperatures stay above 50°F.
You have a nice window — no need to rush.
Overview
Tomatoes are the crown jewel of Northern California gardens, and our Mediterranean climate gives us a serious advantage. While other regions struggle with humidity-related diseases or extreme heat, we enjoy warm, dry summers perfect for developing that intense tomato flavor you simply can't get from store-bought varieties. Plus, with our 288-day growing season, you can grow both early and late varieties for months of fresh harvests.
Yes, our dry summers mean consistent watering is non-negotiable, and water restrictions can be tricky during fire season. But with proper timing and variety selection, you'll be harvesting sun-warmed tomatoes from late spring through the first frost in early December — that's nearly seven months of homegrown perfection.
Starting Seeds Indoors
Start your tomato seeds indoors from mid-January through early February, about six weeks before your last frost. This timing takes advantage of our early spring season and gives plants a strong head start before transplanting in early March.
Set up seed trays with quality seed-starting mix and place them somewhere warm — a heat mat helps, but the top of your water heater works too. Tomato seeds germinate best at 70-75°F. Once they sprout, they need bright light immediately. A south-facing window works if it's sunny, but a simple LED grow light gives more reliable results during our often-cloudy winter months.
Water from the bottom by placing trays in shallow pans of water rather than sprinkling from above. This prevents damping-off disease and encourages stronger root development. Keep soil consistently moist but not soggy — the same principle you'll follow all season long.
Transplanting Outdoors
Plan to transplant your tomato seedlings outdoors from early March through early April, after our last frost risk passes. Northern California's unpredictable spring weather means watching for those sneaky late cold snaps, especially if you're in a frost pocket or foothill microclimate.
Start hardening off seedlings about a week before transplanting by gradually increasing their outdoor exposure. Begin with a few hours of morning sun, then work up to full days outside. This process is crucial in our region because the transition from indoor conditions to our intense UV and temperature swings can shock plants.
Space transplants 24-36 inches apart to allow for good air circulation — especially important in our dry climate where proper airflow helps prevent the few diseases that do affect tomatoes here. Choose stocky, dark green plants over tall, leggy ones, and avoid any that are already flowering, as they often struggle to establish strong root systems.
Watering Tomato in Zone 9A (Northern California)
Tomatoes have high water needs and absolutely cannot tolerate our drought conditions without consistent irrigation. In Northern California's dry summers, you'll need to provide about 1-2 inches of water per week through deep, infrequent watering sessions rather than daily light sprinkles.
Check soil moisture by sticking your finger 2 inches deep near the plant base. If it's dry at that depth, it's time to water. During our typical 88°F summer days with low humidity, this usually means watering every 2-3 days, though clay soils hold moisture longer than sandy soils. Water early morning to reduce evaporation and give plants time to absorb moisture before the day's heat.
Always water at the base of plants rather than overhead. Our low humidity means foliar diseases aren't as common as in other regions, but ground-level watering still conserves water and directs it where roots need it most. Inconsistent watering — the feast-or-famine cycle many NorCal gardeners fall into during water restrictions — causes blossom end rot, fruit cracking, and poor production.
Apply 2-3 inches of mulch around plants to conserve moisture and reduce watering frequency. This is especially valuable during fire season when water restrictions might limit your irrigation schedule. Drip irrigation or soaker hoses work excellently here and help you maintain consistent moisture even during peak summer heat.
Supporting Your Tomato
Indeterminate tomatoes need sturdy support from day one since they'll grow 6-8 feet tall in our long growing season. Install 5-6 foot cages or strong stakes at planting time — trying to add support later damages established root systems and is much more difficult.
Heavy-duty tomato cages work well for most home gardeners, but if you're growing large indeterminate varieties, consider the stake-and-tie method instead. Use soft ties or strips of old t-shirts to secure the main stem to stakes every 12-18 inches as plants grow. This gives you more control over plant shape and makes pruning easier.
Our typically calm summer weather means you won't deal with the wind damage common in other regions, but the sheer weight of fruit-laden branches still requires solid support. A well-supported plant produces more fruit and suffers less breakage during harvest.
Pruning & Maintaining Tomato
Focus your pruning efforts on removing suckers — those shoots that emerge in the crotch between main stems and side branches. Remove all suckers that develop below the first flower cluster, as these drain energy from fruit production without contributing much to plant structure.
For upper suckers, you have choices based on your goals. Removing them results in larger individual fruits but lower overall yield. In our Mediterranean climate with its long season, many gardeners leave some upper suckers to maximize production, especially on vigorous varieties.
As we approach our first frost in early December, top your indeterminate plants by pinching out the growing tips in early November. This redirects energy into ripening existing fruit rather than producing new flowers that won't have time to mature. Remove any diseased or damaged lower leaves throughout the season to improve air circulation.
🧪Fertilizing Tomato
Feeding Schedule
Organic Fertilizer Options
Harvest Time
Your first tomatoes will be ready from mid-May through early July, depending on when you transplanted and which varieties you chose. Early varieties planted in early March often produce their first ripe fruit by mid-May, while main-season varieties typically begin producing in June.
Harvest tomatoes when they're fully colored but still have slight give when gently squeezed. They should twist off the vine easily with a gentle upward motion. If you have to tug hard, they're not quite ready. The fruit continues to soften and develop full flavor for a few days after picking.
Keep harvesting regularly to encourage continued production — our long growing season means well-cared-for plants will produce until the first frost. As nights begin cooling in late October and November, harvest green fruits that are starting to turn color. These will ripen perfectly indoors on your kitchen counter.
When early December's first frost threatens, harvest all remaining fruit regardless of ripeness. Green tomatoes can be ripened indoors, used for cooking, or turned into green tomato relish. Wrap individual green tomatoes in newspaper and store in a cool, dark place — many will ripen over several weeks, extending your harvest well into winter.
Common Problems in Zone 9A (Northern California)
Blossom End Rot You'll see sunken, dark brown or black leathery patches on the bottom of developing fruit, often affecting your first tomatoes of the season. This calcium deficiency isn't actually about soil calcium — it's caused by inconsistent watering that prevents calcium uptake. Our dry summers make this especially common when gardeners alternate between deep soakings and letting plants stress. Water consistently throughout the growing season and mulch heavily to maintain even soil moisture. Remove affected fruits immediately.
Early Blight Brown spots with distinctive concentric rings (like a target) appear on lower leaves first, then spread upward. Leaves eventually yellow and drop. This fungal disease spreads through soil splash during watering and thrives when leaves stay wet. Water at the base rather than overhead, mulch to prevent soil splash, and space plants properly for air circulation. Remove affected leaves immediately and don't compost them. Our low humidity actually helps prevent this compared to more humid regions.
Hornworms You'll notice large sections of leaves stripped overnight, often with dark green droppings on leaves below. Look for large green caterpillars with white diagonal stripes — they're incredibly well camouflaged. These can defoliate plants quickly during summer months. Handpick them (they don't bite) or use Bt spray if populations are high. If you find hornworms covered with small white cocoons, leave them alone — those are beneficial parasitic wasps that will kill the hornworm and produce more pest-controlling insects.
Cracking Tomato skins split either in concentric circles around the stem or in radial lines from stem to bottom. This happens when plants absorb water too quickly after dry periods, causing fruit to expand faster than skin can stretch. The irregular watering patterns common during our water restriction periods make this especially problematic. Maintain consistent soil moisture through mulching and regular watering schedules. Harvest fruits promptly when ripe rather than leaving them on the vine.
Northern California Specific Challenges: Our Mediterranean climate's dry summers and moderate heat create ideal growing conditions, but water management becomes critical. Unlike humid regions where overwatering is the main concern, our challenge is maintaining consistent moisture without waste during potential water restrictions and fire season evacuation periods.
Best Companions for Tomato
Plant these nearby for healthier Tomato and better harvests.
View Full Companion Planting Chart →


Companion Planting Details
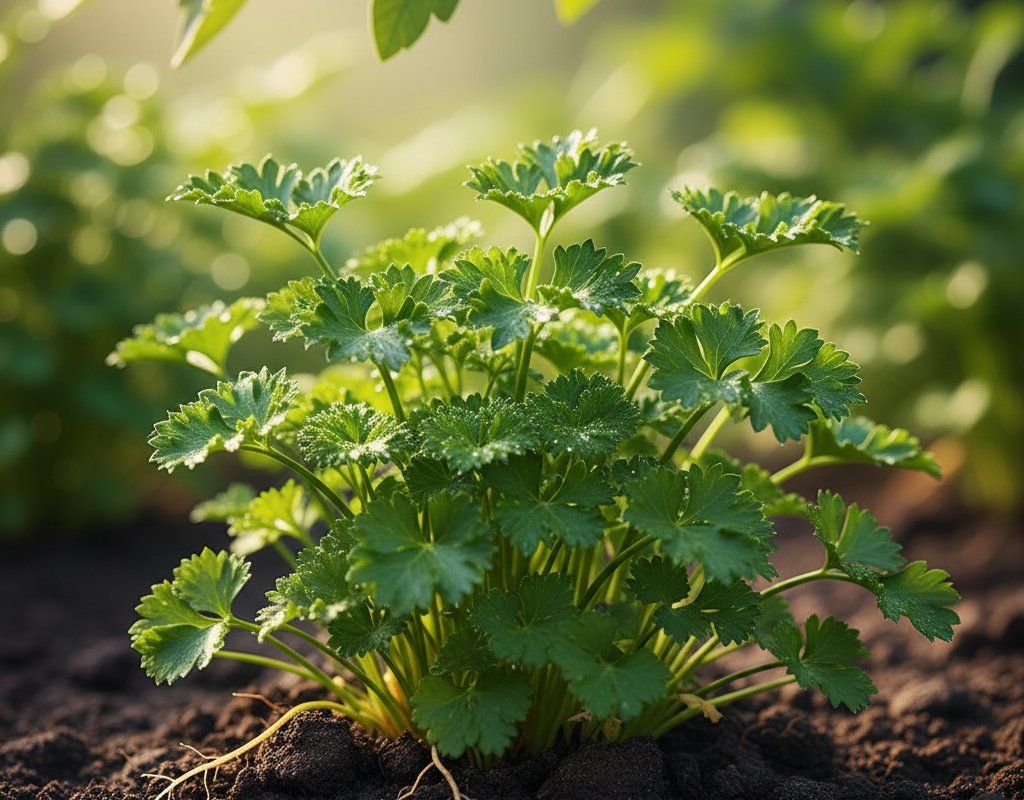
Plant basil alongside your tomatoes — it genuinely improves tomato flavor while repelling aphids and whiteflies. Carrots make excellent ground-level companions since their deep taproots don't compete with tomato roots, and parsley attracts beneficial insects that prey on tomato pests. Marigolds planted nearby deter nematodes and add bright color to your garden beds.
Avoid planting brassicas like cabbage or broccoli near tomatoes, as they compete heavily for nutrients and can stunt tomato growth. Keep fennel far away — it releases compounds that inhibit tomato development. Corn isn't ideal either since both crops attract similar pests like hornworms, creating concentrated pest problems rather than diversity that confuses harmful insects.
🌸Best Flowers to Plant with Tomato
These flowers protect your Tomato from pests and attract pollinators for better harvests.
For Pest Control







Get a Reminder When It's Time to Plant
We'll email you when key planting windows open for your zone.