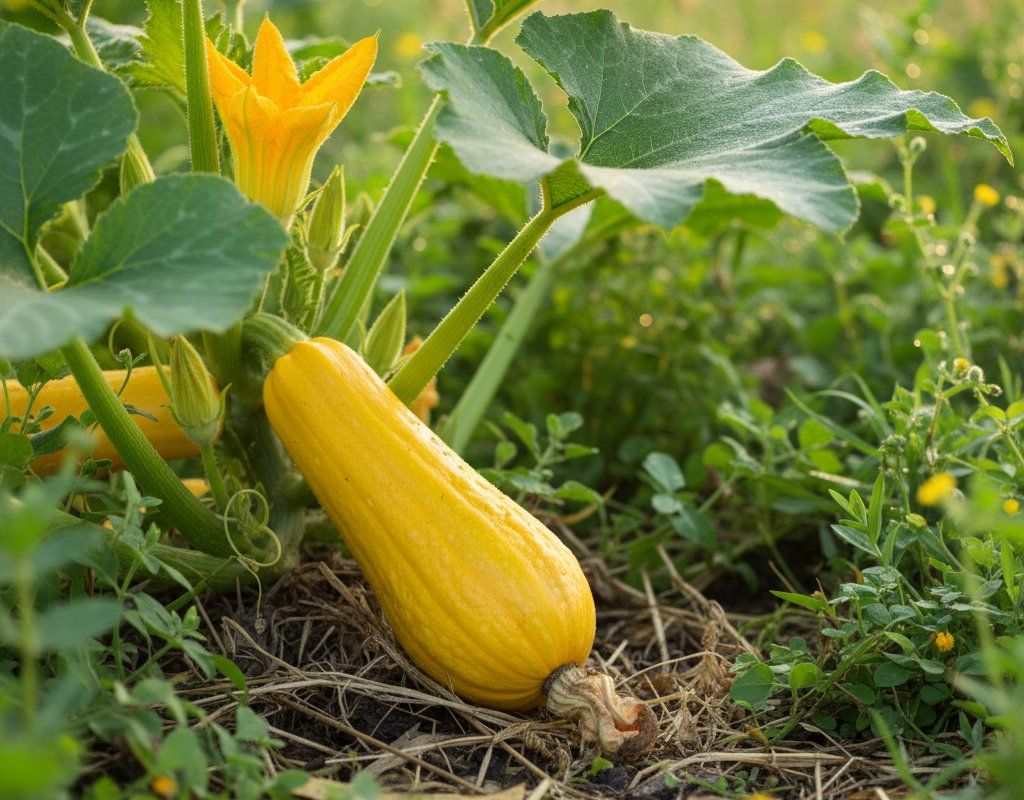
Yellow Squash in Zone 6B — Pacific Northwest
Cucurbita pepo · Your Complete 2026 Planting Guide
Planning Ahead — Great!
You’re ahead of the season. Here’s when to start.
Mark Your Calendar
How to Plant Yellow Squash in Zone 6B — Pacific Northwest
Here are all your options for getting yellow squash in the ground, from the easiest method to more advanced approaches.
Direct Sow Seeds
RecommendedEarly May through early August
around May 8
Consider succession planting every 2-3 weeks for continuous harvest.
Grows quickly from seed. Direct sowing is easiest.
Buy Starts
Works WellMid May through late June
around May 15
Plant purchased starts after last frost (May 1).
Start Seeds Indoors
Works WellMid April through early May
around April 24
Then transplant: Mid May through late June
Start seeds 3-5 weeks before transplanting outdoors.
Transplant Outdoors
Timing InfoMid May through late June
around May 15
Wait until nighttime temperatures stay above 50°F.
You have a nice window — no need to rush.
Overview
Yellow squash is a rewarding addition to any Pacific Northwest garden. Its mild, sweet flavor shines in summer dishes, and its versatility makes it a kitchen staple. Plus, there's nothing quite like the satisfaction of harvesting your own homegrown squash, especially when the cool nights seem to enhance its taste.
While we might not have the scorching summers some other regions do, growing yellow squash in the PNW is definitely achievable. Our relatively short 162-day growing season and cool springs mean timing is key, but with a little planning, you can enjoy a bountiful harvest.
Starting Seeds Indoors
Starting yellow squash indoors is possible, but generally not necessary in our climate, as they grow so quickly from seed. However, if you're eager to get a head start due to our shorter season, you can start seeds indoors from mid-April through early May, about three weeks before you plan to transplant them outdoors. This gives them a jump while our spring soil is still cool.
Use seed trays or small pots filled with seed-starting mix. Keep them warm (around 70-80°F) and provide plenty of light – a sunny windowsill often isn't enough during our overcast spring days, so consider using grow lights. Water gently from the bottom to avoid damping off, which can be a problem in our wet springs.
Transplanting Outdoors
Transplant your yellow squash seedlings outdoors from mid-May through late June, once the soil has warmed up a bit and the danger of frost has passed. Before transplanting, harden off your seedlings by gradually exposing them to outdoor conditions for about a week. This helps them adjust to the cooler temperatures and stronger sunlight.
Space plants 24-36 inches apart to allow for adequate growth and air circulation. Keep an eye on the weather forecast – a late cold snap can still happen in May, so be prepared to cover your seedlings if necessary.
Direct Sowing
Direct sowing is the easiest and most common method for growing yellow squash in the Pacific Northwest. You can direct sow from early May through early August. Yellow squash seeds germinate quickly in warm soil, and they resent having their roots disturbed.
Prepare your garden bed by loosening the soil and amending it with compost or well-rotted manure. Plant seeds about 1 inch deep and space them 24-36 inches apart. Keep the soil consistently moist until the seedlings emerge. You'll want the soil temperature to be at least 60°F for best germination.
Watering Yellow Squash in Zone 6B (Pacific Northwest)
Yellow squash needs consistent moisture, especially during our dry summer months. Aim for deep watering at the base of the plant to encourage strong root growth and avoid wetting the foliage, which can lead to fungal diseases. The key is to provide consistent moisture, but avoid waterlogged soil.
During the spring and early summer, when rainfall is more frequent, you might only need to supplement with watering once or twice a week, providing about 1 inch of water each time. Use the finger test: stick your finger about 2 inches into the soil – if it feels dry, it's time to water. During the drier summer months, you may need to water every other day, especially if temperatures climb, which is rare, but can happen.
Overwatering can lead to root rot, while underwatering can cause blossom end rot (more on that later). Signs of underwatering include wilting leaves and dry soil. Signs of overwatering include yellowing leaves and soggy soil. Mulching around your squash plants with straw or wood chips helps retain moisture and keeps the soil cool.
🧪Fertilizing Yellow Squash
Feeding Schedule
Organic Fertilizer Options
Harvest Time
You can expect your first harvest of yellow squash from late June through early October, about 50 days after planting. Look for squash that are 6-8 inches long and have a tender skin that you can easily dent with your fingernail. Overgrown squash can become tough and seedy.
To harvest, use a sharp knife or pruners to cut the squash from the vine, leaving about 2 inches of stem attached. This helps prevent rot. Harvest regularly to encourage continued production.
As the first frost approaches in early October, harvest any remaining squash, even if they're a bit smaller than usual. While they won't ripen off the vine, you can still use them in cooking.
Common Problems in Zone 6B (Pacific Northwest)
Here are some common problems you might encounter growing yellow squash in the Pacific Northwest:
Squash Vine Borer
- What it looks like: Wilting vines that suddenly collapse, often with small holes near the base of the plant and sawdust-like frass (larva poop) nearby.
- What causes it: Squash vine borers are moth larvae that tunnel into the stems of squash plants, disrupting water and nutrient flow.
- How to fix/prevent it: Wrap the base of the stem with aluminum foil or row cover fabric to prevent the moths from laying eggs. Inspect stems regularly for entry holes. If you find one, you can try to carefully remove the borer with a knife or inject the stem with Bacillus thuringiensis (Bt).
Powdery Mildew
- What it looks like: White or grayish powdery coating on leaves, stems, and sometimes fruit. Leaves curl, yellow, and die. Reduces plant vigor.
- What causes it: Various fungi that thrive in warm days, cool nights, and moderate humidity. Dry leaf surfaces actually favor it (unlike most fungi).
- How to fix/prevent it: Improve air circulation through spacing and pruning. Remove affected leaves. Neem oil or potassium bicarbonate sprays help. Milk spray (1 part milk to 9 parts water) is surprisingly effective. Plant resistant varieties.
Squash Bugs
- What it looks like: Gray-brown shield-shaped bugs on leaf undersides. Bronze egg clusters on leaves. Wilting leaves that turn brown and crispy.
- What causes it: Sap-sucking insects that inject toxin while feeding. Adults overwinter in garden debris and emerge in spring.
- How to fix/prevent it: Hand-pick adults and crush egg clusters. Board traps (adults hide under boards at night — flip and destroy in morning). Neem oil spray. Remove plant debris in fall. Companion plant with nasturtiums.
Blossom End Rot
- What it looks like: Sunken, dark brown or black leathery patch on the bottom (blossom end) of fruit. Often affects first fruits of the season.
- What causes it: Calcium deficiency caused by inconsistent watering. Not a disease — it's a nutrient uptake problem triggered by drought/flood cycles.
- How to fix/prevent it: Water consistently (the single most effective fix). Mulch heavily to maintain even soil moisture. Don't over-fertilize with nitrogen. Calcium sprays help marginally. Remove affected fruit.
Pacific Northwest Specific Challenges: Late blight can be an issue in our region, though it's more common on tomatoes and potatoes. Maintaining good air circulation and avoiding overhead watering can help prevent it. Cool soil in spring can slow growth, so be patient and wait for the soil to warm up before planting. Slugs are always a concern in the PNW, so use slug bait or other control methods to protect your young plants.
Best Companions for Yellow Squash
Plant these nearby for healthier Yellow Squash and better harvests.

Keep Away From
Companion Planting Details
Companion planting can help your yellow squash thrive. Corn provides a natural trellis for climbing beans, which in turn fix nitrogen in the soil, benefiting the squash. Radishes deter squash vine borers and other pests. Marigolds also repel pests and attract beneficial insects.
Avoid planting yellow squash near potatoes or brassicas (like cabbage and broccoli). Potatoes compete for nutrients, and brassicas can attract pests that also attack squash.
🌸Best Flowers to Plant with Yellow Squash
These flowers protect your Yellow Squash from pests and attract pollinators for better harvests.


Get a Reminder When It's Time to Plant
We'll email you when key planting windows open for your zone.