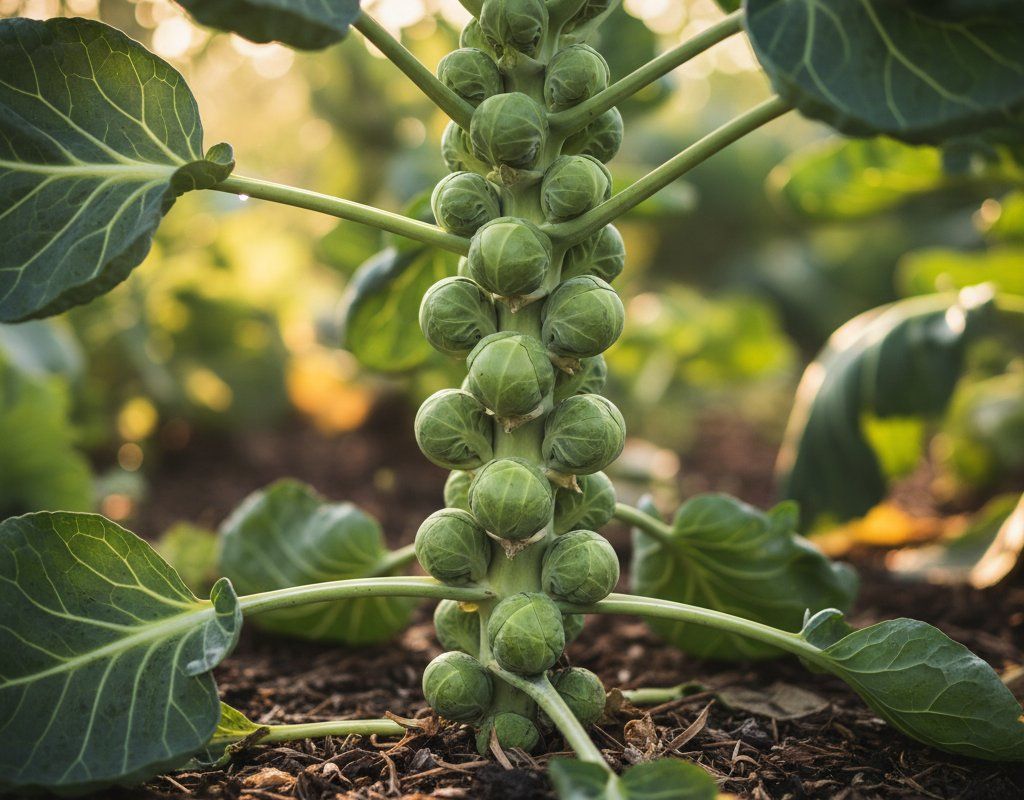
Brussels Sprouts in Zone 7B — Northern California
Brassica oleracea var. gemmifera · Your Complete 2026 Planting Guide
Missed Seed Starting? No Problem!
Wait for starts to become available.
What to Do
Starts will be available at nurseries in 11 days (around March 15).
How to Plant Brussels Sprouts in Zone 7B — Northern California
Here are all your options for getting brussels sprouts in the ground, from the easiest method to more advanced approaches.
Start Seeds Indoors
RecommendedLate January through mid February
around February 1
Then transplant: Mid March through early April
Start seeds 6-8 weeks before transplanting outdoors.
Very long season (90+ days). Must start early or plant for fall harvest.
Buy Starts
Works WellMid March through early April
around March 15
Plant purchased starts after last frost (March 15).
Direct Sow Seeds
ChallengingDirect sowing is not typical for Brussels Sprouts.
Transplant Outdoors
Timing InfoMid March through early April
around March 15
Can tolerate light frost, but wait for soil to be workable.
Plan to transplant within a few weeks of your target date.
Fall Planting
Mid August through mid September
August 30 ideal · Transplant for fall harvest
Plant a second crop in mid-summer for fall harvest. Brussels Sprouts actually prefers the cooling temperatures of fall.
Overview
Brussels sprouts are a fantastic addition to the Northern California garden. Their unique, nutty flavor shines when roasted, sautéed, or even shaved raw in salads. Plus, they offer the satisfaction of a long harvest, especially as their flavor sweetens after a touch of frost – something we often get in our Zone 7B gardens.
Our Mediterranean climate, with its dry summers and mild winters, presents some challenges, especially with water conservation. But, with careful planning and attention to timing, you can absolutely grow delicious Brussels sprouts during our lengthy 245-day growing season. We'll cover watering strategies that really work in our specific conditions.
Starting Seeds Indoors
Starting Brussels sprouts indoors gives you a head start, essential for our long-season crop. Begin in late January through mid February, about six weeks before you plan to transplant them outside. Use seed trays or small pots filled with a good seed-starting mix.
Keep the soil consistently moist, and consider bottom watering to prevent damping-off. Provide warmth with a heat mat and plenty of light, either from a grow light or a sunny window. Because our spring can bring warm spells, keep an eye on the seedlings.
Transplanting Outdoors
Transplant your Brussels sprouts seedlings outdoors in mid March through early April. Before planting, harden them off by gradually exposing them to outdoor conditions for about a week. This helps them adjust to the sun and wind.
Space your plants 18-24 inches apart in well-drained soil. Keep in mind our spring weather can be unpredictable; be prepared to cover young plants if a late frost threatens.
Watering Brussels Sprouts in Zone 7B (Northern California)
Brussels sprouts need consistent moisture, especially in our dry-summer climate, to develop those tight, delicious sprouts. In Northern California, water deeply and regularly, aiming for about 1-1.5 inches of water per week, especially during the warmer months. Use the "finger test" – if the top two inches of soil are dry, it's time to water.
Water at the base of the plants to avoid wetting the foliage, which can encourage fungal diseases in some microclimates. During the hottest parts of summer, you might need to water more frequently.
Underwatering leads to loose, bitter sprouts, while overwatering can cause root rot. Watch for yellowing leaves as a sign of overwatering. Mulching around the plants helps retain moisture and keeps the soil cooler, which is especially helpful during our moderate-to-hot summers.
Supporting Your Brussels Sprouts
Brussels sprouts plants can get quite tall and top-heavy, particularly as the sprouts develop. Staking is essential, especially if you live in an area prone to wind. A sturdy stake, like a bamboo or metal pole, works best.
Install the stake when the plants are around two feet tall, gently tying the main stalk to the stake with soft twine. This will prevent the plants from toppling over and damaging the developing sprouts.
Pruning & Maintaining Brussels Sprouts
Pruning Brussels sprouts is minimal but helpful. As the sprouts develop from the bottom up, remove the yellowing or damaged lower leaves to improve air circulation. This also encourages the plant to focus its energy on sprout production.
About three to four weeks before your expected harvest, you can top the plant by cutting off the top set of leaves. This directs the plant's energy into the remaining sprouts. In late fall, before our first frost around mid- November, remove any small, undeveloped sprouts at the top of the plant, as they are unlikely to mature.
🧪Fertilizing Brussels Sprouts
Feeding Schedule
Organic Fertilizer Options
Harvest Time
You can anticipate your first harvest of Brussels sprouts in mid June through late July, about 90 days after transplanting. The sprouts are ready when they are firm, tight, and about 1-2 inches in diameter. Harvest from the bottom of the stalk upwards, twisting or cutting the sprouts off.
After the first frost, the flavor of Brussels sprouts sweetens considerably. Keep harvesting as needed, and the plant will continue to produce more sprouts up the stalk. Even as temperatures drop in late fall, the plant will still be productive.
Common Problems in Zone 7B (Northern California)
Here are some common issues with Brussels sprouts in Northern California gardens:
Aphids
- What it looks like: Clusters of tiny green, black, or white insects on stems and leaf undersides. Sticky honeydew residue. Curled or distorted new growth.
- What causes it: Rapid-reproducing sap-sucking insects. Populations explode during warm spells. Ant colonies may farm them.
- How to fix/prevent it: Strong water spray knocks them off. Encourage ladybugs and lacewings. Use insecticidal soap for heavy infestations. Neem oil works systemically. Avoid excess nitrogen fertilizer.
Cabbage Worms
- What it looks like: Smooth green caterpillars on brassica leaves. Irregular holes chewed in leaves. Dark green droppings. White butterflies hovering around plants.
- What causes it: Larvae of white cabbage butterflies. Multiple generations per season in our climate.
- How to fix/prevent it: Bt spray is very effective. Floating row covers prevent egg laying. Handpick caterpillars. Interplant with aromatic herbs (thyme, sage). Encourage parasitic wasps.
Loose Sprouts from Heat
- What it looks like: Sprouts that are not tightly formed and are open or leafy. Often have a bitter taste.
- What causes it: High temperatures and inconsistent watering during sprout development. The plant struggles to form tight, compact sprouts in the heat.
- How to fix/prevent it: Provide consistent moisture, especially during hot spells. Mulch around the plants to keep the soil cooler. Choose varieties that are more heat-tolerant. Plant in a location that receives some afternoon shade.
Clubroot
- What it looks like: Stunted growth, wilting in afternoon heat, yellowing leaves. Roots are swollen, distorted, and club-shaped when dug up.
- What causes it: Soil-borne pathogen (Plasmodiophora brassicae) that persists in soil for 10+ years. Favors acidic, wet soil.
- How to fix/prevent it: Raise soil pH to 7.0-7.2 with lime. Improve drainage. Rotate brassicas on a 7-year cycle. Remove and destroy infected plants (don't compost). Start transplants in sterile mix.
Northern California Specific Challenges: Our moderate-to-hot summers and dry conditions can stress Brussels sprouts. Consistent watering is key to preventing loose sprouts. Be vigilant about pest control, as aphids and cabbage worms thrive in warmer weather. Also, be mindful of water restrictions during our dry months and adjust your watering accordingly.
Best Companions for Brussels Sprouts
Plant these nearby for healthier Brussels Sprouts and better harvests.

Keep Away From


Companion Planting Details
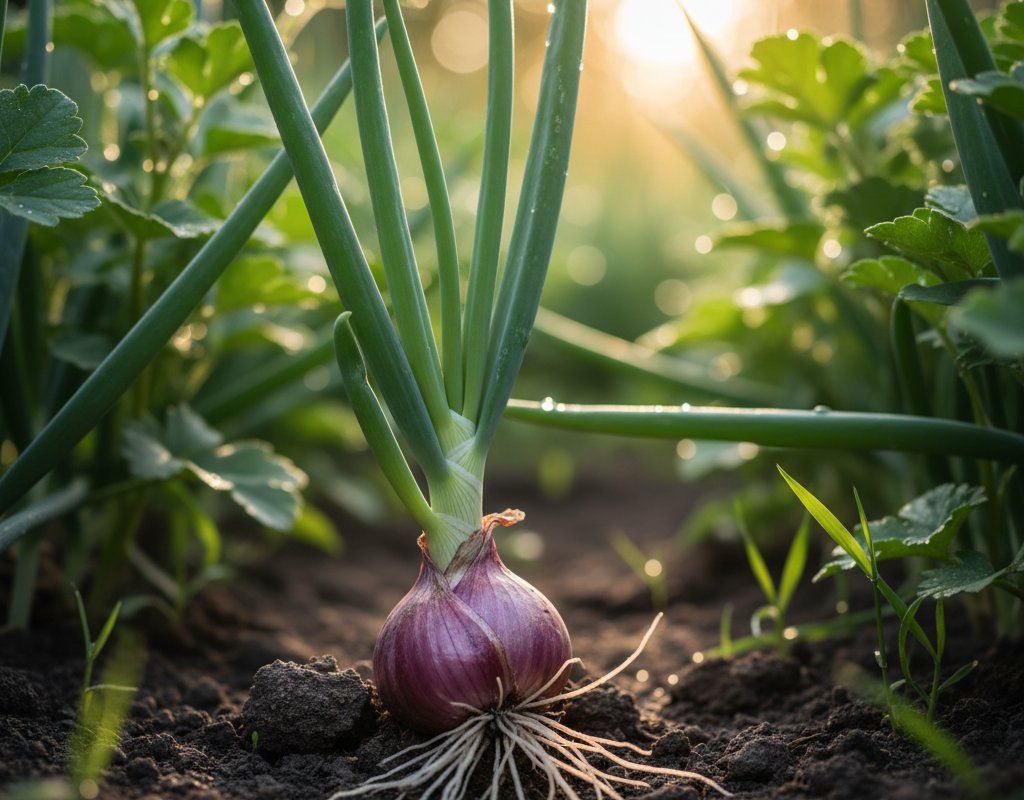
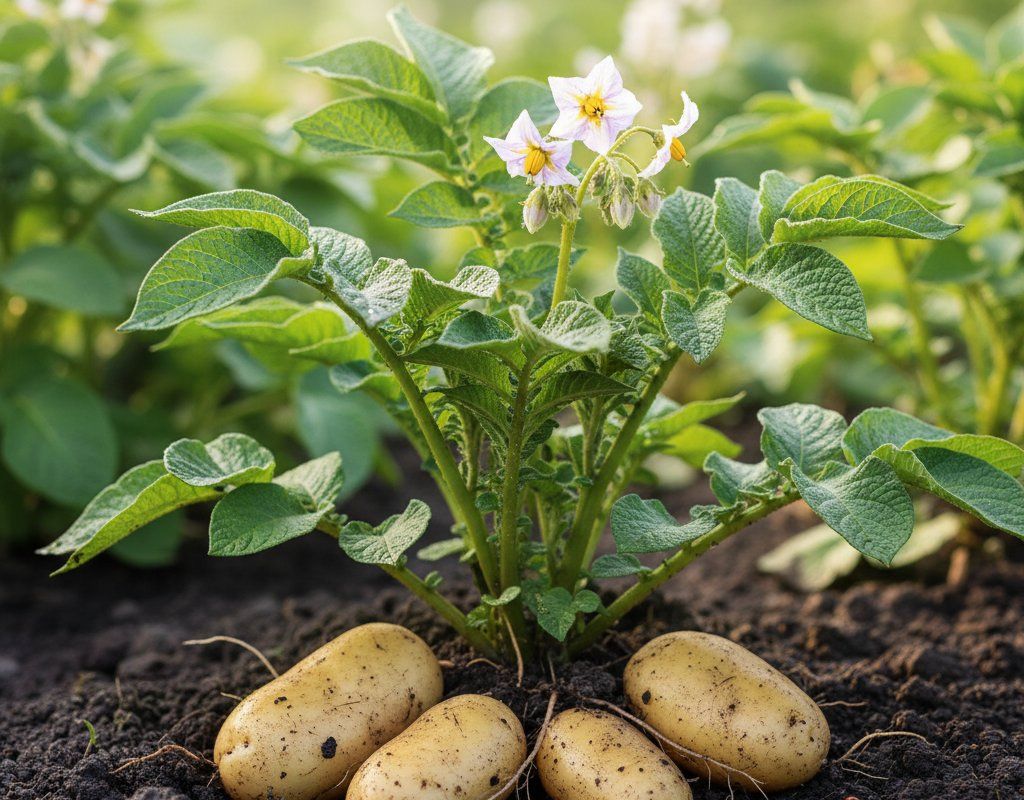
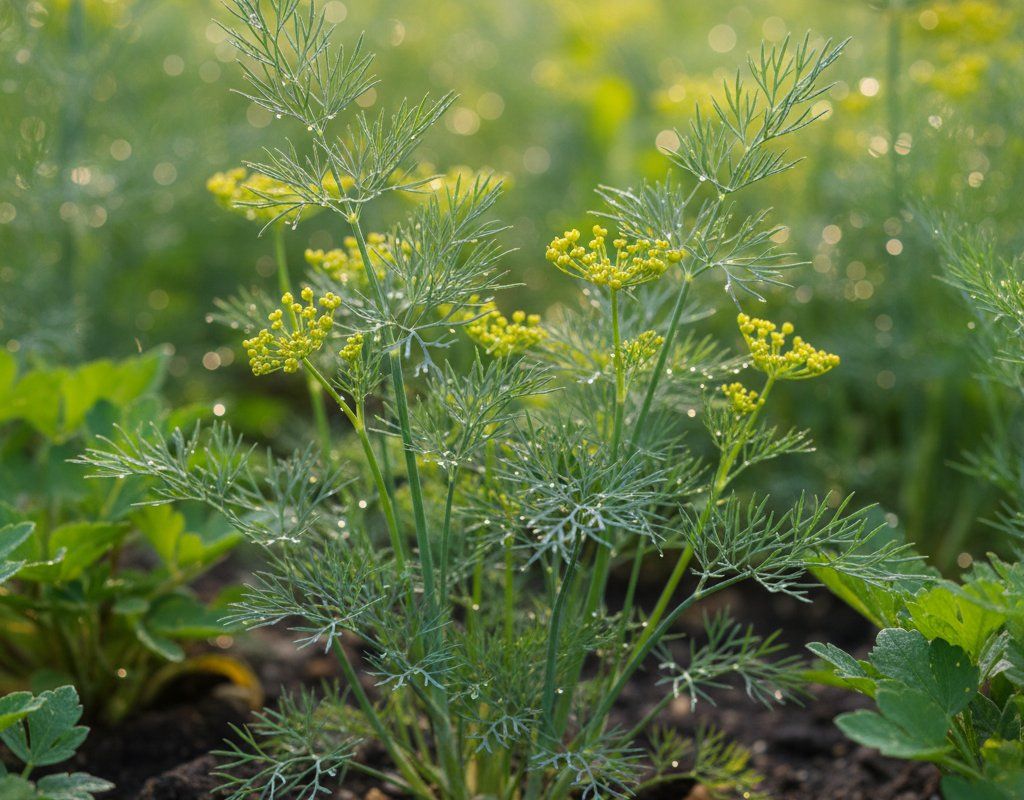
Good companions for Brussels sprouts include green beans, celery, onions, potatoes, and dill. Green beans fix nitrogen in the soil, benefiting the Brussels sprouts. Celery repels cabbage white butterflies. Onions deter many pests with their strong scent. Potatoes don't compete for the same nutrients. Dill attracts beneficial insects that prey on pests.
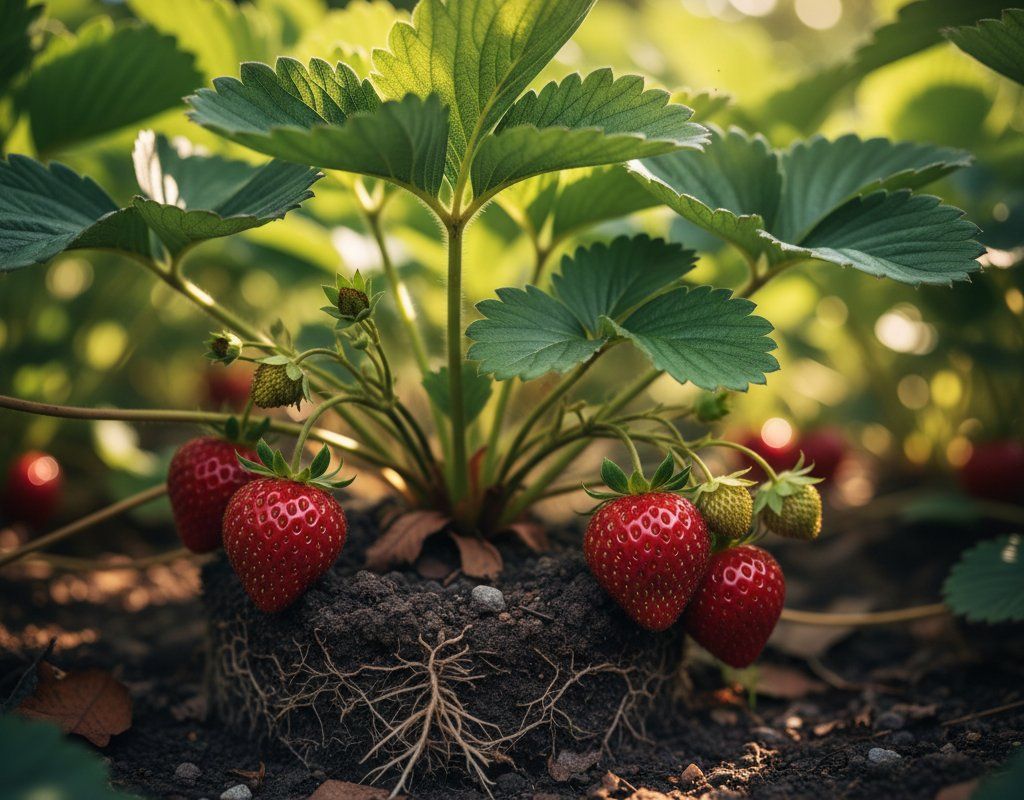
Avoid planting Brussels sprouts near tomatoes, strawberries, or peppers. Tomatoes and peppers can attract similar pests, increasing the risk of infestation. Strawberries can inhibit the growth of brassicas.
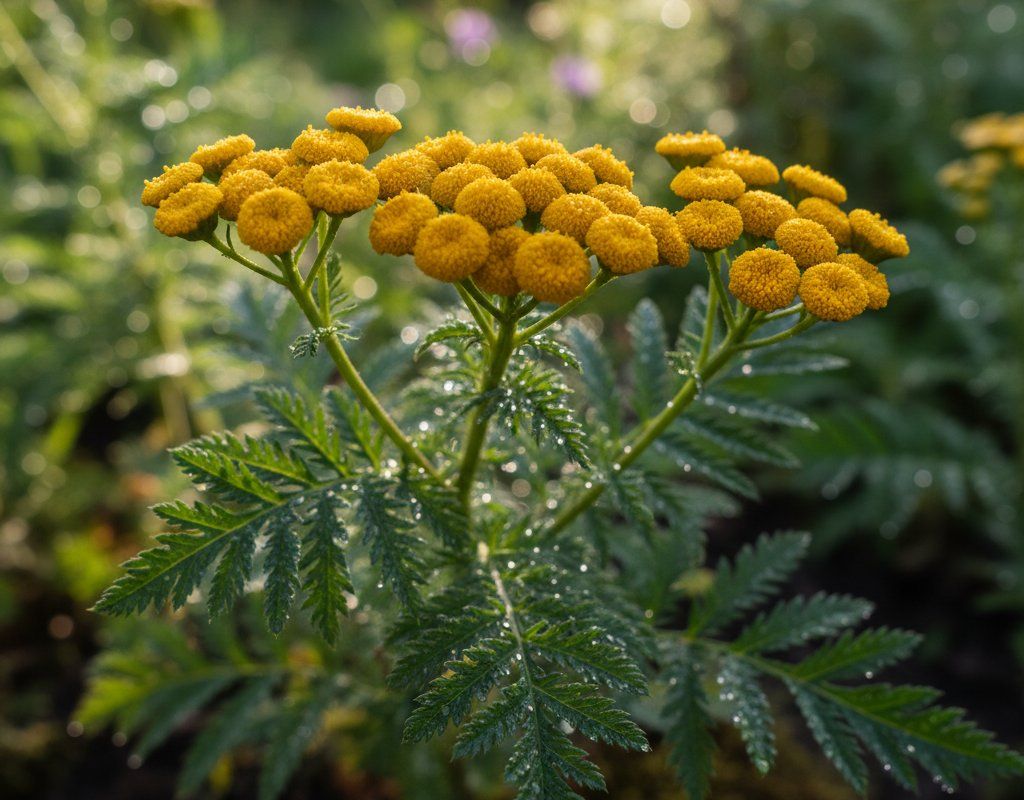
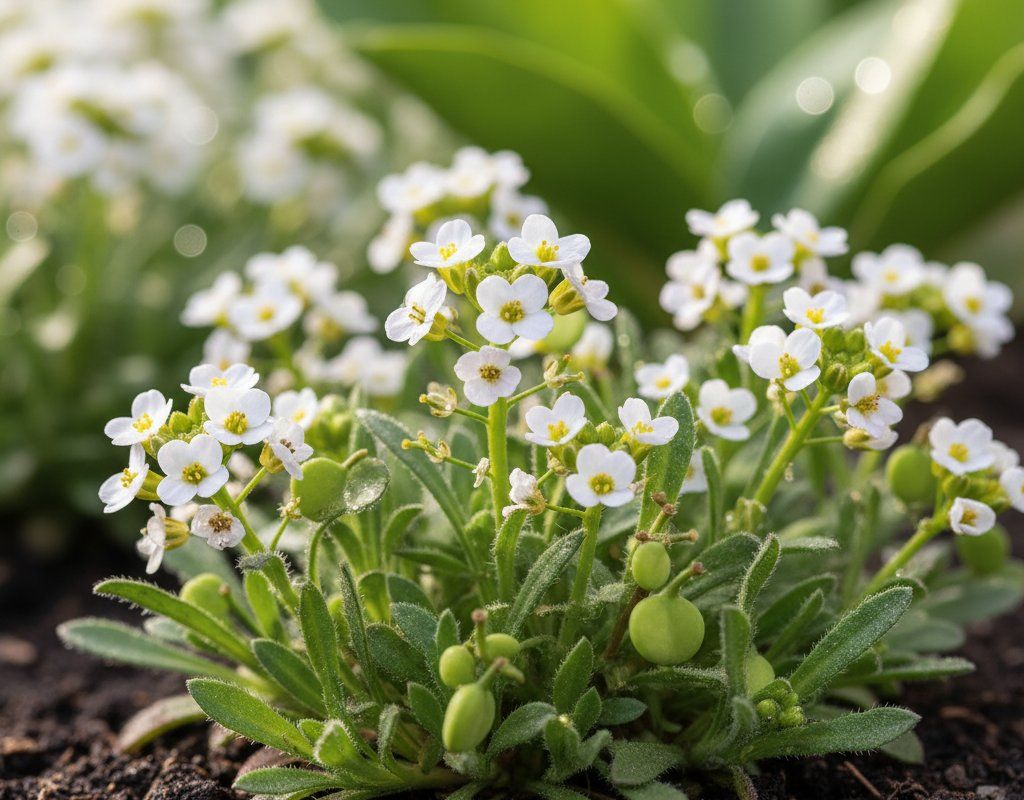
🌸Best Flowers to Plant with Brussels Sprouts
These flowers protect your Brussels Sprouts from pests and attract pollinators for better harvests.
For Pest Control



Get a Reminder When It's Time to Plant
We'll email you when key planting windows open for your zone.