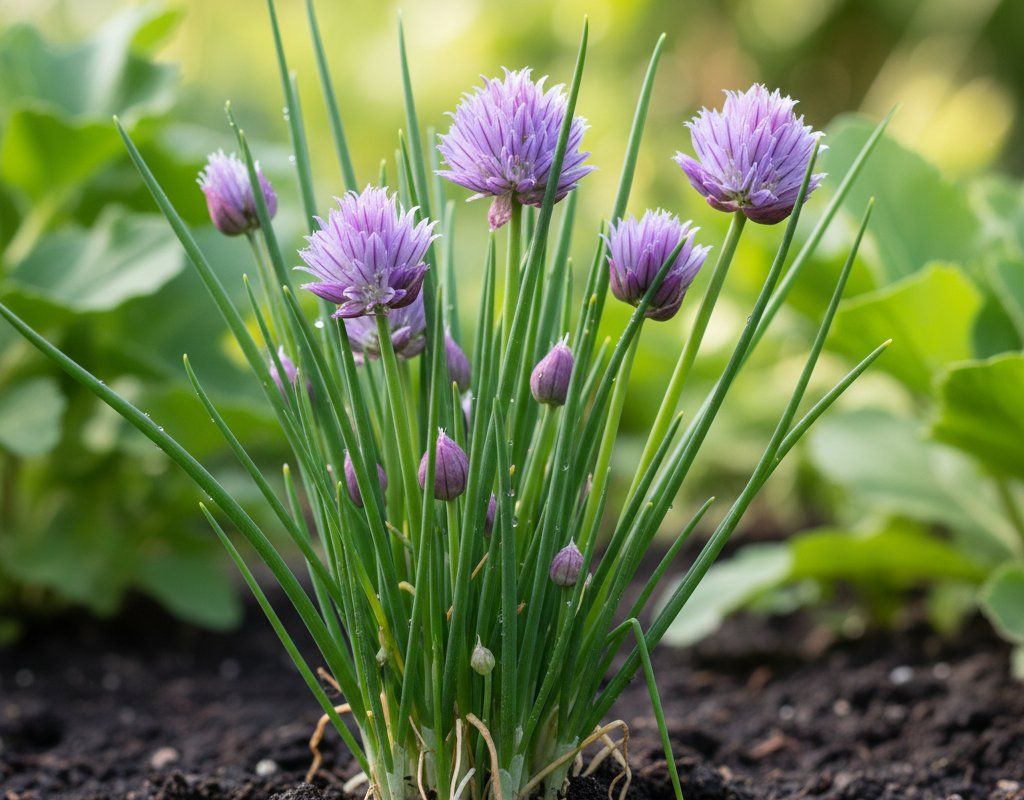
Chives in Zone 6B — Northeast
Allium schoenoprasum · Your Complete 2026 Planting Guide
Missed Seed Starting? No Problem!
Wait for starts to become available.
What to Do
Starts will be available at nurseries in 28 days (around April 1).
How to Plant Chives in Zone 6B — Northeast
Here are all your options for getting chives in the ground, from the easiest method to more advanced approaches.
Direct Sow Seeds
RecommendedMid March through mid July
around March 18
Consider succession planting every 2-3 weeks for continuous harvest.
Slow to establish from seed. Divisions or starts are faster.
Start Seeds Indoors
RecommendedLate January through mid February
around February 4
Then transplant: Early to late April
Start seeds 8-10 weeks before transplanting outdoors.
Buy Starts
Works WellEarly to late April
around April 1
Plant purchased starts after last frost (April 15).
Buying starts or dividing existing clumps is much faster than seed.
Transplant Outdoors
Timing InfoEarly to late April
around April 1
Can tolerate light frost, but wait for soil to be workable.
You have a nice window — no need to rush.
Overview
Chives are a fantastic addition to any Northeast garden. Their mild onion flavor elevates everything from summer salads to baked potatoes, and nothing beats snipping fresh herbs from your own backyard. Plus, the pretty purple flowers are a welcome sight in spring and early summer, attracting pollinators to your other plants.
Our short growing season here in Zone 6B can be a challenge, and late spring frosts are always a concern. But with a little planning, you can easily fit chives into your 183-day growing season and enjoy their flavor all summer long.
Starting Seeds Indoors
Starting chives indoors in late January through mid February can give you a head start on the season, but it's honestly not essential. Since chives are quite hardy, it's often easier to direct sow or transplant starts. However, if you're eager to get going, sow seeds in seed trays filled with a good seed-starting mix.
Keep the trays warm (around 70°F) and provide plenty of light – a grow light works best. Bottom watering helps prevent damping off, which can be an issue in our sometimes-humid springs. Just set the tray in a shallow dish of water for a few minutes until the soil surface is moist.
Transplanting Outdoors
Transplanting chives outdoors can be done in early to late April. Before you plant, be sure to harden off your seedlings by gradually exposing them to outdoor conditions for about a week. This is important because those temperature swings we sometimes get in spring can stress young plants.
Space your chives plants 8-12 inches apart in well-drained soil. Honestly, though, buying established starts from a local nursery or dividing an existing clump is a much faster way to get a thriving chives patch going.
Direct Sowing
Direct sowing chives is definitely an option here in the Northeast. You can sow seeds from mid March through mid July, but keep in mind that they can be slow to establish. Choose a spot with full sun to partial shade and well-drained soil.
Prepare the soil by loosening it and removing any rocks (we know all about rocky New England soil!). Keep the soil consistently moist until the seedlings emerge. Again, if you're impatient like me, you might prefer transplanting starts, as they'll give you a quicker harvest.
Watering Chives in Zone 6B (Northeast)
Chives need moderate and consistent watering to thrive in our Northeast climate. While they're not drought-tolerant, they actually prefer slightly more moisture than some other herbs. Pay attention to the weather and adjust your watering schedule accordingly.
During the warmer months, aim to give your chives about 1 inch of water per week, either through rainfall or irrigation. Use the finger test – stick your finger about 2 inches into the soil. If it feels dry, it's time to water. Watering at the base of the plant is generally best, especially given our moderate-to-humid summers, as it helps prevent fungal diseases.
Signs of underwatering include wilting or yellowing leaves. Overwatering, on the other hand, can lead to bulb rot, so make sure your soil is well-draining. A light layer of mulch around the base of the plants can help retain moisture and suppress weeds.
🧪Fertilizing Chives
Feeding Schedule
Organic Fertilizer Options
Harvest Time
You can expect your first chives harvest in early June through late October, depending on when you planted. The leaves are ready to harvest when they are at least 6 inches tall. Simply snip the leaves about 1-2 inches above the base of the plant.
Don't be afraid to harvest regularly, as this encourages new growth. Cut from the outside of the clump inward to keep the plant looking tidy. As the first frost approaches in mid- October, you can either let your chives die back naturally or pot up a clump to bring indoors for fresh herbs all winter long.
Common Problems in Zone 6B (Northeast)
Here are a few common problems you might encounter growing chives in the Northeast:
Onion Fly
- What it looks like: Yellowing and wilting leaves, stunted growth, and small white maggots near the base of the plant.
- What causes it: Onion flies lay their eggs near the base of onion family plants. The maggots then burrow into the bulbs and feed, causing damage.
- How to fix/prevent it: Use row covers to prevent flies from laying eggs. Remove and destroy any infested plants. Attract beneficial insects like parasitic wasps that prey on onion flies.
Rust
- What it looks like: Rusty orange, yellow, or brown pustules on leaves and stems, mostly on undersides. Leaves yellow and drop prematurely.
- What causes it: Various rust fungi that spread via wind-borne spores. Favored by warm, humid conditions with moisture on leaves.
- How to fix/prevent it: Remove affected leaves promptly. Avoid overhead watering to keep foliage dry. Improve air circulation around plants. Apply sulfur or copper fungicide if needed. Don't work among wet plants to avoid spreading spores. Rotate crops to prevent buildup of the fungus in the soil.
Bulb Rot in Wet Soil
- What it looks like: Yellowing and wilting leaves, mushy bulbs, and a foul odor.
- What causes it: Overwatering and poorly drained soil create conditions that favor fungal and bacterial pathogens that cause bulb rot.
- How to fix/prevent it: Ensure well-drained soil. Avoid overwatering, especially during periods of heavy rainfall. Improve soil drainage by adding compost or other organic matter.
Northeast Specific Challenges: Our moderate heat and moderate-to-humid humidity, coupled with even rainfall, can create ideal conditions for rust and bulb rot if you're not careful with watering and soil drainage. Keep an eye on your plants and take action quickly if you notice any signs of trouble.
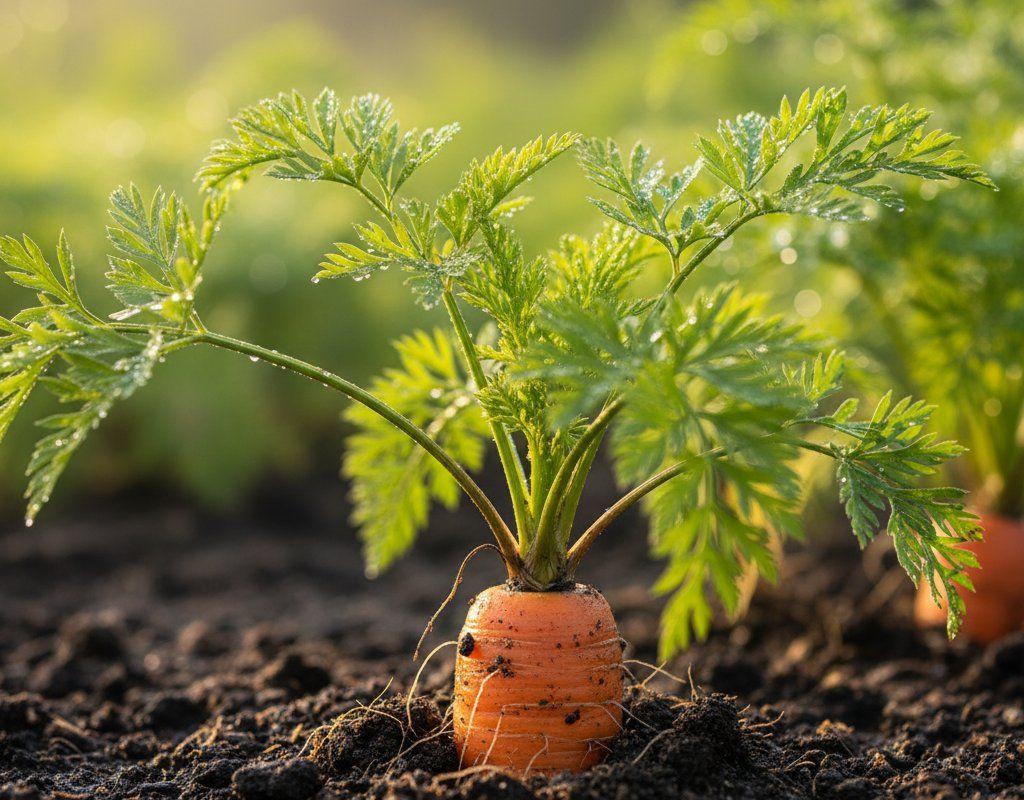
Best Companions for Chives
Plant these nearby for healthier Chives and better harvests.

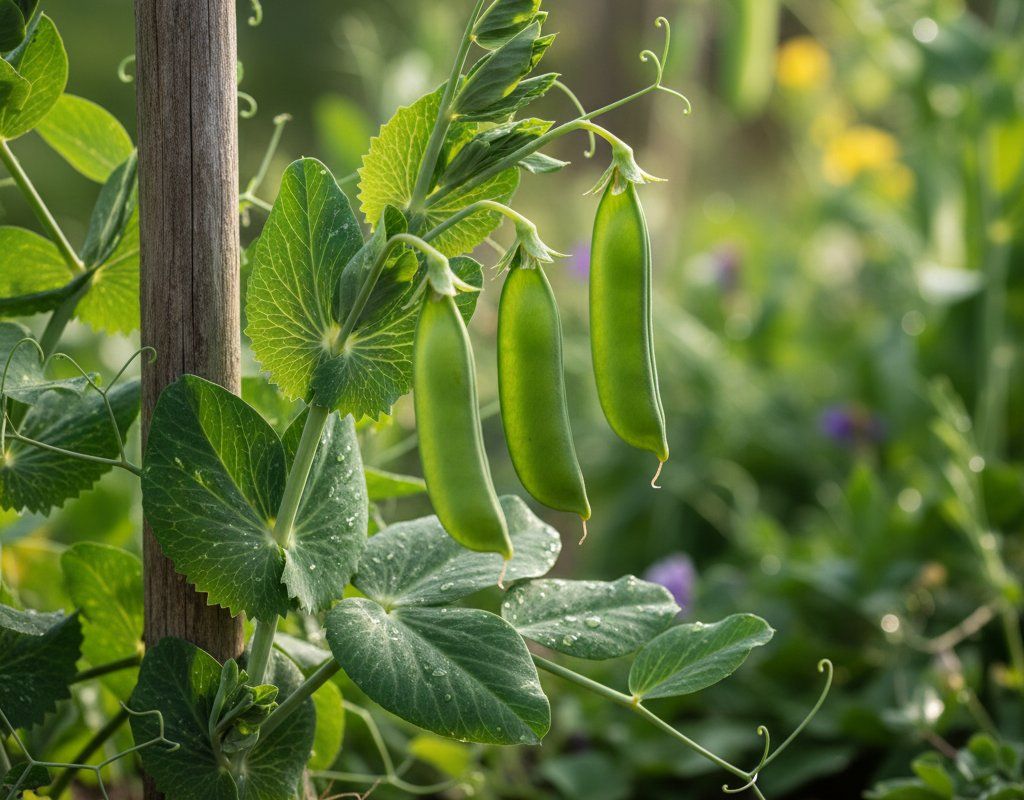
Keep Away From
Companion Planting Details
Chives make excellent companions for a variety of plants in the Northeast garden. They are said to deter aphids and Japanese beetles, making them a good choice near carrots, tomatoes, roses, and grapes. Carrots benefit from the pest-repelling properties of chives, while tomatoes and roses are said to have improved flavor and fragrance when planted near chives. Grapes also benefit from the pest control provided by chives.
Avoid planting chives near beans-green and peas, as they can inhibit their growth. The alliums in chives are known to negatively impact legume development, so it's best to keep them separated.
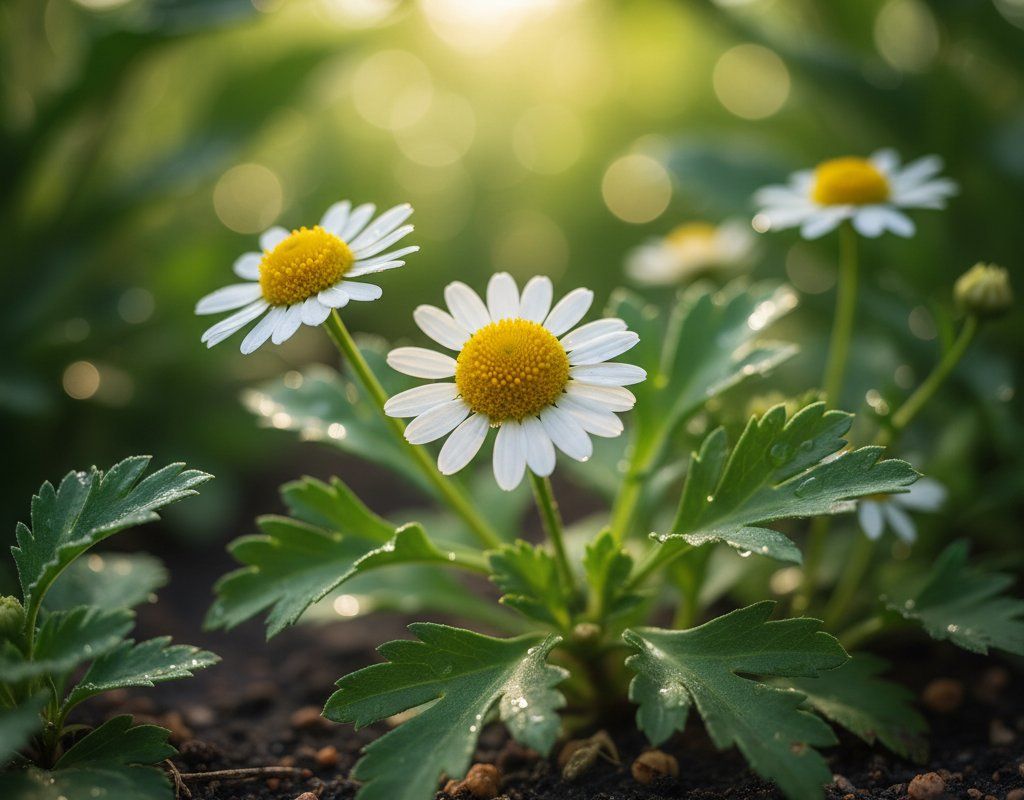
🌸Best Flowers to Plant with Chives
These flowers protect your Chives from pests and attract pollinators for better harvests.
For Pest Control


Get a Reminder When It's Time to Plant
We'll email you when key planting windows open for your zone.