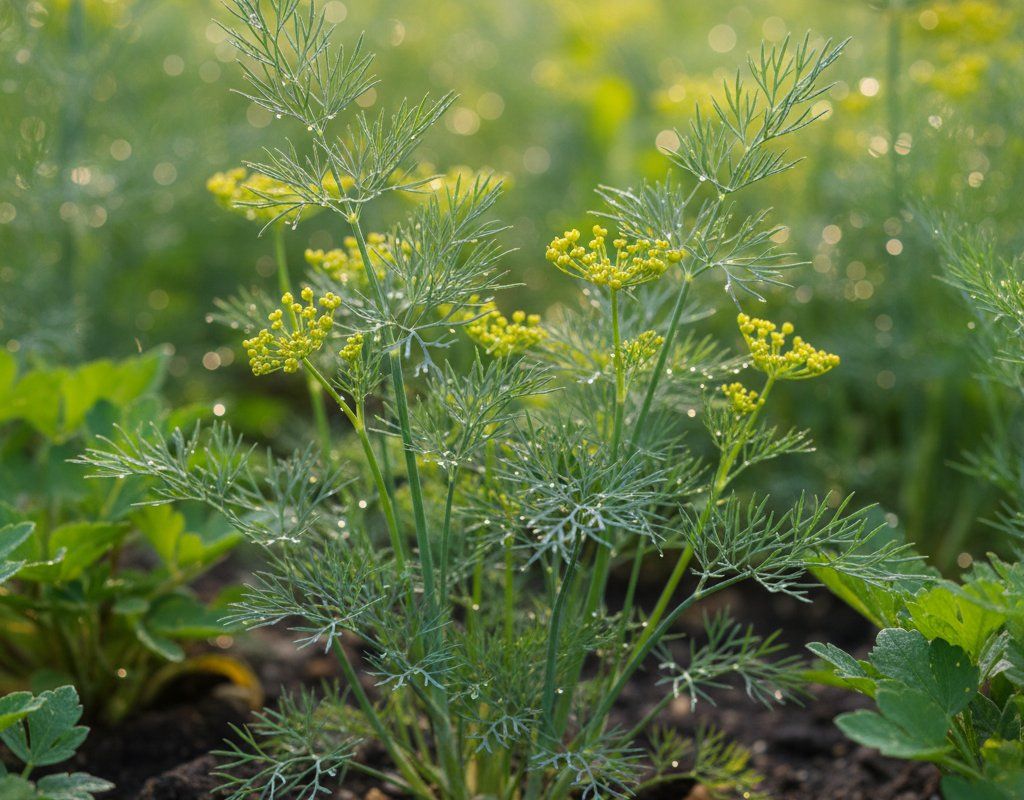
Dill in Zone 3A — Mountain West
Anethum graveolens · Your Complete 2026 Planting Guide
Planning Ahead — Great!
You’re ahead of the season. Here’s when to start.
Mark Your Calendar
How to Plant Dill in Zone 3A — Mountain West
Here are all your options for getting dill in the ground, from the easiest method to more advanced approaches.
Direct Sow Seeds
RecommendedEarly June through mid July
around June 1
Consider succession planting every 2-3 weeks for continuous harvest.
Dill has a taproot and prefers direct sowing, but transplants work if handled carefully.
Start Seeds Indoors
RecommendedEarly to late May
around May 11
Then transplant: Early June through mid July
Start seeds 4-6 weeks before transplanting outdoors.
Buy Starts
Works WellEarly June through mid July
around June 8
Plant purchased starts after last frost (June 1).
Transplant Outdoors
Timing InfoEarly June through mid July
around June 8
Can tolerate light frost, but wait for soil to be workable.
You have a nice window — no need to rush.
Fall Planting
Mid July through early August
July 25 ideal · Direct sow for fall harvest
Plant a second crop in mid-summer for fall harvest. Dill actually prefers the cooling temperatures of fall.
Overview
Dill thrives in our Mountain West climate, offering feathery leaves perfect for pickles, fish dishes, and fresh salads. The intense sunlight at high altitude concentrates the essential oils that give dill its distinctive flavor, while our cool nights prevent the plant from bolting as quickly as it would in hotter climates. You'll find dill particularly satisfying to grow here because it handles our alkaline soil well and the low disease pressure means clean, healthy plants all season.
Our 96-day growing season and late spring start might seem limiting, but dill actually works perfectly with these conditions. The plant prefers moderate temperatures over extreme heat, making our moderate-at-altitude summers ideal. With proper timing, you can easily get multiple harvests before our early September frost arrives.
Starting Seeds Indoors
Starting dill seeds indoors makes sense if you want an early harvest or live where late spring cold snaps are common. Start seeds early to late May, about 4 weeks before you plan to transplant outdoors. Use seed trays with good drainage and keep the soil consistently moist through bottom watering - this prevents the delicate seedlings from getting waterlogged.
Dill seedlings need warmth to germinate (around 60-70°F) and plenty of light once they emerge. Since our Mountain spring starts late, indoor starting gives you a head start on the short growing season. However, dill has a taproot and prefers direct sowing, so handle transplants carefully.
The main advantage here is extending your harvest window in our brief summer, but direct sowing often produces stronger plants that establish faster once outdoors.
Transplanting Outdoors
Transplant your dill seedlings outdoors from early June through mid July, once nighttime temperatures consistently stay above 45°F. In our high altitude climate, even summer nights can drop unexpectedly, so wait until you're confident the cold snaps have passed. Harden off seedlings gradually over a week by placing them outside for increasing periods each day.
Space transplants 12 inches apart in well-draining soil. Dill's taproot means it doesn't love being disturbed, so transplant while seedlings are still small and handle the root ball gently. Water them in well after planting, as our low humidity can stress newly transplanted seedlings.
Choose a spot with full sun exposure - our intense UV actually benefits dill by concentrating its flavorful oils. The plant will establish quickly in our alkaline soil and should be ready for first harvest in about 6 weeks.
Direct Sowing
Direct sowing works excellently for dill in our Mountain climate and is actually the preferred method. Sow seeds from early June through mid July when soil temperatures reach at least 60°F. Our short season means you want to maximize every growing day, so don't rush it if soil is still cold from our late spring.
Prepare the soil by working in compost to improve drainage - standing water in our clay-heavy soils can cause problems. Plant seeds ¼ inch deep and 12 inches apart, or sow more thickly and thin later. The seeds germinate quickly in our warm, sunny conditions, usually within 7-10 days.
Direct-sown dill develops stronger root systems than transplants and handles our occasional summer hailstorms better. For continuous harvest, succession plant every 2-3 weeks through mid July. This gives you fresh dill right up until first frost in early September.
Watering Dill in Zone 3A (Mountain West)
Dill needs moderate, consistent moisture but not soggy conditions in our dry Mountain climate. During establishment, water when the top 2 inches of soil feel dry to your finger. Once established, aim for about 1 inch of water per week, including any rainfall - though with our 10-20 inches annual precipitation, you'll be providing most of it.
Water at the base of plants rather than overhead. Our low humidity means leaves dry quickly, reducing disease risk, but overhead watering wastes precious water through evaporation. Deep, less frequent watering encourages strong root development that helps plants handle our intense UV and occasional dry spells.
Watch for signs of stress carefully. Underwatered dill will have grayish, wilted foliage and bolt quickly to seed. Overwatered plants develop yellowing leaves and weak stems. In our alkaline soil, overwatering can also cause nutrient lockup issues.
Apply a thin layer of organic mulch around plants to conserve moisture and keep roots cool during hot afternoon sun. Grass clippings or shredded leaves work well and break down to improve our often-challenging soil structure over time.
🧪Fertilizing Dill
Feeding Schedule
Organic Fertilizer Options
Harvest Time
You can start harvesting dill leaves about 40 days after planting, typically from mid July through mid September in our growing season. Look for plants that are 6-8 inches tall with feathery, developed foliage. The leaves have the best flavor when harvested in the morning after the dew dries but before the intense afternoon sun hits them.
Cut individual stems at the base or pinch off outer leaves, leaving the center growing point intact for continued production. Harvest regularly to keep plants producing fresh growth - if you let it go to flower too early, leaf production slows dramatically. Our cool nights actually improve dill's flavor by preventing the oils from becoming too concentrated.
For dill seeds, let some plants flower and wait until the seed heads turn brown and papery, usually in late August. Cut the entire head and hang it upside down in a paper bag - shake gently and the seeds will fall right out. This timing works perfectly with our early September frost date.
Continue harvesting leaves right up until first frost. The plant won't survive freezing temperatures, so make your final harvest when frost threatens. You can extend the season slightly with row covers during light frosts.
Common Problems in Zone 3A (Mountain West)
Bolting appears as a tall flower stalk shooting up from the center of the plant, with leaves becoming bitter and tough. In our Mountain climate, this usually happens when plants experience stress from inconsistent watering combined with our intense UV exposure. The moderate temperatures help, but long summer days and sudden heat spikes can trigger premature flowering.
Keep soil consistently moist and consider providing afternoon shade during the hottest part of summer. Succession planting every 2-3 weeks prevents losing your entire crop to bolting at once. Choose slower-bolting varieties if this becomes a persistent issue in your garden.
Aphids show up as clusters of tiny green or black insects on stems and under leaves, often with sticky honeydew residue and curled new growth. Our dry climate actually helps control aphid populations compared to humid regions, but they can still appear during warm spells, especially if plants are stressed.
Blast them off with a strong spray from the hose - our low humidity means plants dry quickly afterward. Encourage beneficial insects like ladybugs by planting flowers nearby. For heavy infestations, insecticidal soap works well in our dry air since it won't promote fungal issues.
Caterpillars, particularly parsley worms (black and yellow striped larvae), can strip dill plants quickly. These are actually swallowtail butterfly caterpillars, so hand-picking is often the best approach if you want to preserve beneficial insects. Check plants regularly and remove caterpillars by hand.
Mountain West Specific Challenges: Our intense UV can stress plants into early bolting, while sudden hailstorms can shred the delicate foliage. The alkaline soil means iron may become unavailable, causing yellowing between leaf veins. Our short season requires careful timing to get multiple harvests before early frost arrives.
Best Companions for Dill
Plant these nearby for healthier Dill and better harvests.

Keep Away From
Companion Planting Details
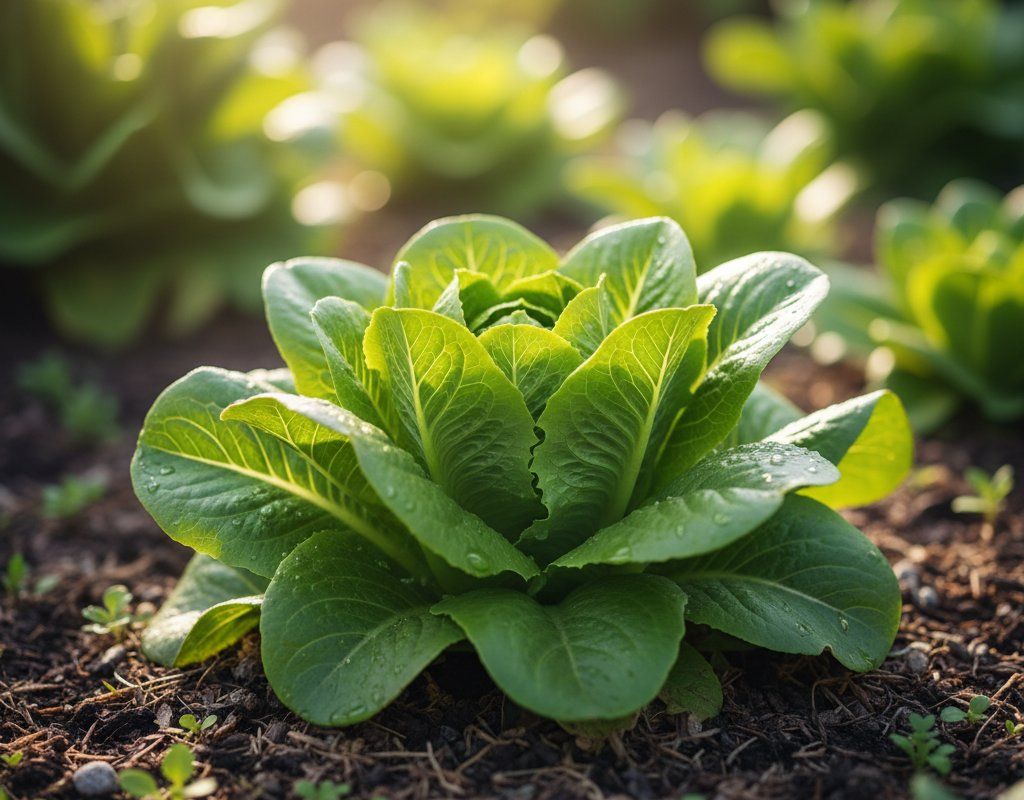
Plant dill near cabbage family crops like broccoli and kale - it repels cabbage worms while the cabbage provides some afternoon shade during our intense sun. Cucumbers and dill make excellent companions since dill attracts beneficial insects that help with cucumber beetle control, and both plants appreciate consistent moisture in our dry climate. Onions planted nearby help deter aphids from dill while taking advantage of the same watering schedule.
Avoid planting dill near carrots, as they can cross-pollinate and affect flavor, and the root competition doesn't work well in our often-challenging soil conditions. Keep dill away from tomatoes too - dill can inhibit tomato growth, and tomatoes need more water than dill prefers, making irrigation management difficult in our water-conscious Mountain gardens.
🌸Best Flowers to Plant with Dill
These flowers protect your Dill from pests and attract pollinators for better harvests.
For Pest Control




Get a Reminder When It's Time to Plant
We'll email you when key planting windows open for your zone.