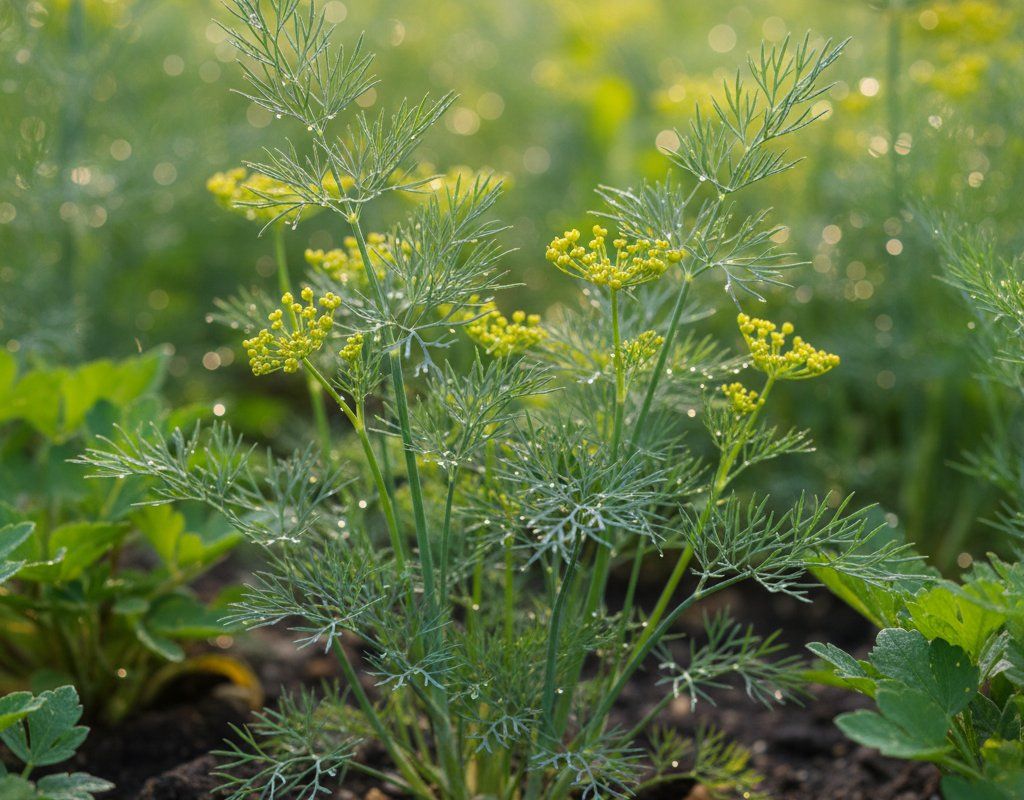
Dill in Zone 6A — Mountain West
Anethum graveolens · Your Complete 2026 Planting Guide
Planning Ahead — Great!
You’re ahead of the season. Here’s when to start.
Mark Your Calendar
How to Plant Dill in Zone 6A — Mountain West
Here are all your options for getting dill in the ground, from the easiest method to more advanced approaches.
Direct Sow Seeds
RecommendedEarly May through early August
around May 1
Consider succession planting every 2-3 weeks for continuous harvest.
Dill has a taproot and prefers direct sowing, but transplants work if handled carefully.
Start Seeds Indoors
RecommendedEarly to late April
around April 10
Then transplant: Early May through mid June
Start seeds 4-6 weeks before transplanting outdoors.
Buy Starts
Works WellEarly May through mid June
around May 8
Plant purchased starts after last frost (May 1).
Transplant Outdoors
Timing InfoEarly May through mid June
around May 8
Can tolerate light frost, but wait for soil to be workable.
You have a nice window — no need to rush.
Fall Planting
Early August through early September
August 20 ideal · Direct sow for fall harvest
Plant a second crop in mid-summer for fall harvest. Dill actually prefers the cooling temperatures of fall.
Overview
Dill deserves a spot in every Mountain West garden for its incredible versatility and flavor that actually improves in our cool nights. The feathery foliage adds both culinary punch and delicate texture to your harvest basket, while the intense sunlight at altitude helps develop those essential oils that make homegrown dill far superior to anything you'll find in stores. Whether you're pickling cucumbers, seasoning grilled trout, or adding fresh herbs to potato salad, nothing beats the clean, bright flavor of dill grown in our mountain climate.
Our Zone 6A Mountain conditions present some unique challenges with the late spring start and short 153-day growing season, but dill's hardy nature makes it surprisingly manageable here. The key is working with our cool nights and intense UV rather than fighting them – dill actually appreciates the temperature swings that can stress other herbs, and our low humidity means fewer disease issues than gardeners in more humid climates face.
Starting Seeds Indoors
Starting dill indoors isn't the preferred method since dill develops a taproot that doesn't love transplanting, but it can work if you handle the seedlings carefully. Start seeds early to late April, about four weeks before your planned transplant date, using biodegradable pots that you can plant directly in the ground to minimize root disturbance.
Set up your seed trays in a warm spot (65-70°F) with good light once seedlings emerge. Use bottom watering to keep the soil consistently moist without disturbing those delicate emerging shoots. Given our late spring character here in the Mountain West, indoor starting can give you a jumpstart on the growing season, but honestly, direct sowing works just as well once soil warms up.
The main advantage of indoor starting in our region is getting around those unpredictable late spring temperature swings. You can control conditions indoors while waiting for more settled weather outdoors.
Transplanting Outdoors
If you've started dill indoors, plan to transplant from early May through mid-June once nighttime temperatures stay consistently above 40°F. Spend a full week hardening off your seedlings – our intense mountain sun can shock tender indoor-grown plants, so gradually increase their outdoor exposure over seven days.
Space transplants 12 inches apart in your prepared bed, handling the root systems as gently as possible since dill doesn't appreciate root disturbance. Plant the biodegradable pots directly in the ground if you used them, or carefully tease apart any root-bound seedlings.
Watch for those sudden temperature drops that can still happen in late spring here – have row covers ready if an unexpected cold snap threatens your newly transplanted dill. The good news is that dill is quite hardy and can handle light frosts once established.
Direct Sowing
Direct sowing is really dill's preferred method since it avoids transplant shock and lets that taproot develop naturally. You can sow from early May through early August, giving you multiple opportunities for succession plantings throughout our growing season.
Wait until soil temperature reaches about 60°F – usually by early May in most Mountain West locations. Prepare your bed by loosening soil to about 8 inches deep (our often-rocky mountain soils benefit from this extra attention). Sow seeds about 1/4 inch deep and 2 inches apart, then thin to 12-inch spacing once seedlings are established.
The beauty of direct sowing here is that you can make multiple plantings every 2-3 weeks through early August. This gives you fresh, tender dill leaves all season long, since dill tends to bolt quickly once flower heads form. Our moderate summer temperatures actually extend the harvest window compared to hotter climates.
Watering Dill in Zone 6A (Mountain West)
Dill needs consistent, moderate moisture but don't overdo it – our low humidity and intense sun mean water evaporates quickly, but the plant doesn't want to sit in soggy soil. Plan on about 1 inch of water per week, including our typically sparse natural rainfall of 10-20 inches annually.
Check soil moisture with the finger test: stick your finger 2 inches down into the soil near the plant base. If it's dry at that depth, it's time to water. In our dry Mountain climate, this usually means watering 2-3 times per week during peak summer, focusing water at the base rather than overhead watering (which wastes water in our low humidity anyway).
Watch for signs of stress carefully. Underwatered dill will bolt quickly to seed, while overwatered plants develop weak, pale growth and may rot at the base. The sweet spot is keeping soil consistently moist but never soggy – think of a wrung-out sponge.
A thin layer of organic mulch helps retain soil moisture in our dry conditions, but don't pile it thick against the stems. Our intense UV means you want some soil cooling, but too much mulch can create moisture issues given our generally dry air.
🧪Fertilizing Dill
Feeding Schedule
Organic Fertilizer Options
Harvest Time
You can start harvesting those feathery dill fronds about 40 days after sowing, typically by early June for spring plantings, with harvest continuing through early October if you succession plant. Cut outer stems first, leaving the central growing point intact to encourage continued production.
For fresh leaves, harvest in the morning after dew dries but before the heat of the day intensifies – our strong mountain sun can wilt cut herbs quickly. Snip stems about 4-6 inches from the base, just above a leaf node to encourage branching. The cool nights we experience even in summer actually help maintain those essential oils that give dill its distinctive flavor.
If you want dill seed for pickling, let some plants flower and go to seed. The umbrella-shaped flower heads will turn brown and papery when seeds are mature. Cut the entire head and shake seeds into a paper bag – they'll continue to ripen and release even after cutting.
As first frost approaches in early October, harvest remaining plants completely. You can dry the foliage or freeze whole stems in ice cube trays with water for convenient winter portions. Our dry fall air makes hanging bunches to air-dry particularly effective here in the Mountain West.
Common Problems in Zone 6A (Mountain West)
Bolting shows up as a tall central stalk shooting up quickly with umbrella-shaped flower clusters, after which the leaves become bitter and tough. In our Mountain climate, this typically happens when plants experience heat stress during those occasional 85°F+ days combined with our intense UV, or when soil dries out between waterings. Prevent bolting by providing consistent moisture, succession planting every 2-3 weeks, and choosing heat-tolerant varieties. Once bolting starts, harvest immediately or let it go to seed if you want to collect dill seed for pickling.
Aphids appear as clusters of tiny green, black, or white soft-bodied insects on stem tips and leaf undersides, often with sticky honeydew residue. Our dry climate actually helps limit aphid populations compared to humid regions, but they can still be problematic during warm spells. A strong spray from the hose knocks them off effectively – and in our low humidity, they won't find it easy to crawl back up wet stems. Encourage beneficial insects like ladybugs, or use insecticidal soap for heavy infestations.
Caterpillars, especially parsley worms (the larvae of swallowtail butterflies), will munch through dill foliage, leaving chewed leaves and dark droppings. These bright green caterpillars with black stripes actually turn into beautiful butterflies, so hand-picking and relocating them to wild carrot or fennel is the preferred approach. If populations get out of hand, Bt (Bacillus thuringiensis) spray works effectively and won't harm beneficial insects.
Mountain West Specific Challenges: Our intense UV can stress plants and trigger early bolting, while the combination of hot days and cold nights can slow growth. The dry air means less disease pressure overall, but also faster soil moisture loss. Our alkaline soils may need amendment with compost to improve both drainage and nutrient availability for optimal dill growth.
Best Companions for Dill
Plant these nearby for healthier Dill and better harvests.

Keep Away From
Companion Planting Details
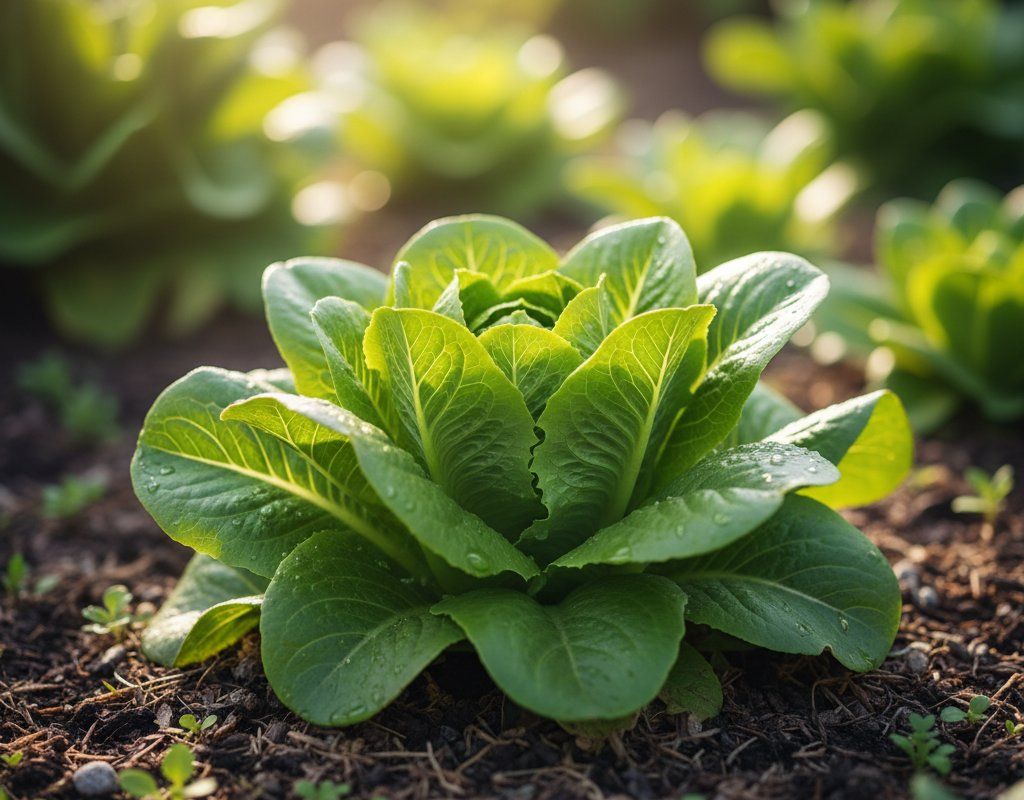
Dill makes an excellent companion for cabbage family crops like broccoli and kale, as it attracts beneficial wasps that prey on cabbage worms – particularly useful in our pest-friendly mountain growing conditions. Plant dill near cucumbers to improve their flavor and potentially deter cucumber beetles, though keep plantings somewhat separate since cucumber vines can overwhelm delicate dill stems. Lettuce benefits from dill's light shade during our intense midday sun, while onions planted nearby help deter aphids with their strong scent.
Avoid planting dill near carrots, as they can cross-pollinate and produce bitter carrots, and the plants compete for similar nutrients in our often-lean mountain soils. Keep dill away from tomatoes too – some gardeners report that dill can inhibit tomato growth, and given our short growing season, you don't want anything slowing down heat-loving crops like tomatoes that already struggle to mature before our early fall frosts.
🌸Best Flowers to Plant with Dill
These flowers protect your Dill from pests and attract pollinators for better harvests.
For Pest Control




Get a Reminder When It's Time to Plant
We'll email you when key planting windows open for your zone.