Dill in Zone 6A — Southeast
Anethum graveolens · Your Complete 2026 Planting Guide
Planning Ahead — Great!
You’re ahead of the season. Here’s when to start.
Mark Your Calendar
How to Plant Dill in Zone 6A — Southeast
Here are all your options for getting dill in the ground, from the easiest method to more advanced approaches.
Direct Sow Seeds
RecommendedEarly April through early September
around April 10
Consider succession planting every 2-3 weeks for continuous harvest.
Dill has a taproot and prefers direct sowing, but transplants work if handled carefully.
Start Seeds Indoors
RecommendedMid March through early April
around March 20
Then transplant: Mid April through late May
Start seeds 4-6 weeks before transplanting outdoors.
Buy Starts
Works WellMid April through late May
around April 17
Plant purchased starts after last frost (April 10).
Transplant Outdoors
Timing InfoMid April through late May
around April 17
Can tolerate light frost, but wait for soil to be workable.
You have a nice window — no need to rush.
Fall Planting
Late August through late September
September 13 ideal · Direct sow for fall harvest
Plant a second crop in mid-summer for fall harvest. Dill actually prefers the cooling temperatures of fall.
Overview
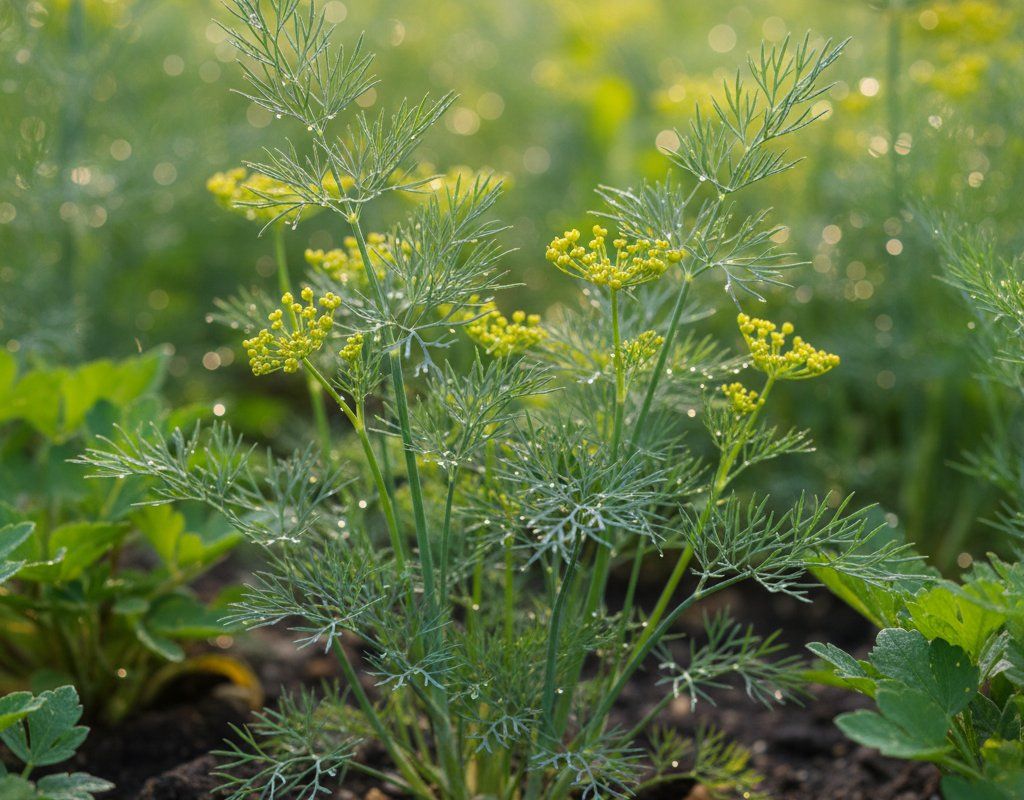
Growing dill in our Zone 6A Southeast climate gives you one of the most versatile herbs for pickling, cooking, and seed production. The feathery foliage adds delicate flavor to summer vegetables, while the umbrella-shaped flower heads produce aromatic seeds perfect for preserving our abundant cucumber harvests. Our hot, humid summers can be challenging for dill, but the herb thrives in our moderate spring weather and extended fall season.
Your 198-day growing season means multiple succession plantings from early spring through late summer. While our intense summer heat and humidity create some timing considerations, dill's quick 40-day maturity lets you work around the hottest months. Plan for spring and fall crops when temperatures are more moderate, and you'll have fresh dill for months.
Starting Seeds Indoors
Starting dill seeds indoors makes sense when you want precise timing for transplants or need to get ahead of the season. Sow seeds in seed trays from mid-March through early April, about 4 weeks before your intended transplant date. The moderate spring weather in our region means indoor starting isn't absolutely necessary, but it gives you control over germination conditions.
Set up your seed trays in a warm location (65-70°F) with bright light once seedlings emerge. Bottom watering works better than overhead watering to prevent damping-off disease, which can be problematic in our humid conditions. Dill has a taproot that doesn't love disturbance, so consider starting in deeper cells or peat pots that can go directly in the ground.
Keep seedlings slightly on the dry side compared to other herbs – dill prefers good drainage and can sulk in overly moist conditions that might suit basil or parsley better.
Transplanting Outdoors
Transplant your indoor-started dill seedlings outdoors from mid-April through late May, after your last frost risk passes in early April. Harden off seedlings gradually over a week by placing them outside for increasing periods each day. Start with 2-3 hours of morning sun and work up to full outdoor exposure.
Space transplants 12 inches apart in your garden bed. Dill's upright growth habit and feathery foliage need good air circulation, especially important in our humid Southeast climate where fungal issues can develop quickly. Handle transplants carefully since dill's taproot doesn't appreciate being disturbed.
Plant on a calm day when afternoon thunderstorms aren't predicted. Our spring weather can be unpredictable, so watch for late cold snaps that might stress newly transplanted seedlings. A light row cover can protect transplants during unexpected temperature drops.
Direct Sowing
Direct sowing works excellently for dill and avoids transplant shock that can stress the taproot. Sow seeds from early April through early September, though you'll get the best results during our cooler spring and fall periods. Summer sowings often bolt quickly in the heat, so time them for late August when temperatures start moderating.
Prepare your soil by loosening it to about 6 inches deep – important in our heavy clay soils where drainage can be challenging. Dill seeds need good soil contact but shouldn't be buried deep. Scatter seeds and barely cover with a light dusting of soil or compost.
Space seeds about 12 inches apart, or sow more densely and thin later. Direct-sown dill typically establishes faster than transplants since the taproot develops without disturbance. In our clay soil conditions, consider adding compost to improve drainage and prevent seeds from rotting in waterlogged conditions during heavy spring rains.
Watering Dill in Zone 6A (Southeast)
Dill needs consistent but moderate moisture, especially important during our hot, humid summers when the plant easily becomes stressed. Water deeply once or twice per week, providing about 1 inch total including rainfall. Use the finger test – check soil moisture 2 inches deep before watering. If it's still moist, wait another day or two.
Water at the base of plants rather than overhead to reduce disease pressure in our humid climate. Overhead watering on dill's feathery foliage creates perfect conditions for fungal problems when combined with our high humidity and warm nights. Soaker hoses or drip irrigation work particularly well for herb gardens in the Southeast.
During our wet summer months with frequent afternoon thunderstorms, you may need to water very little or not at all. Monitor rainfall and adjust accordingly – our 45-55 inches of annual rainfall means overwatering is often more problematic than underwatering. Signs of overwatering include yellowing lower leaves and soft, mushy stems.
Apply 2-3 inches of organic mulch around plants to maintain soil moisture and keep roots cool during summer heat. Pine straw works well in our region and helps shed excess moisture during heavy rains while still conserving water during dry spells.
🧪Fertilizing Dill
Feeding Schedule
Organic Fertilizer Options
Harvest Time
Begin harvesting dill leaves about 40 days after planting, typically starting in mid-May for spring-sown crops and continuing through early November with succession plantings. Cut individual fronds when they're 4-6 inches tall, or harvest entire plants by cutting stems near ground level. Fresh growth will continue from the base if you don't cut too aggressively.
For fresh use, harvest in early morning after dew dries but before afternoon heat intensifies. The leaves have the strongest flavor just before the plant flowers. Once flower heads appear, leaf production slows and flavor becomes less intense, but you can still use them for cooking.
To harvest dill seeds, let flower heads mature and turn brown, usually 2-3 weeks after flowering. Cut entire seed heads into a paper bag and shake to release seeds. This timing works well with our long growing season – spring-planted dill can produce seeds by midsummer, while late summer plantings provide seeds before our first frost in late October.
Make succession plantings every 2-3 weeks from early spring through late summer to ensure continuous harvests. This approach works especially well in our climate since single plantings often bolt quickly during hot spells, giving you better overall production throughout the growing season.
Common Problems in Zone 6A (Southeast)
Bolting shows up as a sudden tall flower stalk shooting up from the center of the plant, often when you thought you had weeks of leaf harvest left. The feathery leaves become bitter and tough once flowering begins. In our hot, humid Southeast climate, dill bolts quickly when temperatures consistently hit the upper 80s and 90s, especially during long summer days combined with drought stress.
Plant dill during cooler periods – early spring and late summer work best in our region. Provide afternoon shade during the hottest months and keep soil consistently moist but not waterlogged. Choose slower-bolting varieties like 'Fernleaf' for summer plantings, though even these struggle in peak summer heat.
Aphids appear as clusters of tiny green, black, or white insects on new growth and flower buds, leaving behind sticky honeydew that attracts ants. You'll notice curled or distorted leaves and stunted growth. These sap-suckers multiply rapidly in our warm, humid conditions, and ant colonies often farm them for the sweet honeydew they produce.
Blast aphids off with a strong water spray early in the day so plants can dry before evening humidity sets in. Encourage beneficial insects like ladybugs and lacewings by avoiding broad-spectrum insecticides. For heavy infestations, use insecticidal soap or neem oil, applying in early morning or evening to prevent leaf burn in intense sun.
Caterpillars, particularly parsley worms (black swallowtail larvae), can quickly defoliate dill plants. These large green caterpillars with black bands and yellow dots are actually beneficial butterfly larvae, but they can consume entire plants if populations are high. You'll see large irregular holes in leaves and dark droppings on foliage.
Hand-pick caterpillars if you only see a few – they're easy to spot and remove. For larger infestations, Bt (Bacillus thuringiensis) provides organic control without harming beneficial insects. Consider this nature's balance and plant extra dill to share with the butterflies, especially since black swallowtails are beautiful additions to Southeast gardens.
Southeast Specific Challenges: Our combination of intense summer heat, high humidity, and heavy rainfall creates perfect conditions for rapid disease development and pest multiplication. The key to success with dill is timing plantings for our more moderate spring and fall weather, ensuring excellent drainage in clay soils, and providing good air circulation to prevent fungal issues during humid periods.
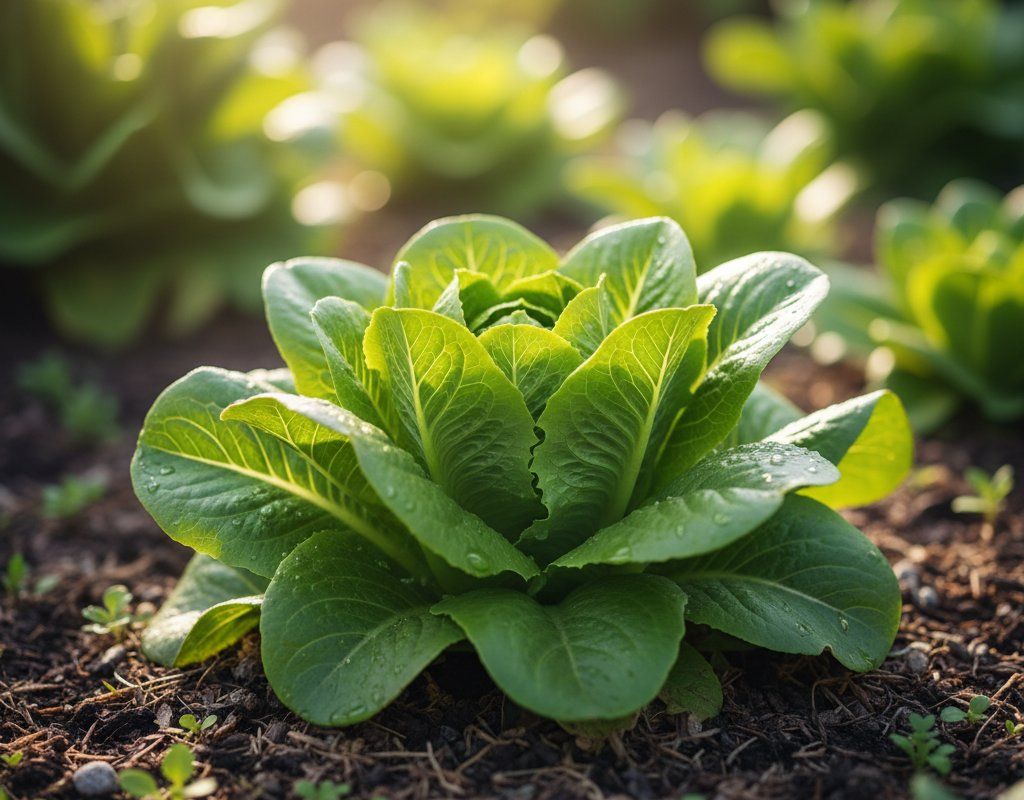
Best Companions for Dill
Plant these nearby for healthier Dill and better harvests.

Keep Away From
Companion Planting Details
Plant dill near cabbage family crops like broccoli, cauliflower, and cabbage – the herb's strong scent helps repel cabbage worms and other brassica pests that can be problematic in our humid climate. Cucumbers make excellent companions since you'll likely be making pickles with both crops, and dill's flowers attract beneficial insects that help with cucumber beetle control. Onions and dill work well together because onions' sulfur compounds complement dill's pest-repelling properties.
Avoid planting dill near carrots, as both are in the same family and compete for similar nutrients, often resulting in poor growth for both crops. Keep dill away from tomatoes since the herb can inhibit tomato growth and attract hornworms, which can devastate tomato plants in our long, warm growing season. The strong scent that makes dill useful for pest control can sometimes work against neighboring plants that need different beneficial insects.
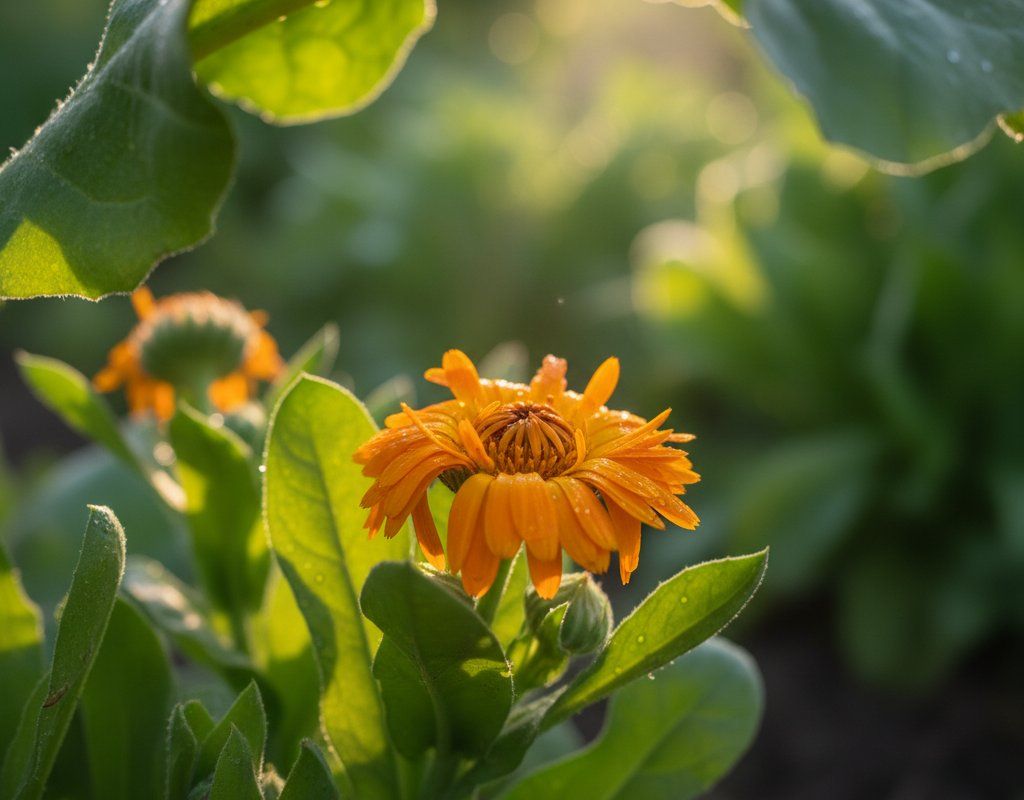
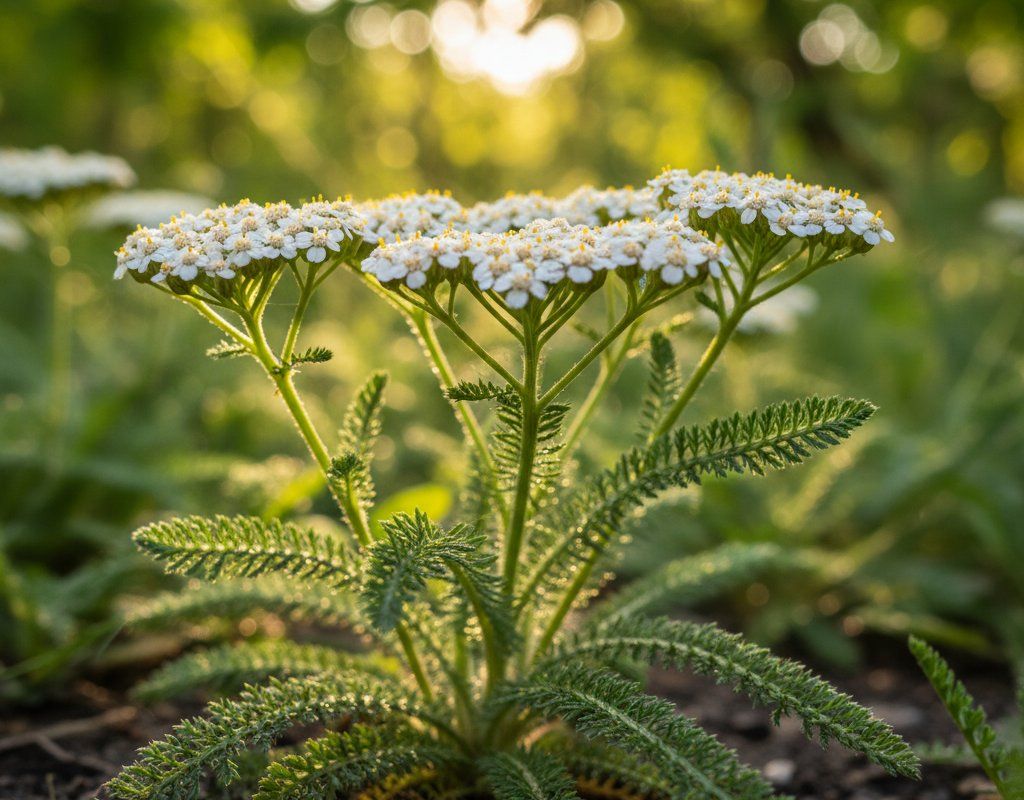
🌸Best Flowers to Plant with Dill
These flowers protect your Dill from pests and attract pollinators for better harvests.
For Pest Control


Get a Reminder When It's Time to Plant
We'll email you when key planting windows open for your zone.