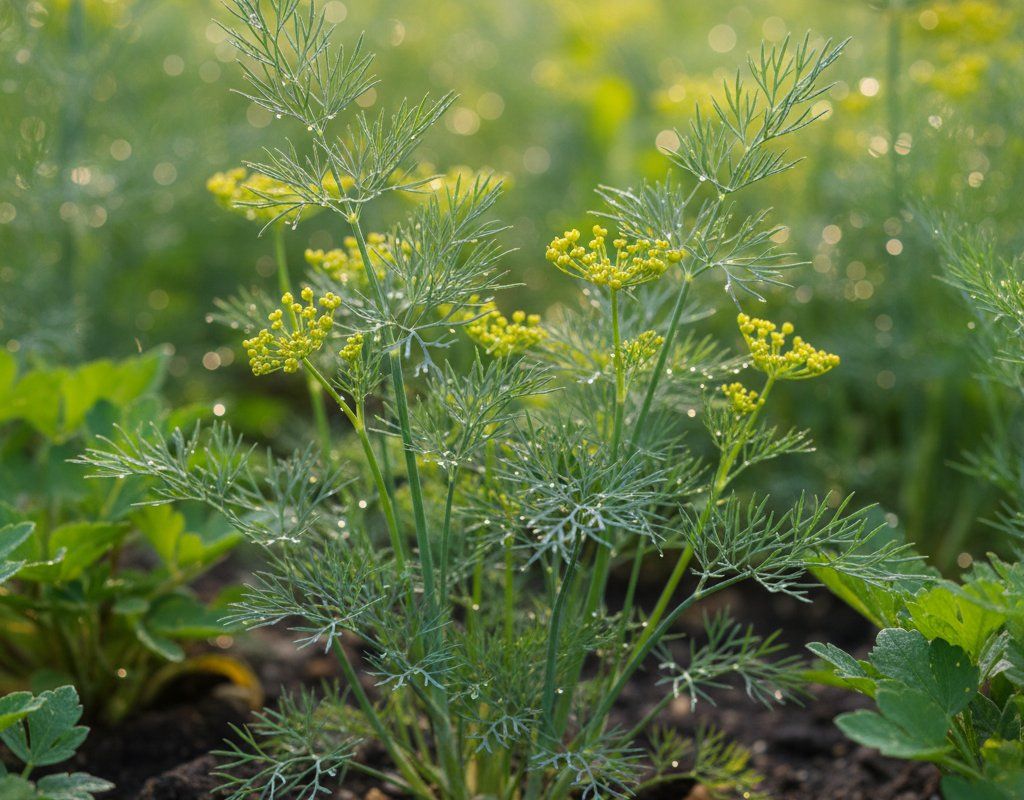
Dill in Zone 9B — Gulf Coast
Anethum graveolens · Your Complete 2026 Planting Guide
Time to Buy Starts!
Seed starting window passed, but starts are available now.
Buy Starts Now
Head to your local nursery, Home Depot, or farmers market for transplants.
- Look for stocky plants with dark green leaves
- Avoid leggy seedlings or plants already flowering
- Check that roots aren't circling the pot (rootbound)
How to Plant Dill in Zone 9B — Gulf Coast
Here are all your options for getting dill in the ground, from the easiest method to more advanced approaches.
Direct Sow Seeds
RecommendedLate January through late October
around January 30
Consider succession planting every 2-3 weeks for continuous harvest.
Dill has a taproot and prefers direct sowing, but transplants work if handled carefully.
Start Seeds Indoors
RecommendedEarly to late January
around January 9
Then transplant: Early February through mid March
Start seeds 4-6 weeks before transplanting outdoors.
Buy Starts
Works WellEarly February through mid March
around February 6
Plant purchased starts after last frost (January 30).
Transplant Outdoors
Timing InfoEarly February through mid March
around February 6
Can tolerate light frost, but wait for soil to be workable.
You have a nice window — no need to rush.
Fall Planting
Mid October through mid November
November 3 ideal · Direct sow for fall harvest
Plant a second crop in mid-summer for fall harvest. Dill actually prefers the cooling temperatures of fall.
Overview
Dill thrives in our Gulf Coast climate, offering that distinctive tangy flavor that transforms everything from fresh salads to pickled vegetables. Here in Zone 9B, you can grow dill almost year-round, taking advantage of our mild winters and long growing season. The herb's delicate, feathery foliage adds texture to your garden while providing continuous harvests of both fresh leaves and aromatic seeds.
Our high humidity and intense summer heat do present challenges for dill, as it tends to bolt quickly when temperatures soar. However, with our 319-day growing season, you can easily work around this by focusing on spring and fall plantings when conditions are more favorable. The key is timing your plantings to avoid the worst of our summer heat while maximizing those cooler months.
Starting Seeds Indoors
Starting dill indoors isn't the most common approach, but it makes sense during our early spring window when you want to get a jump on the season. Start seeds indoors from early to late January, about 4 weeks before you plan to transplant outdoors. This timing works well with our early spring character, allowing you to have established plants ready when conditions become ideal.
Set up your seed trays with quality potting mix and keep them warm - around 65-70°F works perfectly. Dill seeds need consistent moisture, so bottom watering helps prevent damping off while maintaining even soil moisture. Place trays under grow lights or in a bright, south-facing window.
Keep in mind that dill has a taproot and doesn't love being transplanted, though it can be done successfully with care. Many Gulf Coast gardeners find direct sowing more reliable, but indoor starting gives you better control during those unpredictable January weather swings we often experience.
Transplanting Outdoors
Transplant your indoor-started dill seedlings outdoors from early February through mid-March, when our spring weather begins to stabilize. This timing avoids both our occasional late January cold snaps and the rapid warming that can stress newly transplanted seedlings.
Harden off your transplants gradually over a week, starting with just a few hours of outdoor exposure and working up to full days. This process is especially important in our Gulf Coast climate where the transition from indoor conditions to our high humidity can shock plants. Space transplants 12 inches apart to allow for good air circulation, which helps prevent the fungal issues common in our humid environment.
Handle the root systems gently when transplanting, as dill's taproot doesn't appreciate disturbance. Water thoroughly after planting but avoid overwatering in our naturally moist climate. A light application of mulch helps retain consistent moisture while keeping soil temperatures moderate during our sometimes unpredictable spring weather patterns.
Direct Sowing
Direct sowing is often the preferred method for dill in the Gulf Coast, as it eliminates transplant shock and allows the taproot to develop naturally. You have an extended planting window from late January through late October, though spring and fall plantings perform best in our climate.
Prepare your planting area by working compost into well-draining soil - this is crucial since our wet year-round rainfall can create soggy conditions that dill doesn't appreciate. Sow seeds about ¼ inch deep and 12 inches apart, or plant more densely and thin later. The soil temperature should be at least 60°F, which happens reliably by late January in our zone.
For continuous harvests, succession plant every 2-3 weeks during the cooler months. Skip summer direct sowing unless you can provide afternoon shade, as our intense heat and humidity cause rapid bolting. Fall plantings from mid-October through mid-November often produce the best results, taking advantage of our excellent fall growing conditions when disease pressure decreases and temperatures moderate.
Watering Dill in Zone 9B (Gulf Coast)
Dill needs moderate, consistent moisture in our Gulf Coast climate, but our abundant rainfall often provides more water than necessary. During our wet season, you may need to water very little, focusing instead on ensuring good drainage to prevent root rot. Check soil moisture by inserting your finger 2 inches deep - if it's dry at that depth, it's time to water.
During drier periods, provide about 1 inch of water per week, including rainfall. Water at the base of plants rather than overhead to minimize fungal disease risks in our very high humidity. Our afternoon thunderstorms often provide sufficient moisture, but watch for extended dry spells, especially during fall and winter when dill is actively growing.
In summer, dill bolts quickly regardless of watering, so focus your efforts on spring and fall crops when moderate watering actually makes a difference. Overwatering in our clay-heavy soils can be more problematic than underwatering, leading to root rot and poor growth.
Apply a light layer of organic mulch around plants to maintain consistent soil moisture and moderate temperature swings. This is particularly helpful during our unpredictable spring weather when temperatures can fluctuate dramatically within a few days.
🧪Fertilizing Dill
Feeding Schedule
Organic Fertilizer Options
Harvest Time
Your first dill harvest typically begins from mid-March through late December, depending on when you planted. With our 40-day maturity period, spring plantings are ready by early to mid-March, while fall plantings continue producing well into winter thanks to our mild conditions.
Harvest the feathery leaves anytime once plants are 4-6 inches tall by cutting outer stems at the base. For continuous production, avoid cutting more than one-third of the plant at once. The younger, tender leaves have the best flavor, especially important in our climate where heat can make foliage tough and bitter quickly.
For dill seeds, allow flower heads to develop and wait until they turn brown and dry - usually 90-120 days from planting. Cut the seed heads on a calm day and shake them into a paper bag to collect the seeds. This timing works well with fall plantings that mature during our mild winter months.
As our first frost approaches around mid-December, harvest remaining plants completely. You can dry excess foliage for winter use or preserve seeds for next year's plantings, though fresh dill is often available year-round with successive plantings in our extended growing season.
Common Problems in Zone 9B (Gulf Coast)
Bolting appears as a sudden tall flower stalk shooting up from the center of your dill plant, causing leaves to become bitter and production to cease. In our Gulf Coast climate, bolting happens rapidly once temperatures consistently hit the upper 80s and 90s, combined with our long summer days. The intense heat and humidity stress trigger the plant's reproductive cycle prematurely. To prevent bolting, time plantings for cooler months, provide afternoon shade during warm spells, and maintain consistent soil moisture. Choose slow-bolt varieties when available and succession plant every 2-3 weeks for continuous harvests rather than fighting our summer heat.
Aphids show up as clusters of tiny green, black, or white insects on stems and leaf undersides, often accompanied by sticky honeydew residue and curled new growth. Our warm, humid climate creates ideal breeding conditions for these sap-sucking pests, and their populations explode quickly in our long growing season. Knock them off with a strong water spray from your hose, encourage beneficial insects like ladybugs, or apply insecticidal soap for heavy infestations. Avoid over-fertilizing with nitrogen, which makes plants more attractive to aphids and is often unnecessary given our naturally fertile soils.
Caterpillars, particularly parsley worms (black swallowtail larvae), chew holes in dill foliage and can defoliate plants quickly. These distinctive green caterpillars with black stripes and yellow spots are actually beneficial butterfly larvae, common throughout our region. Hand-pick them if damage is severe, or consider sharing your crop since they'll eventually become beautiful butterflies. For serious infestations, Bt (Bacillus thuringiensis) provides organic control without harming beneficial insects.
Gulf Coast Specific Challenges: Our extreme humidity creates perfect conditions for fungal diseases, while our wet year-round rainfall can cause root rot in poorly draining soils. Hurricane season brings additional stress through high winds and excessive moisture, often requiring replanting. The combination of heat and humidity also accelerates pest reproduction cycles, making regular monitoring essential for successful dill production.
Best Companions for Dill
Plant these nearby for healthier Dill and better harvests.

Keep Away From
Companion Planting Details
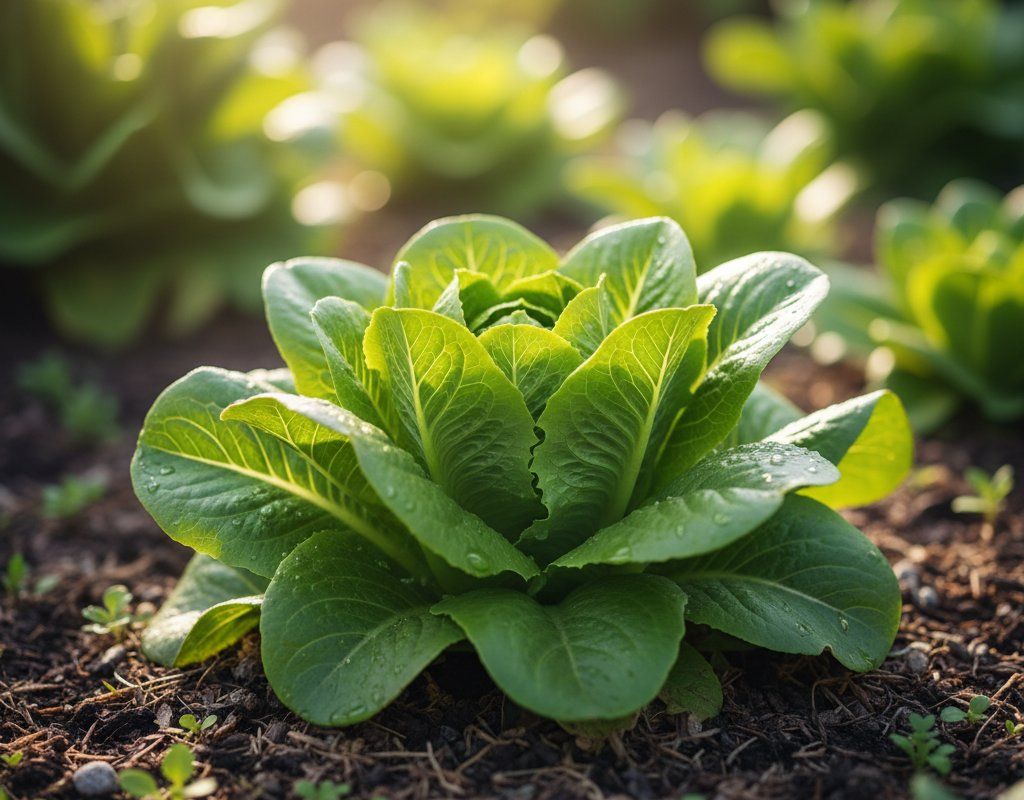
Plant dill near cabbage family crops like broccoli, cauliflower, and Brussels sprouts - the herb's strong scent helps deter cabbage worms while attracting beneficial wasps that parasitize pest caterpillars. Cucumbers benefit from dill's pest-repelling properties, and the combination works especially well in our humid climate where both crops appreciate good air circulation. Lettuce and other cool-season greens make excellent companions since they share similar growing seasons and water requirements during our mild winters and springs.
Avoid planting dill near carrots, as it can cross-pollinate and affect flavor, or near tomatoes, which have different water and nutrient needs that don't align well with dill's preferences. In our Gulf Coast gardens where space is often at a premium and succession planting is key, focus on companions that share harvest timing and growing requirements rather than trying to manage crops with vastly different needs in our challenging climate.
🌸Best Flowers to Plant with Dill
These flowers protect your Dill from pests and attract pollinators for better harvests.
For Pest Control




Get a Reminder When It's Time to Plant
We'll email you when key planting windows open for your zone.