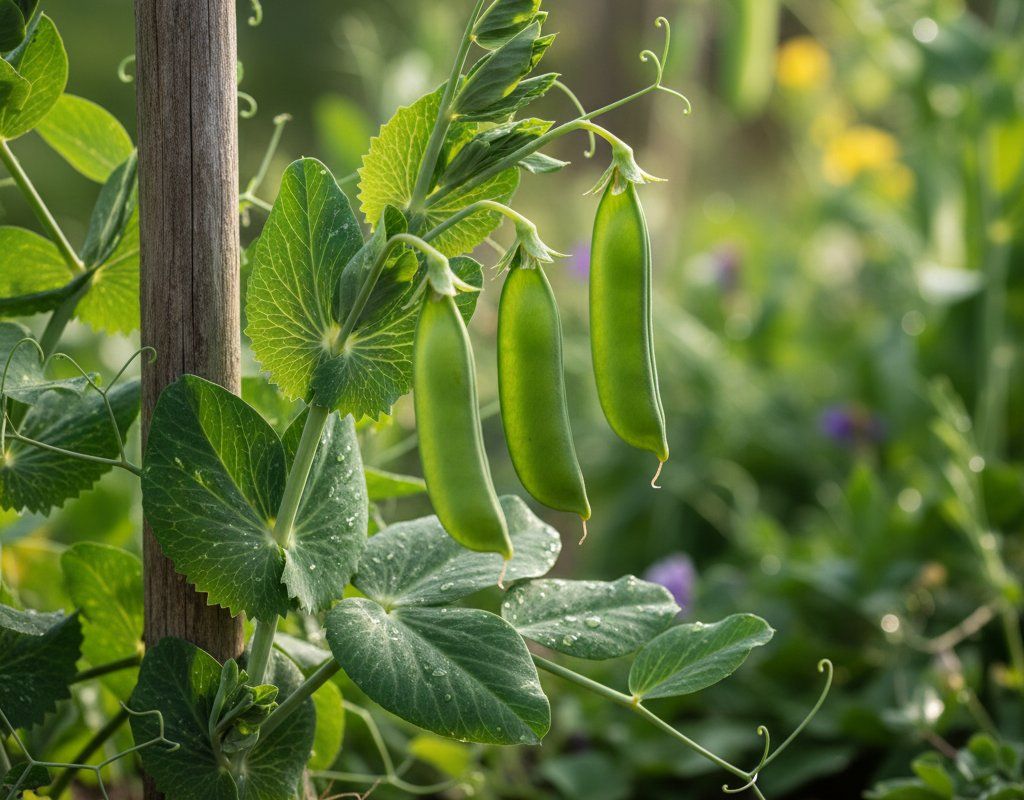
Peas in Zone 3A — Mountain West
Pisum sativum · Your Complete 2026 Planting Guide
Planning Ahead — Great!
You’re ahead of the season. Here’s when to start.
Mark Your Calendar
How to Plant Peas in Zone 3A — Mountain West
Here are all your options for getting peas in the ground, from the easiest method to more advanced approaches.
Direct Sow Seeds
RecommendedMid April through late June
around April 20
Consider succession planting every 2-3 weeks for continuous harvest.
Peas prefer cool soil and don't transplant well. Direct sow in early spring.
Buy Starts
Works WellEarly May through early June
around May 4
Plant purchased starts after last frost (June 1).
Start Seeds Indoors
ChallengingThis plant is typically not started indoors.
Transplant Outdoors
Timing InfoEarly May through early June
around May 4
Can tolerate light frost, but wait for soil to be workable.
You have a nice window — no need to rush.
Fall Planting
Mid June through mid July
July 4 ideal · Direct sow for fall harvest
Plant a second crop in mid-summer for fall harvest. Peas actually prefers the cooling temperatures of fall.
Overview
Peas are a Mountain gardener's dream crop, thriving in our cool nights and moderate-at-altitude summers while delivering that sweet, crisp flavor that store-bought peas simply can't match. Our intense sunlight combined with cool evening temperatures creates perfect conditions for sugar concentration, giving you pods that snap with flavor and garden-fresh sweetness that makes the short walk to your kitchen worthwhile.
While our 96-day growing season and potential for late spring cold snaps might seem challenging, peas actually prefer cool weather and can handle frost better than most vegetables. The key is understanding that our Mountain timing works perfectly with peas' natural preferences—they'll struggle in July heat elsewhere but flourish in our moderate summer temperatures and cool nights even when other gardeners are watching their pea plants fade.
Transplanting Outdoors
Transplanting peas isn't typically necessary since they prefer direct sowing, but if you've started seeds indoors or purchased transplants, plan to move them outdoors from early May through early June. Peas are hardy enough to handle light frosts, making them one of your safer early transplants in our unpredictable Mountain spring weather.
Give transplants a full week of hardening off, gradually increasing their outdoor exposure to help them adjust to our intense UV and temperature swings. Space plants 2-4 inches apart in rows, ensuring good air circulation which helps prevent disease in our low humidity climate.
Watch for those sudden late spring snowstorms that can surprise new Mountain gardeners—while peas can handle frost, a heavy wet snow might damage young transplants, so have row covers ready during that transitional period from mid to late May.
Direct Sowing
Direct sowing is absolutely the way to go with peas in our Mountain climate, giving you the best germination rates and strongest plants. Sow seeds from mid April through late June, taking advantage of our extended cool season that lets you succession plant longer than gardeners in hotter climates.
Peas actually prefer cool soil and will germinate in soil temperatures as low as 40°F, perfect for our spring conditions. Work compost into your planting area and sow seeds 2-4 inches apart, about 1-2 inches deep in heavy soil or 2 inches deep in lighter soil. Our alkaline soil benefits from that compost addition, and the organic matter helps retain moisture in our dry climate.
The beauty of direct sowing peas here is that you can start early without worrying about transplant shock, and continue sowing every two weeks through mid summer for continuous harvests. Late June plantings will mature in our cool early fall weather, often producing better quality pods than stressed summer crops in hotter regions.
Watering Peas in Zone 3A (Mountain West)
Peas need consistent moisture but not waterlogged soil, which can be tricky in our dry Mountain climate where we typically receive only 10-20 inches of annual rainfall. Aim for about 1 inch of water per week, but pay close attention during flowering and pod development when even brief dry spells can cause poor pod set and tough, starchy peas.
Use the finger test regularly—stick your finger 2 inches into the soil, and if it's dry at that depth, it's time to water. Our low humidity means surface soil dries quickly, but you want consistent moisture deeper where the roots are feeding. Water at the base of plants rather than overhead, since our dry air means foliar watering evaporates quickly and doesn't provide the deep soaking peas need.
During our moderate summer heat (typically reaching 85°F), you'll likely need to water 2-3 times per week, especially when pods are filling. Watch for signs of stress: wilting during the hottest part of the day is normal, but if leaves stay droopy into the cool evening hours, increase your watering frequency. Overwatering shows up as yellowing lower leaves and poor growth—our clay-heavy soils in many Mountain areas can hold too much moisture if you're not careful.
A 2-3 inch layer of organic mulch helps retain moisture and keeps roots cool during our intense midday sun, but keep mulch a few inches away from the base of plants to prevent moisture-related diseases in our low humidity climate where air circulation is crucial.
Supporting Your Peas
Even dwarf pea varieties benefit from some support in our Mountain winds, and tall varieties absolutely need a sturdy trellis system to handle both our occasional strong gusts and the weight of a good harvest. Install support at planting time—a 4-6 foot tall fence, string trellis, or traditional pea brush works well and saves you from disturbing roots later.
Simple string trellises work beautifully here: drive stakes every 6-8 feet and run horizontal strings every 6 inches up to your desired height. Peas climb by wrapping their tendrils around support, so anything they can grab—twine, netting, or even dead brush from pruning—gives them what they need to climb toward our intense Mountain sun.
Train young plants by gently wrapping tendrils around your support when they're 4-6 inches tall. After that, they'll find their own way up, and you'll appreciate having easy access for harvesting without trampling through the garden bed—especially important when morning dew makes everything slippery at our altitude.
🧪Fertilizing Peas
Feeding Schedule
Organic Fertilizer Options
Harvest Time
Your first peas should be ready from mid June through mid September, with most varieties hitting that sweet spot about 60 days from sowing. The beauty of Mountain pea growing is that our cool nights keep pods tender longer, giving you a wider harvest window than gardeners dealing with heat stress in other regions.
For shell peas, harvest when pods are plump and you can see the round outline of peas inside, but before the pods turn yellow or feel tough. The best test is to sample a pod—properly timed peas should be sweet and tender, not starchy. For snap peas, pick them when pods are crisp and peas inside are still small, usually when pods are 2-3 inches long.
Harvest daily during peak season, which encourages continued production and prevents pods from becoming tough and over-mature. Use both hands—hold the vine with one hand while picking with the other to avoid pulling plants loose from their support. This daily attention pays off with weeks of fresh peas rather than a single large harvest.
As our first frost approaches in early September, watch the weather forecast and plan a final harvest. Unlike tomatoes, peas won't continue ripening off the vine, so pick everything ready before that first killing frost ends your season. The last few pickings often provide the sweetest peas as cool nights concentrate sugars.
Common Problems in Zone 3A (Mountain West)
Powdery Mildew White or grayish powdery coating appears on leaves and stems, starting on older leaves and spreading upward. Leaves curl, yellow, and eventually die, reducing plant vigor and harvest quality. This fungal disease thrives in our Mountain conditions where warm days and cool nights create perfect humidity levels, even in our generally dry climate.
Our moderate summer temperatures and cool nights actually favor powdery mildew development, unlike most fungal problems that prefer consistently warm, humid conditions. Improve air circulation by proper spacing (don't crowd plants) and remove affected leaves immediately. A simple milk spray—1 part milk to 9 parts water—applied weekly works surprisingly well and fits with organic growing practices many Mountain gardeners prefer.
Pea Aphids Small, soft-bodied green insects cluster on new growth and under leaves, causing leaves to curl and yellow while secreting sticky honeydew that attracts ants. Heavy infestations can stunt plants and reduce pod production, particularly problematic during our short growing season when every productive week counts.
These aphids multiply quickly in our moderate temperatures and low humidity, often appearing suddenly when conditions are right. Spray them off with a strong stream of water in the morning so plants can dry before our cool nights. Beneficial insects like ladybugs and lacewings help control populations, but may need time to establish in new Mountain gardens.
Root Rot Plants appear stunted with yellowing leaves that progress from bottom up, and roots appear brown or black instead of healthy white. This occurs in heavy, waterlogged soil, which can happen in our clay-heavy Mountain soils during wet springs or with overwatering in our low-drainage areas.
Our alkaline soils often have drainage issues, especially in areas with heavy clay content common in many Mountain valleys. Improve drainage by adding compost and avoiding overwatering—remember, our dry air makes surface soil look drier than root-level soil. Plant in raised beds or mounded rows if your soil holds water after our occasional heavy spring rains.
Mountain West Specific Challenges Our intense UV at altitude can stress pea plants during the hottest part of summer days, while hail storms can shred tender leaves and pods in minutes. Consider row covers during hail season and provide some afternoon shade during July heat if plants show stress, though our moderate temperatures usually keep peas comfortable through summer.
Best Companions for Peas
Plant these nearby for healthier Peas and better harvests.

Keep Away From
Companion Planting Details
Peas make excellent companions for cool-season root crops that appreciate the nitrogen peas fix in the soil. Plant carrots and radishes nearby—the peas' climbing habit provides light shade for these root vegetables during intense midday sun, while their different root depths mean they don't compete for nutrients. Turnips also benefit from pea companionship and can be harvested before peas reach full size.
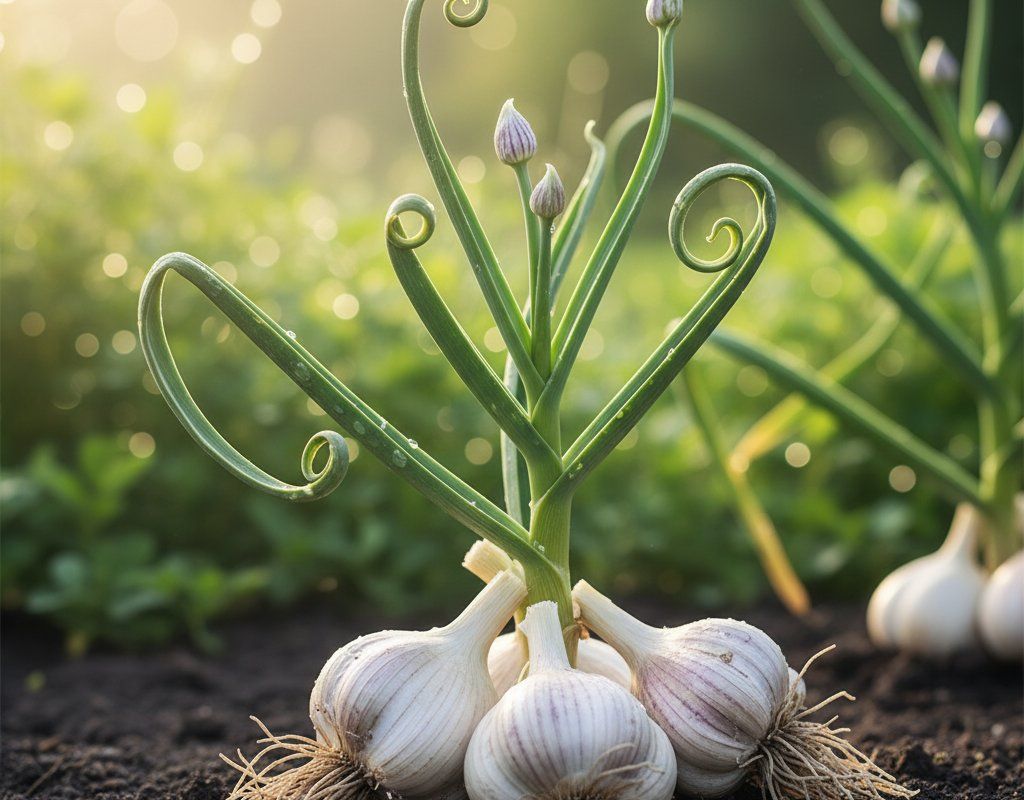
Corn works as a later-season companion since it grows tall enough to provide afternoon shade for peas during our hottest summer days, though plan your timing carefully given our short season. Avoid planting onions and garlic near peas, as these alliums can inhibit pea growth and reduce nitrogen fixation—save those strong-flavored crops for other areas of your Mountain garden where they can do their work keeping pests away without interfering with your pea harvest.
🌸Best Flowers to Plant with Peas
These flowers protect your Peas from pests and attract pollinators for better harvests.
For Pest Control

For Pollinators

Get a Reminder When It's Time to Plant
We'll email you when key planting windows open for your zone.