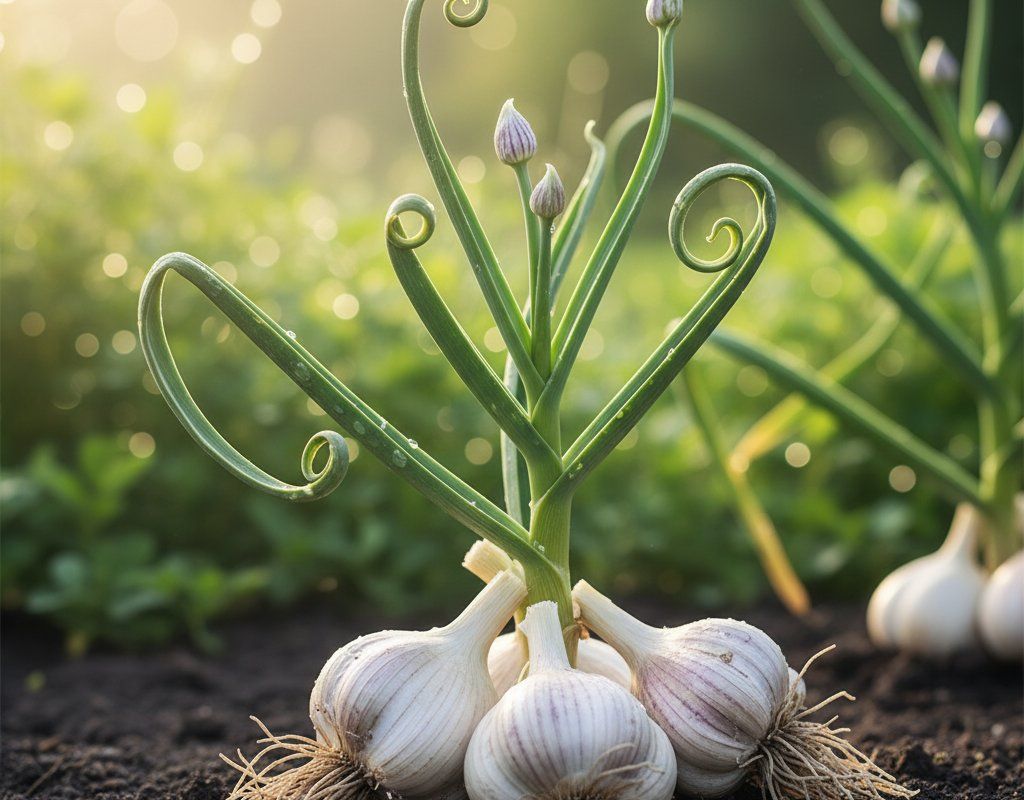
Garlic in Zone 3A — Mountain West
Allium sativum · Your Complete 2026 Planting Guide
Too Late for Garlic
Not enough growing season left (need 254 days, only 185 remain)
📊 See the math
How to Plant Garlic in Zone 3A — Mountain West
Here are all your options for getting garlic in the ground, from the easiest method to more advanced approaches.
Direct Sow Seeds
RecommendedDirect sowing is not typical for Garlic.
Plant cloves directly in fall, 4-6 weeks before ground freezes. Harvests the following summer.
Buy Starts
Works WellLate August through mid September
around August 25
Plant purchased starts after last frost (June 1).
Start Seeds Indoors
ChallengingThis plant is typically not started indoors.
Transplant Outdoors
Timing InfoLate August through mid September
around August 25
Can tolerate light frost, but wait for soil to be workable.
Plan to transplant within a few weeks of your target date.
Overview
Garlic grown in our Mountain West zone delivers an intensity and complexity that store-bought bulbs simply can't match. The cool nights even in summer, combined with our intense sunlight at altitude, concentrate the flavors beautifully while the dry air reduces disease pressure that plagues garlic growers in humid regions. You'll harvest bulbs with crisp, papery skins and cloves that store well into the following spring.
While our 96-day growing season might seem restrictive, garlic actually thrives in our short-season, high-altitude conditions. The key is understanding that garlic needs a long, cold winter to form proper bulbs, making our reliable cold snaps and late spring timing perfect for this crop. Plant in fall, let winter do its work, and enjoy the reward when the snow finally melts.
Transplanting Outdoors
Actually, garlic isn't transplanted - it's direct-sown from cloves in late August through mid-September, right as our nights start getting consistently cool. You want to plant about 6-8 weeks before the ground freezes hard, giving the cloves time to develop roots but not shoot up green growth that could get damaged by our intense winter cold.
Choose the largest, healthiest cloves from your seed garlic and plant them pointed-end up, about 2 inches deep and 4-6 inches apart. In our alkaline soil, work in some compost or sulfur to lower the pH slightly if needed. The timing is forgiving - anytime within that late August to mid-September window works well, but earlier is generally better at our altitude.
Cover your newly planted garlic bed with a thick layer of straw mulch before winter hits. This protects against temperature swings and helps retain moisture during our dry spring months when the shoots first emerge.
Watering Garlic in Zone 3A (Mountain West)
Garlic needs consistent moisture through its spring growth phase, but our dry Mountain climate means you'll need to be more attentive than gardeners in wetter regions. From when shoots emerge in early spring until about three weeks before harvest, aim for about 1 inch of water per week, including any natural precipitation we might get.
Use the finger test regularly - stick your finger 2 inches down into the soil near the plants. If it's dry at that depth, it's time to water. Water at the base of the plants rather than overhead, which works perfectly with our low humidity since you won't need to worry about quick evaporation from leaves like you would in muggy climates.
Watch for signs of stress in our intense sun - yellowing or browning leaf tips often indicate underwatering, while yellowing from the bottom up suggests overwatering or poor drainage. Our well-draining mountain soils rarely have drainage issues, so yellowing usually means too much water.
Stop watering completely 2-3 weeks before harvest when you notice the lower third of leaves browning. This allows the bulbs to cure properly in the ground. A layer of straw mulch helps retain consistent soil moisture and reduces watering frequency in our dry conditions.
Pruning & Maintaining Garlic
Hardneck garlic varieties (which perform best in our zone) will send up curly flower stalks called scapes in early to mid-summer. Cut these off when they form one complete curl - this redirects the plant's energy back into bulb development instead of flower production. Don't waste those scapes though; they're delicious sautéed or added to stir-fries with a mild garlic flavor.
Remove any yellowing or damaged leaves throughout the growing season, but leave healthy green foliage alone since the plants need those leaves to photosynthesize and build bulb size. The intense UV at our altitude can sometimes cause leaf tip burn, which you can trim off without harming the plant.
As harvest approaches in late spring, resist the urge to cut back the remaining foliage. You want about two-thirds of the leaves still green when you harvest, as this indicates the bulb is at peak quality but the outer wrapper leaves have had time to dry and protect the cloves during storage.
🧪Fertilizing Garlic
Feeding Schedule
Organic Fertilizer Options
Harvest Time
Your garlic will be ready to harvest sometime from late April through early June, depending on when you planted and what variety you're growing. The key is watching the foliage rather than counting days - harvest when the bottom third of leaves have turned brown but the upper leaves are still green.
Test a bulb by carefully digging around one plant and checking the bulb development. Mature bulbs will have distinct, plump cloves separated by papery skin, and the outer wrapper should feel dry and papery. If the cloves aren't well-defined yet, leave them in the ground another week or two.
Harvest on a dry day by loosening the soil around each bulb with a fork, then gently lifting the entire plant. Brush off excess soil but don't wash the bulbs. The roots and leaves should come up with the bulb - you'll trim these later during curing.
Cure your harvested garlic in a dry, well-ventilated area out of direct sunlight for 2-4 weeks. Our low humidity is perfect for this process. Once the outer skins are papery and the neck area feels firm, trim the roots and cut the stems to about 1 inch above the bulb. Properly cured garlic will store for 6-8 months in a cool, dry place.
Common Problems in Zone 3A (Mountain West)
White rot appears as yellowing, wilting leaves starting from the bottom of the plant, often with white, fluffy fungal growth around the bulb base. This soil-borne fungus thrives in cool, moist conditions and can persist in soil for years. Remove affected plants immediately and don't compost them. Improve drainage and avoid overwatering, especially during our cool spring months. Rotate garlic to a different area of your garden for at least four years if white rot appears.
Rust shows up as orange, yellow, or brown pustules on leaf surfaces, typically starting on the undersides of leaves. Leaves may yellow and drop prematurely, reducing bulb size. While our low humidity generally discourages rust, it can still occur during unusually wet springs or if you're overhead watering. Remove affected leaves immediately, avoid watering the foliage, and ensure good air circulation between plants. Copper or sulfur fungicides can help if caught early.
Bulb mites are tiny, white, spider-like pests that feed on garlic bulbs, creating brown, corky spots and potentially rotting the entire bulb during storage. They're more common in stored garlic than growing plants but can infest the soil. Avoid planting garlic in areas where onions or other alliums showed mite damage. Ensure proper curing and storage conditions, and inspect stored bulbs regularly, removing any that show signs of mite damage.
Mountain West Specific Challenges: Our intense UV can cause leaf tip burn on young garlic shoots, but this rarely affects bulb development. The bigger challenge is our alkaline soil, which garlic doesn't love - work in sulfur or organic matter to lower pH if possible. Hail can shred garlic leaves, but the plants usually recover well thanks to our generally favorable growing conditions.
Best Companions for Garlic
Plant these nearby for healthier Garlic and better harvests.
Keep Away From
Companion Planting Details
Garlic makes an excellent companion throughout your Mountain West garden, particularly with tomatoes and peppers since it helps repel aphids and other soft-bodied insects. Plant garlic around your tomato cages or pepper plots - the strong scent confuses pests while the garlic harvest timing works perfectly with your warm-season planting schedule. Brassicas like cabbage and broccoli also benefit from nearby garlic, which can help deter cabbage worms and flea beetles.
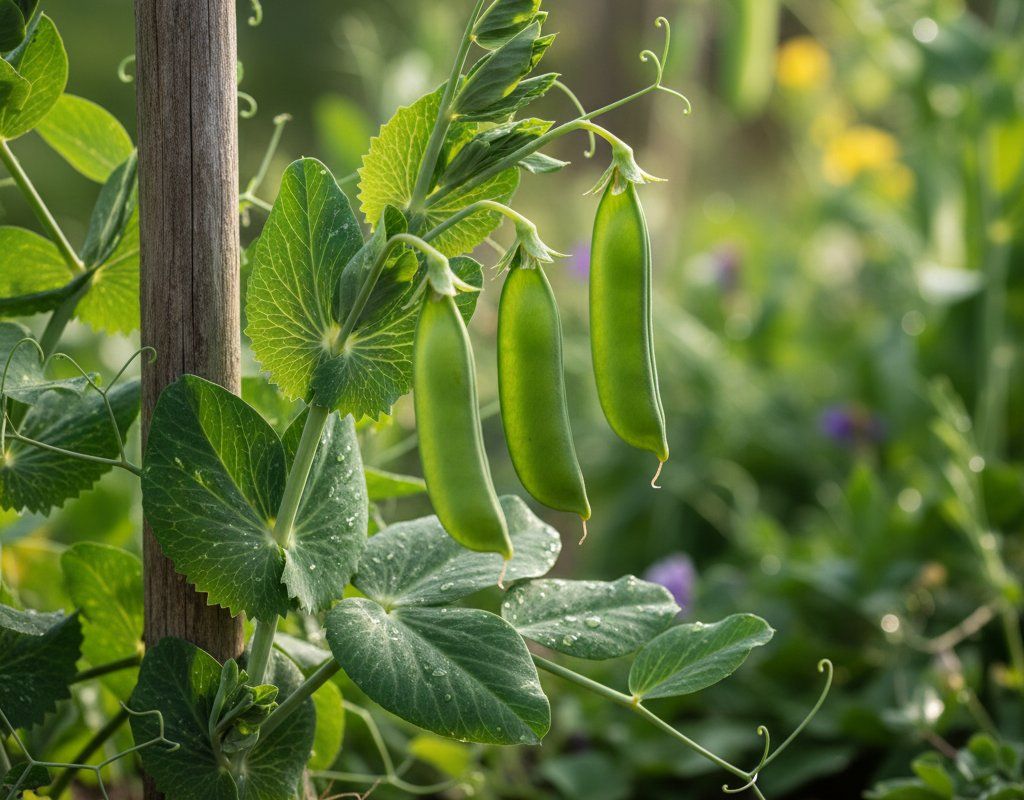
Roses particularly appreciate garlic companions, as the alliums help reduce aphid populations and may provide some protection against certain fungal diseases. Avoid planting garlic near beans or peas, as alliums can inhibit the nitrogen-fixing bacteria that legumes depend on, reducing their productivity in our already challenging short-season environment.
🌸Best Flowers to Plant with Garlic
These flowers protect your Garlic from pests and attract pollinators for better harvests.
For Pest Control
Get a Reminder When It's Time to Plant
We'll email you when key planting windows open for your zone.