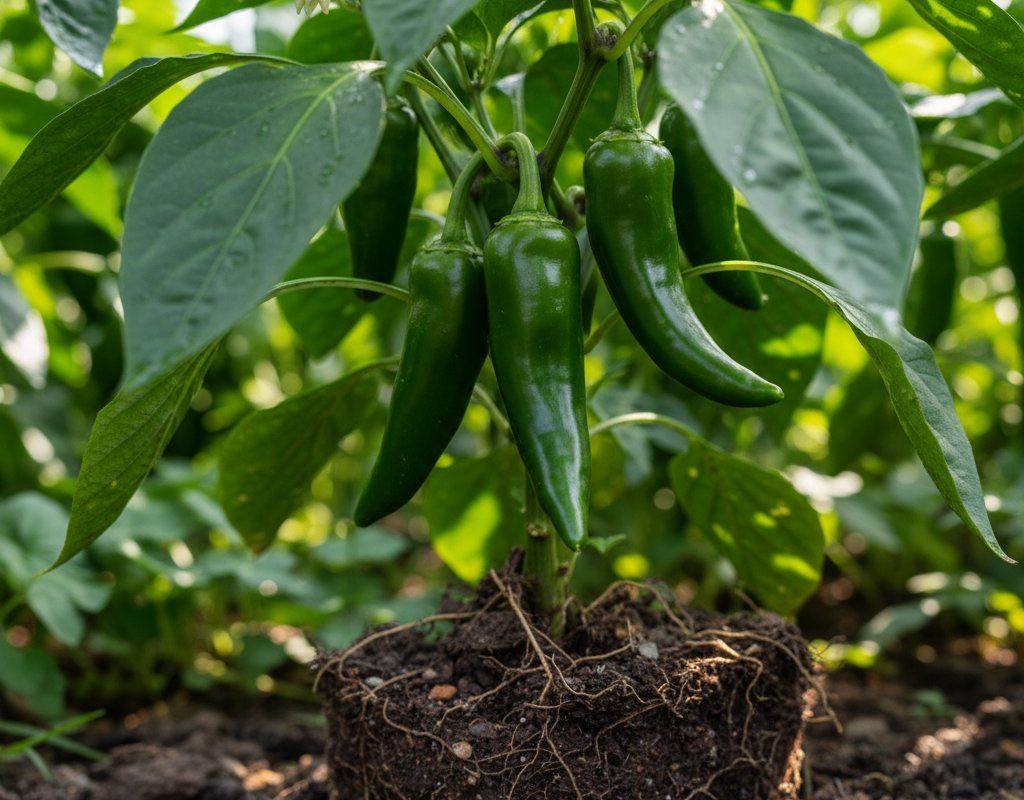
Anaheim Pepper in Zone 7B — Southeast
Capsicum annuum 'Anaheim' · Your Complete 2026 Planting Guide
Missed Seed Starting? No Problem!
Wait for starts to become available.
What to Do
Starts will be available at nurseries in 30 days (around April 3).
How to Plant Anaheim Pepper in Zone 7B — Southeast
Here are all your options for getting anaheim pepper in the ground, from the easiest method to more advanced approaches.
Start Seeds Indoors
RecommendedLate January through mid February
around February 6
Then transplant: Early April through early May
Start seeds 8-10 weeks before transplanting outdoors.
Buy Starts
Works WellEarly April through early May
around April 3
Plant purchased starts after last frost (March 20).
Direct Sow Seeds
ChallengingDirect sowing is not typical for Anaheim Pepper.
Transplant Outdoors
Timing InfoEarly April through early May
around April 3
Wait until nighttime temperatures stay above 50°F.
You have a nice window — no need to rush.
Overview
Anaheim peppers are a fantastic addition to any Southeast garden. Their mild heat and versatility make them perfect for everything from stuffing to adding a subtle kick to your favorite Southern dishes. Plus, there's nothing quite like the satisfaction of harvesting your own peppers from a plant you nurtured through our long summer.
We definitely have our share of challenges here in the Southeast, especially with the hot, humid weather that can bring disease pressure. But with our long 235-day growing season and reliable rainfall, Anaheim peppers have plenty of time to thrive if you get them off to a good start.
Starting Seeds Indoors
Starting your Anaheim pepper seeds indoors in late January through mid February gives them a head start on our growing season. This is about 8 weeks before you'll be able to transplant them outdoors. Using seed trays with a good seed-starting mix is key.
Keep your seed trays in a warm spot, ideally around 75-80°F, and provide plenty of light. A heat mat can really help with germination. Consider bottom-watering your seed trays to prevent damping off, which can be a problem in our humid climate. The moderate character of our spring gives you some wiggle room, but don't delay too long!
Transplanting Outdoors
Transplant your Anaheim pepper seedlings outdoors in early April through early May, once the danger of frost has passed. Before transplanting, be sure to harden off your seedlings by gradually exposing them to outdoor conditions for about a week. This helps them adjust to the sun and wind.
Space your plants 18-24 inches apart in a sunny spot with well-drained soil. Even though our last frost is usually gone by then, keep an eye on the forecast. Those late-season cool snaps can still happen!
Watering Anaheim Pepper in Zone 7B (Southeast)
Anaheim peppers need consistent moisture, but they don't like soggy feet, especially with our humidity. Aim to water deeply about once or twice a week, providing around 1-2 inches of water each time, depending on rainfall. Our afternoon thunderstorms can certainly help, but don't rely on them entirely.
The finger test is your friend: stick your finger about 2 inches into the soil near the base of the plant. If it feels dry, it's time to water. Focus on watering at the base of the plant to avoid wetting the foliage, which can encourage fungal diseases in our humid climate. Mulching around your plants with pine straw or shredded leaves will help retain moisture and suppress weeds.
Signs of underwatering include wilting leaves and stunted growth. Overwatering can lead to yellowing leaves and root rot. Finding the right balance is key to success in our unique Southeast climate.
Supporting Your Anaheim Pepper
Anaheim pepper plants can get quite tall and produce a lot of heavy peppers, so providing support is a good idea, although not always essential. The upright growth habit of these plants means they can benefit from a little extra help staying upright.
Staking is a simple and effective method. Install stakes near the base of each plant at transplant time to avoid damaging the roots later. As the plants grow, gently tie the main stem to the stake using soft twine or plant ties. This will help prevent the branches from breaking under the weight of the peppers, especially after a heavy summer rain.
Pruning & Maintaining Anaheim Pepper
Pinching off the early flowers on your Anaheim pepper plants can encourage them to focus on vegetative growth, leading to stronger plants and a bigger harvest later in the season. This is especially useful with our long growing season.
Throughout the summer, you can remove any yellowing or damaged leaves to improve air circulation and reduce disease pressure. As we approach the first frost in early November, you can remove any new flowers that won't have time to develop into mature peppers. This redirects the plant's energy into ripening the existing fruit.
🧪Fertilizing Anaheim Pepper
Feeding Schedule
Organic Fertilizer Options
Harvest Time
You can expect your first harvest of Anaheim peppers from mid June through early August, about 75 days after transplanting. Anaheim peppers are ready to harvest when they are 6-8 inches long and firm. For a milder flavor, harvest them when they are green. If you prefer a bit more heat, wait until they turn red.
To harvest, use pruning shears or a sharp knife to cut the pepper from the plant, leaving a short stem attached. Avoid pulling the peppers, as this can damage the plant. Regular harvesting encourages the plant to produce more peppers.
As our first frost approaches in early November, harvest any remaining peppers, even if they are still green. They will ripen indoors if stored in a warm, well-ventilated place. This way, you can enjoy the fruits of your labor even as the weather cools down.
Common Problems in Zone 7B (Southeast)
Here are some common problems you might encounter growing Anaheim peppers in the Southeast:
Blossom End Rot
- What it looks like: Sunken, dark brown or black leathery patch on the bottom of the pepper. It often affects the first fruits of the season.
- What causes it: Calcium deficiency caused by inconsistent watering. In our climate, this is often due to alternating periods of drought and heavy rainfall.
- How to fix/prevent it: Water consistently, especially during dry spells. Mulch heavily to maintain even soil moisture. Avoid over-fertilizing with nitrogen. Remove affected fruit.
Sunscald
- What it looks like: White, papery patches on fruit exposed to direct sun. Affected areas may blister and become susceptible to rot.
- What causes it: Intense, direct sunlight on fruit, often after leaves are removed or lost to disease, suddenly exposing previously shaded fruit.
- How to fix/prevent it: Don't over-prune foliage. Use shade cloth during periods of extreme heat. Maintain healthy foliage to shade fruit naturally.
Aphids
- What it looks like: Clusters of tiny soft-bodied insects (green, black, or white) on stems and leaf undersides. Sticky honeydew residue. Curled or distorted new growth.
- What causes it: Rapid-reproducing sap-sucking insects. Populations explode in warm weather. Ant colonies may farm them for honeydew.
- How to fix/prevent it: Strong water spray knocks them off. Encourage ladybugs and lacewings (natural predators). Insecticidal soap for heavy infestations. Neem oil works systemically.
Southeast Specific Challenges: Our hot, humid summers create ideal conditions for fungal diseases, so be sure to provide good air circulation and avoid overhead watering whenever possible. Japanese beetles can also be a nuisance, so keep an eye out for them and take action if you see them starting to munch on your plants.
Best Companions for Anaheim Pepper
Plant these nearby for healthier Anaheim Pepper and better harvests.


Keep Away From

Companion Planting Details
Companion planting can be a great way to improve the health and productivity of your Anaheim pepper plants.
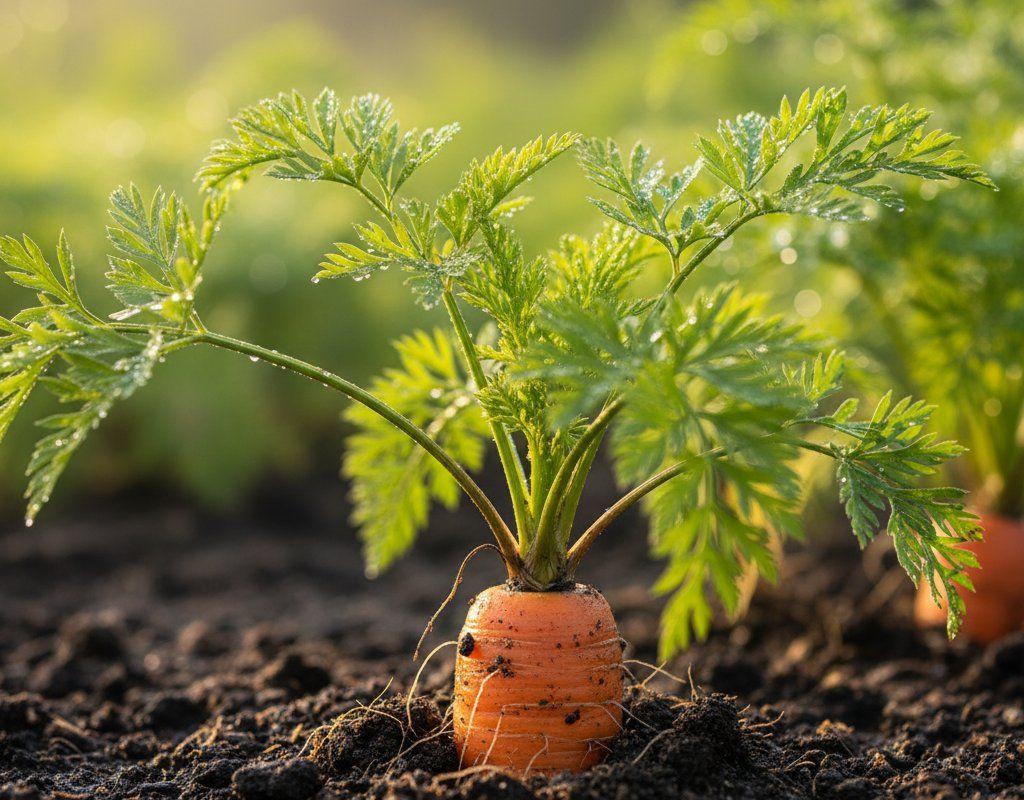
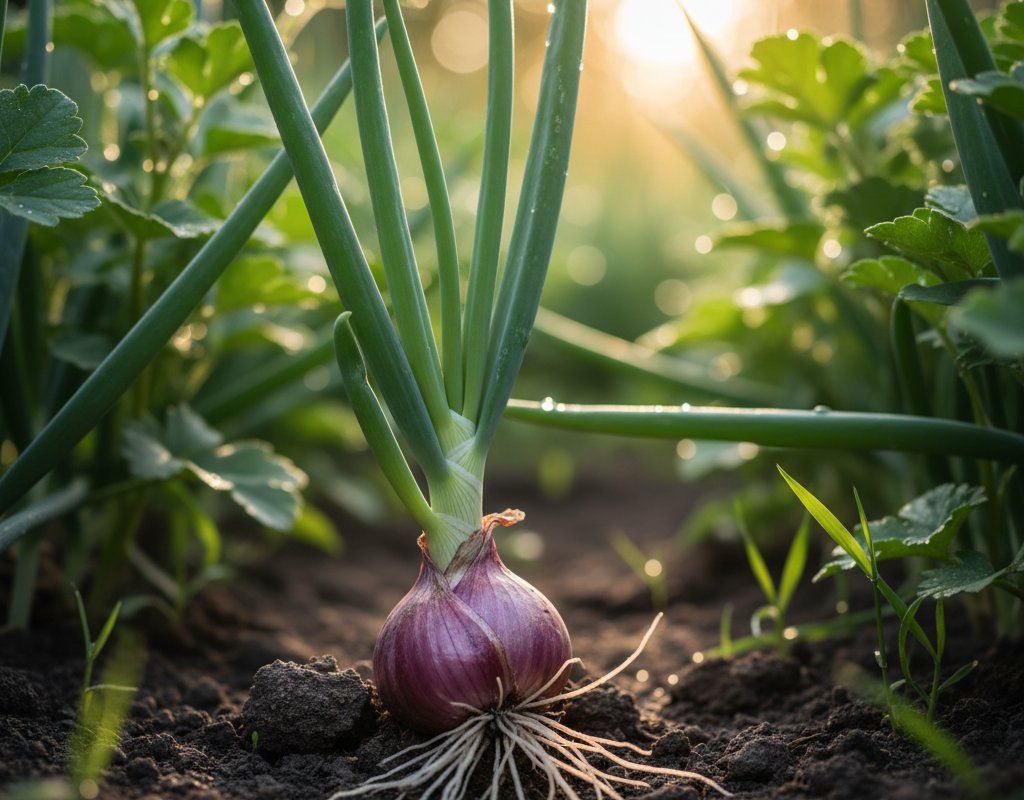
Good companions include tomatoes, basil, carrots, and onions. Tomatoes and peppers share similar growing requirements and can benefit from each other's presence. Basil is said to repel certain pests and improve the flavor of peppers. Carrots help to loosen the soil around pepper plants, improving drainage. Onions also deter pests and can help prevent fungal diseases, which are a real concern with our humidity.
Avoid planting fennel and brassicas (like cabbage and broccoli) near your Anaheim peppers. Fennel inhibits the growth of many plants, including peppers. Brassicas can attract pests that also affect peppers, increasing the risk of infestation.
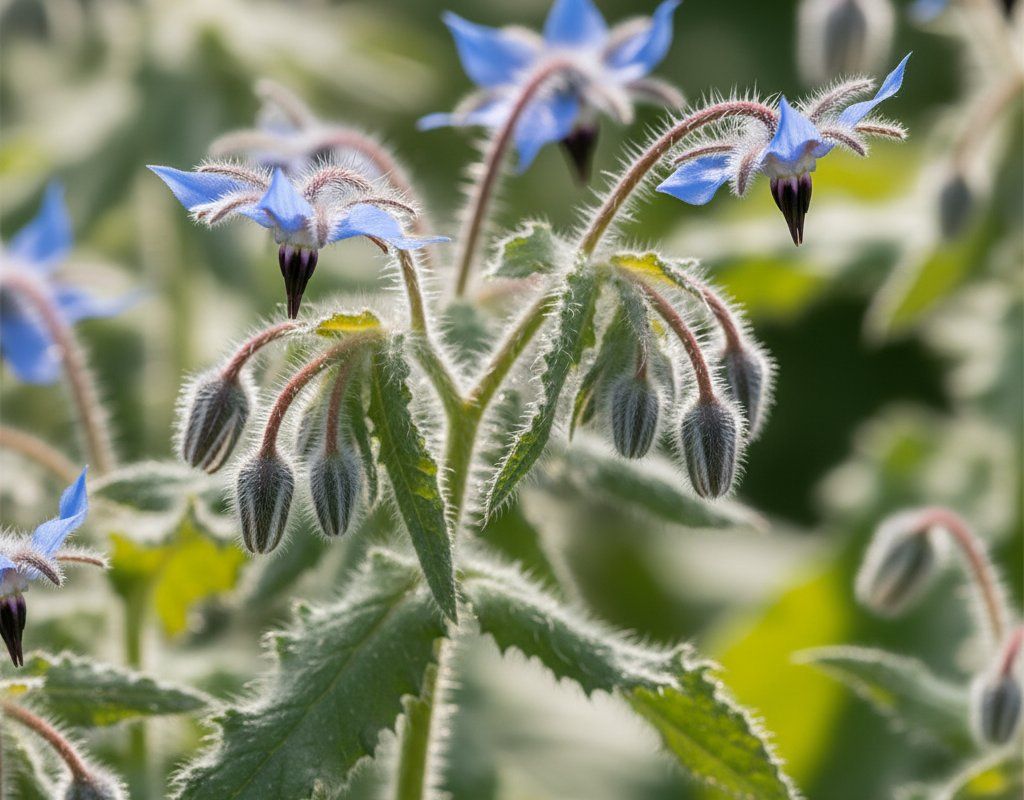
🌸Best Flowers to Plant with Anaheim Pepper
These flowers protect your Anaheim Pepper from pests and attract pollinators for better harvests.
For Pest Control


For Pollinators

Get a Reminder When It's Time to Plant
We'll email you when key planting windows open for your zone.