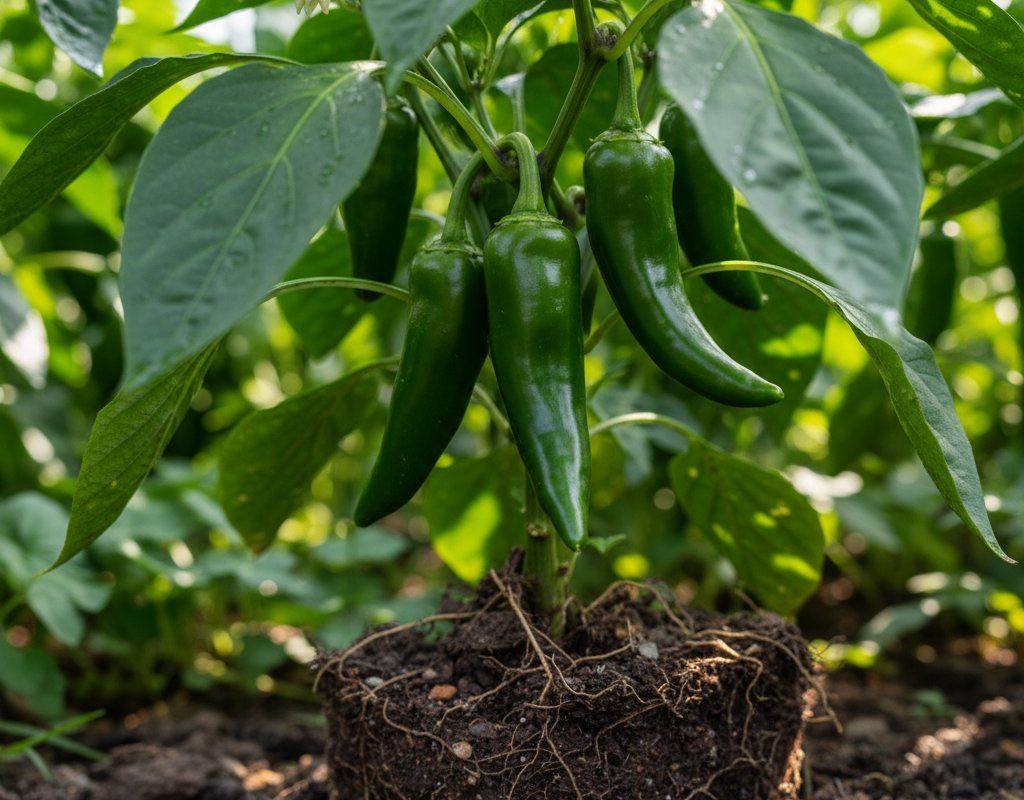
Anaheim Pepper in Zone 7B — Texas
Capsicum annuum 'Anaheim' · Your Complete 2026 Planting Guide
Missed Seed Starting? No Problem!
Wait for starts to become available.
What to Do
Starts will be available at nurseries in 20 days (around March 24).
How to Plant Anaheim Pepper in Zone 7B — Texas
Here are all your options for getting anaheim pepper in the ground, from the easiest method to more advanced approaches.
Start Seeds Indoors
RecommendedMid January through early February
around January 27
Then transplant: Late March through late April
Start seeds 8-10 weeks before transplanting outdoors.
Buy Starts
Works WellLate March through late April
around March 24
Plant purchased starts after last frost (March 10).
Direct Sow Seeds
ChallengingDirect sowing is not typical for Anaheim Pepper.
Transplant Outdoors
Timing InfoLate March through late April
around March 24
Wait until nighttime temperatures stay above 50°F.
You have a nice window — no need to rush.
Overview
Anaheim peppers are a fantastic addition to any Texas garden. Their mild heat and versatility make them perfect for everything from stuffing to roasting, and there's a real satisfaction in harvesting your own peppers after nurturing them through our long growing season. Plus, they thrive in the Texas heat, offering a reliable harvest even when other plants are struggling.
We all know Texas weather can be unpredictable. From late freezes to scorching summers, it throws curveballs. But with Anaheim peppers, you can take advantage of our extended 255-day growing season by starting indoors and transplanting at the right time.
Starting Seeds Indoors
Starting your Anaheim pepper seeds indoors is the way to go here in Texas to get a jump start on our early spring. Aim to sow your seeds mid January through early February, giving them about 8 weeks indoors before transplanting.
You'll need seed trays, a good seed-starting mix, and a warm, well-lit spot. A heat mat can speed up germination. Once the seedlings emerge, make sure they get plenty of light – a grow light works wonders. Don't forget to water from the bottom to encourage strong root growth. Set the seed tray in a shallow tray of water for a few minutes until the top of the soil is moist.
Given our early spring character here, starting seeds indoors ensures you'll have mature transplants ready to go as soon as the weather cooperates.
Transplanting Outdoors
Transplanting time arrives late March through late April. Before you put your Anaheim peppers in the ground, you need to harden them off. This means gradually exposing them to outdoor conditions for about a week. Start with an hour or two of shade, increasing the time and sun exposure each day.
Plant your Anaheim peppers 18-24 inches apart in a sunny spot with well-draining soil. Keep an eye on the weather forecast – those late-season freezes can still sneak up on you! If a freeze is predicted, cover your transplants with blankets or buckets to protect them.
Watering Anaheim Pepper in Zone 7B (Texas)
Anaheim peppers need moderate watering, especially during the Texas heat. While they were developed for hot, dry climates, consistent moisture is key to preventing problems like blossom end rot.
During the spring and fall, when temperatures are milder and rainfall is more frequent, water deeply once or twice a week, providing about 1-2 inches of water each time. In the peak of summer, when the Texas heat is at its most brutal, you might need to water every other day, ensuring the soil stays consistently moist but not waterlogged. Use the finger test: stick your finger about 2 inches into the soil. If it feels dry, it's time to water.
Water at the base of the plant to avoid wetting the foliage, which can encourage fungal diseases, especially with our variable humidity. Signs of underwatering include wilting leaves and stunted growth, while yellowing leaves and root rot can indicate overwatering. Mulching around your plants with a few inches of organic matter helps retain moisture and regulate soil temperature, which is crucial in our climate.
Supporting Your Anaheim Pepper
Supporting your Anaheim pepper plants is optional but highly recommended, especially as they get loaded with fruit. These plants tend to grow tall and can get weighed down by their long peppers.
Staking is the easiest and most effective method. Simply drive a sturdy stake into the ground near the plant at planting time and gently tie the main stem to the stake as it grows. Tomato cages also work well. The key is to provide support early, before the plant starts to lean or branches break under the weight of the peppers.
Pruning & Maintaining Anaheim Pepper
Pruning Anaheim peppers is pretty straightforward. The main thing is to pinch off any early flowers that appear before the plant is well-established. This encourages the plant to focus on vegetative growth, resulting in a stronger, more productive plant later in the season.
Otherwise, just stick to standard pepper maintenance: remove any yellowing or damaged leaves. As the first frost approaches around mid- November, you can remove any remaining flowers to encourage the plant to put its energy into ripening the existing peppers.
🧪Fertilizing Anaheim Pepper
Feeding Schedule
Organic Fertilizer Options
Harvest Time
You can expect your first harvest of Anaheim peppers early June through late July, about 75 days after transplanting. You can harvest them green at 6-8 inches long for a milder flavor, or wait until they turn red for more heat. The peppers should have thick walls and feel firm.
To harvest, use pruning shears or a sharp knife to cut the pepper from the plant, leaving a short stem attached. Regular harvesting encourages continued production. As the first frost approaches in mid- November, harvest any remaining peppers, even if they're still green. Green peppers will ripen indoors if you store them in a paper bag with an apple or banana.
Common Problems in Zone 7B (Texas)
Here are three common problems you might encounter with Anaheim peppers in Texas:
Blossom End Rot
- What it looks like: Sunken, dark brown or black leathery patch on the bottom of the pepper.
- What causes it: Calcium deficiency caused by inconsistent watering. Our cycles of drought and flash floods really mess with calcium uptake.
- How to fix/prevent it: Water consistently, especially during dry spells. Mulch heavily to maintain even soil moisture. Remove affected fruit.
Sunscald
- What it looks like: White, papery patches on fruit exposed to direct sun.
- What causes it: Intense, direct sunlight on fruit, especially after leaves are lost to disease or over-pruning. The Texas sun is BRUTAL.
- How to fix/prevent it: Don't over-prune foliage. Use shade cloth during the hottest part of the summer. If fruit is already exposed, drape a small piece of row cover over it.
Aphids
- What it looks like: Clusters of tiny insects (green, black, or white) on stems and leaf undersides. Sticky honeydew residue.
- What causes it: Rapid-reproducing sap-sucking insects. Populations explode in warm weather.
- How to fix/prevent it: Strong water spray knocks them off. Encourage ladybugs. Use insecticidal soap or neem oil. Avoid excess nitrogen fertilizer.
Texas Specific Challenges: The extreme heat, variable humidity, and unpredictable rainfall in Texas can exacerbate these problems. Consistent monitoring and proactive measures are key to keeping your Anaheim peppers healthy and productive. Fire ants can also be a nuisance, so keep an eye out for their mounds and treat them as needed to protect your plants.
Best Companions for Anaheim Pepper
Plant these nearby for healthier Anaheim Pepper and better harvests.


Keep Away From

Companion Planting Details
Companion planting can really benefit your Anaheim peppers here in Texas.
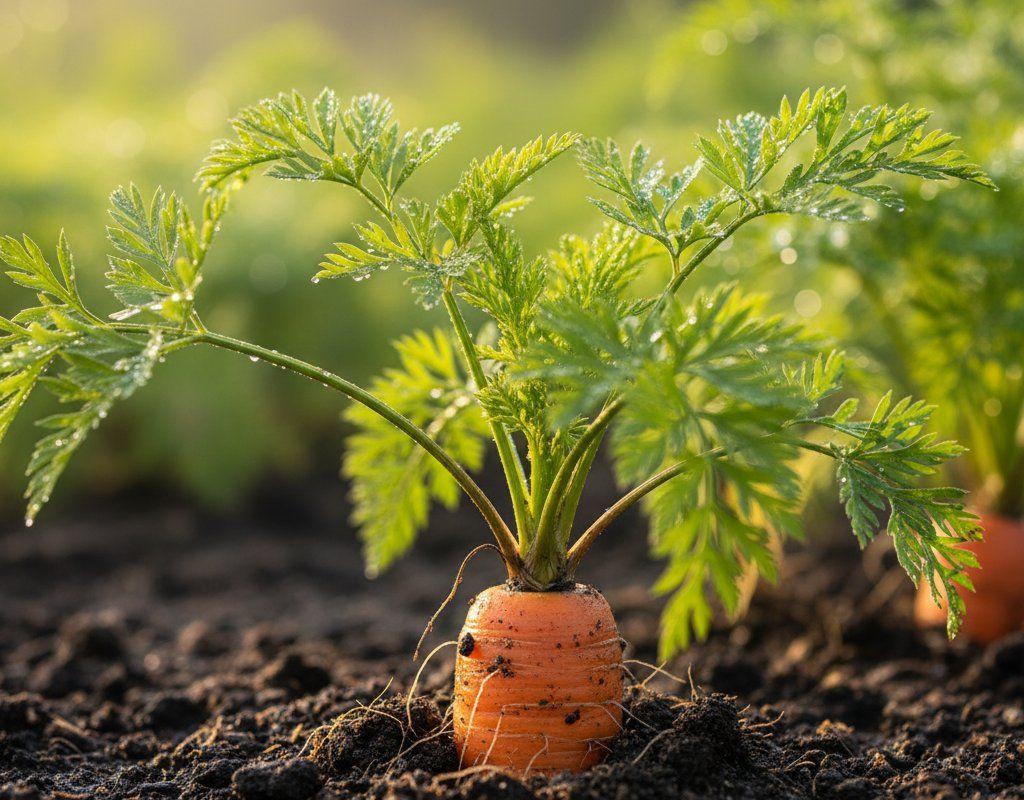
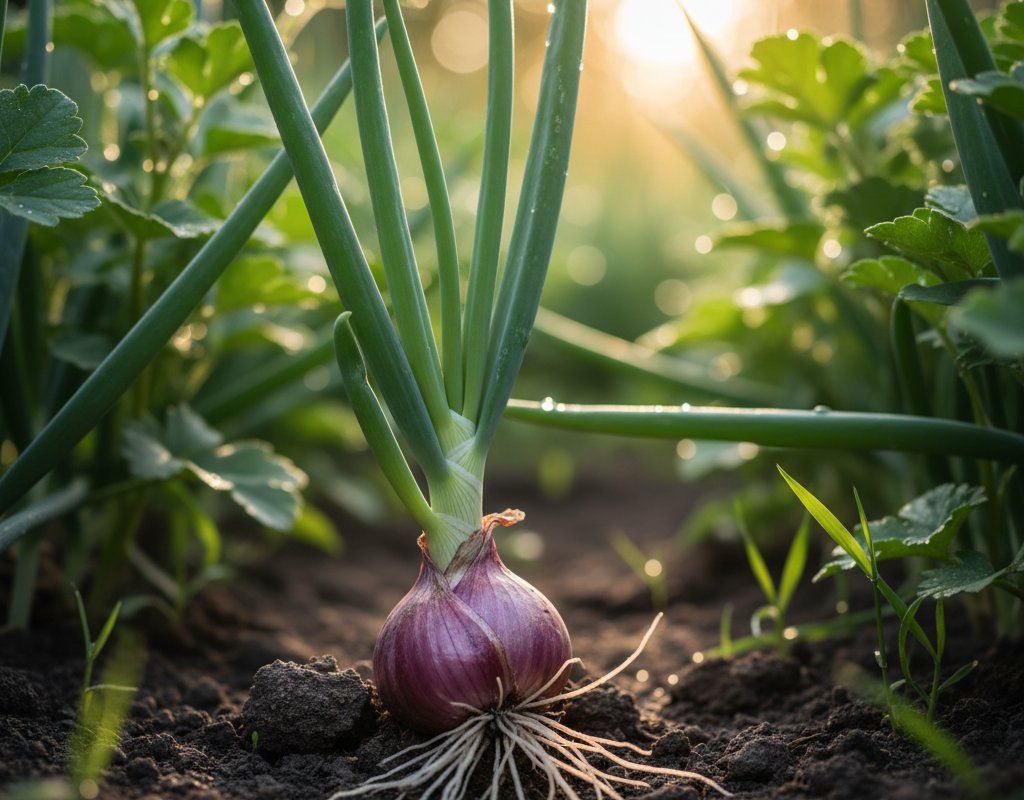
Tomatoes are great companions because they share similar needs and can provide some shade during the hottest part of the day. Basil helps repel pests like aphids and whiteflies, and carrots loosen the soil, improving drainage. Onions also deter pests and have a strong scent that can mask the pepper plants from some insects.
Avoid planting fennel or brassicas (like cabbage and broccoli) near your Anaheim peppers. Fennel inhibits the growth of many plants, and brassicas can attract pests that also target peppers.
🌸Best Flowers to Plant with Anaheim Pepper
These flowers protect your Anaheim Pepper from pests and attract pollinators for better harvests.
For Pest Control


For Pollinators


Get a Reminder When It's Time to Plant
We'll email you when key planting windows open for your zone.