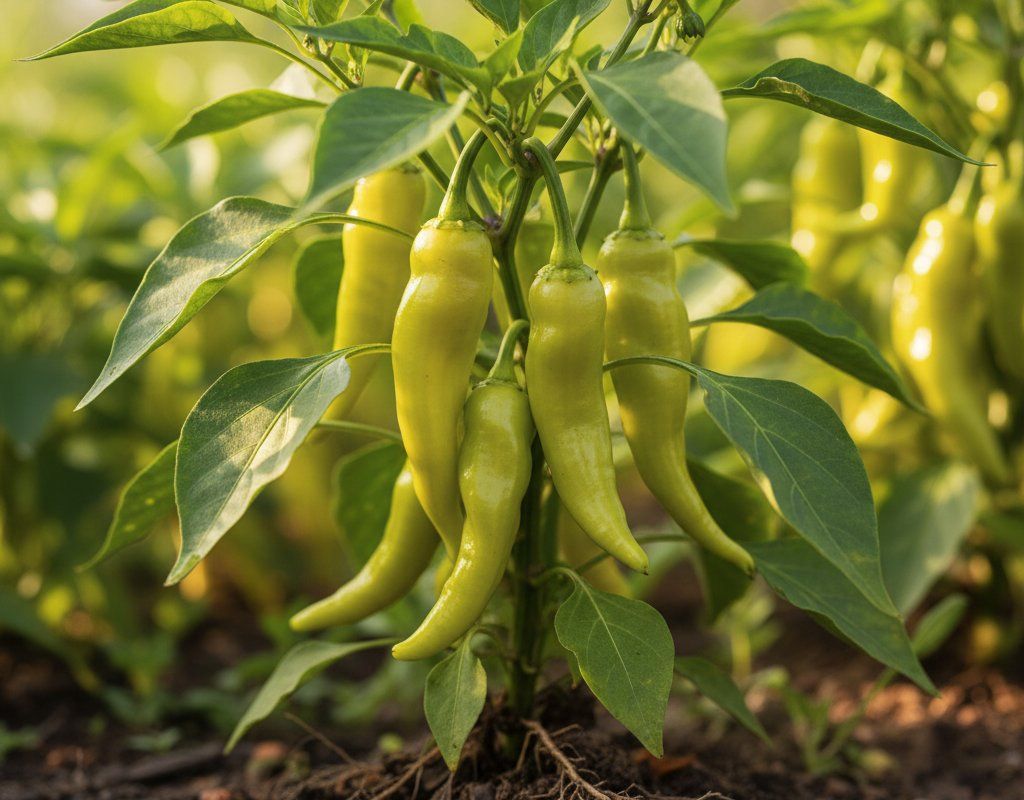
Pepperoncini in Zone 7B — Texas
Capsicum annuum 'Pepperoncini' · Your Complete 2026 Planting Guide
Missed Seed Starting? No Problem!
Wait for starts to become available.
What to Do
Starts will be available at nurseries in 20 days (around March 24).
How to Plant Pepperoncini in Zone 7B — Texas
Here are all your options for getting pepperoncini in the ground, from the easiest method to more advanced approaches.
Start Seeds Indoors
RecommendedMid January through early February
around January 27
Then transplant: Late March through late April
Start seeds 8-10 weeks before transplanting outdoors.
Buy Starts
Works WellLate March through late April
around March 24
Plant purchased starts after last frost (March 10).
Direct Sow Seeds
ChallengingDirect sowing is not typical for Pepperoncini.
Transplant Outdoors
Timing InfoLate March through late April
around March 24
Wait until nighttime temperatures stay above 50°F.
You have a nice window — no need to rush.
Overview
Pepperoncini peppers are a fantastic addition to any Texas garden. Their mild, tangy flavor is perfect for pickling, adding to salads, or even grilling alongside your favorite meats. And since we often get two tomato seasons here, why not aim for two pepperoncini harvests as well?
Texas weather can be unpredictable, with periods of extreme heat, drought, and even the occasional late freeze. But with our long 255-day growing season and a little planning, you can definitely grow a bumper crop of pepperoncini. Timing is everything, and we'll walk you through it.
Starting Seeds Indoors
Starting your pepperoncini indoors is the way to go here in Texas. You'll want to get those seeds going from mid January through early February. This gives them about 8 weeks to get a head start before transplanting, especially important with our early springs.
Use seed trays or small pots filled with a good seed-starting mix. Keep them warm – around 75-80°F – and provide plenty of light. A simple shop light works great, or a sunny windowsill if you have one that gets consistent light. Don't forget to water from the bottom to encourage strong root growth. Set the seed tray in a shallow dish of water and let the soil soak it up.
Remember, Texas springs can be a bit of a roller coaster, so starting indoors gives your pepperoncini seedlings the best chance to thrive when they finally go outside.
Transplanting Outdoors
Transplant your pepperoncini seedlings outdoors from late March through late April, once the danger of frost has passed. But don't rush it! Before planting them in the ground, you'll need to "harden them off." This means gradually exposing them to outdoor conditions over about a week.
Start by putting them outside in a sheltered spot for a couple of hours each day, gradually increasing the amount of time they spend outdoors. This helps them adjust to the sun, wind, and temperature changes. Plant them 18-24 inches apart in a sunny spot with well-drained soil. Keep an eye on the weather! We can still get some cool snaps that time of year.
Watering Pepperoncini in Zone 7B (Texas)
Watering is key for pepperoncini, especially with our Texas heat. While they need moderate water, they aren't drought-tolerant, so you'll need to stay on top of it. During the hottest part of the summer, you'll likely need to water deeply a couple of times a week, maybe even every other day if it's scorching.
Stick your finger about two inches into the soil. If it feels dry, it's time to water. Aim for about an inch of water per week, either from rainfall or irrigation. Water at the base of the plant to avoid getting the leaves wet, as this can encourage fungal diseases, especially when our humidity spikes.
Slightly wrinkled skin on the peppers is normal and not necessarily a sign of underwatering. However, wilting leaves are a clear sign that your plant is thirsty. Overwatering can lead to root rot, so make sure your soil drains well. Adding a layer of mulch around your plants can help retain moisture and regulate soil temperature, which is a big help in our variable climate.
Supporting Your Pepperoncini
Pepperoncini plants are generally pretty compact and bushy, so they don't always need support. However, if your plants get loaded down with peppers, they might benefit from a little help to keep them from toppling over.
A simple tomato cage works great for pepperoncini. Install it at planting time to avoid disturbing the roots later on. You can also use stakes and tie the plant to them as needed. Just make sure to use soft ties so you don't damage the stems.
Pruning & Maintaining Pepperoncini
Pruning pepperoncini is pretty straightforward. The main thing you'll want to do is pinch off any early flowers. This might seem counterintuitive, but it encourages the plant to focus on developing a strong root system and foliage first, leading to a bigger harvest later on.
Throughout the season, harvest your peppers frequently. This encourages the plant to keep producing more. As we approach our first frost around mid- November, you can prune off any new flowers that are unlikely to ripen in time. This helps the plant focus its energy on ripening the existing peppers.
🧪Fertilizing Pepperoncini
Feeding Schedule
Organic Fertilizer Options
Harvest Time
You can expect your first pepperoncini harvest from early June through late July, about 72 days after transplanting. Look for peppers that are yellow-green and about 2-3 inches long if you want to pickle them. If you prefer them red and fully mature, let them stay on the vine a bit longer.
To harvest, use scissors or pruning shears to cut the pepper off the plant, leaving a small stem attached. This prevents damage to the plant and helps the peppers last longer. Regular harvesting encourages continuous production throughout the season.
As our first frost approaches in mid- November, harvest any remaining peppers, even if they're still green. They'll ripen indoors if you store them in a paper bag with a ripe apple or banana.
Common Problems in Zone 7B (Texas)
Here are some common problems you might encounter with pepperoncini in Texas:
Over-ripening
- What it looks like: Peppers turn very soft, develop dark spots, and may start to rot on the vine.
- What causes it: Leaving peppers on the vine for too long, especially in hot, humid conditions.
- How to fix/prevent it: Harvest peppers regularly as they reach the desired color and size. Check your plants frequently, especially after periods of heavy rain.
Aphids
- What it looks like: Clusters of tiny soft-bodied insects (green, black, or white) on stems and leaf undersides. Sticky honeydew residue. Curled or distorted new growth.
- What causes it: Rapid-reproducing sap-sucking insects. Populations explode in warm weather. Ant colonies may farm them for honeydew.
- How to fix/prevent it: Strong water spray knocks them off. Encourage ladybugs and lacewings (natural predators). Insecticidal soap for heavy infestations. Neem oil works systemically. Avoid excess nitrogen fertilizer (it attracts them). Watch out for fire ants protecting the aphids.
Blossom Drop
- What it looks like: Flowers fall off without setting fruit. Small fruit yellows and drops. Plant looks healthy but produces no fruit.
- What causes it: Temperature stress. Peppers and tomatoes don't set fruit well when nights stay above 75°F or days exceed 95°F. Also caused by low humidity, excess nitrogen, or poor pollination.
- How to fix/prevent it: Be patient — fruit set resumes when temperatures moderate. Provide afternoon shade during extreme heat. Keep plants well-watered. Avoid excess nitrogen. Try hand-pollination.
Texas Specific Challenges: Our hot-to-extreme heat, variable humidity, and unpredictable rainfall can all contribute to these problems. Heat stress can cause blossom drop, while high humidity can encourage fungal diseases. Regular monitoring and proactive measures are key to keeping your pepperoncini plants healthy and productive.
Best Companions for Pepperoncini
Plant these nearby for healthier Pepperoncini and better harvests.


Keep Away From

Companion Planting Details
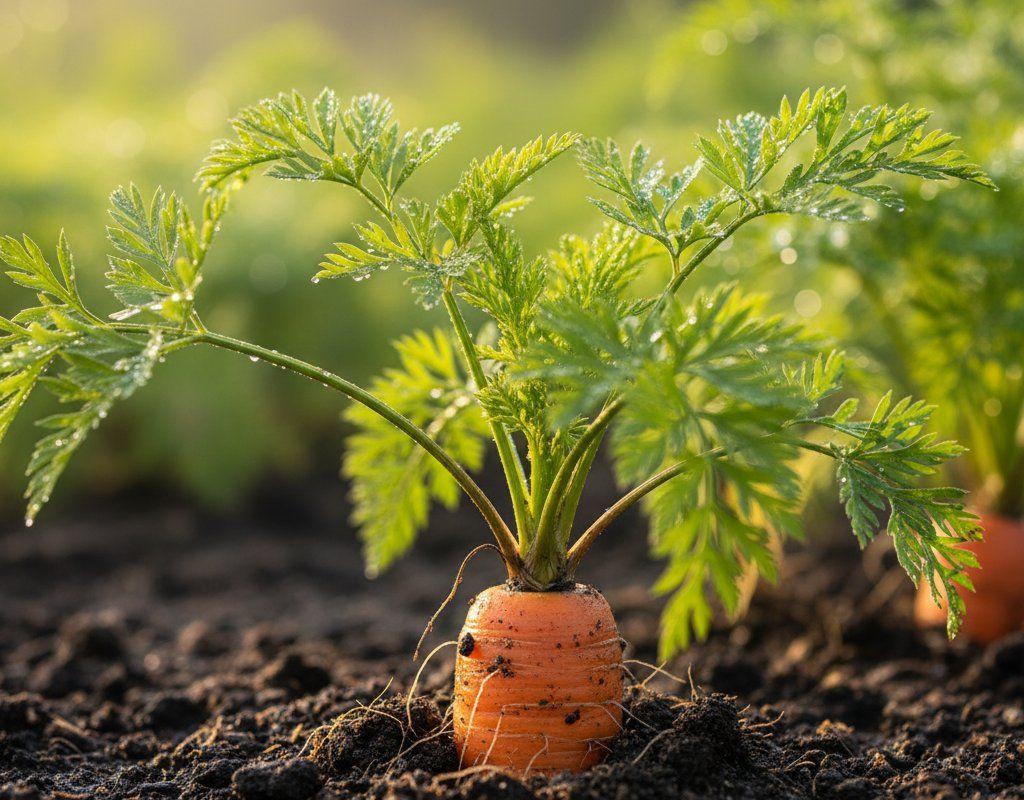
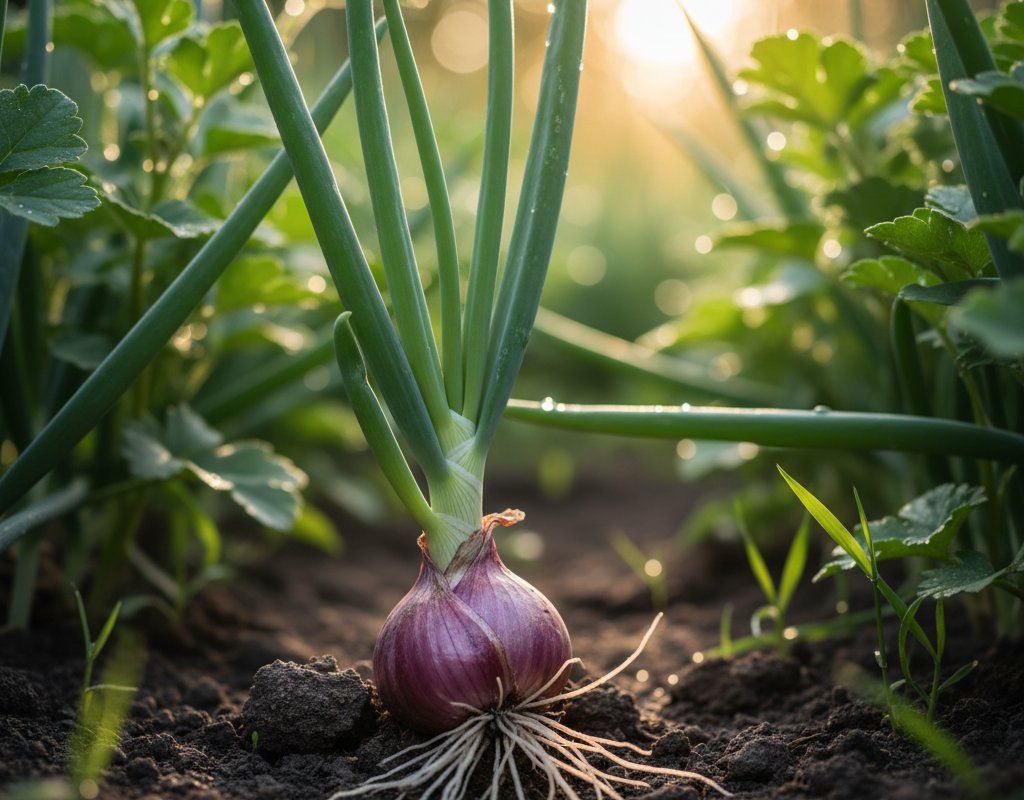
Companion planting can be a great way to improve the health and productivity of your pepperoncini plants. Tomatoes make excellent companions because they share similar needs and attract beneficial insects. Basil is another great choice, as it repels pests like aphids and whiteflies.
Carrots and onions are also good companions, as they help to deter soil-borne pests. Avoid planting pepperoncini near fennel, as it inhibits their growth. Brassicas like cabbage, broccoli, and cauliflower can also compete for nutrients and attract pests that can harm your pepperoncini.
🌸Best Flowers to Plant with Pepperoncini
These flowers protect your Pepperoncini from pests and attract pollinators for better harvests.
For Pest Control


For Pollinators


Get a Reminder When It's Time to Plant
We'll email you when key planting windows open for your zone.