Thai Chili in Zone 5A — Mountain West
Capsicum annuum 'Thai Dragon' · Your Complete 2026 Planting Guide
Planning Ahead — Great!
You’re ahead of the season. Here’s when to start.
Mark Your Calendar
How to Plant Thai Chili in Zone 5A — Mountain West
Here are all your options for getting thai chili in the ground, from the easiest method to more advanced approaches.
Start Seeds Indoors
RecommendedLate March through mid April
around March 29
Then transplant: Late May through late June
Start seeds 8-10 weeks before transplanting outdoors.
Buy Starts
Works WellLate May through late June
around May 24
Plant purchased starts after last frost (May 10).
Direct Sow Seeds
ChallengingDirect sowing is not typical for Thai Chili.
Transplant Outdoors
Timing InfoLate May through late June
around May 24
Wait until nighttime temperatures stay above 50°F.
You have a nice window — no need to rush.
Overview
Thai Chili peppers pack a serious punch of flavor and heat, perfect for adding zest to your high-altitude garden. Their compact size and ornamental appeal make them a great choice for containers, even on a small patio. Plus, the intense sun and cool nights we get here in the Mountain West actually enhance their flavor.
Our short growing season and alkaline soil can present challenges, but starting Thai Chili indoors gives you a significant head start. With a little planning, you can easily enjoy a bountiful harvest within our 138-day growing season.
Starting Seeds Indoors
Starting Thai Chili seeds indoors from late March through mid April is essential to get a jump on our short season. This gives you about 8 weeks before transplanting. Use seed trays and a good seed-starting mix, providing consistent warmth (around 80°F) and plenty of light.
Bottom watering is your friend when starting seeds. It helps prevent damping-off and encourages strong root growth. Because our springs can be late getting started here, a heat mat can be a lifesaver for consistent germination.
Transplanting Outdoors
Transplant your Thai Chili seedlings outdoors from late May through late June, once the danger of frost has passed. Before planting, harden off your seedlings by gradually exposing them to outdoor conditions for about a week. This helps them adjust to the intense UV and variable temperatures common in our Mountain climate.
Space your plants 18-24 inches apart to allow for good air circulation and growth. Be mindful of late-season cold snaps, especially at our altitude, and protect your young plants if necessary.
Watering Thai Chili in Zone 5A (Mountain West)
Thai Chili needs consistent moisture, but avoid overwatering, which can lead to root rot. Because of our low humidity and dry rainfall in the Mountain West, you'll likely need to water more frequently than in other regions. Aim for about 1 inch of water per week, depending on rainfall.
Check the soil moisture by sticking your finger about 2 inches deep. If it feels dry, it's time to water. Water at the base of the plant to avoid wetting the foliage, which can invite fungal diseases in some climates, though it's less of a concern in our dry air.
Yellowing leaves can indicate overwatering, while wilting leaves signal underwatering. Mulching around your plants with straw or wood chips helps retain moisture and regulates soil temperature, a big help during our brief but intense summer.
Supporting Your Thai Chili
While Thai Chili plants are relatively compact, they can become quite prolific with fruit, so some support can be helpful. A small stake or tomato cage is usually sufficient. Install the support at planting time to avoid disturbing the roots later.
As the plant grows, gently tie the main stem to the stake with soft twine or plant tape. This prevents the plant from toppling over under the weight of the peppers, especially after a summer thunderstorm.
Pruning & Maintaining Thai Chili
Pinching off the first few flowers that appear on your Thai Chili plant encourages it to focus its energy on vegetative growth, resulting in a stronger, more productive plant later in the season. Do this early in the season, when the plant is still young.
Otherwise, minimal pruning is required. As we approach the end of our short growing season (first frost around late September), you can remove any new flowers to encourage the plant to focus on ripening the existing peppers.
🧪Fertilizing Thai Chili
Feeding Schedule
Organic Fertilizer Options
Harvest Time
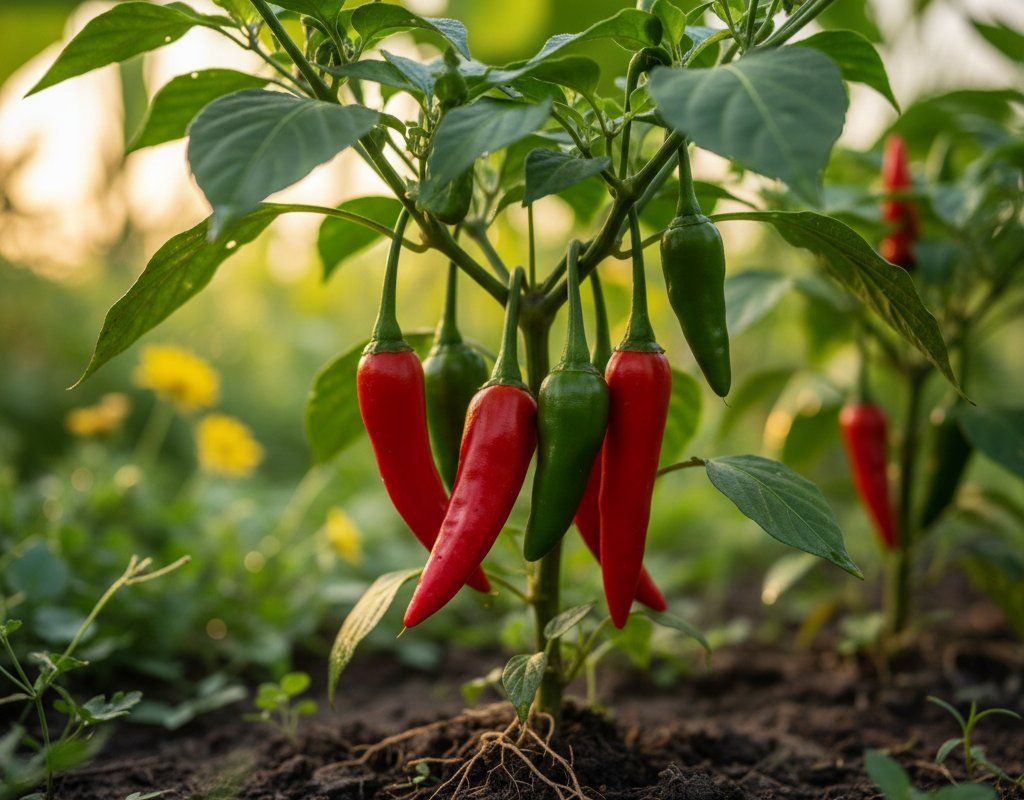
Expect your first harvest of Thai Chili from mid August through late September, about 80 days after transplanting. The peppers are ready to harvest when they turn a bright red color and are firm to the touch. They point upwards on the stem.
Use sharp scissors or pruning shears to cut the peppers from the plant, leaving a small piece of stem attached. Regular harvesting encourages continuous production throughout the season. As the first frost approaches in late September, harvest all remaining peppers, even the green ones.
Green Thai Chili peppers are still quite hot and can be used in cooking. You can also ripen them indoors by placing them in a paper bag with a ripe banana or apple.
Common Problems in Zone 5A (Mountain West)
Here are a few common problems you might encounter with Thai Chili in the Mountain West:
Aphids
- What it looks like: Clusters of tiny soft-bodied insects (green, black, or white) on stems and leaf undersides. Sticky honeydew residue. Curled or distorted new growth.
- What causes it: Rapid-reproducing sap-sucking insects. Populations explode in warm weather. Ant colonies may farm them for honeydew.
- How to fix/prevent it: Strong water spray knocks them off. Encourage ladybugs and lacewings (natural predators). Insecticidal soap for heavy infestations. Neem oil works systemically. Avoid excess nitrogen fertilizer (it attracts them).
Blossom Drop in Heat
- What it looks like: Flowers fall off the plant without setting fruit.
- What causes it: High daytime temperatures and low humidity can stress the plant. This is more of a problem in areas with extended heat waves, but it can happen in our Mountain summers too.
- How to fix/prevent it: Provide shade during the hottest part of the day. Ensure consistent watering. Mulch around the base of the plant. Blossom set sprays can help, but consistent care is more effective.
Spider Mites
- What it looks like: Fine stippling on leaves (tiny white dots). Fine webbing on leaf undersides and between stems. Leaves turn bronze or yellow.
- What causes it: Tiny arachnids that thrive in hot, dry conditions. Populations explode in drought stress.
- How to fix/prevent it: Strong water spray (daily for a week) is the best treatment. Increase humidity around plants. Neem oil or insecticidal soap. Release predatory mites (Phytoseiulus persimilis). Avoid broad-spectrum pesticides that kill predators.
Mountain West Specific Challenges: Our moderate-at-altitude heat, low humidity, and dry rainfall can create ideal conditions for spider mites and blossom drop, so be vigilant about monitoring your plants and providing consistent care. The intense sun can also stress young plants, so provide some shade during the hottest part of the day, especially when they are first transplanted.
Best Companions for Thai Chili
Plant these nearby for healthier Thai Chili and better harvests.


Keep Away From

Companion Planting Details
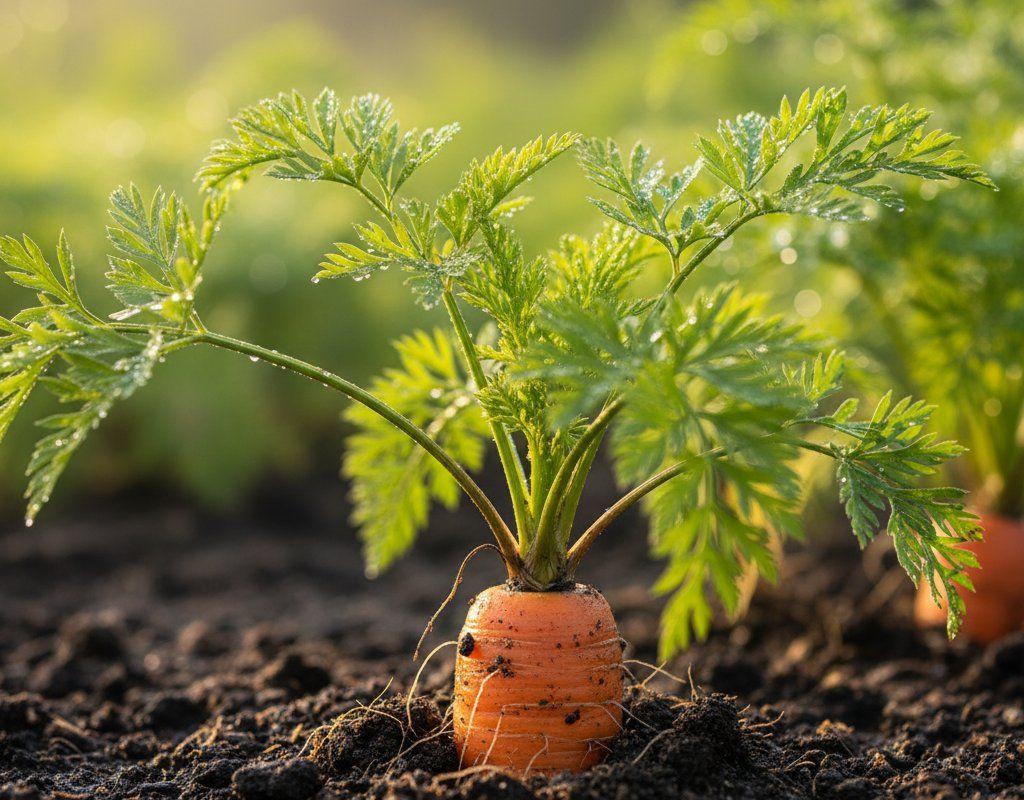
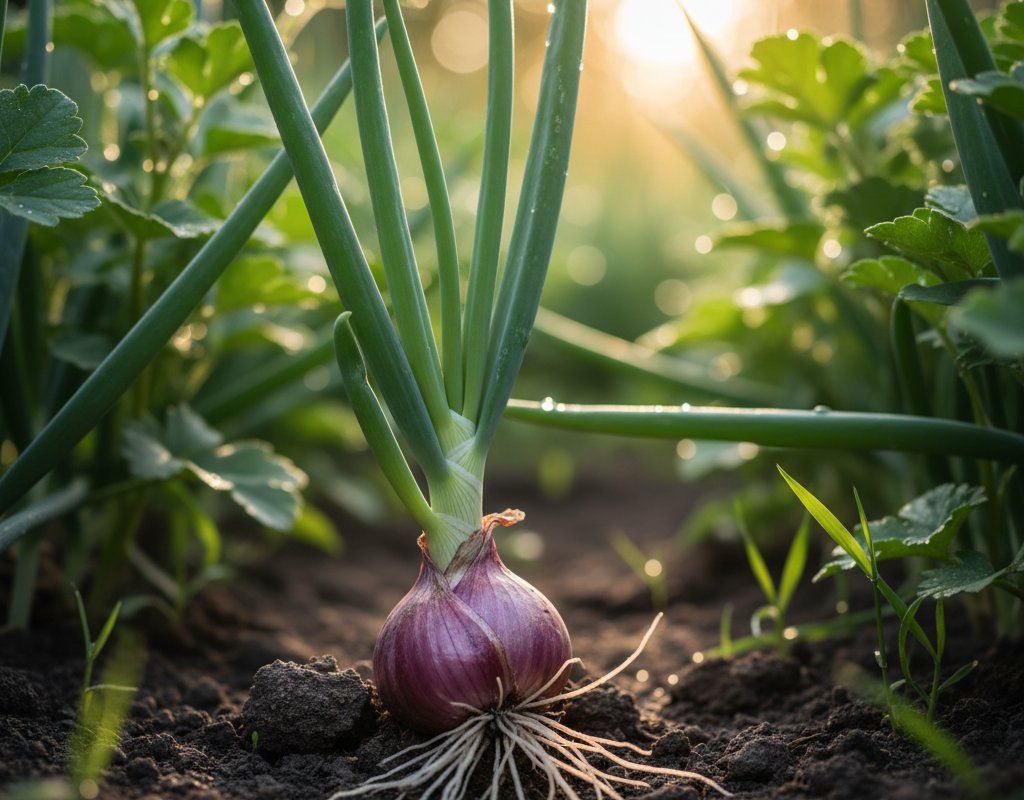
Good companions for Thai Chili include tomatoes, basil, carrots, and onions. Tomatoes provide some shade, protecting the peppers from the intense UV. Basil repels pests and improves the flavor of the peppers. Carrots loosen the soil, improving drainage. Onions also repel pests.
Avoid planting Thai Chili near fennel or brassicas (cabbage, broccoli, kale). Fennel inhibits the growth of many plants, and brassicas can attract pests that also affect peppers. Planting the right companions can make a real difference in our challenging Mountain climate.
🌸Best Flowers to Plant with Thai Chili
These flowers protect your Thai Chili from pests and attract pollinators for better harvests.
For Pest Control


For Pollinators


Get a Reminder When It's Time to Plant
We'll email you when key planting windows open for your zone.