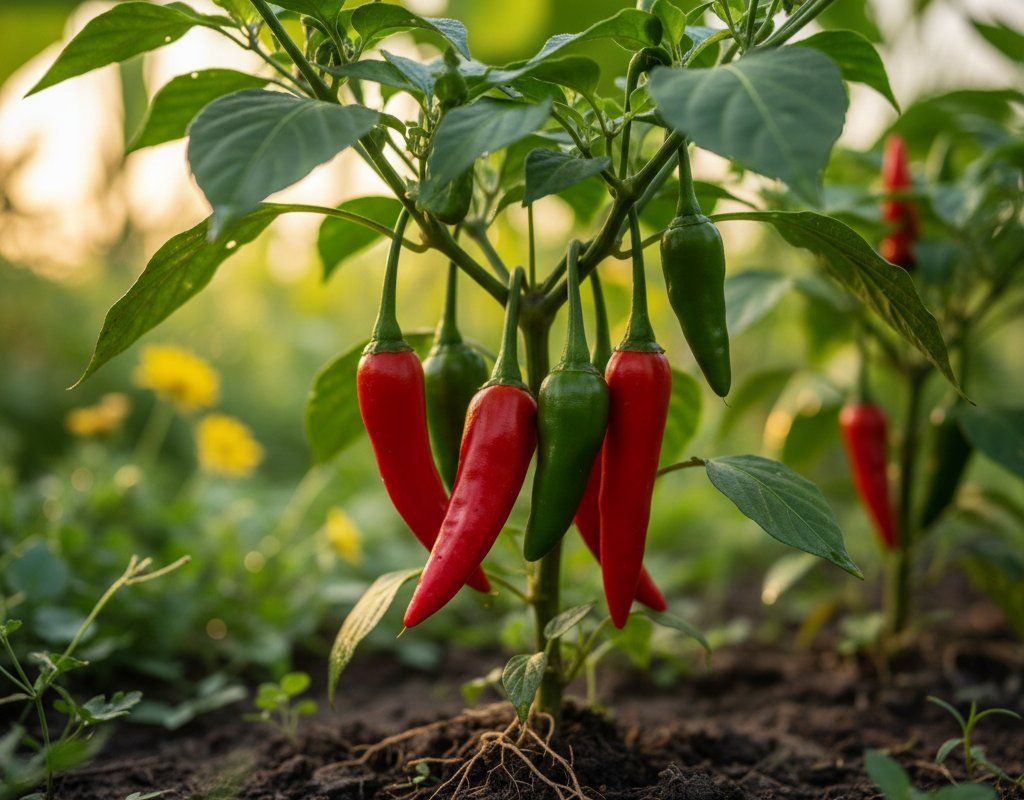
Thai Chili in Zone 7A — Mountain West
Capsicum annuum 'Thai Dragon' · Your Complete 2026 Planting Guide
Ideal Time: Start Seeds Indoors!
This is the perfect time for the biggest, best harvest.
Start Seeds Now
- Start seeds in trays or pots with seed-starting mix
- Keep soil moist and warm (70-80°F)
- Transplant outdoors Early May through early June
Not Starting from Seed?
Buy starts around May 4 — that works great too!
How to Plant Thai Chili in Zone 7A — Mountain West
Here are all your options for getting thai chili in the ground, from the easiest method to more advanced approaches.
Start Seeds Indoors
RecommendedEarly to late March
around March 9
Then transplant: Early May through early June
Start seeds 8-10 weeks before transplanting outdoors.
Buy Starts
Works WellEarly May through early June
around May 4
Plant purchased starts after last frost (April 20).
Direct Sow Seeds
ChallengingDirect sowing is not typical for Thai Chili.
Transplant Outdoors
Timing InfoEarly May through early June
around May 4
Wait until nighttime temperatures stay above 50°F.
You have a nice window — no need to rush.
Overview
Growing Thai chilis in our Mountain West gardens might seem ambitious, but the rewards are worth it. Their fiery flavor adds a kick to everything from stir-fries to salsas, and their compact size makes them perfect for containers on a sunny patio. Plus, the intense sunlight we get here really concentrates their heat, giving you an extra-flavorful harvest.
Our high altitude, short growing season, and alkaline soil present unique challenges, but with careful timing and a few tricks, you can absolutely grow these spicy peppers. Starting seeds indoors is key to getting a head start and maximizing your 173-day growing season.
Starting Seeds Indoors
Starting Thai chili seeds indoors in early to late March gives them the head start they need to thrive in our short growing season. This timing takes advantage of our late spring, ensuring seedlings are ready to go out after the last frost.
Use seed trays or small pots filled with a good-quality seed-starting mix. Keep the soil consistently moist, but not soggy, by bottom watering—set the tray in a shallow container of water and let the soil absorb it from the bottom. Place the trays in a warm location, ideally around 75-80°F, and provide plenty of light. A sunny windowsill often isn't enough; consider using a grow light to prevent leggy seedlings.
Transplanting Outdoors
Transplant your Thai chili seedlings outdoors from early May through early June, after the danger of frost has passed. Before transplanting, harden off your seedlings by gradually exposing them to outdoor conditions for about a week. Start with an hour or two of indirect sunlight and increase the time each day.
Choose a sunny spot with well-drained soil and space plants 18-24 inches apart. Our springs can still bring unexpected cold snaps, so be prepared to cover your seedlings if frost threatens.
Watering Thai Chili in Zone 7A (Mountain West)
Thai chilis need consistent moisture, but they don't like to be waterlogged, especially in our alkaline soil. Water deeply but infrequently, allowing the soil to dry out slightly between waterings. During the hottest part of the summer (typically late June through August), you might need to water every 2-3 days.
Stick your finger about two inches into the soil; if it feels dry, it's time to water. Aim for about 1-2 inches of water per week, depending on rainfall. Water at the base of the plant to avoid wetting the foliage, which can lead to fungal problems in more humid climates, though that's less of a concern in our dry air.
Yellowing leaves can indicate overwatering, while wilting leaves (even with moist soil) can signal underwatering. A layer of mulch, like straw or wood chips, helps retain moisture and regulate soil temperature.
Supporting Your Thai Chili
While Thai chilis are relatively compact, their upright growth habit and heavy fruit production can sometimes cause them to topple over, especially in windy conditions. Providing support is optional but recommended, especially as the plant matures.
A small stake or tomato cage works well to support the plant. Install the support at planting time to avoid disturbing the roots later. Gently tie the main stem to the stake with soft twine as needed, ensuring it's not too tight.
Pruning & Maintaining Thai Chili
Thai chilis don't require extensive pruning, but a little maintenance can encourage bushier growth and higher yields. Pinching off the first few flowers that appear can direct the plant's energy into vegetative growth, resulting in a stronger, more productive plant.
Do this early in the season, before the plant is fully established. As the growing season winds down in early October, and frost threatens, you can prune off any remaining flowers to encourage the plant to focus on ripening the existing peppers.
🧪Fertilizing Thai Chili
Feeding Schedule
Organic Fertilizer Options
Harvest Time
You can expect your first harvest of Thai chilis in late July through early September, about 80 days after transplanting. The peppers are ready to harvest when they turn from green to bright red and are firm to the touch.
Snip the peppers off the plant with scissors or pruning shears, being careful not to damage the stems. Regular harvesting encourages continued production. As the first frost approaches in early October, harvest any remaining peppers, even if they're still green. They'll ripen indoors if stored in a warm, dry place.
Common Problems in Zone 7A (Mountain West)
Even in the Mountain West, Thai chilis can run into a few common problems:
Aphids
- What it looks like: Clusters of tiny soft-bodied insects (green, black, or white) on stems and leaf undersides. Sticky honeydew residue. Curled or distorted new growth.
- What causes it: Rapid-reproducing sap-sucking insects. Populations explode in warm weather. Ant colonies may farm them for honeydew.
- How to fix/prevent it: Strong water spray knocks them off. Encourage ladybugs and lacewings (natural predators). Insecticidal soap for heavy infestations. Neem oil works systemically. Avoid excess nitrogen fertilizer (it attracts them).
Blossom Drop in Heat
- What it looks like: Flowers fall off the plant without setting fruit.
- What causes it: High temperatures (especially nighttime temperatures) can interfere with pollination.
- How to fix/prevent it: While we don't have intensely hot summers here, consistently warm days coupled with our intense sun can still cause blossom drop. Ensure consistent watering, and consider providing afternoon shade during the hottest periods.
Spider Mites
- What it looks like: Fine stippling on leaves (tiny white dots). Fine webbing on leaf undersides and between stems. Leaves turn bronze or yellow.
- What causes it: Tiny arachnids that thrive in hot, dry conditions. Populations explode in drought stress.
- How to fix/prevent it: Strong water spray (daily for a week) is the best treatment. Increase humidity around plants. Neem oil or insecticidal soap. Release predatory mites (Phytoseiulus persimilis). Avoid broad-spectrum pesticides that kill predators.
Mountain West Specific Challenges: Our moderate heat and low humidity can actually help minimize fungal diseases that plague other regions, but the intense sun can stress plants. Consistent watering and afternoon shade are key. The alkaline soil can also be a challenge; amend with compost to improve drainage and nutrient availability.
Best Companions for Thai Chili
Plant these nearby for healthier Thai Chili and better harvests.


Keep Away From

Companion Planting Details
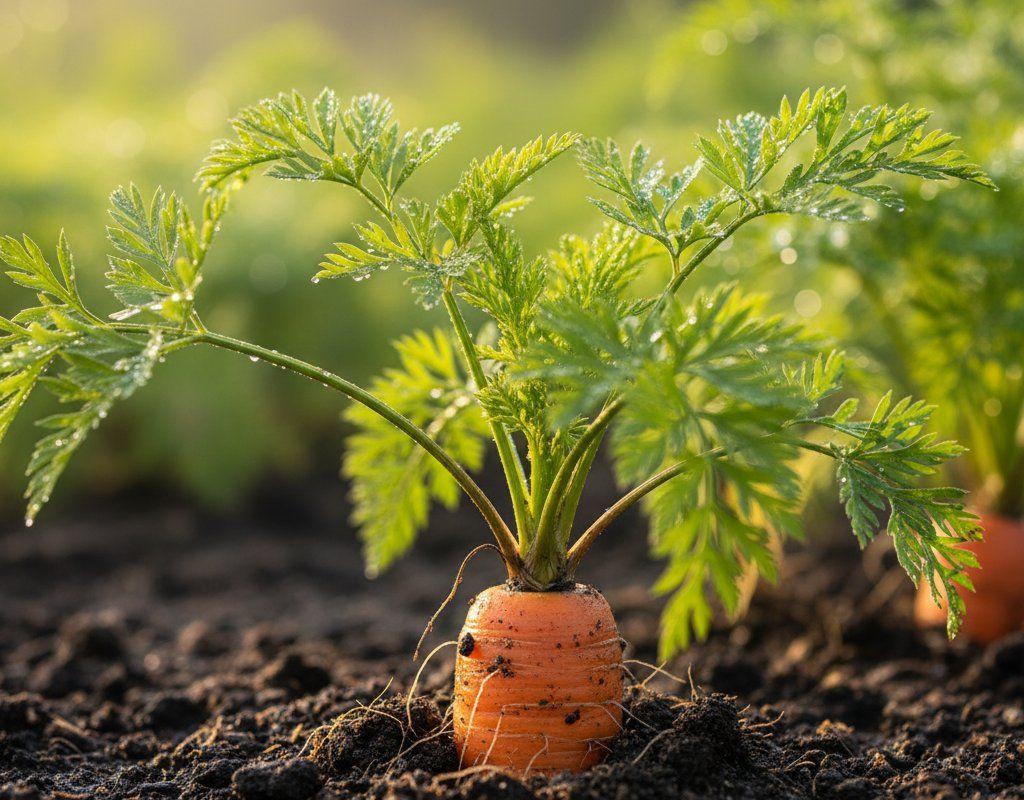
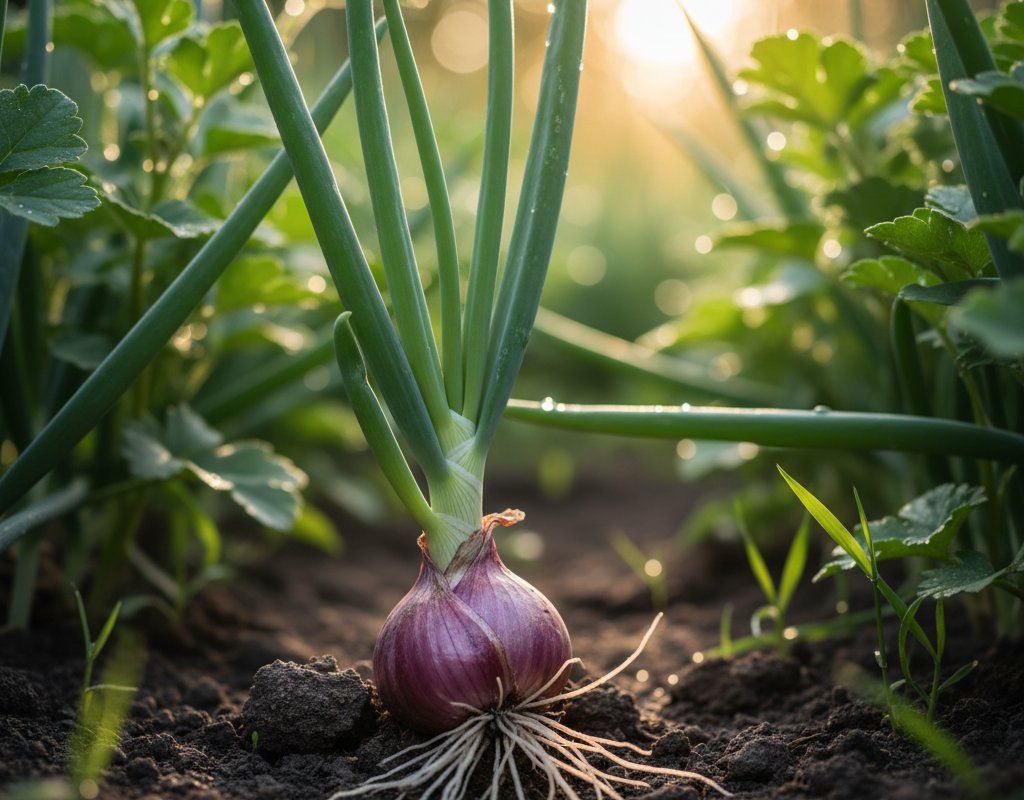
Companion planting can help your Thai chilis thrive in the Mountain West. Tomatoes are excellent companions because they provide some shade, protecting the chilis from our intense UV radiation. Basil repels many common pests and improves the flavor of both plants. Carrots loosen the soil, improving drainage and aeration, and onions deter aphids.
Avoid planting Thai chilis near fennel, which inhibits their growth. Brassicas (like cabbage and broccoli) compete for nutrients and can attract pests that also target chilis.
🌸Best Flowers to Plant with Thai Chili
These flowers protect your Thai Chili from pests and attract pollinators for better harvests.
For Pest Control


For Pollinators


Get a Reminder When It's Time to Plant
We'll email you when key planting windows open for your zone.