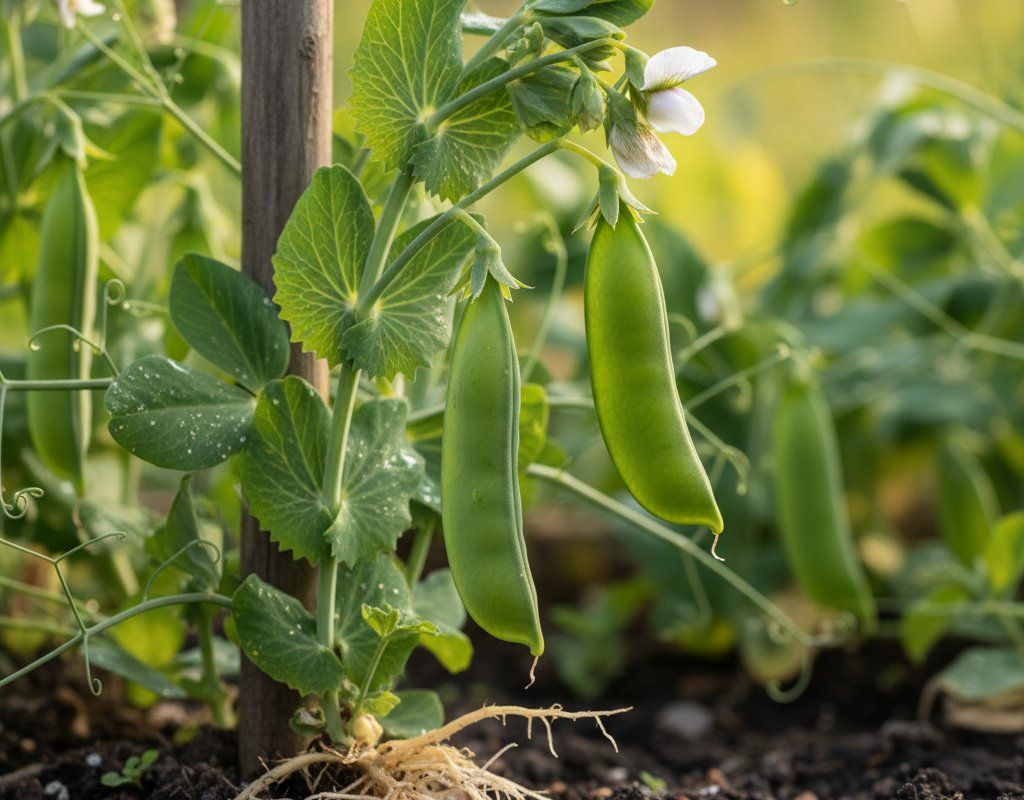
Snap Peas in Zone 7A — Northern California
Pisum sativum var. macrocarpon · Your Complete 2026 Planting Guide
Still Time to Sow!
The sowing window is still open for Snap Peas.
Sow Seeds Soon
Same as garden peas — direct sow in early spring.
How to Plant Snap Peas in Zone 7A — Northern California
Here are all your options for getting snap peas in the ground, from the easiest method to more advanced approaches.
Direct Sow Seeds
RecommendedEarly February through late August
around February 6
Consider succession planting every 2-3 weeks for continuous harvest.
Same as garden peas — direct sow in early spring.
Buy Starts
Works WellMid February through mid March
around February 20
Plant purchased starts after last frost (March 20).
Start Seeds Indoors
ChallengingThis plant is typically not started indoors.
Transplant Outdoors
Timing InfoMid February through mid March
around February 20
Can tolerate light frost, but wait for soil to be workable.
You have a nice window — no need to rush.
Fall Planting
Late August through late September
September 8 ideal · Direct sow for fall harvest
Plant a second crop in mid-summer for fall harvest. Snap Peas actually prefers the cooling temperatures of fall.
Overview
Snap peas are a NorCal gardener's dream. Their crisp, sweet pods are delicious raw, stir-fried, or added to salads, and they're incredibly satisfying to grow in our Mediterranean climate. Plus, they produce abundantly over a long season, making them a worthwhile addition to any garden, big or small.
We know that drought and fire season are always on our minds here, and water restrictions are a reality. But with a little planning, smart watering, and awareness of our 235-day growing season, you can absolutely enjoy a bumper crop of snap peas.
Transplanting Outdoors
If you want a slight head start, you can transplant snap peas outdoors from mid February through mid March. Before planting seedlings, be sure to harden them off by gradually exposing them to outdoor conditions for about a week. This will help them adjust to the sunlight, wind, and temperature fluctuations.
Space your transplants about 3-4 inches apart. Keep an eye on the weather forecast – those late season cold snaps can still happen. Be ready to cover your seedlings if a frost is predicted.
Direct Sowing
Direct sowing is the way to go with snap peas! You can start sowing seeds directly into your garden beds from early February through late August. Like their garden pea cousins, they thrive when direct sown.
Make sure your soil is well-draining and has a temperature of at least 45°F. Sow seeds about 1 inch deep and 3-4 inches apart. Keep the soil consistently moist until germination, which usually takes about a week or two.
Watering Snap Peas in Zone 7A (Northern California)
Snap peas need consistent moisture to produce those plump, sweet pods we love. Here in Northern California, with our dry summers, that means paying close attention to your watering schedule.
During the cooler spring and fall months, check the soil moisture by sticking your finger about 2 inches deep. If it feels dry, it's time to water. Aim for about 1 inch of water per week, either from rainfall or irrigation. As the weather heats up in the summer, you may need to increase watering to 2 inches per week.
Water at the base of the plants to avoid wetting the foliage, which can encourage fungal diseases in our low-humidity environment. Signs of underwatering include wilting leaves and shriveled pods. Overwatering can lead to yellowing leaves and root rot. A layer of mulch around your plants will help retain moisture and keep the soil cool during those hotter months.
Supporting Your Snap Peas
Snap peas are vining plants, so they need something to climb on. A trellis is ideal, but you can also use chicken wire or even branches ("pea brush") stuck into the ground.
Install your support system at planting time to avoid disturbing the roots later. Snap peas can easily reach 4-6 feet tall, so make sure your support is tall enough. Gently guide the tendrils onto the support as they grow.
🧪Fertilizing Snap Peas
Feeding Schedule
Organic Fertilizer Options
Harvest Time
Get ready to start harvesting your snap peas from early April through mid November. The exact timing depends on when you planted. Snap peas are usually ready about 60 days after sowing.
Harvest the pods when they are plump, crisp, and the peas inside are fully developed. The entire pod is edible, so pick them when they are young and tender. Use scissors or your fingers to snap off the pods, being careful not to damage the plant. Regular harvesting encourages continued production. As we approach our first frost in early November, harvest any remaining pods, even if they're a little small.
Common Problems in Zone 7A (Northern California)
Here are some common issues you might encounter growing snap peas in Northern California:
Powdery Mildew
- What it looks like: White or grayish powdery coating on leaves, stems. Leaves curl, yellow, and die.
- What causes it: Fungi that thrive in warm days, cool nights, and moderate humidity. Dry leaf surfaces actually favor it.
- How to fix/prevent it: Improve air circulation through spacing and pruning. Remove affected leaves. Neem oil or potassium bicarbonate sprays help. Milk spray (1 part milk to 9 parts water) is surprisingly effective. Plant resistant varieties.
Pea Aphids
- What it looks like: Clusters of small, soft-bodied insects (usually green) on stems and undersides of leaves, causing distorted growth.
- What causes it: Aphids are attracted to young, tender growth, especially during mild weather. They suck plant sap, weakening the plant.
- How to fix/prevent it: Blast aphids off plants with a strong stream of water. Introduce beneficial insects like ladybugs and lacewings. Insecticidal soap or neem oil can be used for heavy infestations.
Root Rot
- What it looks like: Yellowing leaves, stunted growth, wilting, and mushy, brown roots.
- What causes it: Overwatering and poorly draining soil create conditions for fungal pathogens to thrive.
- How to fix/prevent it: Ensure good drainage by amending soil with compost. Avoid overwatering. Plant in raised beds if necessary. Apply beneficial microbes to the soil.
Fusarium Wilt
- What it looks like: Wilting on one side of the plant first, then spreading. Yellow leaves starting on one side. Brown streaks in stem when cut open.
- What causes it: Soil-borne fungus (Fusarium oxysporum). Persists in soil for years. Enters through roots. Warm soil temperatures favor it.
- How to fix/prevent it: No cure once infected — remove and destroy the plant. Plant resistant varieties (look for 'F' on seed labels). Rotate crops on a 4-year cycle. Solarize soil in hot zones. Raise soil pH above 6.5.
Northern California Specific Challenges: Our moderate-to-hot, dry summers can stress snap peas, making them more susceptible to powdery mildew and aphids. Consistent watering is key, but be careful not to overwater and create conditions for root rot. Choose heat-tolerant varieties if you're planting for a summer harvest.
Best Companions for Snap Peas
Plant these nearby for healthier Snap Peas and better harvests.
View Full Companion Planting Chart →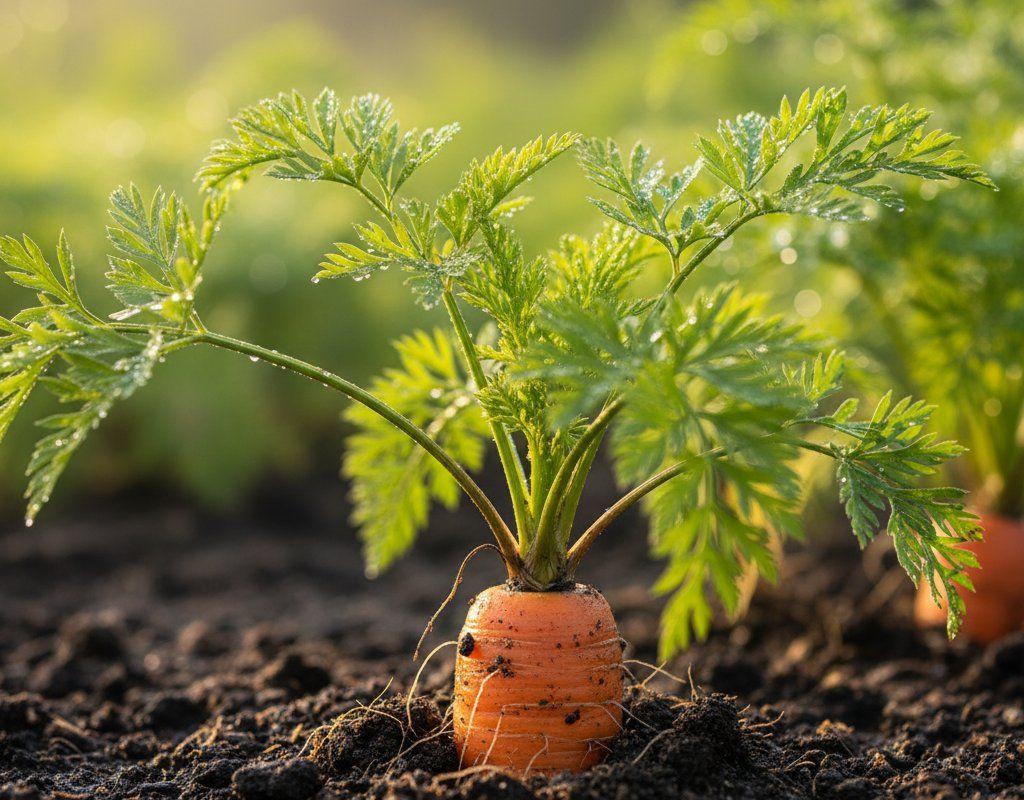

Companion Planting Details
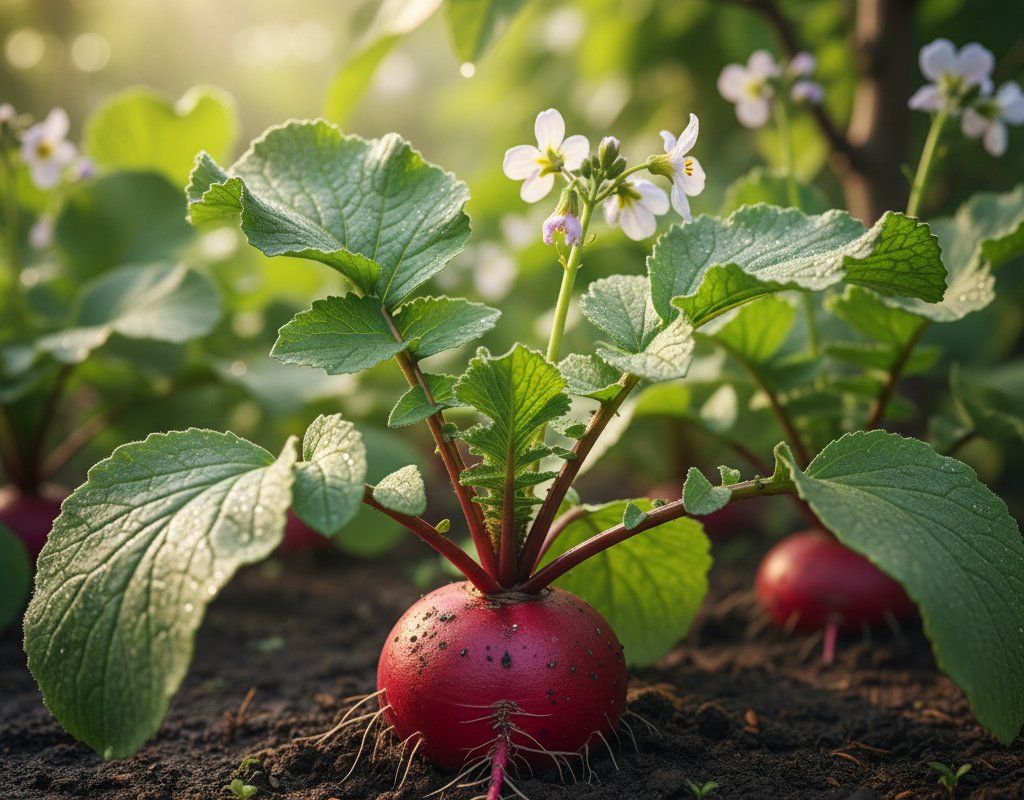
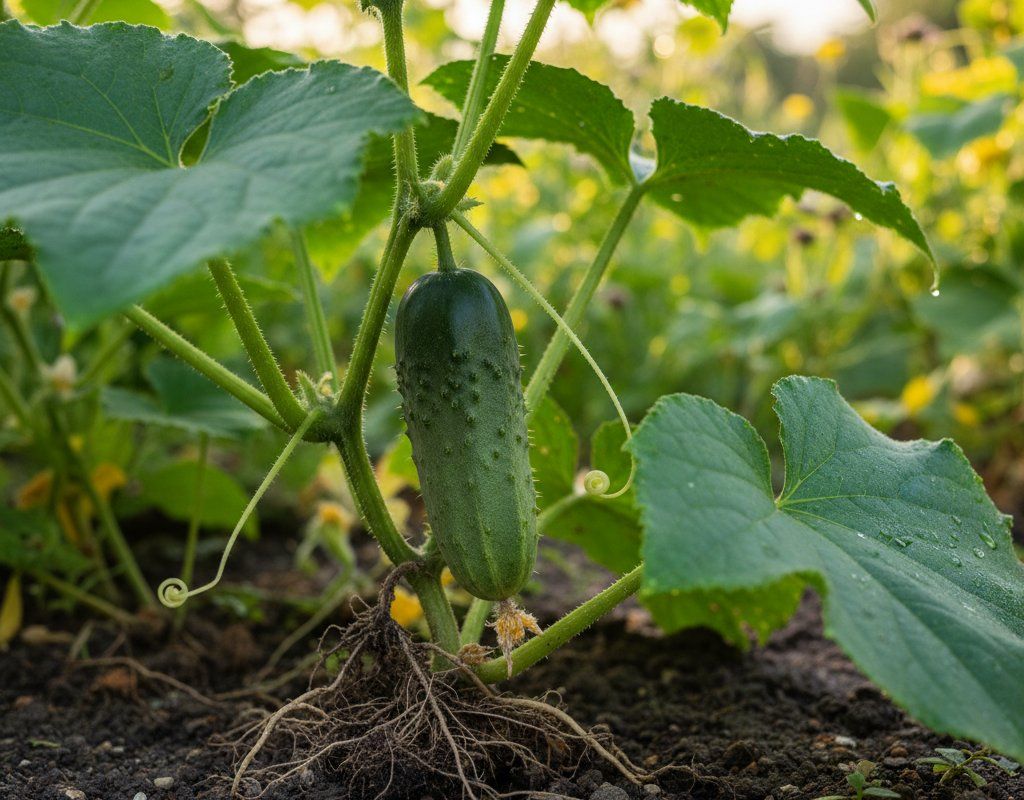
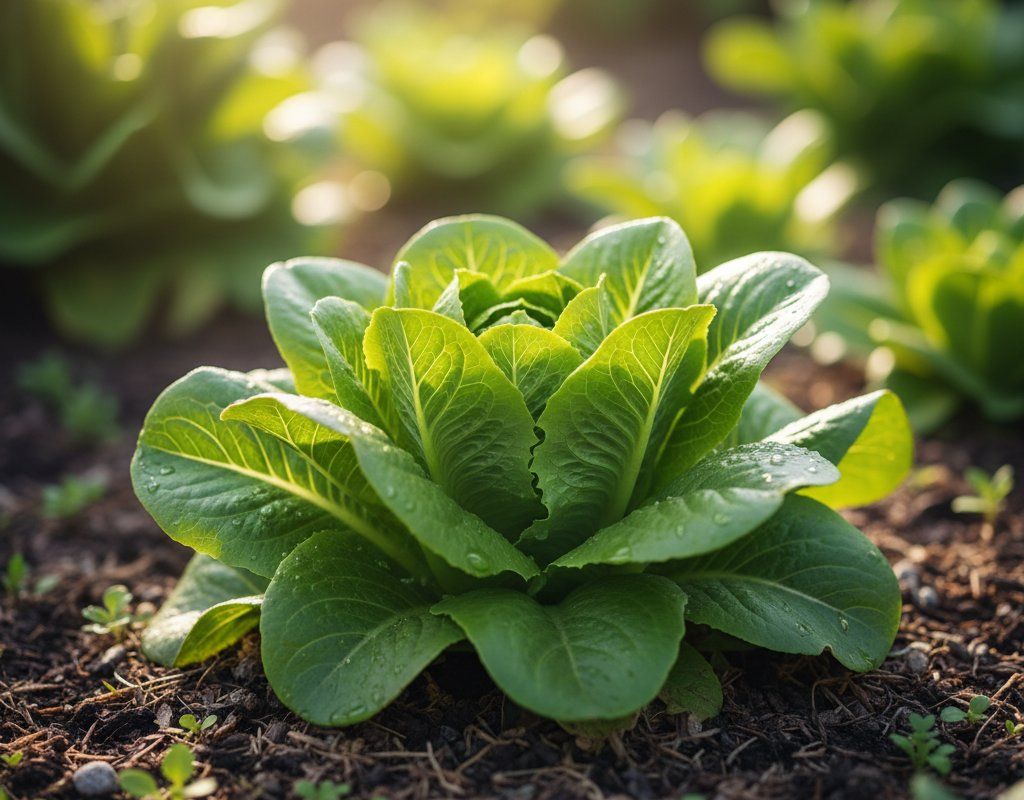
Companion planting can really boost your snap pea crop. Carrots and radishes are great companions because they help loosen the soil, making it easier for snap pea roots to grow. Cucumbers provide a natural trellis for snap peas to climb on, and corn offers shade during those hot summer afternoons. Lettuce benefits from the nitrogen that snap peas fix in the soil.
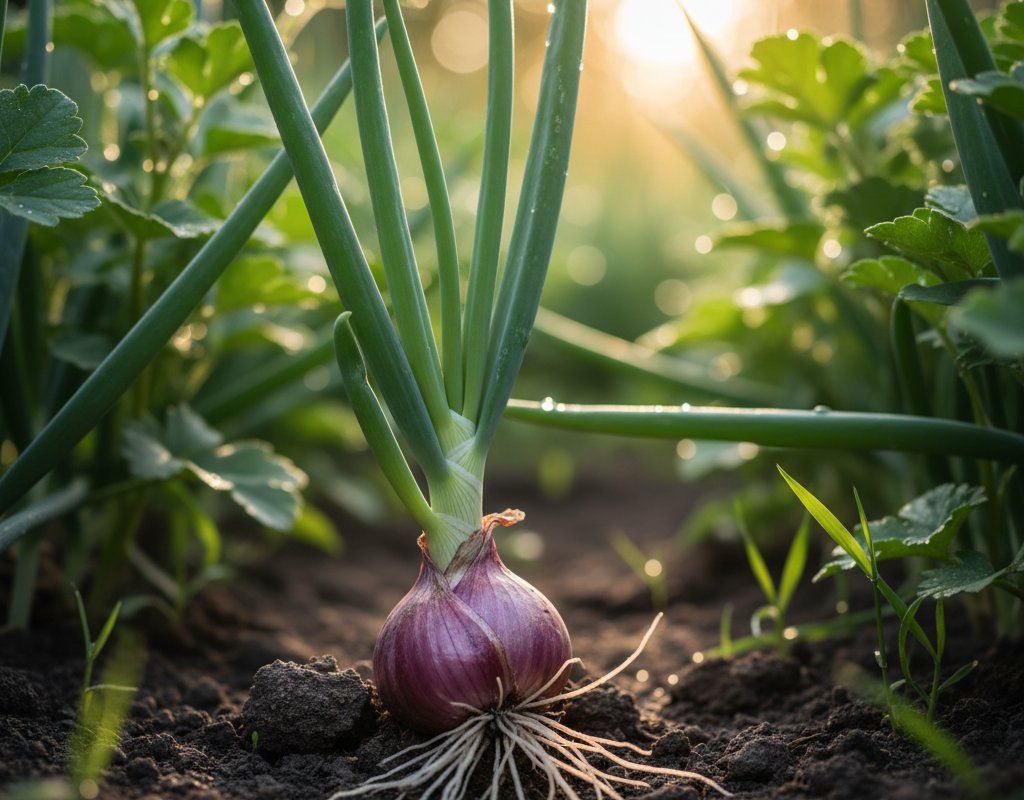
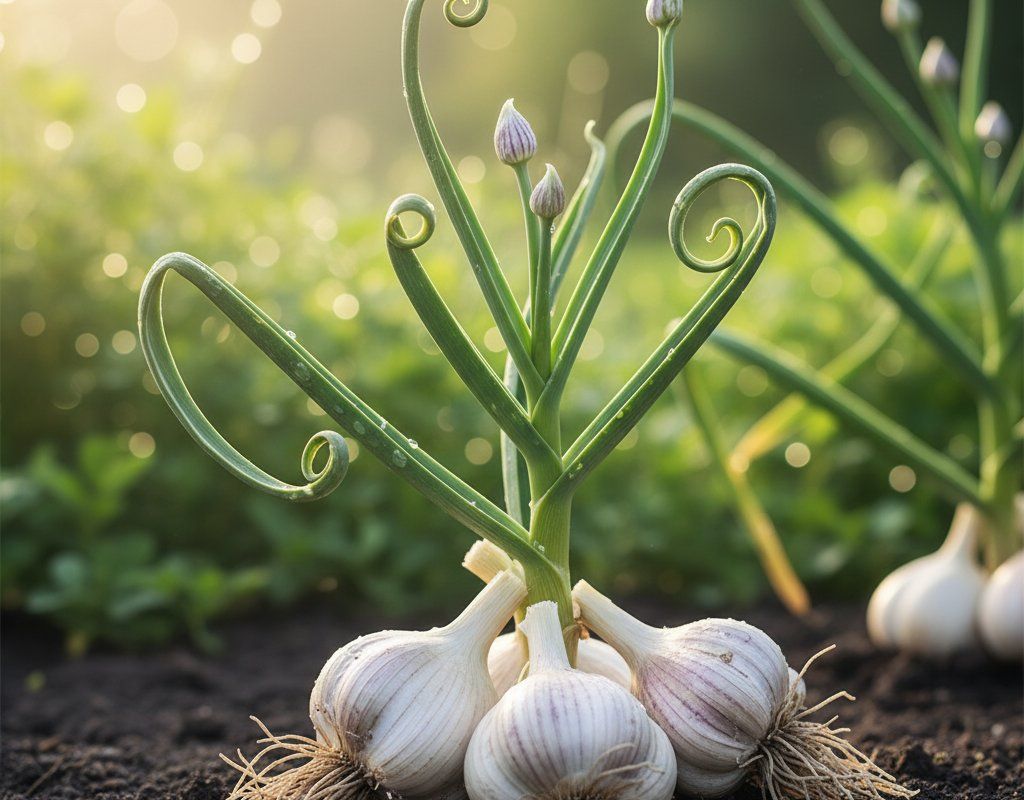
Avoid planting snap peas near onions and garlic. These alliums can inhibit the growth of snap peas.
🌸Best Flowers to Plant with Snap Peas
These flowers protect your Snap Peas from pests and attract pollinators for better harvests.




Get a Reminder When It's Time to Plant
We'll email you when key planting windows open for your zone.