
Squash in Zone 7B — Northern California
Cucurbita maxima · Your Complete 2026 Planting Guide
Ideal Time: Start Seeds Indoors!
This is the perfect time for the biggest, best harvest.
Start Seeds Now
- Start seeds in trays or pots with seed-starting mix
- Keep soil moist and warm (70-80°F)
- Transplant outdoors Late March through late April
Not Starting from Seed?
Buy starts around March 29 — that works great too!
How to Plant Squash in Zone 7B — Northern California
Here are all your options for getting squash in the ground, from the easiest method to more advanced approaches.
Direct Sow Seeds
RecommendedLate March through early August
around March 22
Consider succession planting every 2-3 weeks for continuous harvest.
Summer squash grows quickly from direct-sown seeds.
Buy Starts
Works WellLate March through late April
around March 29
Plant purchased starts after last frost (March 15).
Start Seeds Indoors
Works WellEarly to late March
around March 8
Then transplant: Late March through late April
Start seeds 3-5 weeks before transplanting outdoors.
Transplant Outdoors
Timing InfoLate March through late April
around March 29
Wait until nighttime temperatures stay above 50°F.
You have a nice window — no need to rush.
Overview
Here in Northern California's Zone 7B, squash deserves a spot in every garden. Our Mediterranean climate gives you an incredible 245-day growing season, perfect for both summer varieties that produce through our warm, dry months and winter squash that can mature fully before our first frost in mid-November. The reliability of our warm summers paired with cool nights creates ideal conditions for developing those thick, sweet flesh textures that make homegrown squash incomparably better than store-bought.
Yes, our dry summers and potential water restrictions mean you'll need to plan your watering strategy, but squash timing works beautifully with our climate patterns. You can start harvesting summer varieties by mid-June when your water-wise garden is hitting its stride, and winter squash stores perfectly through our mild winter months when fresh garden produce becomes more precious.
Starting Seeds Indoors
Starting squash seeds indoors isn't the preferred method, but it makes sense if you want to maximize your growing season or protect seeds from cool spring soil. Start seeds indoors during early to late March, about 3 weeks before you plan to transplant them out. Our early spring character means soil warms up relatively quickly, so this head start mainly benefits gardeners wanting the earliest possible harvest.
Use seed trays filled with quality potting mix and keep them warm—squash seeds germinate best at 70-75°F. Bottom watering works perfectly for squash seedlings since it prevents stem rot issues that can plague these moisture-sensitive plants. Place your trays near a sunny window or under grow lights once seedlings emerge.
The main advantage of indoor starting in our region is controlling the environment during those March temperature swings that can slow direct-sown seeds. Just remember that squash plants don't love root disturbance, so handle transplants gently and consider using biodegradable pots that can go directly in the ground.
Transplanting Outdoors
Transplant your indoor-started squash seedlings between late March through late April, timing it with our last frost period. Even though our average last frost hits around mid-March, those cool morning temperatures in April can still stress tender squash plants, so wait until nighttime lows consistently stay above 50°F.
Harden off seedlings gradually over a full week before transplanting. Start with just 2-3 hours of morning sun, then gradually increase outdoor exposure. Our spring weather can shift quickly from warm afternoons to surprisingly cool evenings, so this gradual transition prevents transplant shock.
Space transplants 48-72 inches apart—squash vines need serious room to spread in our climate where they'll grow vigorously through the long growing season. Choose a spot with full sun (6-8 hours) and protection from our occasional spring winds that can snap tender stems. The wider spacing also improves air circulation, which becomes crucial during our humid-free but still mildew-prone summer months.
Direct Sowing
Direct sowing is absolutely the way to go with squash in Northern California. You have a generous window from late March through early August, giving you flexibility to succession plant or start late-season crops. Wait until soil temperatures reach at least 60°F consistently—usually by late March in most NorCal microclimates, though foothill and mountain areas might need to wait until early April.
Prepare your soil by working in compost and ensuring good drainage. Our clay soils can stay too cool and wet in early spring, potentially rotting seeds before they germinate. Consider raised beds or mounded planting areas if drainage is questionable. Plant seeds 1 inch deep and space them 48-72 inches apart—these vines will easily fill that space by midsummer.
Summer squash grows incredibly fast from direct-sown seeds in our climate, often catching up to transplants within weeks. For winter squash varieties, direct sowing by late May ensures they'll have enough time to mature before our first frost. The key advantage in our region is that direct-sown plants develop stronger root systems better adapted to our dry summer conditions.
Watering Squash in Zone 7B (Northern California)
Squash has moderate watering needs but absolutely cannot handle drought stress—those big leaves and heavy fruit production demand consistent moisture. In our dry-summer climate, plan on deep watering once or twice per week, providing about 1-1.5 inches total. The key is deep, infrequent watering that encourages roots to reach down rather than staying shallow.
Use the finger test religiously: stick your finger 2 inches into the soil near the base of plants. If it feels dry at that depth, it's time to water. Our low humidity means surface soil can look dry while deeper soil still holds moisture, so don't rely on visual cues alone. Water at the base of plants rather than overhead—our low humidity means less disease pressure from wet leaves, but you'll conserve more water with targeted irrigation.
Watch for signs of water stress: wilting during the heat of the day (normal), but continued wilting into evening hours (problem), or fruits that stop sizing up properly. Overwatering shows up as yellowing leaves and poor fruit set. As winter squash approaches maturity in late summer, reduce watering to help shells harden and concentrate flavors—but don't let plants wilt completely.
A 3-4 inch layer of mulch around plants helps tremendously in our climate. Use straw or shredded leaves to conserve soil moisture and keep those sprawling vines off hot soil. Just keep mulch pulled back from the main stem to prevent pest issues.
🧪Fertilizing Squash
Feeding Schedule
Organic Fertilizer Options
Harvest Time
Expect your first summer squash harvest by mid-June, with plants producing continuously through our long growing season until first frost in mid-November. Winter squash takes longer—those 85 days to maturity mean plantings from late March will be ready by mid-to-late September, perfect timing before fall weather arrives.
For winter squash, harvest timing is crucial. The shell should be hard enough that you can't dent it with your fingernail, and the stem should look dry and corky rather than green and fleshy. Leave a 2-inch stem attached—this helps prevent rot during storage. The ground spot (where the squash sits on soil) should be deep yellow or orange, not pale or white.
Unlike tomatoes, winter squash cannot ripen off the vine, so patience is essential. However, if an unexpected early frost threatens (rare but possible in some NorCal microclimates), harvest mature-sized fruits and use them fresh rather than for storage. Summer squash should be harvested when still tender—check daily during peak season as they can go from perfect to overripe in just 2-3 days.
As November approaches, harvest all winter squash before nighttime temperatures drop to 35°F. A light frost might not kill the plants immediately, but it will damage the fruits' storage potential. Our mild fall weather usually gives you plenty of warning and time to get everything harvested properly.
Common Problems in Zone 7B (Northern California)
Squash Vine Borers Watch for sudden wilting of entire vines or vine sections, especially when the rest of the plant looks healthy. You'll see sawdust-like frass around the base of stems where larvae have bored inside. These clearwing moth larvae tunnel through stems, cutting off water and nutrient flow just when plants are hitting peak production in our warm summers.
The moths typically emerge in early summer here, laying eggs at stem bases. Wrap the bottom 6 inches of stems with aluminum foil or floating row cover as prevention. If you catch borers early, inject Bt (bacillus thuringiensis) into affected stems using a syringe. Butternut squash shows more resistance than other varieties, making it a smart choice for NorCal gardens.
Powdery Mildew This shows up as white or grayish powdery coating on leaves, stems, and sometimes fruit. Leaves curl, yellow, and eventually die back. Interestingly, this fungus thrives in our exact climate conditions—warm days, cool nights, and low humidity with dry leaf surfaces actually favoring its development over other fungal diseases.
Improve air circulation through proper spacing (don't crowd plants) and remove lower leaves that touch the ground. Neem oil works well, but try the milk spray trick first: mix 1 part milk with 9 parts water and spray affected areas. The proteins in milk help prevent spore germination. Our low humidity actually works in your favor once you remove affected foliage.
Squash Bugs These gray-brown, shield-shaped bugs cluster on leaf undersides and lay bronze-colored egg masses. They inject toxins while feeding, causing leaves to wilt and turn brown and crispy. Adults overwinter in garden debris and emerge as our spring temperatures warm up.
Hand-picking works well in smaller gardens—check plants every few days and crush those distinctive egg clusters. Try board traps: place boards near plants overnight, then flip them in the morning to find and destroy hiding adults. Remove all plant debris in fall to eliminate overwintering sites. Nasturtiums planted nearby can help repel them.
Northern California Specific Challenges Our moderate-to-hot, dry summers with low humidity create perfect conditions for powdery mildew while also stressing plants that need consistent moisture. The long growing season means pest populations can build up over time, making early intervention crucial. Additionally, our microclimates mean vine borers might emerge at different times across the region—coastal gardens might see them later than inland areas.
Best Companions for Squash
Plant these nearby for healthier Squash and better harvests.

Keep Away From
Companion Planting Details
Plant squash with corn and beans for the classic "Three Sisters" combination—corn provides natural trellising for beans, beans fix nitrogen that feeds heavy-feeding squash, and squash leaves shade soil to retain moisture (crucial in our dry summers). Radishes planted around squash hills help deter squash bugs and vine borers while maturing quickly before squash vines spread to claim the space.
Marigolds scattered throughout the squash patch help repel various pests and add beneficial flowers that attract pollinators—important since our bee populations face pressure from drought and development. Avoid planting potatoes anywhere near squash, as both crops attract similar pests and compete for nutrients, plus potatoes prefer cooler soil conditions that don't match squash's heat-loving nature in our Mediterranean climate.
🌸Best Flowers to Plant with Squash
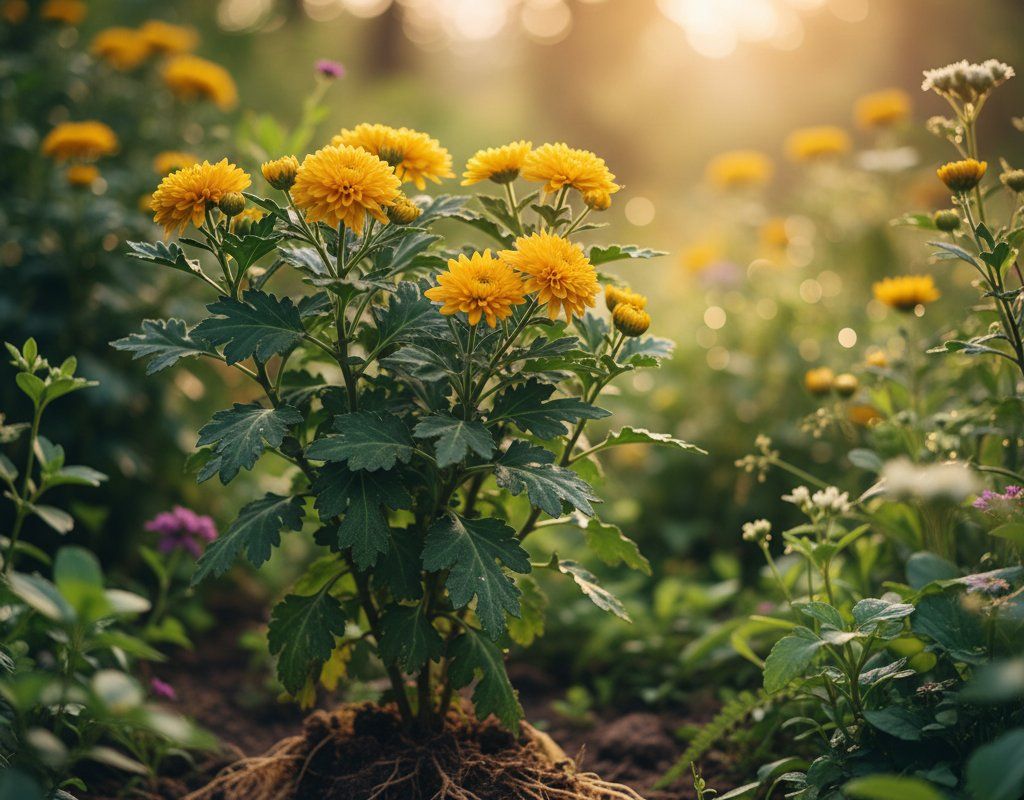
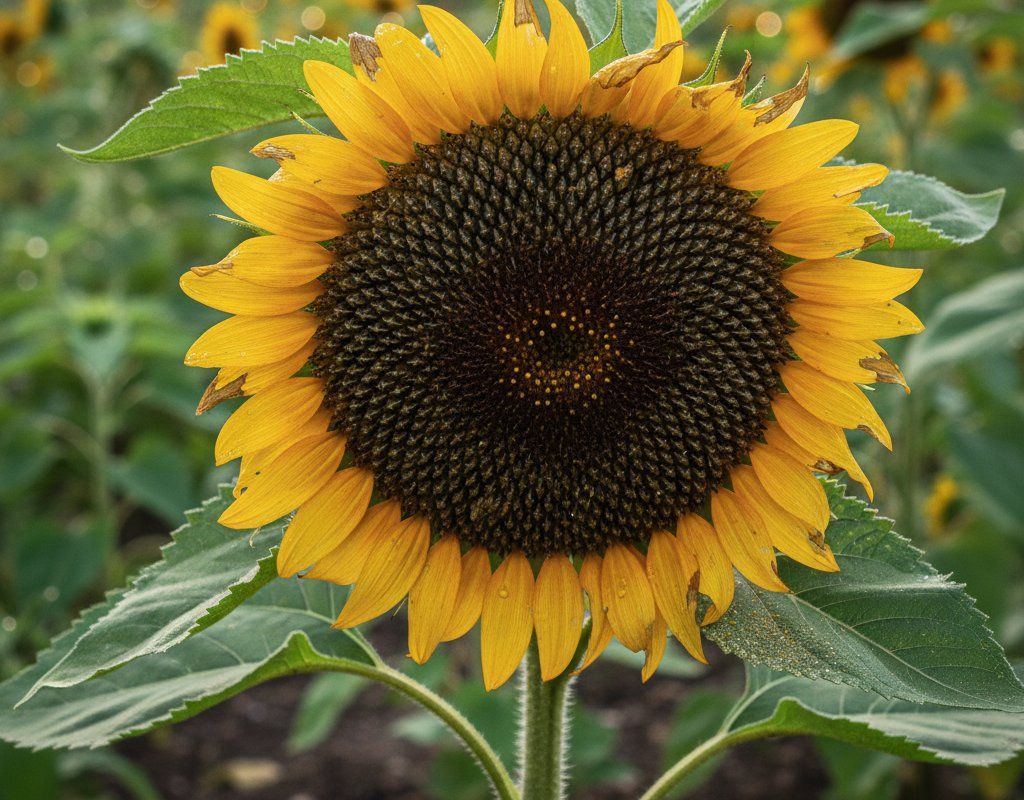
These flowers protect your Squash from pests and attract pollinators for better harvests.
For Pest Control






Get a Reminder When It's Time to Plant
We'll email you when key planting windows open for your zone.