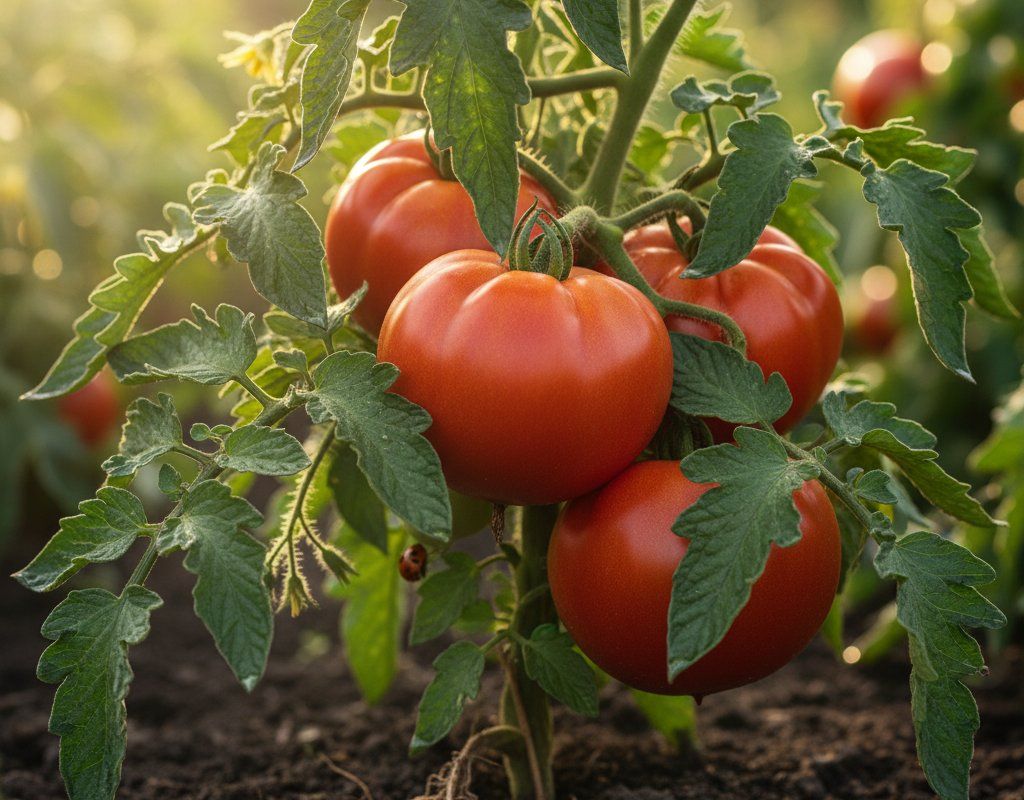
Beefsteak Tomatoes in Zone 10B — Southern California
Solanum lycopersicum · Your Complete 2026 Planting Guide
Check Planting Details Below
See the full planting guide for timing information.
How to Plant Beefsteak Tomatoes in Zone 10B — Southern California
Here are all your options for getting beefsteak tomatoes in the ground, from the easiest method to more advanced approaches.
Start Seeds Indoors
RecommendedEarly to late December
around December 13
Then transplant: Late January through late February
Start seeds 6-8 weeks before transplanting outdoors.
Buy Starts
Works WellLate January through late February
around January 24
Plant purchased starts after last frost (January 10).
Direct Sow Seeds
ChallengingDirect sowing is not typical for Beefsteak Tomatoes.
Transplant Outdoors
Timing InfoLate January through late February
around January 24
Wait until nighttime temperatures stay above 50°F.
You have a nice window — no need to rush.
Overview
Beefsteak tomatoes are the crown jewel of the Southern California garden, producing massive, meaty fruits that can easily weigh over a pound each. Our mild winters and year-round growing season mean you can start these giants early and enjoy fresh slicing tomatoes from spring through fall, something gardeners in colder zones can only dream of. The intense flavor and perfect texture make grocery store tomatoes taste like cardboard in comparison.
While our hot summer heat and water restrictions present challenges, the timing works in your favor with beefsteaks. You'll be transplanting during our coolest months and harvesting your first fruits before the peak summer intensity hits. With our 355-day growing season, you have plenty of time to get multiple plantings going and enjoy fresh beefsteaks well into late fall.
Starting Seeds Indoors
Start your beefsteak tomato seeds indoors during early to late December, about 6 weeks before you plan to transplant them outside. This timing takes advantage of our very early spring character, letting you get transplants in the ground while nights are still cool enough to prevent stress. Use seed trays filled with quality seed starting mix, and keep them consistently warm—around 70-75°F for the best germination.
Place your trays under grow lights or in the brightest south-facing window you have, since our December days are still relatively short. Bottom watering works best for tomato seedlings, so set your trays in shallow pans of water rather than watering from above. This prevents damping-off disease and encourages strong root development.
Once your seedlings develop their first true leaves, start fertilizing weekly with a diluted liquid fertilizer. By late January, your plants should be sturdy 4-6 inch transplants ready for the garden—perfect timing for our mild winter transplanting window.
Transplanting Outdoors
Transplant your beefsteak seedlings outdoors from late January through late February, when nighttime temperatures consistently stay above 50°F. This window works perfectly in Southern California because our mild winters mean no frost danger, but temperatures aren't yet hot enough to stress young plants. Space them 36-48 inches apart—beefsteaks need this room since they'll grow into massive, sprawling plants.
Harden off your seedlings gradually over a week before transplanting. Start with just a few hours of morning sun, then gradually increase their outdoor time until they're spending full days outside. Our winter sun can still be intense, especially inland, so watch for any leaf scorching during this process.
Plant them deep, burying about two-thirds of the stem to encourage a strong root system. Choose a spot with full sun but some afternoon protection if you're in the inland valleys where temperatures can spike even in winter. Water them in well and consider using row covers on nights when temperatures dip toward 40°F, though this is rare in Zone 10B.
Watering Beefsteak Tomatoes in Zone 10B (Southern California)
Beefsteak tomatoes have high water needs, and consistent moisture is absolutely critical for preventing fruit problems in our climate. These large fruits need steady, deep watering to develop properly—any drought stress will lead to cracking, blossom end rot, and poor fruit development. Plan on providing 1-2 inches of water per week, delivered slowly and deeply rather than frequent shallow watering.
During our dry summers when temperatures hit the low 90s, you'll need to water 2-3 times per week, soaking the soil to at least 12 inches deep. Water at the base of the plants rather than overhead to prevent leaf diseases, which can be an issue even in our low-to-moderate humidity. Use the finger test—stick your finger 2 inches into the soil, and if it's dry, it's time to water.
Start scaling back watering frequency as temperatures cool in fall, but never let the soil dry out completely. Our winter-wet pattern means you might get some natural rainfall, but don't count on it for consistent moisture. Mulch heavily with wood chips or straw to retain moisture and reduce watering frequency—this is especially important given water restrictions many SoCal areas face.
Watch for signs of water stress: wilting during hot afternoons (normal), cracked fruits (too much water after dry period), or blossom end rot (inconsistent watering). The key is maintaining steady soil moisture without waterlogged conditions, which can be tricky in our clay soils.
Supporting Your Beefsteak Tomatoes
Install heavy-duty support systems at planting time since beefsteak tomatoes are indeterminate growers that can reach 8+ feet tall with fruit that weighs over a pound each. Use either extra-sturdy tomato cages (at least 6 feet tall) or thick wooden stakes with strong ties—the combination of plant weight, large fruits, and our Santa Ana winds means flimsy supports will fail when you need them most.
For staking, use 8-foot stakes driven 2 feet deep, tying the main stem every 12-18 inches as it grows. Use soft ties like cloth strips or tomato ties rather than wire, which can cut into the stems. For caging, choose heavy-gauge wire cages or build your own from concrete reinforcing mesh—the standard lightweight store-bought cages will buckle under a fully loaded beefsteak plant.
Train the plants by gently weaving branches through cage openings or tying them to stakes as they grow. Support individual heavy fruit clusters with slings made from old t-shirts or pantyhose tied to the main support structure. This prevents branches from snapping under the weight, especially when fruit is nearly ripe and at its heaviest.
Pruning & Maintaining Beefsteak Tomatoes
Remove suckers (shoots growing between main stem and branches) regularly to direct the plant's energy into fewer, larger fruits rather than excessive foliage. Start this when plants are about 12 inches tall and continue throughout the growing season. Pinch off suckers when they're small—about 2-4 inches long—for the cleanest removal.
Prune off the lower branches once fruit sets higher up on the plant, removing any leaves that touch the ground or show signs of disease. This improves air circulation and reduces the risk of soil-borne diseases, which can be an issue during our occasional winter rains. Also remove any yellowing or damaged leaves throughout the season.
As your first frost approaches in late December, stop removing suckers and start pinching off new flower clusters to direct energy into ripening existing fruits. About 6 weeks before your expected frost date, top the plants by pinching out the growing tips—this forces the plant to focus on ripening rather than continued growth.
🧪Fertilizing Beefsteak Tomatoes
Feeding Schedule
Organic Fertilizer Options
Harvest Time
Expect your first harvest from mid-April through early June, about 85 days after transplanting. Beefsteak tomatoes are ready when they've developed their full color (usually deep red) and give slightly when cupped gently in your hand—they should have some give but not be mushy. The shoulder area around the stem should be fully colored with no green streaks.
Harvest by gently twisting and pulling the fruit, or use clean pruning shears to cut the stem. Check plants every 2-3 days during peak season since ripe beefsteaks don't hold on the vine long in our heat. Pick fruits when they're just starting to show color if temperatures are consistently above 95°F—they'll ripen better indoors than on the vine in extreme heat.
Continue harvesting regularly to encourage more fruit production. These plants will keep producing through our long growing season, often giving you fresh tomatoes into November or December. Remove any damaged or cracked fruits immediately to prevent attracting pests and diseases.
As your first frost approaches in late December, harvest all remaining green fruits larger than golf ball size. These will ripen indoors in a paper bag or on a sunny windowsill, giving you fresh tomatoes well into the new year. The combination of our mild winters and indoor ripening means you can essentially have fresh beefsteaks year-round.
Common Problems in Zone 10B (Southern California)
Fruit Cracking Concentric or radial splits in the tomato skin that expose the flesh underneath, making fruits susceptible to rot and pest damage. In Southern California, this typically happens after inconsistent watering—letting soil dry out during hot spells then flooding it during cooler periods. Our clay soils and water restrictions make consistent moisture challenging, but it's essential for crack prevention. Water deeply but less frequently, use drip irrigation or soaker hoses, and mulch heavily to maintain even soil moisture. Harvest fruits as soon as they start showing color if cracking is ongoing.
Catfacing Deep crevices, scars, and puckered deformities on the blossom end that make fruits look lumpy and misshapen. This happens when cool temperatures during flowering (below 55°F at night) interfere with proper pollination—more common with early plantings in our mild but sometimes cool winter nights. The fruit is still perfectly edible, just ugly. Avoid transplanting too early when nights are consistently cold, use row covers during cool snaps, and choose varieties less prone to catfacing for early plantings.
Blossom End Rot Sunken, dark brown or black leathery spots on the bottom of fruits, often affecting the first fruits of the season. Despite being called a "rot," this is actually a calcium deficiency caused by inconsistent watering rather than disease. Our clay soils and irregular rainfall patterns make this common in SoCal gardens. The most effective fix is consistent, deep watering—never let soil completely dry out, then flood it. Mulch heavily, avoid over-fertilizing with nitrogen, and remove affected fruits to redirect plant energy.
Slow Ripening Large green tomatoes that seem to hang forever without turning red, or fruits that take much longer than the expected 85 days to ripen. In our climate, this often happens during cool snaps in late winter or when plants are getting too much shade from other garden growth. Ensure plants receive 6-8 hours of direct sunlight, reduce nitrogen fertilizing which promotes leaves over fruit, and remove excess foliage that might be shading developing fruits.
Southern California Specific Challenges: Our hot, dry summers and occasional water restrictions mean maintaining consistent moisture is your biggest challenge with beefsteaks. Combined with our intense inland heat and Santa Ana winds, stress management becomes critical. The upside is our mild winters rarely threaten plants with cold damage, and our long season means you can succession plant for continuous harvests well into fall.
Best Companions for Beefsteak Tomatoes
Plant these nearby for healthier Beefsteak Tomatoes and better harvests.
View Full Companion Planting Chart →


Companion Planting Details
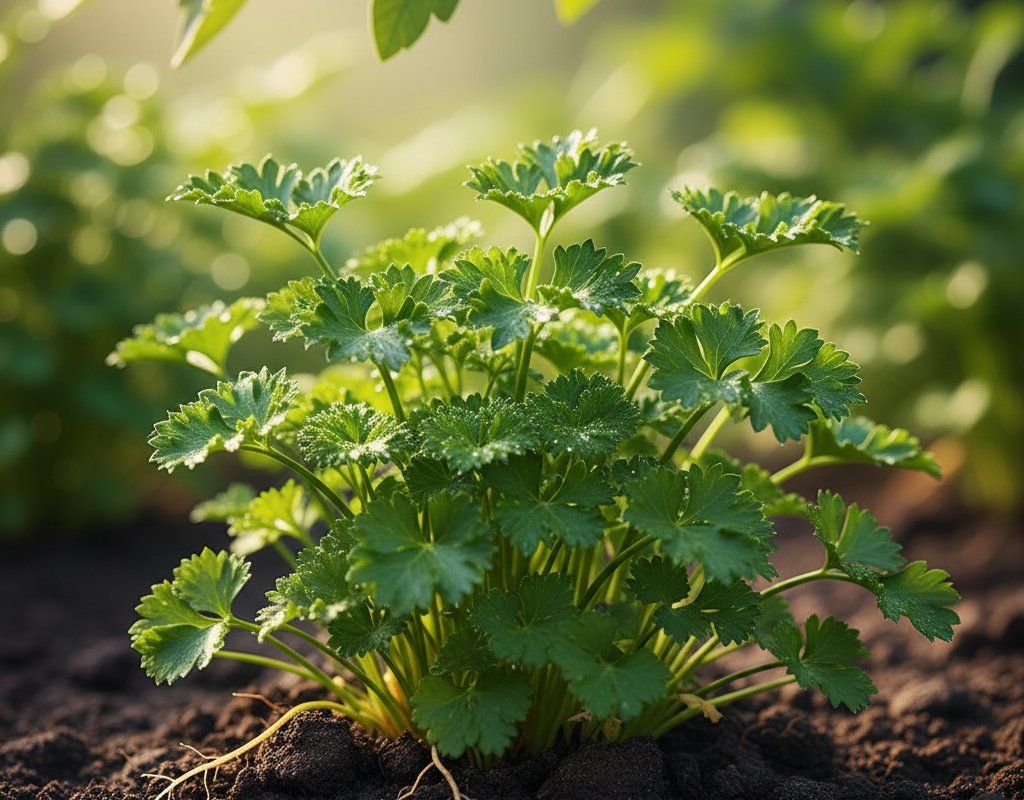
Plant basil near your beefsteak tomatoes—it naturally repels aphids and hornworms while improving tomato flavor, plus you'll have the perfect herb for fresh caprese salads. Carrots make excellent ground-level companions since their taproots don't compete with tomato roots, and they help break up clay soil common in SoCal gardens. Marigolds planted around the perimeter deter nematodes and whiteflies, both problematic pests in our warm climate.
Avoid planting brassicas (broccoli, cabbage, kale) near tomatoes since they're heavy feeders that compete for nutrients, and their harvest timing doesn't align well with tomato production in our region. Skip fennel entirely—it releases compounds that inhibit tomato growth and attracts pests that will move to your tomato plants. Corn isn't recommended either since both crops are heavy nitrogen feeders and attract similar hornworm pests, creating competition and pest pressure.
🌸Best Flowers to Plant with Beefsteak Tomatoes
These flowers protect your Beefsteak Tomatoes from pests and attract pollinators for better harvests.


Get a Reminder When It's Time to Plant
We'll email you when key planting windows open for your zone.