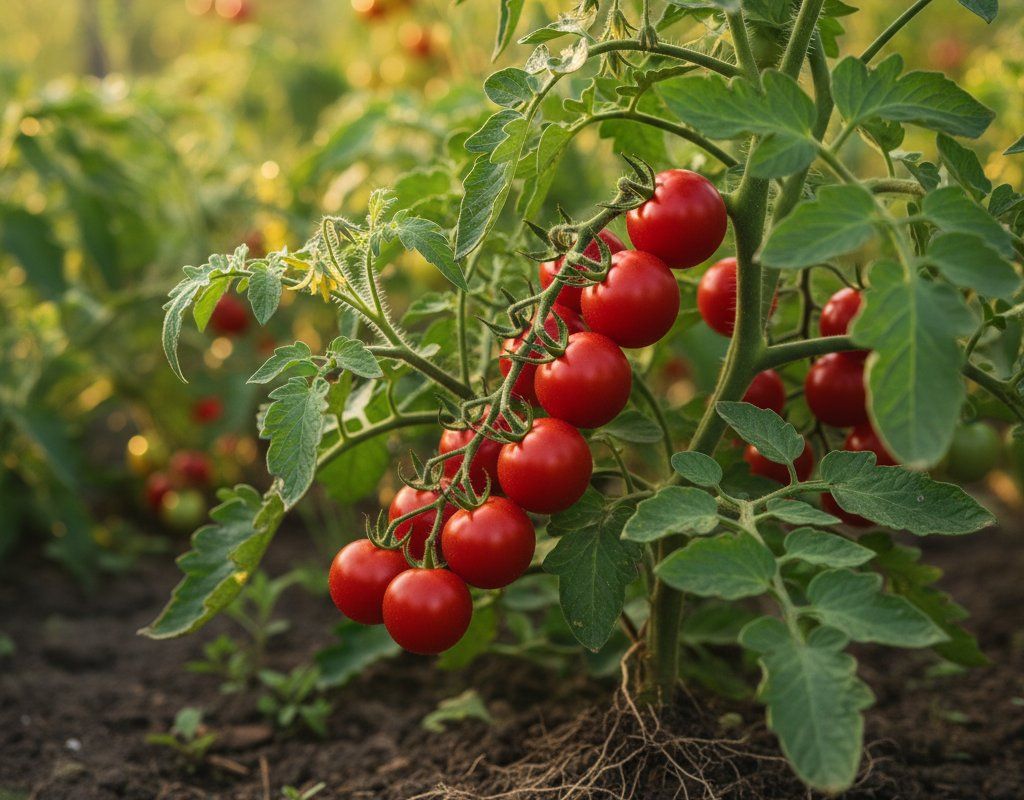
Cherry Tomatoes in Zone 10A — Southern California
Solanum lycopersicum var. cerasiforme · Your Complete 2026 Planting Guide
Check Planting Details Below
See the full planting guide for timing information.
How to Plant Cherry Tomatoes in Zone 10A — Southern California
Here are all your options for getting cherry tomatoes in the ground, from the easiest method to more advanced approaches.
Start Seeds Indoors
RecommendedMid December through early January
around December 18
Then transplant: Late January through late February
Start seeds 6-8 weeks before transplanting outdoors.
Buy Starts
Works WellLate January through late February
around January 29
Plant purchased starts after last frost (January 15).
Direct Sow Seeds
ChallengingDirect sowing is not typical for Cherry Tomatoes.
Transplant Outdoors
Timing InfoLate January through late February
around January 29
Wait until nighttime temperatures stay above 50°F.
You have a nice window — no need to rush.
Overview
Cherry tomatoes are absolutely perfect for our Southern California gardens, delivering intense, sweet flavor that puts store-bought varieties to shame. With our 349-day growing season and mild winters, you can enjoy fresh cherry tomatoes from early spring through late fall — something gardeners in colder regions can only dream of. These prolific little plants produce clusters of bite-sized gems that are perfect for snacking, salads, and preserving.
While our hot inland summers and periodic drought conditions present challenges, timing your cherry tomato planting correctly makes all the difference. Starting seeds indoors during our mild winter months and transplanting before the intense heat arrives sets you up for months of continuous harvest. The key is working with our climate's rhythm rather than against it.
Starting Seeds Indoors
Start your cherry tomato seeds indoors from mid-December through early January, about 6 weeks before your planned transplant date. This timing takes advantage of our very early spring character, getting plants established before the summer heat kicks in. Use seed starting trays filled with quality potting mix, and keep them at 70-80°F for optimal germination — a heating mat helps during our cooler winter nights.
Place your seed trays under grow lights or in a bright south-facing window, providing 12-14 hours of light daily. Bottom watering works best for tomato seedlings; place trays in shallow pans of water and let the soil absorb moisture from below. This prevents damping-off disease and keeps delicate stems from getting knocked around.
Once seedlings develop their second set of true leaves (usually 3-4 weeks after germination), transplant them into individual 4-inch pots. This gives them room to develop strong root systems before facing our outdoor conditions.
Transplanting Outdoors
Transplant your cherry tomato seedlings outdoors from late January through late February, when nighttime temperatures consistently stay above 50°F. Our mild winter weather makes this early transplanting possible, giving plants a head start before summer's intensity arrives. Choose a location with full sun exposure — at least 6-8 hours daily — as cherry tomatoes need maximum light to produce their prolific fruit clusters.
Harden off seedlings gradually over 7-10 days before transplanting. Start with 2-3 hours of morning sun, gradually increasing outdoor time and exposure. Our winter weather can be surprisingly variable, so watch for any cold snaps during this process.
Space plants 24-36 inches apart to ensure good air circulation, which becomes crucial during our warmer months. Dig planting holes slightly deeper than the seedling pots, burying 2/3 of the stem underground. Tomatoes will develop additional roots along the buried stem, creating stronger plants better equipped to handle our summer heat and Santa Ana wind conditions.
Watering Cherry Tomatoes in Zone 10A (Southern California)
Cherry tomatoes have high water needs and are not drought tolerant, requiring consistent moisture throughout our long growing season. The key challenge in Southern California is managing the transition from our winter-wet period to bone-dry summers while maintaining even soil moisture. Inconsistent watering causes fruit cracking — a common problem with cherry varieties that absorb water rapidly through their thin skins.
Water deeply 2-3 times per week during cool weather, increasing to daily watering once temperatures consistently reach the 80s. Provide about 1-2 inches of water weekly, adjusting for our typically low-to-moderate humidity and intense summer sun. Use the finger test — stick your finger 2 inches into the soil near the plant base. If it's dry at that depth, it's time to water.
Always water at the base of plants rather than overhead, especially important in our low-humidity climate where wet foliage can invite disease. Drip irrigation or soaker hoses work excellently for tomatoes, conserving water while meeting their high moisture needs. During our hot inland summers, morning watering is essential to ensure plants have adequate moisture before facing afternoon heat.
Apply a 3-4 inch layer of organic mulch around plants to conserve moisture and moderate soil temperature swings. This becomes especially important during our fire season when water restrictions may limit irrigation options. Watch for wilting during late afternoon heat — this usually indicates insufficient water rather than overwatering. Yellowing lower leaves often signal inconsistent moisture, while cracked fruit definitely means your watering schedule needs adjustment.
Supporting Your Cherry Tomatoes
Cherry tomatoes are vigorous indeterminate growers that absolutely require strong support to prevent sprawling and fruit loss. Install tall tomato cages (at least 6 feet high) or sturdy wooden stakes at planting time — trying to add support later risks damaging established root systems. These plants will easily reach 6-8 feet in our long growing season, producing heavy clusters of fruit that can snap unsupported branches.
Cage systems work best for most home gardeners, providing 360-degree support as plants fill out. Choose cages with wide openings for easy harvesting of those prolific cherry tomato clusters. If using stakes, tie plants loosely with soft cloth strips every 12-18 inches as they grow, allowing for stem expansion.
Train the main stems up through cage rings or tie to stakes regularly throughout the season. Cherry tomatoes produce numerous side branches that benefit from gentle guidance upward rather than outward. With proper support, your plants will form attractive, productive towers that make harvesting easy and keep fruit off the ground away from pests.
Pruning & Maintaining Cherry Tomatoes
Cherry tomatoes require less aggressive pruning than large-fruited varieties, but strategic removal of lower suckers improves air circulation and plant health. Remove suckers (shoots growing between main stem and branches) from the bottom third of the plant throughout the growing season. This focuses energy on fruit production while preventing overcrowding that can lead to disease in our occasionally humid conditions.
Leave more upper suckers on cherry tomato plants compared to beefsteak varieties — these smaller fruits ripen quickly and each sucker becomes a productive branch. Focus your pruning energy on removing yellowing lower leaves and any growth touching the ground. As our growing season progresses, gradually remove lower leaves up to the first fruit cluster to improve air circulation.
In late November, about 4-6 weeks before our typical first frost in late December, top your plants by pinching out growing tips. This redirects energy into ripening existing fruit rather than producing new flowers that won't have time to mature. Remove any obviously diseased or damaged foliage throughout the season to maintain plant health.
🧪Fertilizing Cherry Tomatoes
Feeding Schedule
Organic Fertilizer Options
Harvest Time
Your first cherry tomatoes will be ready from late March through mid-May, about 60 days after transplanting in our favorable climate. Unlike larger tomatoes, cherry varieties are ready when they're fully colored and yield slightly to gentle pressure. Many will practically pop off the vine cluster with a light tug when perfectly ripe — if you have to pull hard, give them another day or two.
Harvest daily once production begins, as cherry tomatoes ripen rapidly in our warm conditions. Pick fruits at their peak color but still slightly firm if you plan to store them for a few days. Fully soft tomatoes should be used immediately but offer the most intense flavor for fresh eating. Regular harvesting encourages continued production throughout our extended season.
Cherry tomatoes will continue producing until our first frost, typically arriving in late December. Unlike determinate varieties, these indeterminate plants keep flowering and setting fruit as long as conditions remain favorable. During hot inland summer periods, production may slow but will resume as temperatures moderate in fall.
As frost approaches, harvest all remaining fruit regardless of ripeness. Green cherry tomatoes will ripen indoors at room temperature within 1-2 weeks, though they won't achieve the full flavor of vine-ripened fruit. You can also pull entire plants and hang them in a protected area to allow remaining fruits to ripen gradually.
Common Problems in Zone 10A (Southern California)
Cracking Fruit develops splits in the skin — either concentric circles around the stem or radial lines radiating outward. The cracks expose flesh to rot and make tomatoes unusable. Cherry varieties are especially prone to cracking due to their thin skins and rapid water uptake. This problem becomes acute during our transition from dry periods to heavy watering or winter rains.
Consistent watering prevents most cracking by avoiding the dry-spell-followed-by-deluge cycle that causes fruit to swell faster than skin can stretch. Mulch heavily to maintain even soil moisture, and harvest promptly when fruit reaches full color. During our winter wet season, consider covering plants during heavy rains if cracking becomes severe.
Blossom End Rot Dark, sunken leathery patches appear on the bottom (blossom end) of fruits, often affecting the first tomatoes of the season. Despite its appearance, this isn't a disease but rather a calcium deficiency triggered by inconsistent watering — extremely common in our drought-prone climate when gardeners alternate between water restrictions and heavy irrigation.
Maintain consistent soil moisture through regular deep watering and heavy mulching. This is the single most effective fix for blossom end rot. Avoid over-fertilizing with nitrogen, which can interfere with calcium uptake. Remove affected fruits immediately to redirect plant energy into healthy fruit production.
Early Blight Brown spots with distinctive concentric rings (bullseye or target pattern) appear on lower leaves first, gradually working upward. Leaves turn yellow and drop, weakening the plant. This fungal disease thrives during our occasional humid periods and spreads through soil splash onto lower foliage during irrigation.
Remove affected leaves immediately and destroy them (don't compost). Water at plant base rather than overhead to prevent soil splash, and mulch around plants to create a barrier. Improve air circulation through proper spacing and pruning lower growth. Copper-based fungicides can slow disease spread if applied early.
Hornworms Large sections of leaves disappear overnight, leaving only stems behind. You'll find large green caterpillars (up to 4 inches) with white diagonal stripes, plus dark droppings on leaves below. These voracious pests can completely defoliate plants within days during peak summer months.
Handpick hornworms during morning inspection — they're large enough to spot easily and don't bite. Bt (Bacillus thuringiensis) spray provides organic control and works effectively on actively feeding caterpillars. If you find hornworms covered with small white cocoons, leave them alone — these are beneficial parasitic wasps that will kill the hornworm and produce more pest controllers.
Southern California Specific Challenges Our hot, dry summers stress tomato plants and concentrate pest problems, while water restrictions can force inconsistent irrigation that triggers cracking and blossom end rot. Santa Ana wind conditions can damage unsupported plants and increase water stress. The combination of intense sun and low-to-moderate humidity creates perfect conditions for rapid moisture loss, making consistent watering absolutely critical for cherry tomato success.
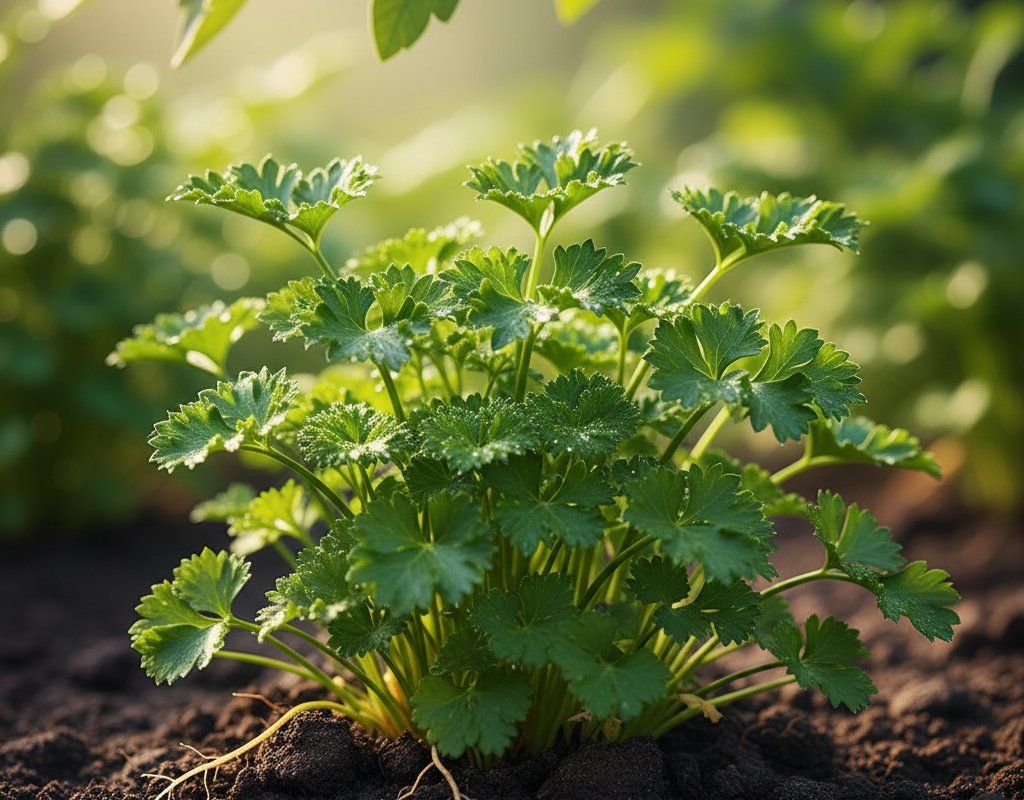
Best Companions for Cherry Tomatoes
Plant these nearby for healthier Cherry Tomatoes and better harvests.
View Full Companion Planting Chart →


Companion Planting Details
Plant basil near your cherry tomatoes — this classic pairing isn't just culinary tradition but practical pest management, as basil's strong scent helps deter aphids and hornworms while improving tomato flavor. Carrots make excellent ground-level companions, their deep roots breaking up soil without competing for nutrients while maximizing space in your garden beds. Marigolds planted around tomato perimeters release compounds that discourage nematodes and other soil pests, particularly valuable in our year-round growing climate where pest pressure never fully breaks.
Avoid planting brassicas (cabbage, broccoli, cauliflower) near tomatoes, as they compete heavily for similar nutrients and can stunt tomato growth. Keep fennel away from your tomato patch — it releases allelopathic compounds that inhibit tomato development. Corn should also be planted elsewhere, as both crops attract similar pests like hornworms, creating concentrated pest pressure that's difficult to manage in our extended growing season.
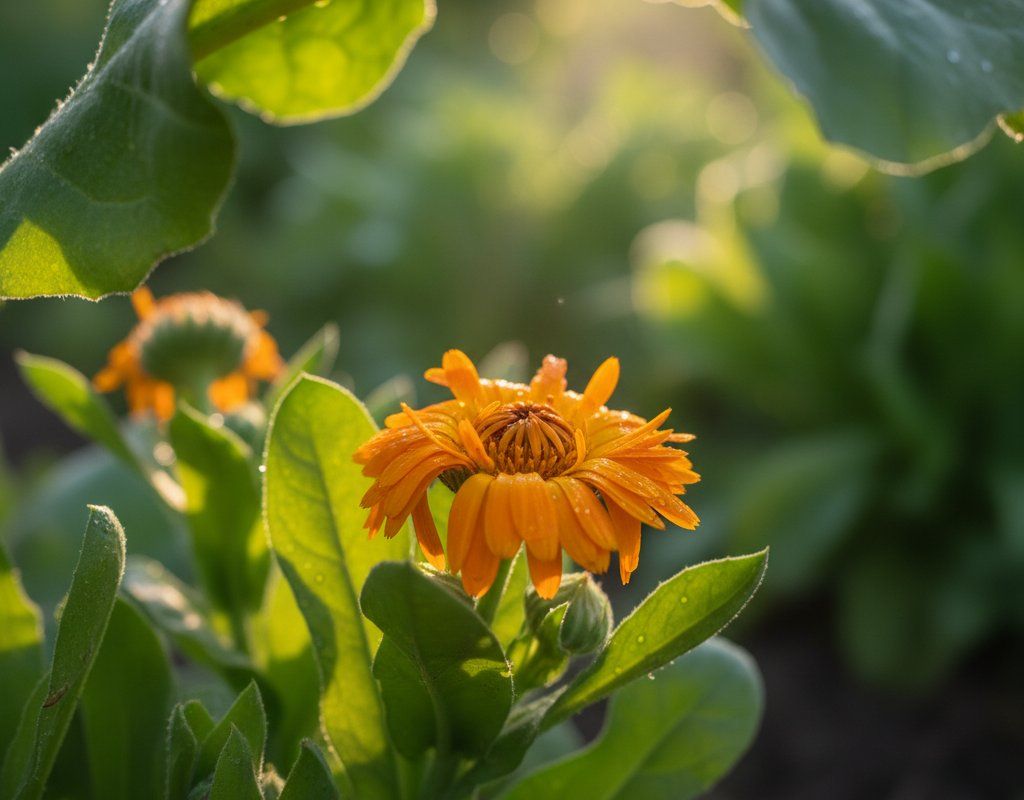
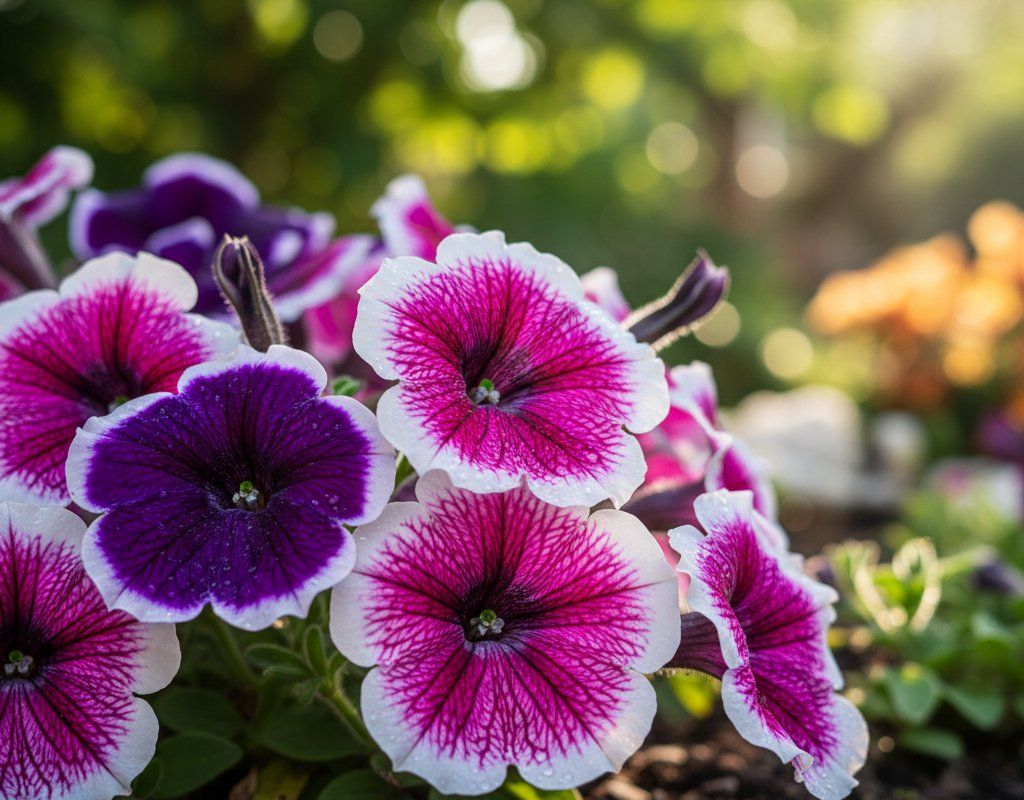
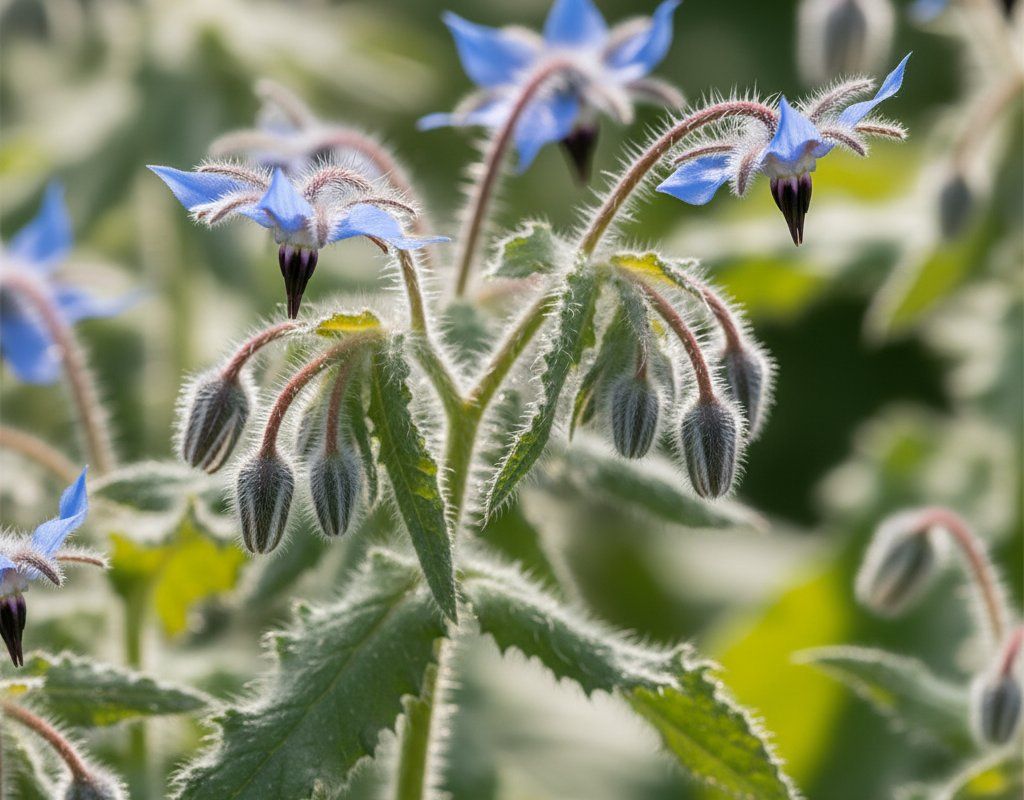
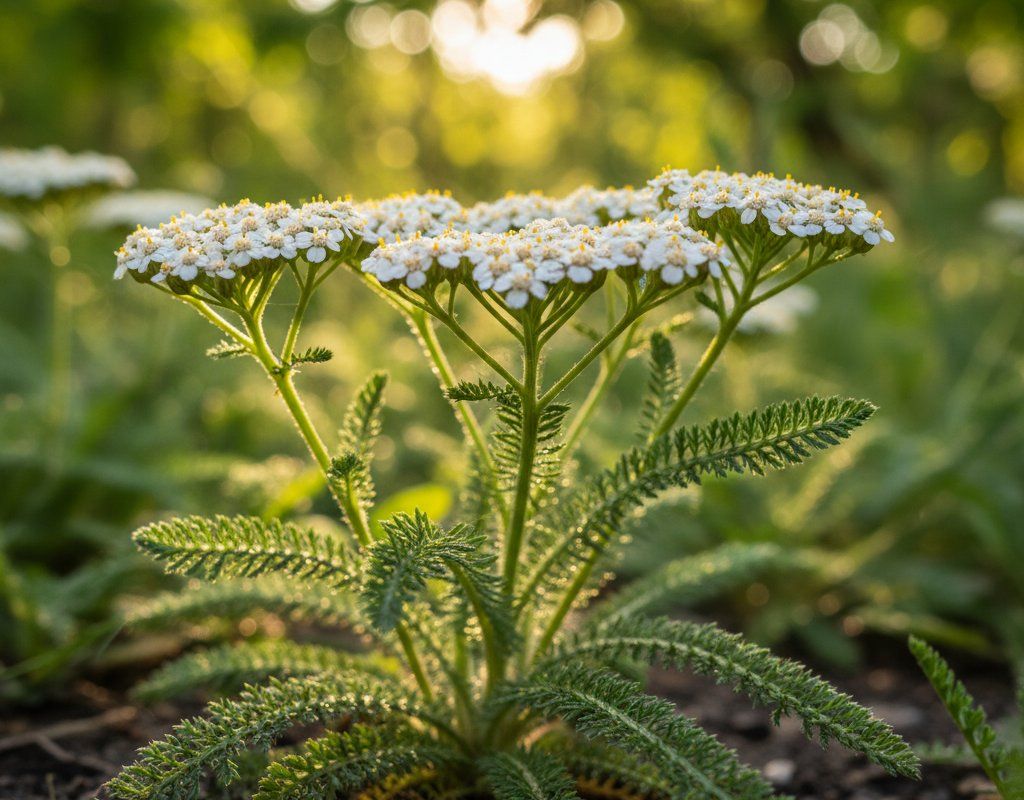
🌸Best Flowers to Plant with Cherry Tomatoes
These flowers protect your Cherry Tomatoes from pests and attract pollinators for better harvests.
For Pest Control


Get a Reminder When It's Time to Plant
We'll email you when key planting windows open for your zone.