Roma Tomatoes in Zone 6A — Southeast
Solanum lycopersicum · Your Complete 2026 Planting Guide
Planning Ahead — Great!
You’re ahead of the season. Here’s when to start.
Mark Your Calendar
How to Plant Roma Tomatoes in Zone 6A — Southeast
Here are all your options for getting roma tomatoes in the ground, from the easiest method to more advanced approaches.
Start Seeds Indoors
RecommendedEarly to late March
around March 13
Then transplant: Late April through late May
Start seeds 6-8 weeks before transplanting outdoors.
Buy Starts
Works WellLate April through late May
around April 24
Plant purchased starts after last frost (April 10).
Direct Sow Seeds
ChallengingDirect sowing is not typical for Roma Tomatoes.
Transplant Outdoors
Timing InfoLate April through late May
around April 24
Wait until nighttime temperatures stay above 50°F.
You have a nice window — no need to rush.
Overview
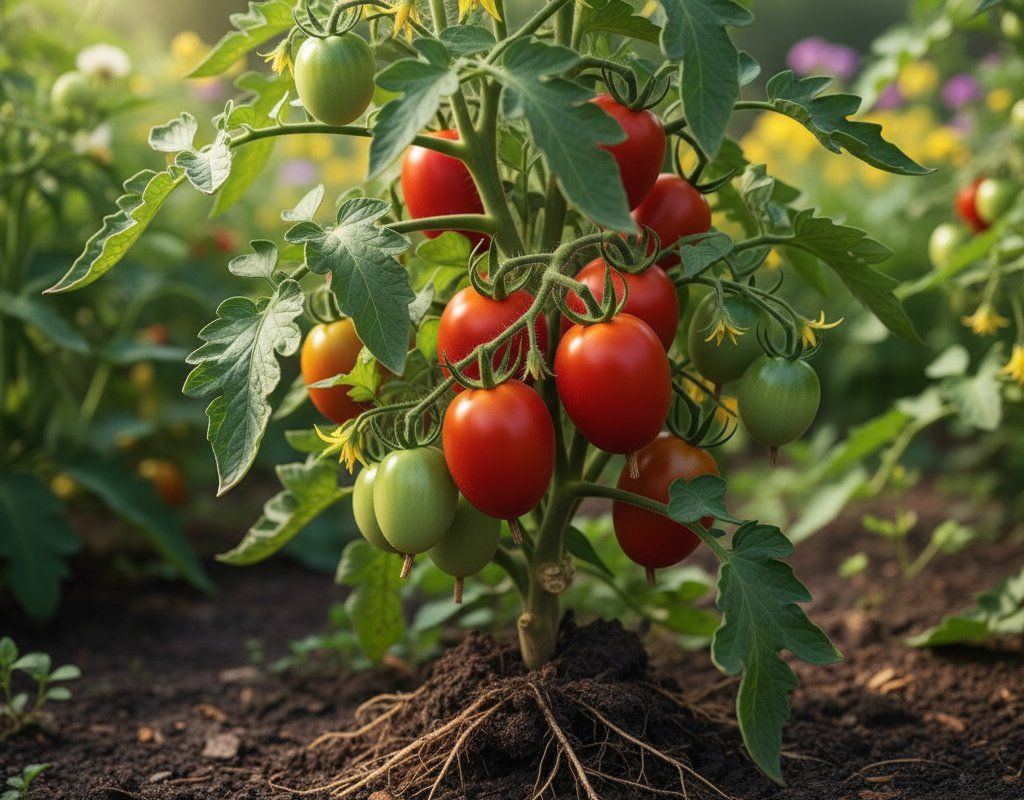
Roma tomatoes are a game-changer for Southeast gardeners who want meaty, paste-style tomatoes that handle our hot, humid summers better than many other varieties. These determinate plants produce concentrated harvests of egg-shaped fruits perfect for sauces, canning, and fresh eating — and they're bred to ripen reliably even when afternoon thunderstorms and heat stress challenge more finicky varieties. With their thick walls and fewer seeds, Romas give you more usable tomato per pound than slicers.
While our Southeast climate brings challenges like disease pressure from humidity and unpredictable spring weather, Roma tomatoes actually thrive in our conditions when timed right. Your 198-day growing season gives you plenty of time to start seeds indoors, wait out any late cold snaps, and still harvest multiple flushes before the first frost in late October. The key is working with our climate patterns rather than fighting them.
Starting Seeds Indoors
Start your Roma tomato seeds indoors during early to late March, about six weeks before you plan to transplant outdoors. This timing lets you get a head start while avoiding the risk of late frosts that can still surprise us in the Southeast through early April. You'll need seed starting trays, a warm spot (70-75°F works well), and a grow light or sunny south-facing window.
Plant seeds about ¼ inch deep in quality seed starting mix and keep the soil consistently moist but not soggy. Bottom watering works especially well for tomato seeds — place your seed trays in a shallow pan of water and let the soil absorb moisture from below. This prevents the surface from staying too wet, which can lead to damping off disease in our humid conditions.
Your seeds should germinate within 7-10 days in warm conditions. Once they develop their first true leaves (the second set that looks like actual tomato leaves), you can move them to individual pots and begin weekly feeding with diluted liquid fertilizer. Keep them in bright light and maintain consistent moisture as they develop into sturdy transplants.
Transplanting Outdoors
Plan to transplant your Roma seedlings outdoors from late April through late May, after the last frost risk has passed and soil temperatures stay consistently above 60°F. In the Southeast, late April is usually safe, but if you have a warm, protected spot, you might get away with mid-April planting. Watch the forecast for any surprise cold snaps that can still catch us off guard.
Harden off your seedlings gradually over a week before transplanting by exposing them to outdoor conditions for increasing periods each day. Start with an hour of morning sun and work up to full days outside. This process is especially important in the Southeast because the transition from indoor growing to our intense sun and humidity can shock unprepared plants.
Space your Roma plants 24-36 inches apart to ensure good air circulation, which is crucial for preventing fungal diseases in our humid climate. Plant them slightly deeper than they were in their pots — tomatoes develop additional roots along buried stems, creating stronger plants. Choose a spot with full sun (6-8 hours daily) and well-draining soil, as our clay soils can hold too much water during heavy spring rains.
Watering Roma Tomatoes in Zone 6A (Southeast)
Roma tomatoes need consistent, deep watering throughout the growing season, but this requires careful attention in the Southeast where we get feast-or-famine rainfall patterns. These paste tomatoes are particularly sensitive to inconsistent moisture, which concentrates into blossom end rot on their elongated fruits. Even with our 45-55 inches of annual rainfall, you'll need to supplement during dry spells and manage drainage during our heavy summer downpours.
Water deeply 1-2 times per week, providing about 1-2 inches total including rainfall. Use the finger test — stick your finger 2 inches into the soil near the plant base. If it's dry at that depth, it's time to water. During our hot summers with temperatures hitting 92°F regularly, you may need to water every other day, especially if plants are in containers or sandy soil areas.
Always water at the base of plants rather than overhead to minimize disease pressure from our humid conditions. Soaker hoses or drip irrigation work particularly well here because they keep water off the foliage while delivering moisture directly to root zones. Morning watering is ideal — it gives plants time to dry before evening humidity rises.
Heavy mulching is essential in the Southeast to maintain consistent soil moisture between our unpredictable rainfall events. Use 3-4 inches of organic mulch like straw or shredded leaves around plants, keeping it a few inches away from stems. Watch for signs of overwatering during heavy rain periods — yellowing lower leaves and mushy stems — and improve drainage if needed. Underwatered plants show wilting during the heat of the day even when soil feels moist on top.
Supporting Your Roma Tomatoes
Install cages or stakes when you transplant your Roma seedlings, as trying to add support later can damage established root systems. Since Romas are determinate varieties that stay relatively compact (4-5 feet), shorter tomato cages work perfectly and are often more economical than the tall cages needed for indeterminate varieties. Choose sturdy cages at least 4 feet tall, as even determinate plants can get heavy when loaded with fruit.
Stakes work well too, especially if you're growing multiple plants in a row. Use 6-foot stakes driven 18 inches into the ground, and tie plants loosely with soft materials like cloth strips or tomato ties. Avoid wire or string that can cut into stems as plants grow and sway in our frequent afternoon thunderstorms.
Train your Roma plants by gently guiding the main stem through cage openings or tying to stakes every 8-10 inches as they grow. Remove suckers (shoots growing between main stems and branches) early in the season to focus energy on fruit production. Since Romas are determinate, they'll naturally stop growing taller once they set fruit, making them easier to manage than sprawling indeterminate varieties.
🧪Fertilizing Roma Tomatoes
Feeding Schedule
Organic Fertilizer Options
Harvest Time
Your first Roma tomatoes should be ready for harvest from early July through late August, about 75 days from transplanting. The timing varies based on when you planted and how warm our spring was, but most Southeast gardeners see their first ripe Romas by mid-July. These determinate plants produce most of their crop over a 3-4 week period, which is perfect for canning or sauce-making projects.
Roma tomatoes are ready when they turn deep red throughout and feel firm with just slight give when gently squeezed. The fruit should detach easily from the stem with a gentle twist — if you have to pull hard, it's not quite ready. Unlike slicing tomatoes, Romas are best harvested fully ripe for maximum flavor and proper texture for cooking applications.
Pick tomatoes regularly to encourage continued production and prevent overripe fruit from attracting pests like stink bugs or cracking after heavy rains. During peak harvest, you may be picking every 2-3 days. Don't worry if you can't use them all immediately — Romas store well at room temperature for several days and freeze excellently for later sauce-making.
As the first frost approaches in late October, harvest any green tomatoes that are starting to show color changes. These can ripen indoors on a counter or windowsill over several weeks. Very green tomatoes can be used for fried green tomatoes or green tomato relish, making good use of the end-of-season harvest.
Common Problems in Zone 6A (Southeast)
Blossom End Rot Watch for sunken, dark brown or black leathery patches on the bottom (blossom end) of your Roma fruits. This problem often shows up on the first fruits of the season and can be particularly frustrating since these tomatoes are grown specifically for their perfect paste-making shape. The affected area starts small but can expand to cover the entire bottom third of the tomato.
This isn't a disease but a calcium deficiency caused by inconsistent watering — exactly what happens when our spring and summer rainfall patterns create drought-flood cycles. Our clay soils can compound the problem by either holding too much water during heavy rains or becoming hard and impermeable during dry spells. Maintain consistent moisture through deep, regular watering and heavy mulching. Remove affected fruits immediately as they won't recover, and focus on preventing it on new fruits through better water management.
Early Blight Look for brown spots with distinctive concentric rings (like a target or bullseye pattern) starting on lower leaves first, then spreading upward. Leaves eventually yellow and drop off, and the spots can appear on stems and fruits too. This fungal disease thrives in our warm, humid Southeast conditions and spreads when rain or irrigation water splashes soil-borne spores onto plant leaves.
Remove and destroy affected leaves immediately — never compost them as the spores will survive. Water only at the base of plants to prevent soil splash, and mulch heavily around plants. Improve air circulation by proper spacing and removing lower branches that touch the ground. Our humid conditions make this a persistent problem, so consider preventive copper fungicide sprays every 2-3 weeks during wet periods.
Fusarium Wilt This devastating disease starts with wilting on just one side of the plant, then spreads to the entire plant over several days. You'll notice yellowing leaves starting on one side, and if you cut the stem open, you'll see brown streaks inside. Unlike temporary wilting from heat stress, this progressive wilting doesn't recover with watering or cooler evening temperatures.
Once infected, there's no cure — remove and destroy the entire plant immediately to prevent spread to nearby plants. This soil-borne fungus persists for years and enters through roots, especially thriving in our warm soil temperatures. Plant resistant varieties marked with 'F' on seed packets, rotate your tomato crops to different areas of the garden each year, and maintain soil pH above 6.5 to discourage the fungus.
Southeast Specific Challenges Our hot, humid summers create ideal conditions for fungal diseases, while Japanese beetles can quickly defoliate plants in July and August. The combination of afternoon thunderstorms and clay soil creates drainage challenges that stress plants and encourage root problems. However, these same conditions — reliable summer moisture and long warm seasons — make Roma tomatoes extremely productive when properly managed through consistent watering, good air circulation, and strategic timing.
Best Companions for Roma Tomatoes
Plant these nearby for healthier Roma Tomatoes and better harvests.
View Full Companion Planting Chart →


Companion Planting Details
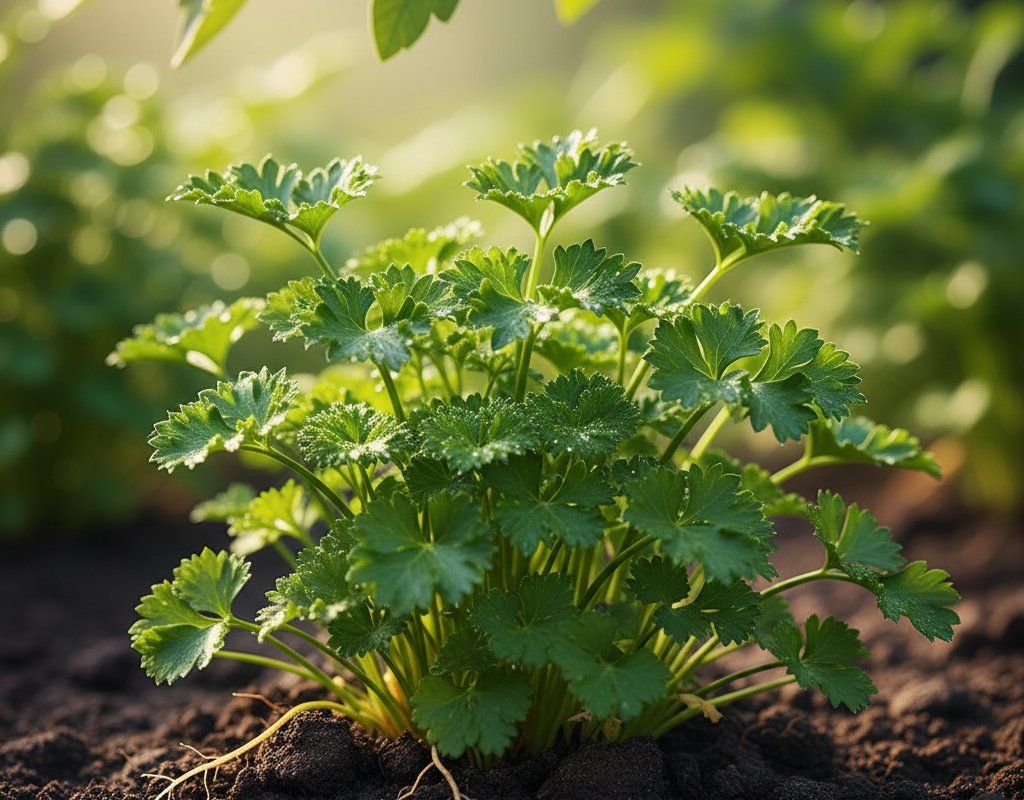
Plant basil alongside your Roma tomatoes for natural pest deterrence and improved flavor — many gardeners swear that basil planted within a foot of tomatoes actually improves their taste. Carrots make excellent companions because their deep taproots break up our clay soil without competing for surface nutrients, while parsley attracts beneficial insects that prey on tomato pests like hornworms. Marigolds planted around the garden border help deter Japanese beetles and other pests that can damage tomato foliage during our humid summers.
Avoid planting brassicas like cabbage or broccoli near tomatoes, as they compete for similar nutrients and can harbor similar pest problems. Fennel inhibits tomato growth through allelopathic compounds, while corn attracts corn earworms that also feed on tomatoes. In our Southeast gardens where space is often limited and disease pressure is high, focus on companions that actively benefit your tomatoes rather than simply coexisting with them.
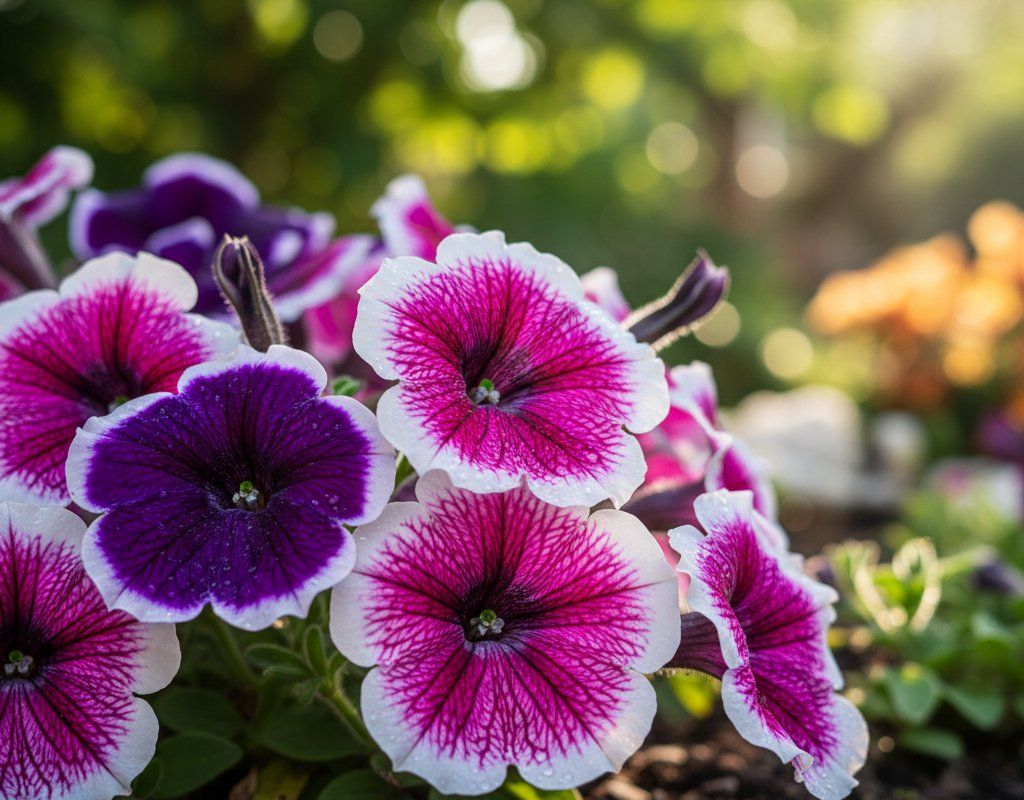
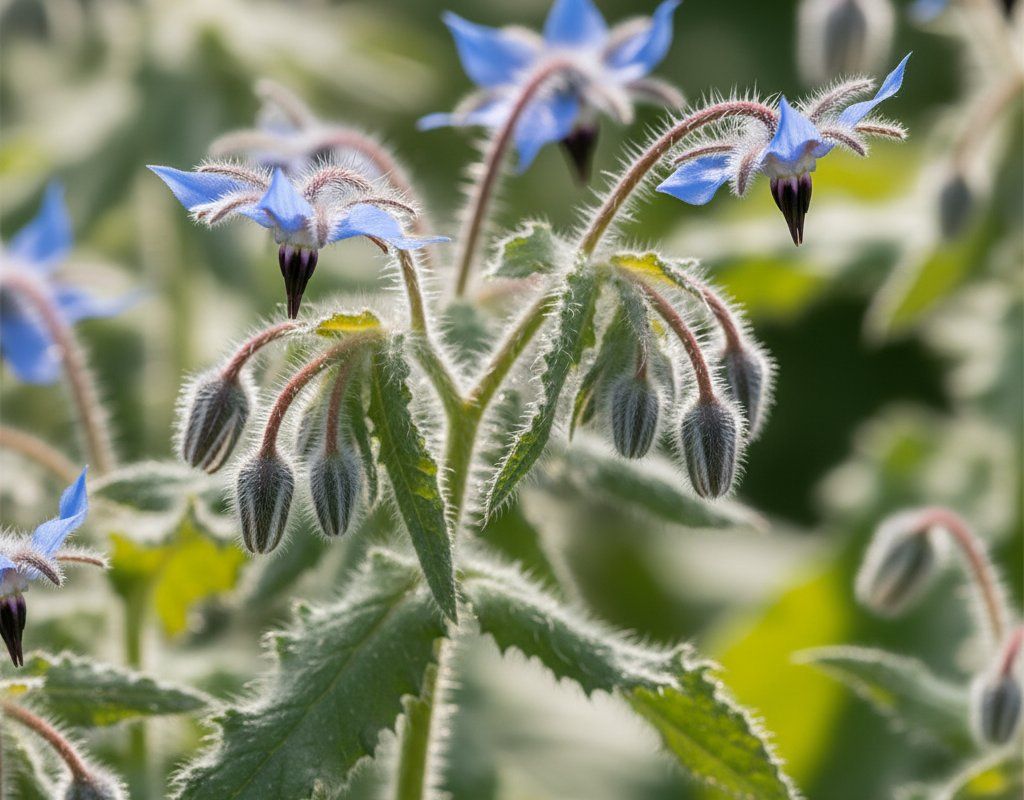
🌸Best Flowers to Plant with Roma Tomatoes
These flowers protect your Roma Tomatoes from pests and attract pollinators for better harvests.
For Pest Control


For Pollinators
Get a Reminder When It's Time to Plant
We'll email you when key planting windows open for your zone.