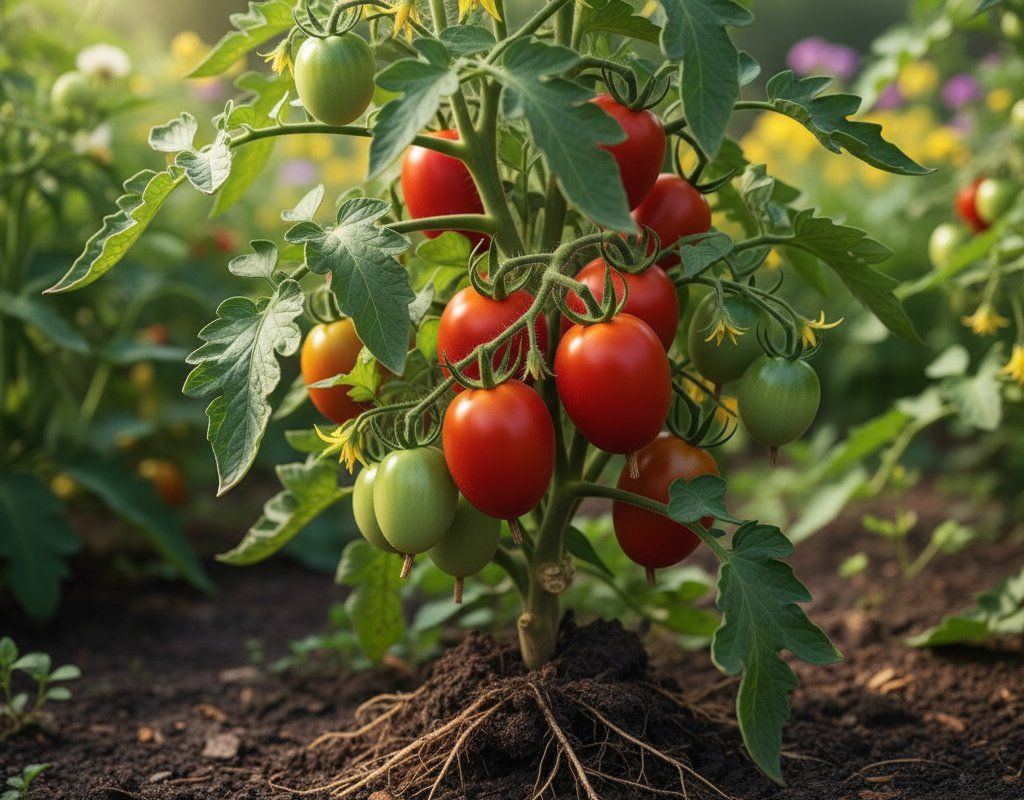
Roma Tomatoes in Zone 9A — Southern California
Solanum lycopersicum · Your Complete 2026 Planting Guide
Time to Buy Starts!
Seed starting window passed, but starts are available now.
Buy Starts Now
Head to your local nursery, Home Depot, or farmers market for transplants.
- Look for stocky plants with dark green leaves
- Avoid leggy seedlings or plants already flowering
- Check that roots aren't circling the pot (rootbound)
How to Plant Roma Tomatoes in Zone 9A — Southern California
Here are all your options for getting roma tomatoes in the ground, from the easiest method to more advanced approaches.
Start Seeds Indoors
RecommendedLate December through mid January
around January 4
Then transplant: Mid February through mid March
Start seeds 6-8 weeks before transplanting outdoors.
Buy Starts
Works WellMid February through mid March
around February 15
Plant purchased starts after last frost (February 1).
Direct Sow Seeds
ChallengingDirect sowing is not typical for Roma Tomatoes.
Transplant Outdoors
Timing InfoMid February through mid March
around February 15
Wait until nighttime temperatures stay above 50°F.
You have a nice window — no need to rush.
Overview
Roma tomatoes thrive in Southern California's Zone 9A, where our 322-day growing season lets you harvest these meaty paste tomatoes from late spring through early fall. Their dense flesh and low moisture content make them perfect for sauces, paste, and preserving — ideal for SoCal gardeners who want to capture summer's abundance for year-round cooking. The determinate growth habit means you'll get a concentrated harvest, perfect for big batch processing when summer heat makes fresh eating less appealing.
While our hot, dry summers and occasional water restrictions can challenge tomato growing, Roma's moderate size and determinate nature make water management easier than with sprawling indeterminate varieties. Starting seeds during our mild winter months gives you strong transplants ready for our early spring warmth, setting you up for success before summer heat arrives.
Starting Seeds Indoors
Start your Roma tomato seeds indoors during late December through mid-January, about 6 weeks before you plan to transplant. This timing takes advantage of Southern California's very early spring character — your seedlings will be ready when soil warms in February, well ahead of more traditional growing regions.
Set up seed trays with quality seed-starting mix in a warm location (70-75°F works well). Bottom watering works best for tomato seeds — place trays in shallow water and let the soil absorb moisture from below. This prevents damping-off disease and keeps seeds from washing away. Once germinated, provide bright light from a south-facing window or grow lights for 12-14 hours daily.
Your seedlings will develop their first true leaves within 2-3 weeks in our mild winter conditions. Keep soil consistently moist but not soggy, and begin weekly fertilizing with diluted liquid fertilizer once true leaves appear.
Transplanting Outdoors
Transplant your Roma tomatoes outdoors from mid-February through mid-March, after soil has warmed and nighttime temperatures stay consistently above 50°F. Southern California's early spring warmth means you can often transplant earlier than other Zone 9A regions, but watch for late February cold snaps that occasionally sweep through.
Harden off seedlings gradually over one week by placing them outdoors for increasing periods daily, starting with 2-3 hours of morning sun and building to full days. This prevents transplant shock when moving from indoor protection to outdoor conditions. Space plants 24-36 inches apart — the wider spacing helps with air circulation during our hot summers and makes watering individual plants easier.
Plant after any chance of Santa Ana wind events have passed, as these dry, hot winds can quickly stress newly transplanted seedlings. Choose a calm, overcast day for transplanting when possible, and water thoroughly after planting.
Watering Roma Tomatoes in Zone 9A (Southern California)
Roma tomatoes need consistent, deep watering throughout Southern California's long growing season, especially critical given our hot, dry summers and limited winter rainfall of 10-20 inches annually. These paste tomatoes are particularly susceptible to blossom end rot when watering is inconsistent, as their elongated fruit shape concentrates calcium deficiency problems at the blossom end.
During spring establishment (February through April), water deeply twice weekly, providing about 1 inch total. Use the finger test — soil should be moist 2 inches deep. As summer heat arrives and temperatures climb toward our typical 92°F highs, increase to 3-4 times weekly, providing 1.5-2 inches total. Our low-to-moderate humidity means soil dries faster than in more humid regions.
Water at the base of plants rather than overhead to conserve water and prevent foliar diseases. Drip irrigation or soaker hoses work excellently for tomatoes in our climate. Signs of underwatering include wilting during afternoon heat and firm, leathery fruit. Overwatering shows as yellowing lower leaves and soft, splitting fruit.
Apply 2-3 inches of mulch around plants to conserve moisture and moderate soil temperature swings. Organic mulches like straw or shredded leaves work well, breaking down slowly in our dry climate while reducing water needs by 30-40%.
Supporting Your Roma Tomatoes
Roma tomatoes benefit from caging or staking despite their determinate growth habit, as the concentrated fruit load can weigh down branches and cause them to break or touch the ground. Since determinates stay more compact (3-4 feet tall), shorter tomato cages work perfectly — you don't need the tall supports that indeterminate varieties require.
Install support systems at planting time to avoid disturbing roots later. Choose sturdy cages with openings large enough to reach through for harvesting, or use single stakes with soft ties. The concentrated harvest period means branches will be heavily loaded for several weeks, making support essential for keeping fruit off the ground and preventing branch breakage.
Tie branches loosely to supports using soft materials like cloth strips or plant ties. Avoid wire or string that can cut into stems as they grow. Check ties weekly during the main growing season and adjust as needed.
🧪Fertilizing Roma Tomatoes
Feeding Schedule
Organic Fertilizer Options
Harvest Time
Expect your first Roma tomatoes from early May through mid-June, about 75 days after transplanting. Southern California's early spring warmth often brings the first harvest earlier than other Zone 9A regions, giving you a head start on sauce-making season.
Romas are ready when they turn deep red throughout with no green shoulders, and the flesh feels firm but gives slightly to gentle pressure. The fruit should detach easily from the stem with a gentle twist — forcing unripe fruit damages the plant and results in poor flavor. Unlike slicing tomatoes, Romas develop their best flavor and texture when fully red.
Since this is a determinate variety, you'll get most of your harvest within a 2-3 week window, perfect for big batch processing. Pick regularly to encourage the plant to ripen remaining fruit faster. Any fruit showing color can ripen successfully indoors if placed in a warm, dark location.
With our first frost typically arriving in mid-December, you have plenty of time to enjoy the full harvest. If an unexpected early cold snap threatens, harvest all fruit showing any blush of color — they'll continue ripening indoors and work well for cooking even if not fully red.
Common Problems in Zone 9A (Southern California)
Blossom End Rot Dark, sunken leathery patches appear on the bottom (blossom end) of fruit, often affecting the first fruits most severely. This isn't a disease but a calcium deficiency caused by inconsistent watering — particularly problematic in Southern California's hot, dry climate where soil moisture fluctuates dramatically. Our low rainfall and summer heat make consistent watering challenging but essential. Maintain even soil moisture through drip irrigation and heavy mulching. Remove affected fruit and focus on consistent watering schedules rather than calcium sprays.
Early Blight Brown spots with distinctive concentric rings (bullseye pattern) start on lower leaves and spread upward, eventually causing leaves to yellow and drop. This fungal disease thrives in warm conditions with occasional moisture — common when overhead watering hits leaves during our warm spring weather. Remove affected leaves immediately and destroy them (don't compost). Switch to base watering, improve air circulation through proper spacing, and apply mulch to prevent soil splash. Copper fungicide can slow spread if caught early.
Fusarium Wilt Plants wilt on one side first, then spread to the entire plant, with yellow leaves and brown streaks visible inside cut stems. This soil-borne fungus persists for years and thrives in warm soil — particularly problematic in Southern California's heat. No cure exists once plants are infected; remove and destroy affected plants immediately. Plant resistant varieties marked with 'F' on seed packets, rotate crops on 4-year cycles, and consider soil solarization during our intense summer heat to reduce fungal populations.
Southern California Specific Challenges: Our hot, dry climate with low-to-moderate humidity creates ideal conditions for stress-related problems like blossom end rot, while our long growing season increases exposure to soil-borne diseases. However, the low humidity reduces many fungal diseases that plague tomatoes in more humid regions.
Best Companions for Roma Tomatoes
Plant these nearby for healthier Roma Tomatoes and better harvests.
View Full Companion Planting Chart →


Companion Planting Details
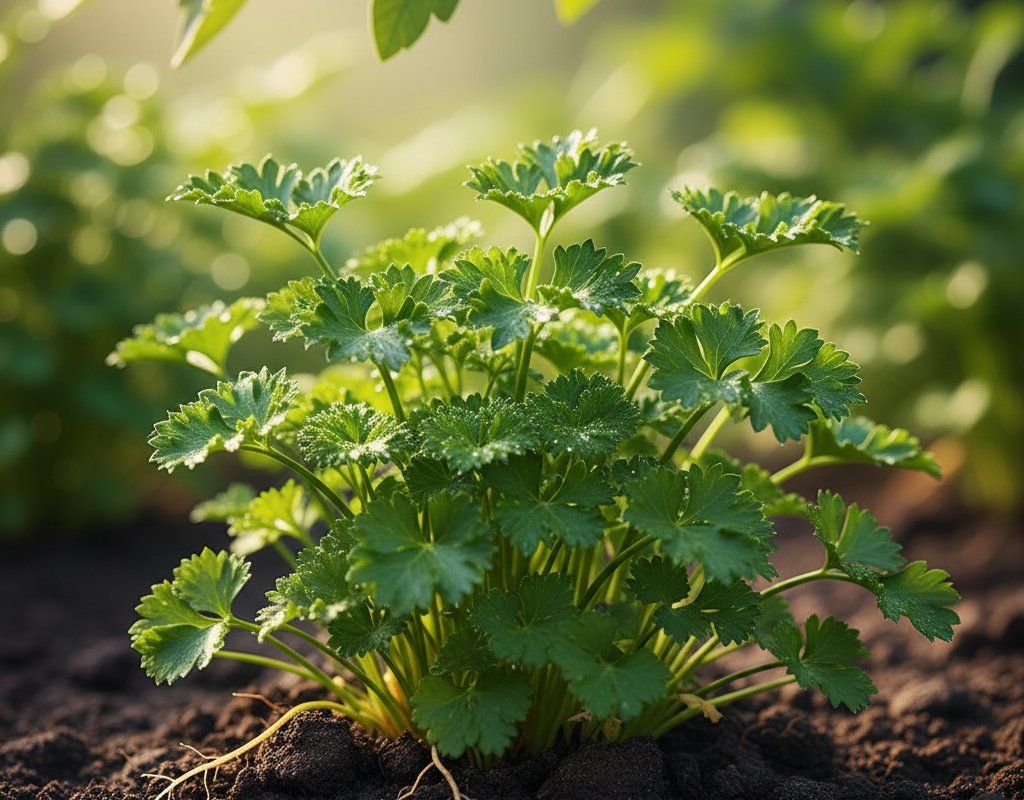
Basil makes an excellent companion for Roma tomatoes in Southern California, improving flavor while repelling aphids and whiteflies that thrive in our warm climate. Plant basil between tomato plants or along borders — it handles our heat well and provides useful herbs for your Roma harvest. Carrots work well underneath tomato plants, making efficient use of space while their taproots break up soil without competing for surface nutrients.
Marigolds planted around the garden perimeter deter nematodes and many flying pests, while parsley attracts beneficial insects that help control tomato hornworms and aphids. Avoid planting brassicas like cabbage or broccoli near tomatoes — they compete for similar nutrients and can harbor diseases that affect tomatoes. Keep fennel and corn away from tomatoes as they can stunt growth or attract shared pests like corn earworms that also target tomato fruit.
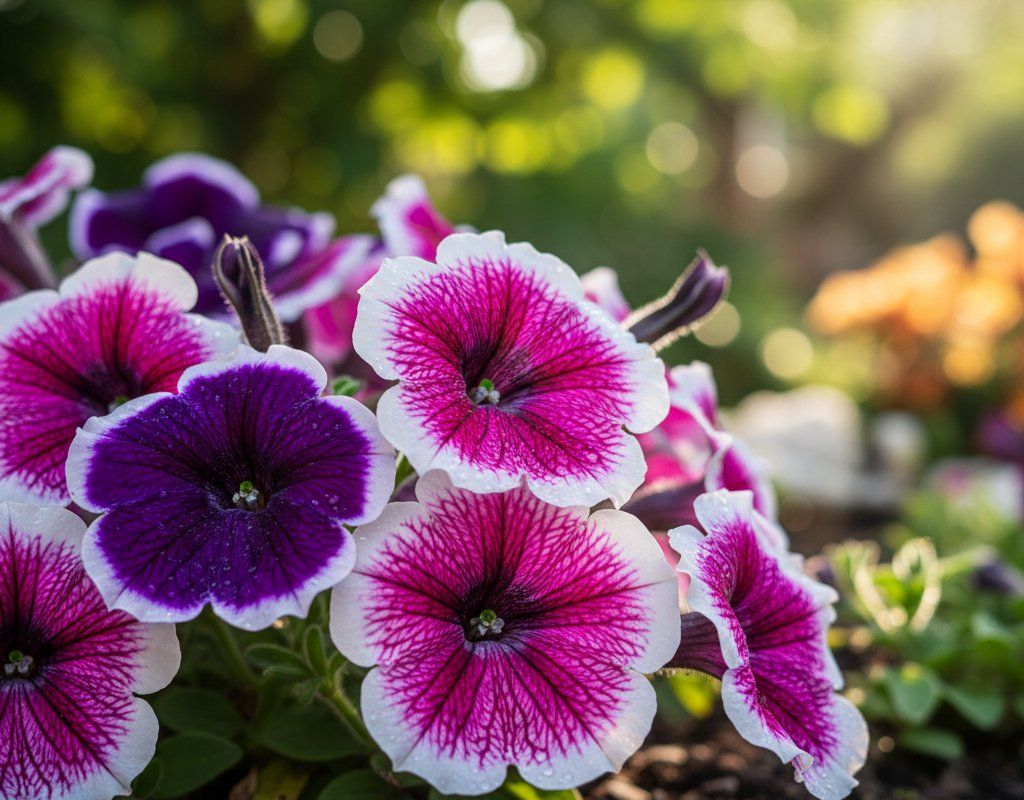
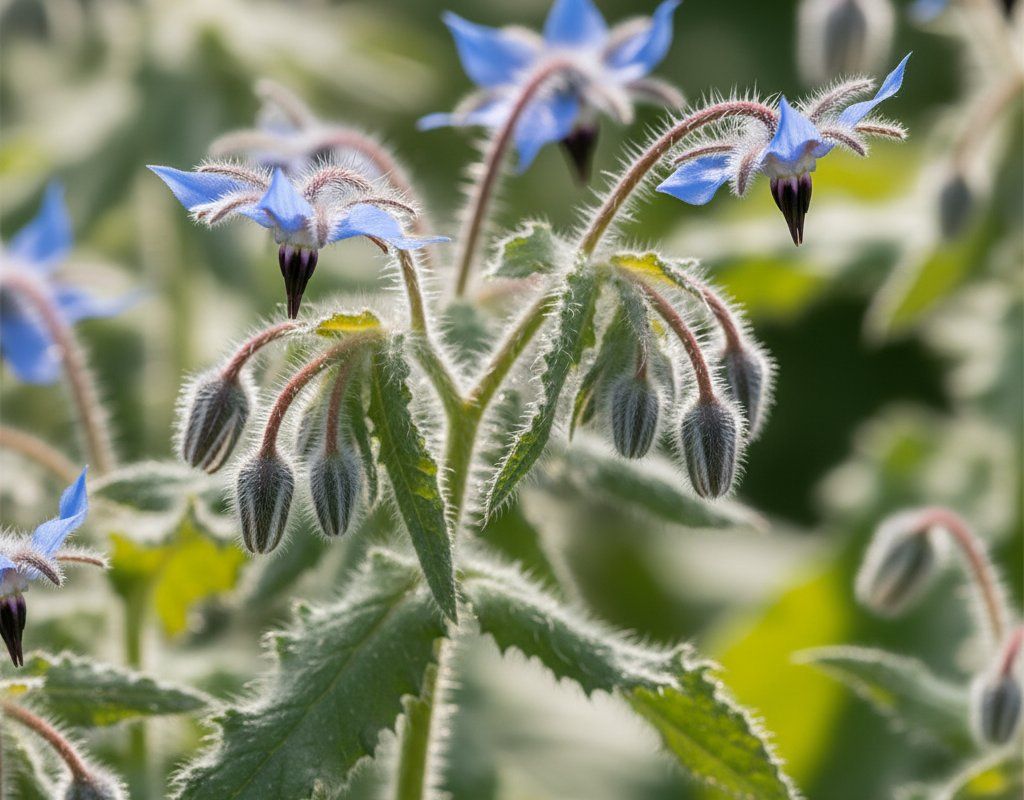
🌸Best Flowers to Plant with Roma Tomatoes
These flowers protect your Roma Tomatoes from pests and attract pollinators for better harvests.
For Pest Control


For Pollinators
Get a Reminder When It's Time to Plant
We'll email you when key planting windows open for your zone.