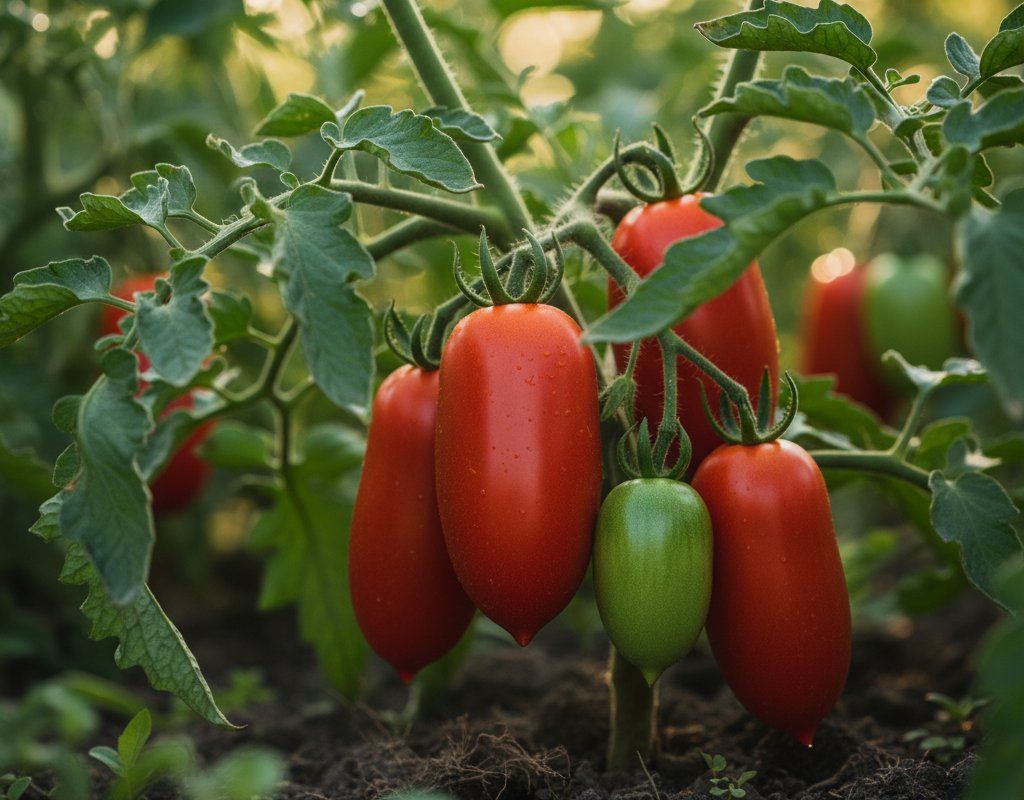
San Marzano Tomatoes in Zone 5B — Northeast
Solanum lycopersicum · Your Complete 2026 Planting Guide
Planning Ahead — Great!
You’re ahead of the season. Here’s when to start.
Mark Your Calendar
How to Plant San Marzano Tomatoes in Zone 5B — Northeast
Here are all your options for getting san marzano tomatoes in the ground, from the easiest method to more advanced approaches.
Start Seeds Indoors
RecommendedLate March through mid April
around March 28
Then transplant: Early May through early June
Start seeds 6-8 weeks before transplanting outdoors.
Buy Starts
Works WellEarly May through early June
around May 9
Plant purchased starts after last frost (April 25).
Direct Sow Seeds
ChallengingDirect sowing is not typical for San Marzano Tomatoes.
Transplant Outdoors
Timing InfoEarly May through early June
around May 9
Wait until nighttime temperatures stay above 50°F.
You have a nice window — no need to rush.
Overview
San Marzano tomatoes are the gold standard for paste tomatoes, and they're absolutely worth growing in our Northeast climate. These Italian heirloom beauties produce elongated, meaty fruits with incredible flavor and low acidity — perfect for sauce, paste, and canning. Our cool nights actually enhance their flavor development, giving you restaurant-quality tomatoes that put any store-bought variety to shame.
Yes, our short growing season and unpredictable spring weather can make warm-season crops challenging, but San Marzanos are manageable with proper timing. With our 168-day growing season, you'll have plenty of time to get a solid harvest if you start seeds indoors and transplant after the threat of frost passes. The key is working with our climate, not against it.
Starting Seeds Indoors
Start your San Marzano seeds indoors from late March through mid-April, about 6 weeks before your planned transplant date. Since our springs arrive late and stay cool, indoor starting is absolutely essential — direct sowing just won't work with our climate.
Set up your seed trays in a warm spot (70-75°F works well) with good light once they germinate. A sunny south window or grow lights both work fine. Use bottom watering to keep the soil evenly moist without disturbing the seeds — just set your seed trays in shallow water and let them absorb moisture from below.
Your seedlings will be ready to transplant when nighttime temperatures consistently stay above 50°F, which typically happens in early to mid-May around here. This timing gives your plants the full growing season they need to produce those beautiful paste tomatoes before our first frost in early October.
Transplanting Outdoors
Transplant your San Marzano seedlings outdoors from early May through early June, once nighttime temperatures stay consistently above 50°F and soil has warmed. In the Northeast, this window can shift based on late spring cold snaps, so watch the forecast rather than the calendar.
Harden off your seedlings gradually over a week before transplanting — start with an hour outdoors in a protected spot, then increase exposure daily. This prevents transplant shock from our sometimes dramatic temperature swings. Space plants 24-36 inches apart to allow good air circulation, which is especially important given our moderate humidity levels.
Plant after any threat of frost has passed completely. Even a light frost can kill these tender plants, and our springs can surprise you with an unexpected cold night well into May. If frost threatens after planting, be ready with row covers or even old sheets to protect your investment.
Watering San Marzano Tomatoes in Zone 5B (Northeast)
San Marzanos need consistent, deep watering throughout the growing season — they're not drought tolerant at all. In our Northeast climate with moderate summer heat and even rainfall, you'll typically need to provide about 1-2 inches of water per week, including rainfall.
Use the finger test to check soil moisture: stick your finger 2 inches into the soil near the plant base. If it's dry at that depth, it's time to water. Water deeply at the base rather than overhead — our moderate-to-humid conditions already favor fungal diseases, so keeping the foliage dry helps prevent problems.
During our typical summer with 82°F highs and decent humidity, morning watering works best. This gives plants time to absorb moisture before the day heats up and allows any foliage that gets wet to dry quickly. Watch for signs of stress: wilting during hot afternoons (normal) versus wilting in morning or evening (needs water).
Consistency is crucial for San Marzanos because they're particularly prone to blossom end rot when watering is erratic. A thick layer of mulch helps maintain even soil moisture through our sometimes unpredictable summer rainfall patterns. Yellowing lower leaves or cracking fruit often signal watering issues that need immediate attention.
Supporting Your San Marzano Tomatoes
San Marzanos are indeterminate varieties that keep growing and producing until frost, often reaching 6-8 feet tall with heavy clusters of paste tomatoes. They absolutely need strong support — either sturdy 6-foot cages or tall stakes with regular tying.
Install your support system at planting time to avoid disturbing roots later. Heavy-duty tomato cages work well, but make sure they're at least 6 feet tall and made from thick wire. If using stakes, choose 8-foot posts driven 2 feet into our often rocky New England soil, leaving 6 feet above ground.
Train the main stem up through cage openings or tie it loosely to stakes every 12-18 inches as it grows. Use soft ties like strips of old t-shirts rather than wire or string that can cut into stems. The heavy fruit clusters will put significant weight on branches, so good early support prevents broken limbs later in the season.
Pruning & Maintaining San Marzano Tomatoes
San Marzanos benefit from moderate pruning to improve air circulation and focus energy on fruit production. Remove suckers (shoots growing between main stem and branches) when they're small and tender — you can pinch them off with your fingers.
Focus on removing lower suckers and any growth below the first flower cluster. Also remove lower leaves that touch the soil, as these can harbor disease in our humid conditions. Don't get too aggressive with pruning — these plants need adequate foliage to photosynthesize and protect fruit from sun scald.
As our growing season winds down in late August, pinch off the growing tips to redirect energy into ripening existing fruit rather than producing new flowers that won't have time to mature before our early October frost. Remove any obviously diseased or damaged foliage throughout the season to maintain plant health.
🧪Fertilizing San Marzano Tomatoes
Feeding Schedule
Organic Fertilizer Options
Harvest Time
Your first San Marzano tomatoes will be ready from late July through mid-September, typically about 80 days after transplanting. Look for deep red color, firm texture, and that characteristic elongated paste tomato shape. Ripe fruits will give slightly to gentle pressure and detach easily from the stem.
Harvest regularly to encourage continued production — San Marzanos will keep producing until frost if you keep picking. Check plants every few days during peak season, as these paste tomatoes can go from perfect to overripe quickly in our moderate summer heat.
As early October approaches and first frost threatens, harvest all remaining fruit regardless of ripeness. Green tomatoes will continue ripening indoors if stored in a cool, dark place — wrap larger green fruits individually in newspaper and check weekly. You can also pull entire plants and hang them upside down in a garage or basement to ripen the remaining fruit.
The beauty of San Marzanos is their incredible flavor even when vine-ripened green, so don't worry if you're racing against frost. These tomatoes are worth the effort and timing challenges our Northeast climate presents.
Common Problems in Zone 5B (Northeast)
Blossom End Rot What it looks like: Dark, sunken, leathery patches on the bottom (blossom end) of developing fruits. Often affects the first tomatoes of the season most severely. The spots start small but can cover half the fruit.
What causes it: This isn't a disease but a calcium deficiency caused by inconsistent watering. Our spring weather swings and variable summer rainfall can create the drought-flood cycles that trigger this problem. When soil moisture fluctuates dramatically, plants can't absorb calcium properly.
How to fix/prevent it: Maintain consistent soil moisture through regular watering and heavy mulching. Water deeply when the top 2 inches of soil are dry, rather than frequent light watering. Remove affected fruits immediately and improve your watering routine — this usually solves the problem for future fruits.
Early Blight What it looks like: Brown spots with distinctive concentric rings (like targets or bullseyes) starting on lower leaves. Leaves turn yellow and drop, progressing up the plant. In severe cases, stems and fruit can also be affected.
What causes it: This fungal disease thrives in our moderate-to-humid conditions, especially when soil splashes onto lower leaves during watering or rain storms. The fungus overwinters in soil and plant debris.
How to fix/prevent it: Remove affected leaves immediately and destroy them (don't compost). Mulch heavily to prevent soil splash, water at the base rather than overhead, and ensure good air circulation through proper spacing. Copper-based fungicides can slow the spread if applied early.
Fusarium Wilt What it looks like: Wilting that starts on one side of the plant, then spreads. Lower leaves turn yellow first, usually on one side. If you cut the stem open, you'll see brown streaking inside.
What causes it: A soil-borne fungus that enters through roots and clogs the plant's water transport system. Once established in soil, it can persist for years. Warm soil temperatures favor its development.
How to fix/prevent it: No cure exists once a plant is infected — remove and destroy it immediately. Prevent by choosing resistant varieties (look for 'F' on seed packets), rotating crops on a 4-year cycle, and maintaining soil pH above 6.5. Never compost infected plants.
Northeast Specific Challenges Our moderate summer heat and even rainfall actually work in San Marzanos' favor compared to hotter regions, but our shorter growing season means every disease setback matters more. The combination of moderate-to-humid conditions and cool nights reduces some pest pressure while potentially increasing fungal disease risks, making good sanitation and air circulation especially important for success.
Best Companions for San Marzano Tomatoes
Plant these nearby for healthier San Marzano Tomatoes and better harvests.
View Full Companion Planting Chart →


Companion Planting Details
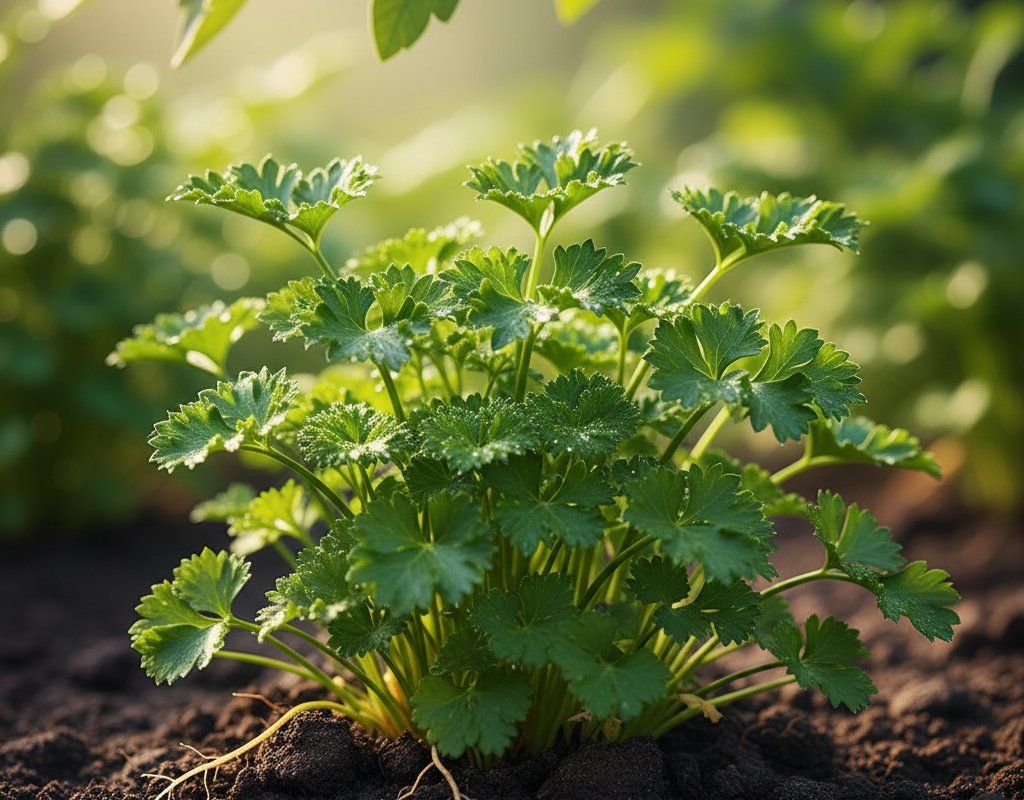
Plant basil near your San Marzanos — it reportedly improves flavor while repelling aphids and whiteflies. Carrots make excellent companions because their deep taproots break up our often compacted rocky soil without competing for surface nutrients. Parsley attracts beneficial insects that prey on tomato pests, and marigolds help deter nematodes and other soil-dwelling problems.
Avoid planting brassicas (cabbage, broccoli, kale) or fennel near tomatoes, as they can stunt growth through chemical interactions. Corn should also be kept separate since both crops attract similar pests and compete for nutrients. In our shorter growing season, you want every advantage for your San Marzanos, so strategic companion planting can make a real difference in plant health and productivity.
🌸Best Flowers to Plant with San Marzano Tomatoes
These flowers protect your San Marzano Tomatoes from pests and attract pollinators for better harvests.
For Pest Control

Get a Reminder When It's Time to Plant
We'll email you when key planting windows open for your zone.